It's been a while since I have provided an update but things are slowly coming along. Work has been keeping me pretty busy and the "Honey Do" list has been growing during the summer months.
07/20/2017 - Polishing Wheel Arrived
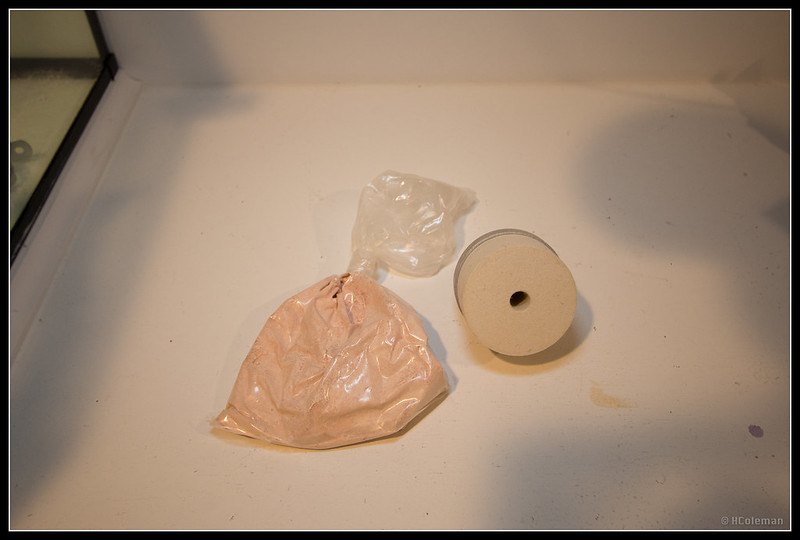
I had been in talks with Derek about my concerns on cleaning the glass of the tank when water was finally in the tank. Since this is my first time paying this much for a tank I was extremely nervous. Derek sent me a polishing kit that should help get out any minor scratches that are sure to come eventually. He shipped it out himself and notified me to be on the look out for the package. This will be a much needed item along the way with keeping the glass scratch free. Fingers crossed! It looks like a cloth polishing wheel and some type of powder stuff.
Miracles Polishing Kit
 IMG_9622 by LifeThrough_TheLense, on Flickr
07/26/2017 - More Plumbing Supplies Arrived
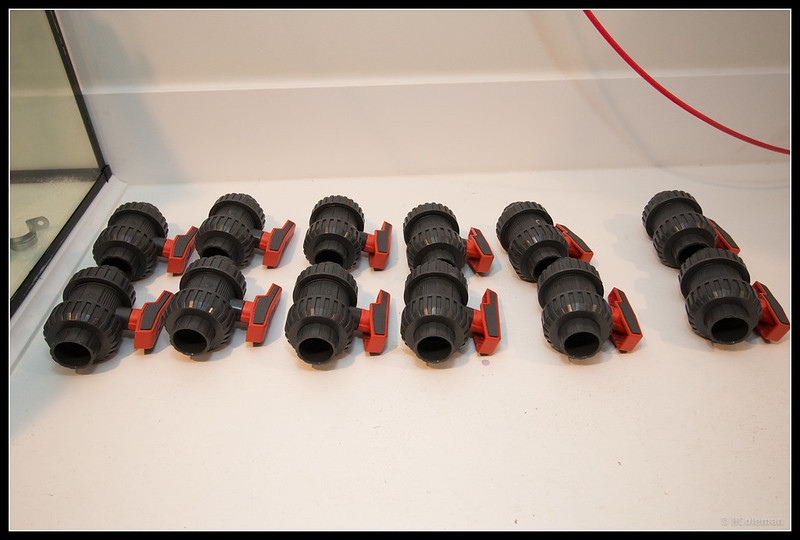
I ordered my ball values at the same time but the 1" values were on back-order. They finally arrived and as with the 1-1/2" values they are so easy to turn right out the box. This may actually be one of the cases where you get what you pay for...lol. I am hoping they stay this easy to operate. Now when I am in the Big Box Stores and walk past the values I giggle to myself.
Cepex 1" Values
 IMG_9617 by LifeThrough_TheLense, on Flickr
07/29/2017 - Picked up Sumps and Auto Top Offs
As I mentioned before I had called around to a few places to get quotes on a custom sump and two ATO containers. I finally choose Pure Reef Systems. The sump and ATO's are made from PVC and boy are they heavy. They are located in Midland, VA so I told Brendan I would drive to pick up the items verses having them shipped. I was trying to keep the cost down as much as possible. He had sent over a few pictures during the build process so I was really anticipating seeing them in person. Craftsmanship was top notch! The Friday before picking up he sent a picture of the water test.
Custom Sump Final Specs - 52.5" x 22" x 15-3/8" white PVC sump with 3/8" acrylic windows
3 - 1 1/2" PVC pipe hole returns
4 - 4" filter socks
2 - cord management holes in equipment area
4 - 1/4" dosing bulkhead holes in equipment area
1 - Triple heater holder
1 - probe holders (4)
1 - adjustable water level from 6"-12"
1 - triple bubble stop
1 - water level marks
1 - 1 1/2" pipe hole in pump area
2 - cord management slots in pump area
Poly carbonate covers
1 - 1" pipe hole in refug area
2 - 1/4" bulkhead holes in refug area
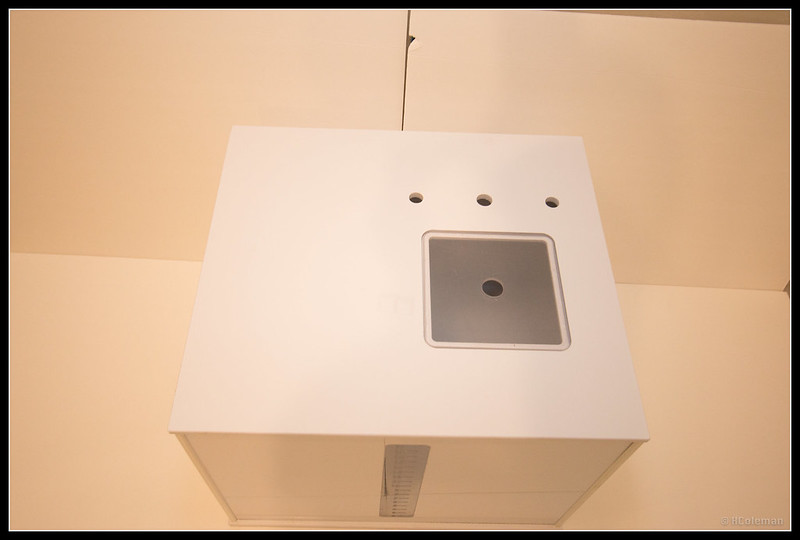
Frag Tank ATO Specs - 20"x 18" x 15-1/4" white PVC sump with 3/8" acrylic windows
Gallon marks
1 - 1/2" CPVC pipe hole
2 - 1/4" bulkheads holes
6"x6" access hole
Poly carbonate cover
Main Tank ATO Specs - 30"x 15" x 15-3/8" white PVC sump with 3/8" acrylic windows
Gallon marks
1 - 1/2" CPVC pipe hole
2 - 1/4" bulkheads holes
6"x6" access hole
Poly carbonate cover
ATOs and Sump
 SumpAndAto by LifeThrough_TheLense, on Flickr
Water ATO For Frag Tank
 IMG_9628 by LifeThrough_TheLense, on Flickr
 IMG_9630 by LifeThrough_TheLense, on Flickr
ATO in Place Under Frag Tank
 IMG_9631 by LifeThrough_TheLense, on Flickr
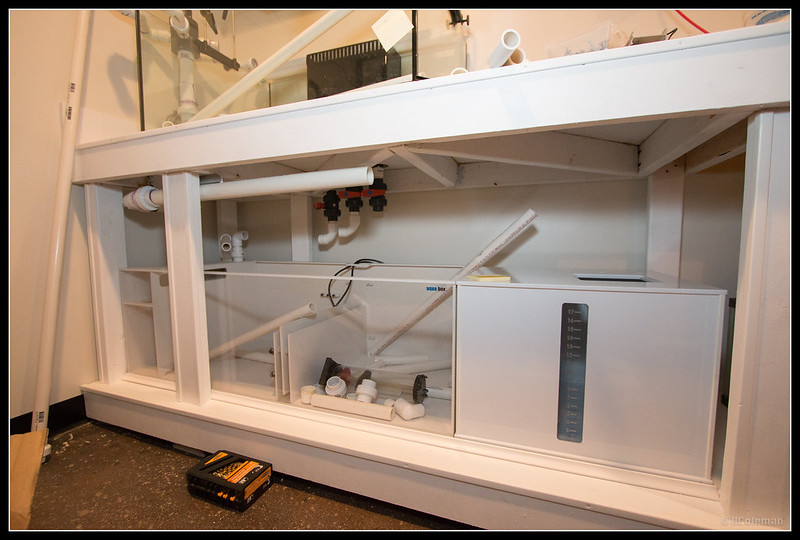
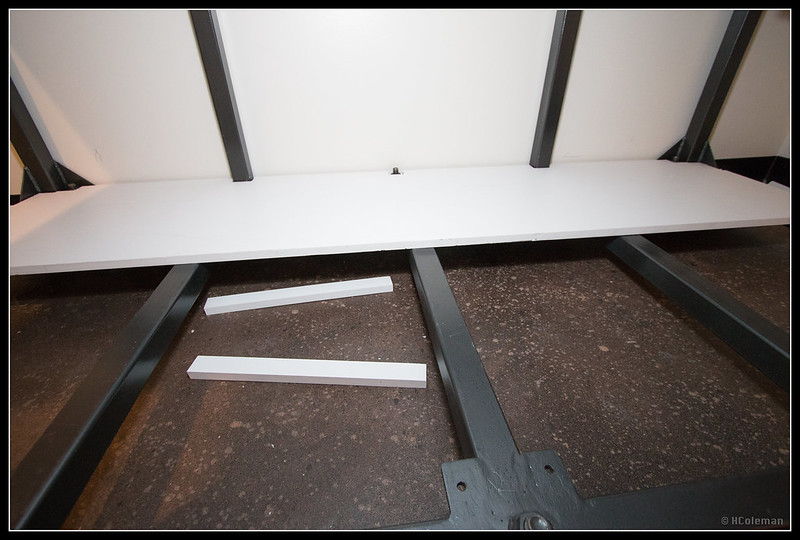
07/31/2017 - Under Main Tank
I choose 3/4" PVC for the base for the bottom of my stand. No issues with rot ever

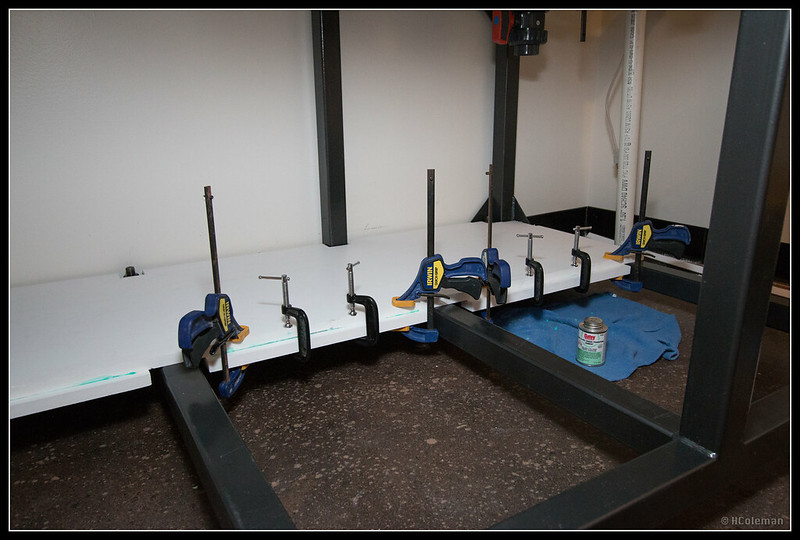
. The problem was after I did all the measurements to make the board fit under the stand I could not fit the whole board in at one time. I had to cut it down the middle in order to make it fit. Welding joints on the stand also played a small part in throwing off my measurements. While it may not be my prettiest work I think it will do for now. I have not decided if I will make a retaining wall or not but once I get all the items dry-fitted and in place with the sump and ATO I will figure something out. I used some PVC transition glue to create some supports to prevent the two parts from not lining up properly and sag between the joint. I let it dry overnight and the next day set up a jig so I cold make one long seam and then drop the other side in place. I routed the edges flush with the stand where I could and it did not turn out too bad.
Left Side in Place
 IMG_9632
 by
LifeThrough_TheLense, on Flickr
Supports Clamped in Place Before Drying Overnight
 IMG_9637
 by
LifeThrough_TheLense, on Flickr