


|
 |
|
|
#51 |
|
Not afriad to admit wrong
 Join Date: Jun 2012
Location: South of WashDC in Maryland
Posts: 7,774
|
Since it is a window, put molding around the edge and call it done. You will never see the edges at all.
__________________
Stock:LPS/SPS|1 hippo|4 OC Clown|4 Pepp shrimp|2 Brittle Star|3000+ Copepods|10+ MiniBrittle|8+ Bristle Worm|2 Anemone|100+ mini-feather|4 boys 14,21,22,22 Current Tank Info: Tank:300g Mixed Reef 300+lb LR|4" LS|5x MP40W|75g fuge|5x RadionPRO|RO DB250 skimmer|Apex |
|
|

|
|
|
#52 | |
|
MTS Sufferer!
Join Date: Feb 2005
Location: NW Ohio
Posts: 1,926
|
Quote:
__________________
Next step on the system is adding A 90 gallon! Current Tank Info: 475 multitank system is now running! Several hundred gallons of additions planned! |
|
|
|

|
|
|
#53 |
|
Registered Member
Join Date: May 2006
Location: San Diego
Posts: 222
|
Worm and Muttley, thanks for the input! I like the suggestions of treating like a window and using the molding.
I have to say though that my OCD kicked in and I tried my luck at laminating the top which didn't turn out too well. I am using a material called plastex that I purchased at that orange big box home store. I cut my piece to sized, rolled some glue on the top of the stand, and laid it down.....only problem is I forgot to roll it and on top of that used the wrong adhesive. I used a contact cement when I should have used an FRP panel adhesive. I woke up the next morning to huge bubbles in the surface of the stand. I tried to roll it out but it was too late. Later that day I ripped it up. Guess I learned the hard way here. |
|
|

|
|
|
#54 |
|
Registered Member
Join Date: May 2006
Location: San Diego
Posts: 222
|
Some better news.....
I PICKED UP THE TANK TODAY!!!  I woke up at about 5am this morning unable to sleep. It was like I was 8 years old again on Christmas morning. I live in San Diego and arranged to pick up the tank in long beach. I borrowed my dad's truck and on the way up met my girlfriends parents who were willing to help lift the tank into the truck. The tank turned out amazing for the price. I didn't care too much about the aesthetics of the corners or edging because the whole thing would be in the wall. After an inspection, it was time to load this up! I don't think a smile ever left my face.  Just when I thought I was having the best day ever, it got even better.... So I have been with my girlfriend Kate for 1.5 years. It has been wonderful to say the least. Without getting too sappy, this is a reef forum after all, but since I live in San Diego and her parents are in Orange county I thought I double my odds on making this an even better day and asked Kate's dad for his blessing. He said yes!!!! Not only did I get a fish tank today but I am getting a wife!  assuming she says yes when I ask her...haha assuming she says yes when I ask her...hahaAnyways back to reefing! We drove the tank home and this is where it sits until tomorrow when I put it on the stand. 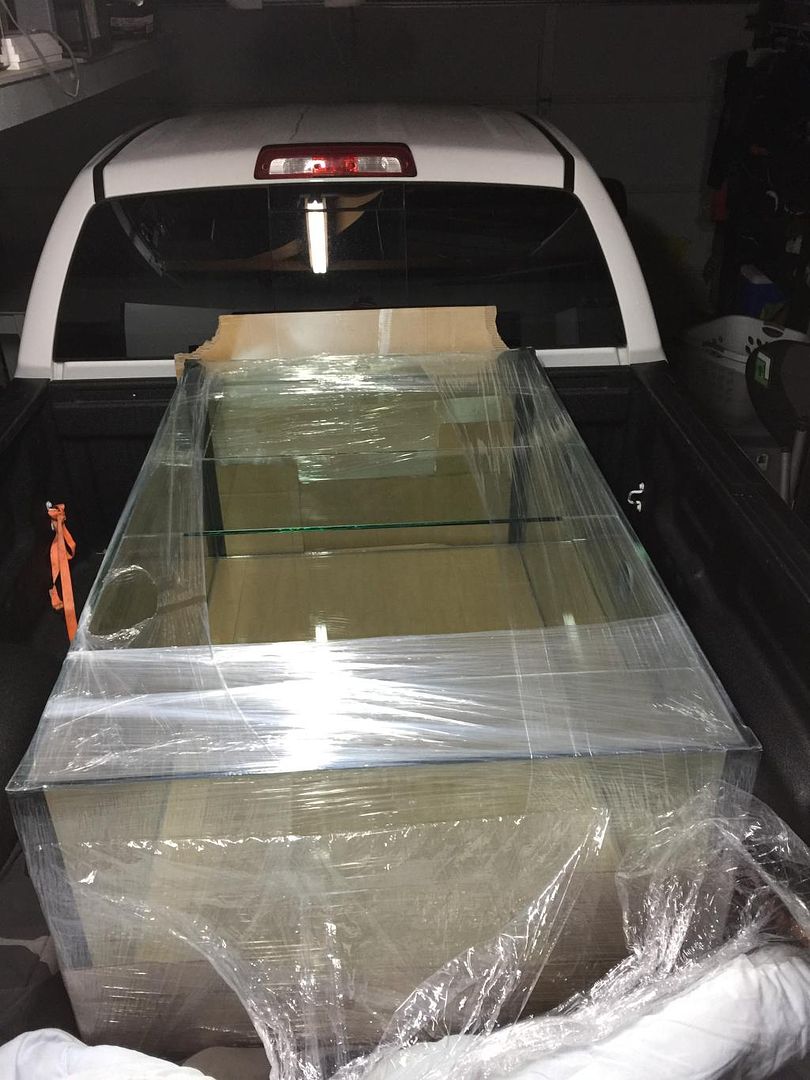 I also got a second chance to laminate the top of the stand again. I have the right adhesive now and spent about 30 min rolling it as flat as I could. I really hope I don't wake up to a bunch of bubbles tomorrow morning. You might also notice that I haven't trimmed the sides yet. I will do this in the am when the glue has had some more time to dry. 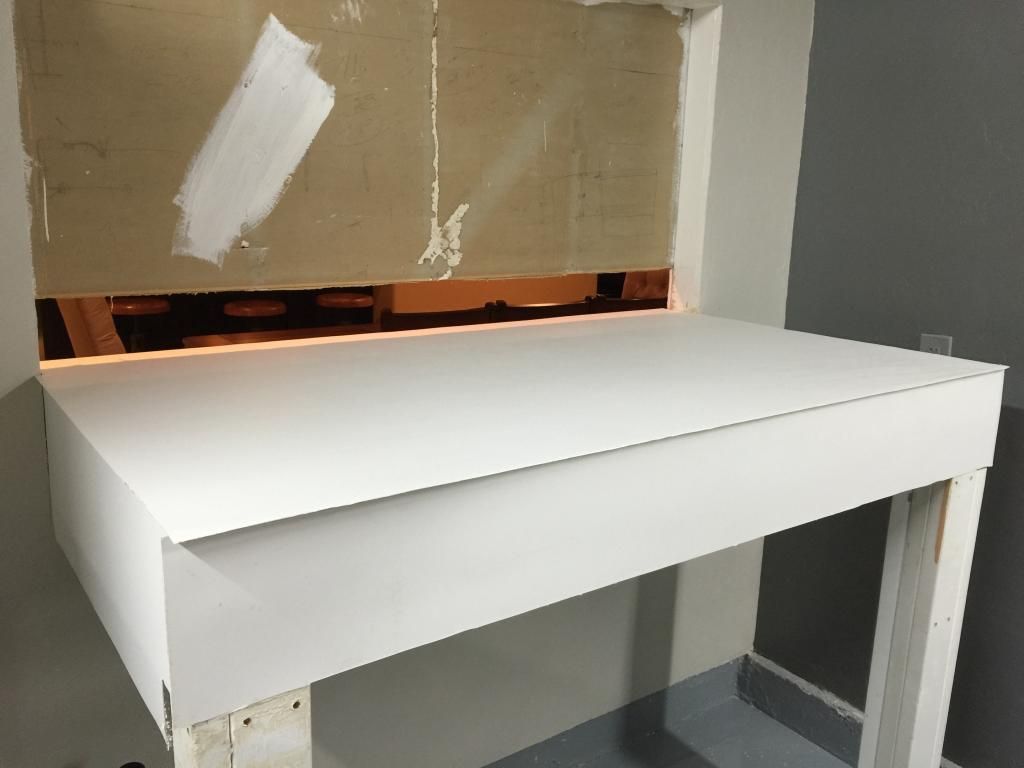
|
|
|

|
|
|
#55 |
|
Reefing is my middle name
Join Date: Mar 2009
Location: Clearwater, FL
Posts: 5,796
|
Congrats on the new tank and new wife(depending on your priorities). Definitely a win win for you. Wish you the best and great job on your build thus far.
|
|
|

|
|
|
#56 |
|
MTS Sufferer!
Join Date: Feb 2005
Location: NW Ohio
Posts: 1,926
|
Hope popping the question goes well! Are you just running a router around it to trim the laminate? This has worked for me on similar type projects. Just make sure there is no lip left and a small chamfer on the top edge after you finish with a file or sandpaper, it is surprisingly sharp if you leave a square edge.
__________________
Next step on the system is adding A 90 gallon! Current Tank Info: 475 multitank system is now running! Several hundred gallons of additions planned! |
|
|

|
|
|
#57 |
|
Not afriad to admit wrong
 Join Date: Jun 2012
Location: South of WashDC in Maryland
Posts: 7,774
|
Congrats... Getting one is a good thing. Now to just get it put in its place and up and running.
(wait.. and I talking about the tank or the new wife...) HAHAHAHA.... Congrats on getting permission. So many people forget to do that step. Says good things that you went and asked. I have all boys so I don't have to worry about getting asked for them.
__________________
Stock:LPS/SPS|1 hippo|4 OC Clown|4 Pepp shrimp|2 Brittle Star|3000+ Copepods|10+ MiniBrittle|8+ Bristle Worm|2 Anemone|100+ mini-feather|4 boys 14,21,22,22 Current Tank Info: Tank:300g Mixed Reef 300+lb LR|4" LS|5x MP40W|75g fuge|5x RadionPRO|RO DB250 skimmer|Apex |
|
|

|
|
|
#58 | |||
|
Registered Member
Join Date: May 2006
Location: San Diego
Posts: 222
|
Quote:
Quote:
Quote:

|
|||
|
|

|
|
|
#59 |
|
Registered Member
Join Date: May 2006
Location: San Diego
Posts: 222
|
Build Updates!
It's been a wild two days...... I spent most of the day yesterday on the build by finishing the laminate, cutting the hole in the wall and making the final framing....that's where the problem hit. At about 6pm I rounded up my dad, brother in law and a couple of neighbors to move the tank from the truck bed to the stand. I am sure 4 of us could have accomplished this but I wanted a couple extra hands just in case we hit some trouble. My dad and I like to mess with each other and this picture captures it perfectly. He is probably asking me for the 5th time if he can lift from the euro bracing just to annoy me haha. 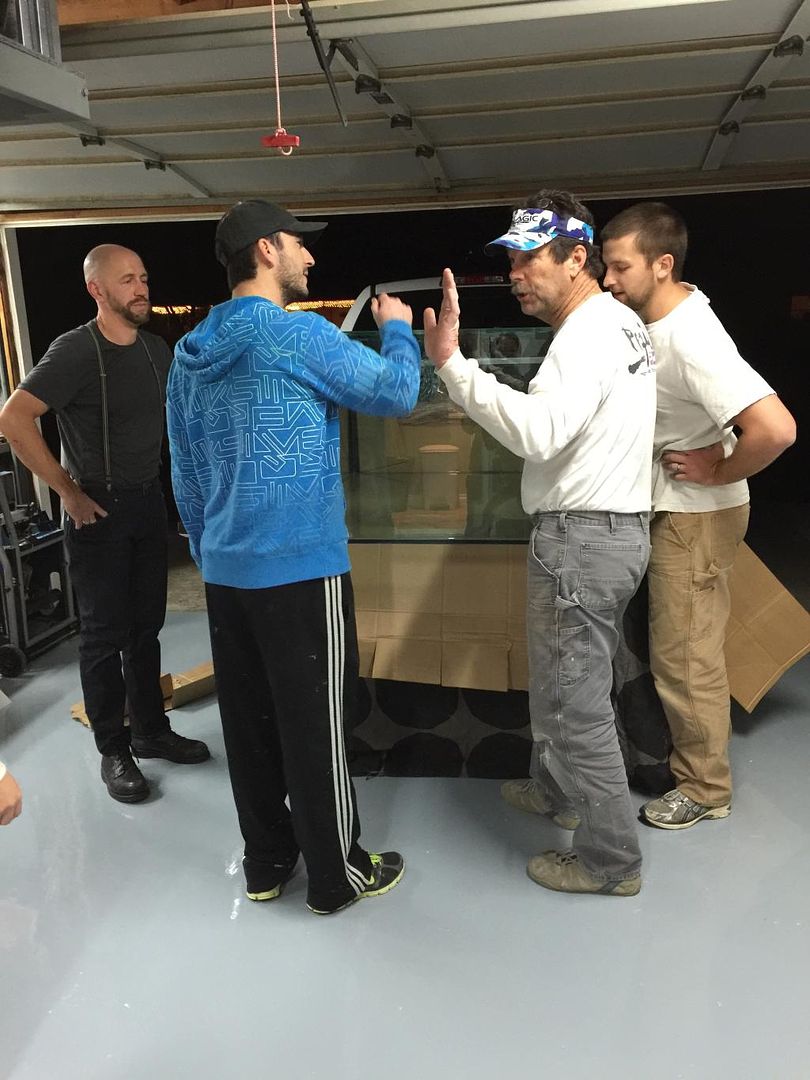 Everything went very well until this oh no moment when I realized the opening wasn't big enough because I forgot to measure for laminate pieces and trim I put up on the sides of the wall    This is my brother in law looking down the side sarcastically saying "did you measure this?" My dad deep in thought and I don't think you would want to see my face here. 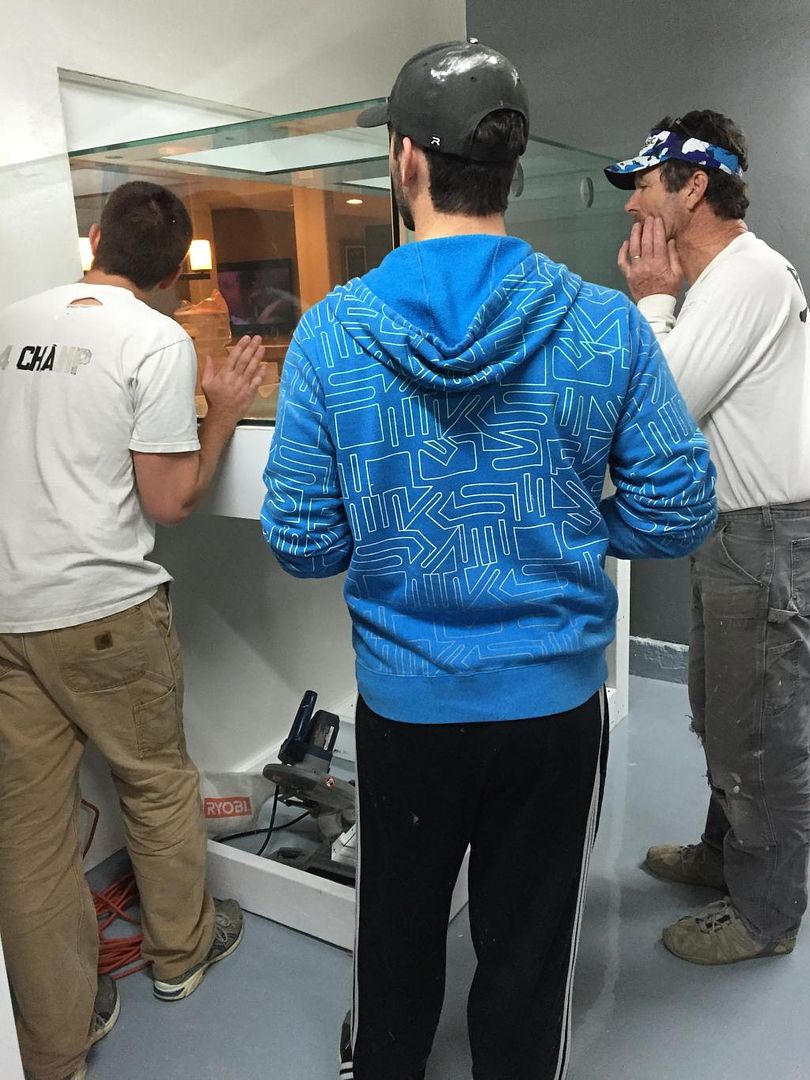 So last night I pushed it as far on the stand as I could so all sides were barely supported and tried to sleep while thinking of how I was going fix this. |
|
|

|
|
|
#60 |
|
Registered Member
Join Date: May 2006
Location: San Diego
Posts: 222
|
When I got home tonight I leveled out a new line where I would make my cut to expand the hole in the wall. I started with a jig saw and that wasn't working so I just took a skill saw too the wall. Nice and messy so I was cleaning up dust throughout the whole room after that. That's what I get for not measuring twice and cutting once.
I was also able to frame out the bottom of the stand where the sump will be. These are a few pictures of what was done tonight. 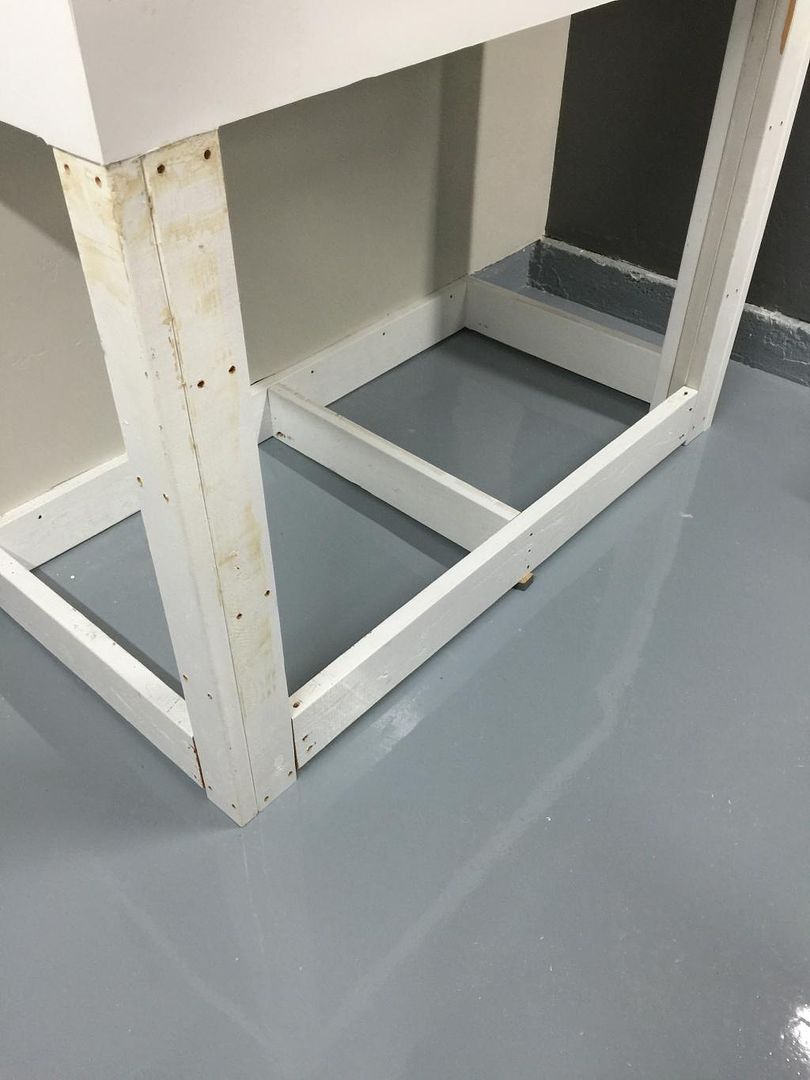 Tomorrow I will laminate the top: 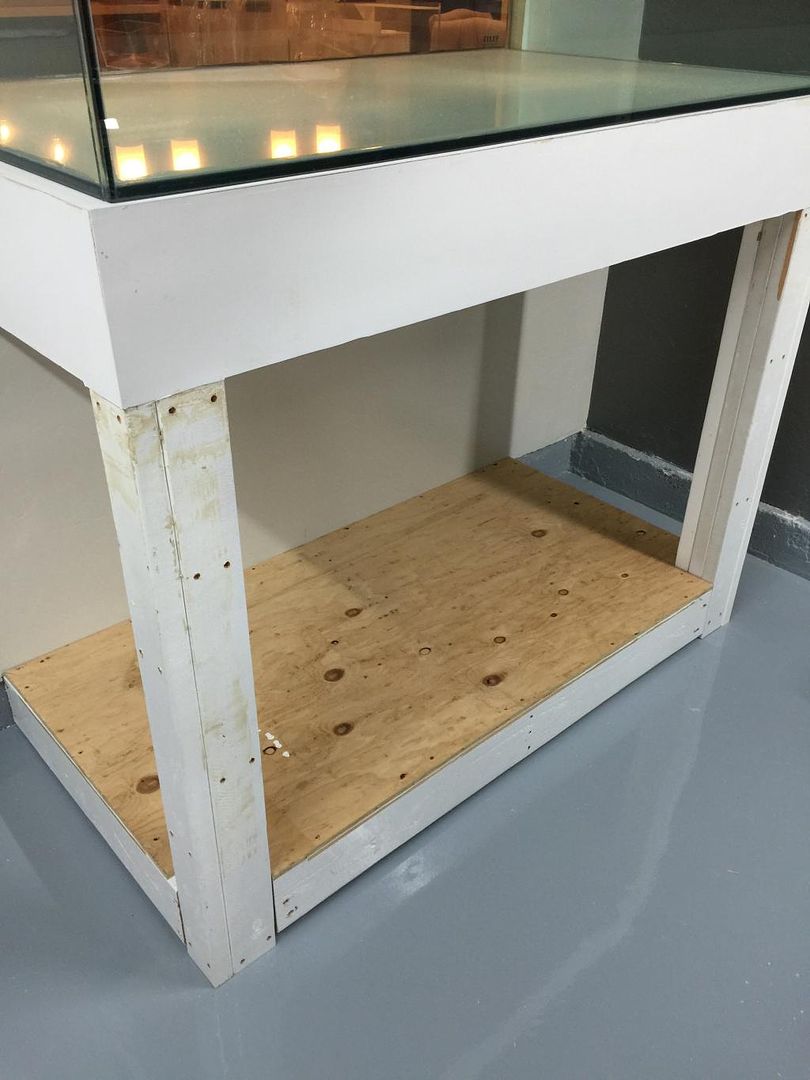 Full shot of the back. 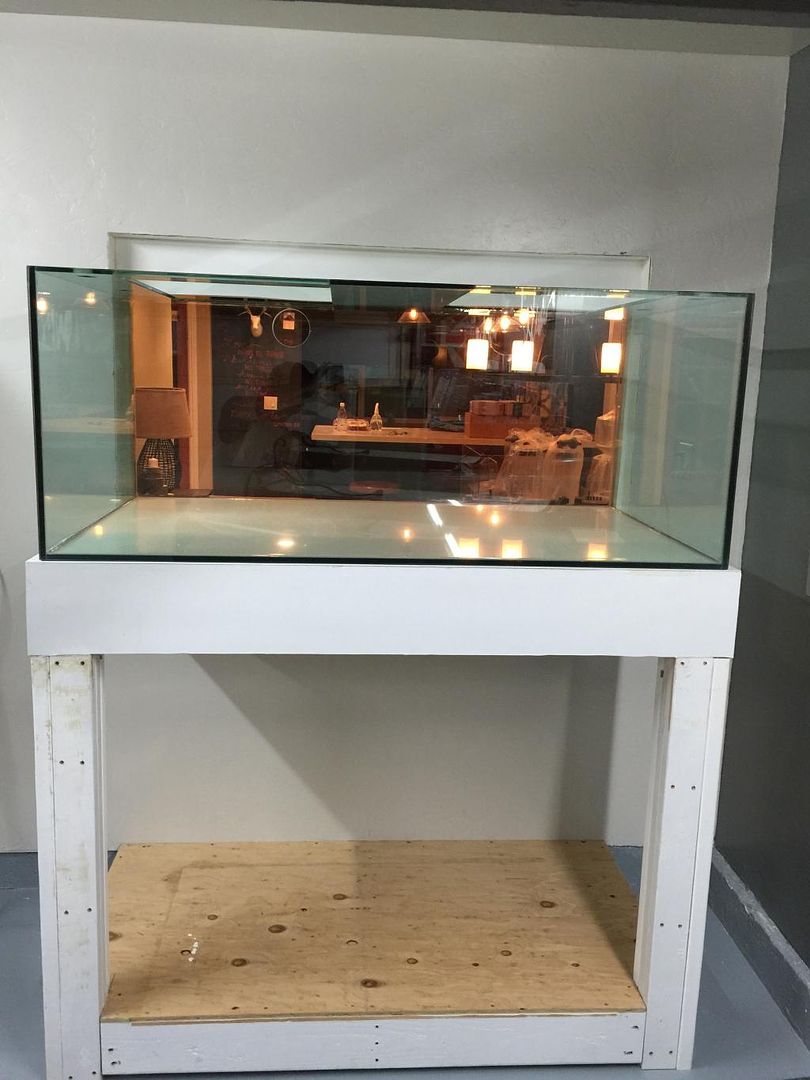 From the bar where I am typing and spend a lot of my time when at home while working or hanging out. 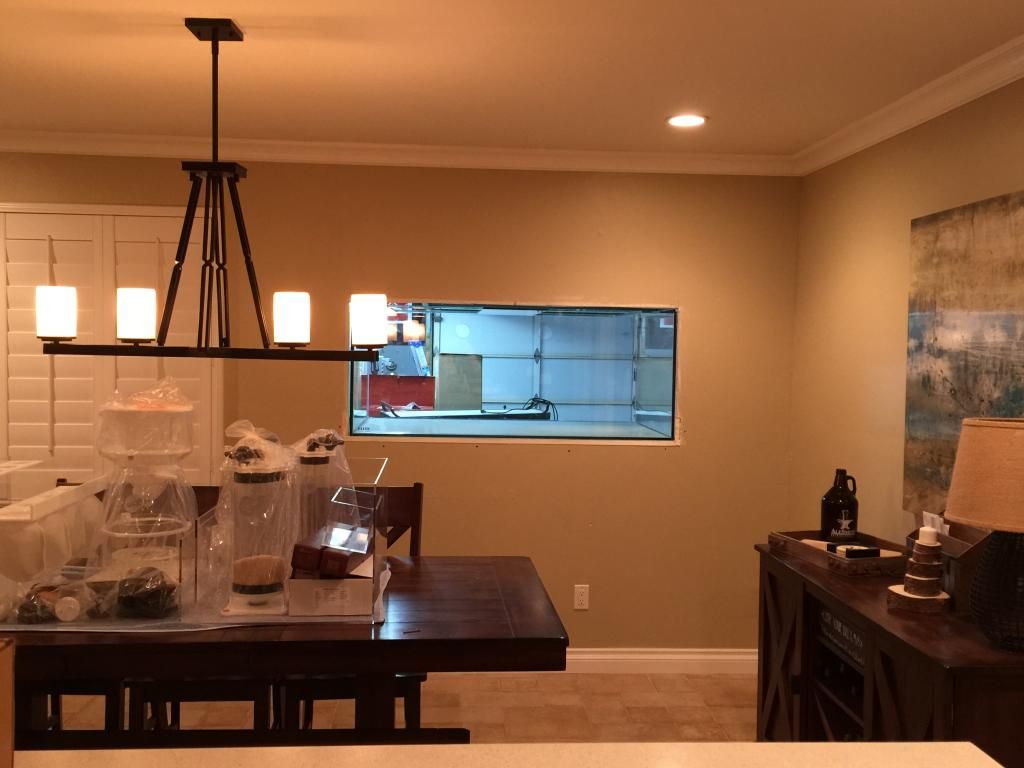 might need to get a new light for the table....that's blocking my view 
|
|
|

|
|
|
#61 |
|
Not afriad to admit wrong
 Join Date: Jun 2012
Location: South of WashDC in Maryland
Posts: 7,774
|
Just rotate the light and the table by 90 degrees.
__________________
Stock:LPS/SPS|1 hippo|4 OC Clown|4 Pepp shrimp|2 Brittle Star|3000+ Copepods|10+ MiniBrittle|8+ Bristle Worm|2 Anemone|100+ mini-feather|4 boys 14,21,22,22 Current Tank Info: Tank:300g Mixed Reef 300+lb LR|4" LS|5x MP40W|75g fuge|5x RadionPRO|RO DB250 skimmer|Apex |
|
|

|
|
|
#62 |
|
Registered Member
Join Date: May 2006
Location: San Diego
Posts: 222
|
|
|
|

|
|
|
#63 |
|
Registered Member
Join Date: May 2006
Location: San Diego
Posts: 222
|
Little Update.
Finished the bottom of the stand today where the sump will sit. I used 1/2" plywood and laminated the top with the same material as the top that holds the stand. The material is called Plastex and really easy to cut and work with. I believe it is a type of FRP. This is the glue that I used along with a 1/4" notched trowel. I will eventually put this material along the vertical supports of the stand and add corner molding.  Full shot from the garage side. 
|
|
|

|
|
|
#64 |
|
Reefing is my middle name
Join Date: Mar 2009
Location: Clearwater, FL
Posts: 5,796
|
Your fathers look is priceless. Glad you got the tank on the stand.
|
|
|

|
|
|
#65 |
|
Registered Member
Join Date: May 2006
Location: San Diego
Posts: 222
|
|
|
|

|
|
|
#66 |
|
Registered Member
Join Date: May 2006
Location: San Diego
Posts: 222
|
The last couple of days have been pretty slow. The garage has been a mess all week and work has been keeping me very busy, which is actually been really fun and challenging, however, it was definitely time to do a good clean in the middle of this project so that's what I have been doing the last couple of nights.
So now that I have a clean garage I did more thinking on the final layout of the whole system. The main decision I have been trying to come to is regarding the location of the hospital/quarantine tank and I think I have landed on the location above the service sink. There are a couple reasons for this 1) I would like to easily drain this tank at a moments notice and having it right above the sink will make that easy. 2) I am planning on running a dual peristaltic pump for automatic water changes. The plan is to have the "dirty" water run through the quarantine tank when I am running for quarantine. I will have a valve to switch this when I am using medication. This is the layout. 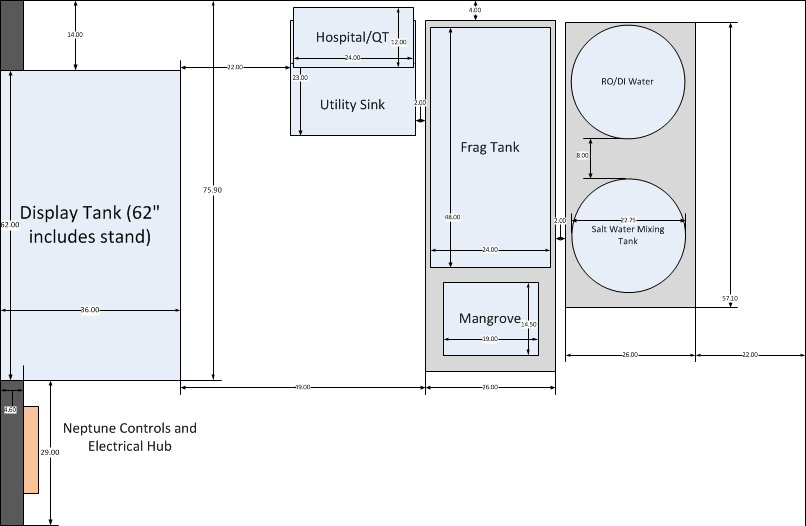 The real life picture..... I will explain the arylic tanks next... 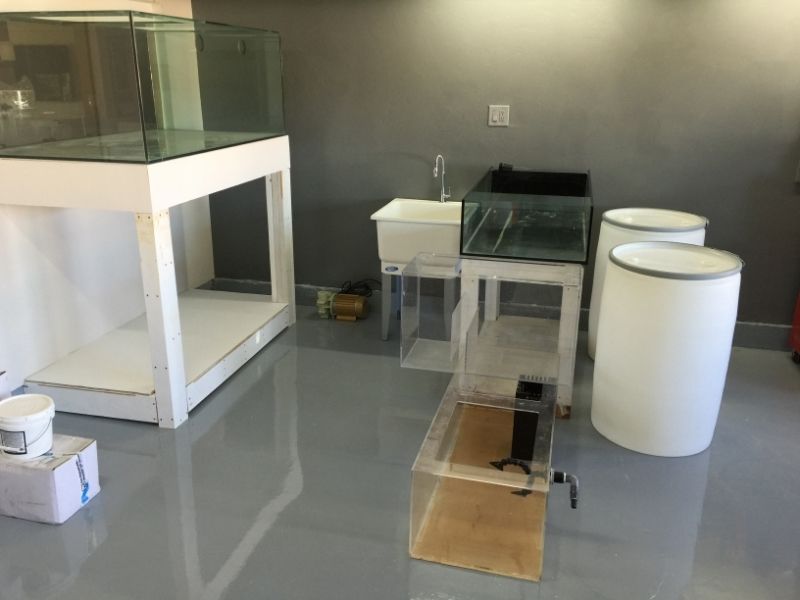
|
|
|

|
|
|
#67 |
|
Registered Member
Join Date: Jan 2015
Posts: 177
|
Subscribed. Great build so far.
|
|
|

|
|
|
#68 |
|
Registered Member
Join Date: May 2006
Location: San Diego
Posts: 222
|
My friend gave me the two acrylic tanks you are seeing. One is a sump sitting on top of the acrylic tank with the overflow, sorry for the far away picture. I plan on re-purposing to be a cool little mangrove tank with some bangia cardinals.... I will need to make some cuts on the table saw to make the tank shorter and have it end at the first baffle from the right. Essentially this will be 19x14.5x9 tank. I will build a similar overflow to what is currently on the frag tank. This will also require building a new stand to accommodate the length for this tank and the width for the tank below.
The other tank will be modified and used as a +/- 40 gallon refugium/softy tank/anemone/I don't know yet/I'm dreaming. This is the tank with the black overflow and will will sit below the frag tank. I am going to remove the black overflow, plug the bottom, and do a similar overflow to the other tanks. These will all drain into the sump. Lot's of work ahead!!!! |
|
|

|
|
|
#69 |
|
Registered Member
Join Date: May 2006
Location: San Diego
Posts: 222
|
Thanks footyreefer! I checked out your multiple tank build and it looks like a lot of fun! I think the idea of multiple tanks in one system is perfect to keep a variety species that all have different requirements. It's the best of all worlds!
|
|
|

|
|
|
#70 |
|
Registered Member
Join Date: Jan 2015
Posts: 177
|
Thanks for looking at my build! I also have a 125 standard that I wish to upgrade and getting ideas and inspiration from builds like yours!
|
|
|

|
|
|
#71 |
|
Registered Member
Join Date: May 2006
Location: San Diego
Posts: 222
|
Quick and fun Update:
I haven't accomplished much in the last couple of weeks but I did get a chance to introduce the cat to the tank....this better not become a habit, he looks a little too comfortable up there/in there. 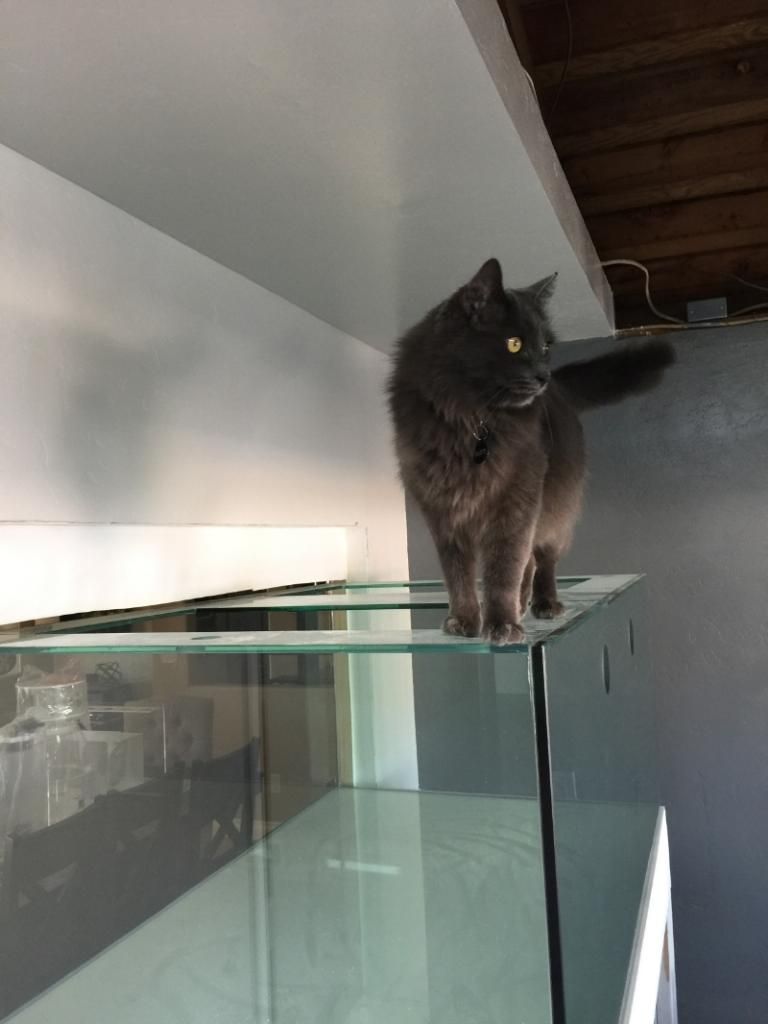 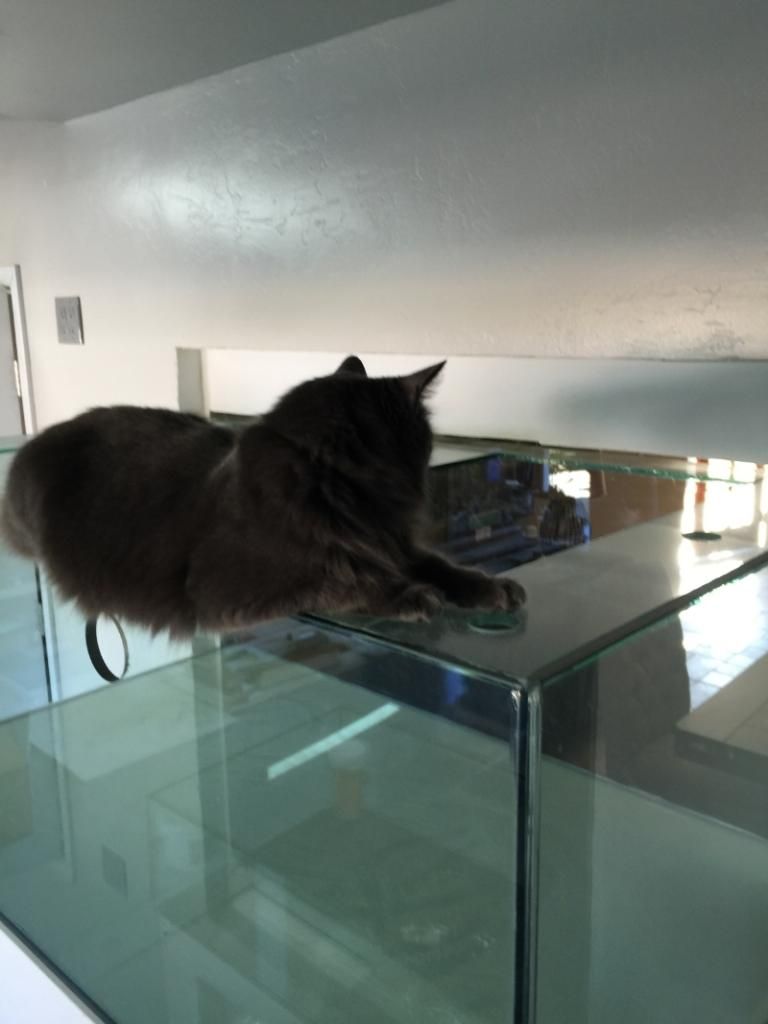 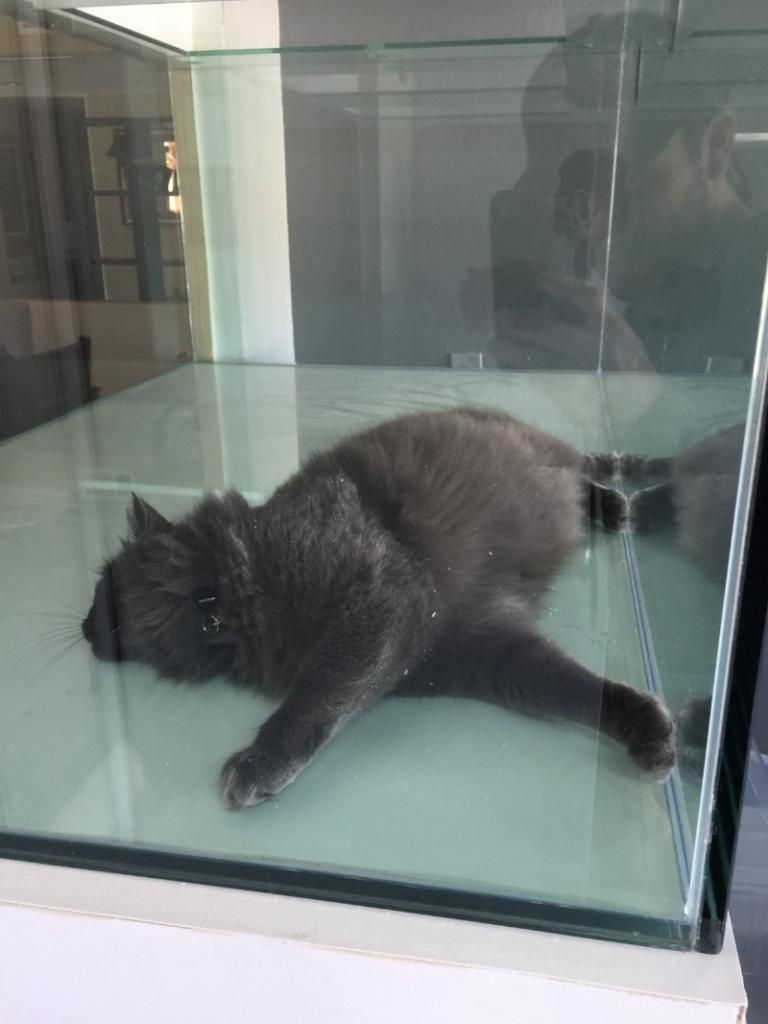 I really need to get some water in this thing and start taking pictures of fish and coral...haha 
|
|
|

|
|
|
#72 |
|
Not afriad to admit wrong
 Join Date: Jun 2012
Location: South of WashDC in Maryland
Posts: 7,774
|
'Here fishy fishy....." LOL
My cats will walk behind my 180. You can look through the glass/water/glass and see them behind it sometimes. Must be nice. LOL
__________________
Stock:LPS/SPS|1 hippo|4 OC Clown|4 Pepp shrimp|2 Brittle Star|3000+ Copepods|10+ MiniBrittle|8+ Bristle Worm|2 Anemone|100+ mini-feather|4 boys 14,21,22,22 Current Tank Info: Tank:300g Mixed Reef 300+lb LR|4" LS|5x MP40W|75g fuge|5x RadionPRO|RO DB250 skimmer|Apex |
|
|

|
|
|
#73 |
|
Registered Member
Join Date: Jan 2010
Location: Canadia
Posts: 4,276
|
It's the warmth that attracts the cats. The fish entertainment is just a bonus for them.
 Dave.M
__________________
My Gawd! It's full of corals! Current Tank Info: None. Nil. Zip. Nada. |
|
|

|
|
|
#74 |
|
Registered Member
Join Date: May 2006
Location: San Diego
Posts: 222
|
Update:
Unfortunately I had to spend yesterday installing a new water heater because mine had seen its last days. I did, however, have a chance earlier this week to start the building of the frag/mangrove lagoon/refugium tank. By the way, I have been using this design by rocketengineer. I am sure most of you have seen this before and if not its definitely a good thread to check out. http://www.reefcentral.com/forums/sh....php?t=1567110 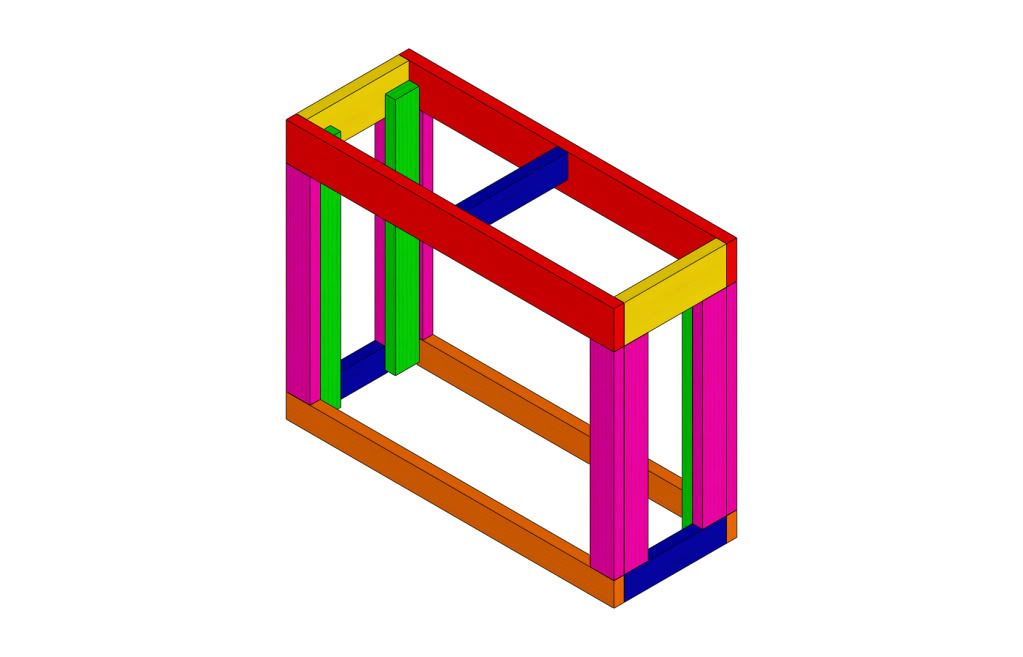 I started by planning all the cuts. This piles was for the bottom frame and the inner vertical pieces that keep the outer legs straight. 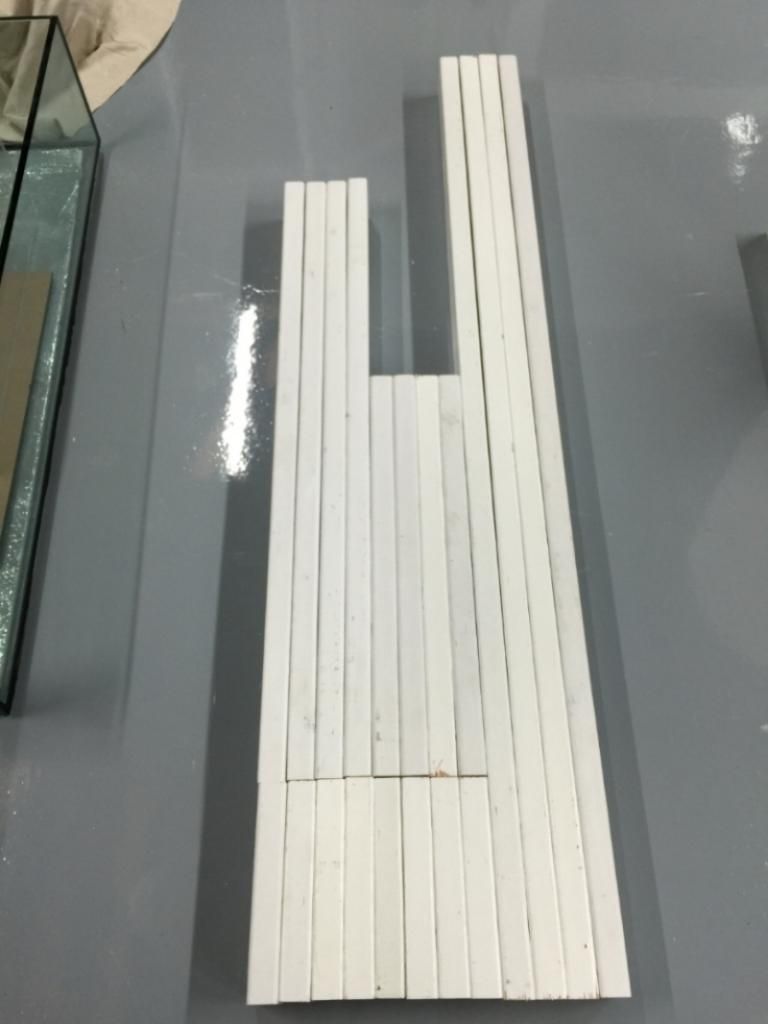 I will doubling up the top frame for strength, just need some more lumber. Next step is to finish the top with plywood and laminate. 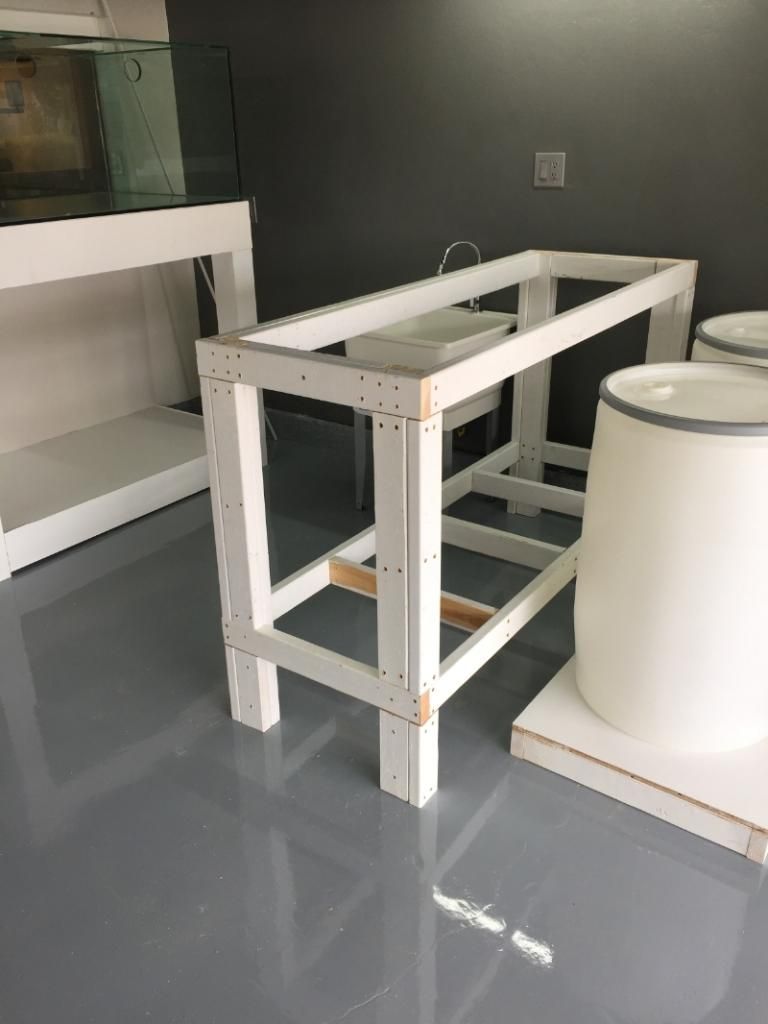
|
|
|

|
|
|
#75 |
|
Registered Member
Join Date: Jan 2011
Location: New Jersey
Posts: 78
|
Subscribed! Soon to buy a house and an in-wall is my dream build. Every house we look at, the wife checks out the kitchen, I checkout the basement for a fish room and where I can put a 6ft in wall on the first floor. Needless to say we haven't haven't both agreed on the one yet!

|
|
|

|
 |
|
|