
|
|
 06/19/2014, 10:05 PM
|
#26 |
|
Registered Member
Join Date: Jun 2011
Location: Orange County
Posts: 93
|
UPDATE Pt. 3
After all of this I still have all this rock to work with!!!
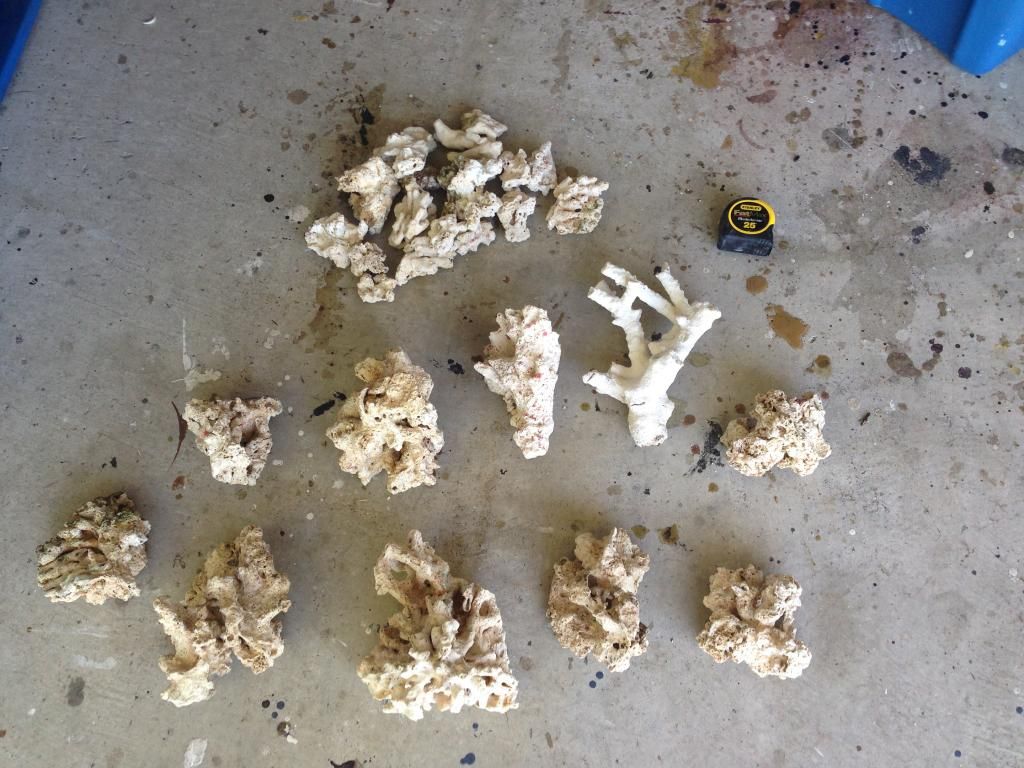 I had Holdfast epoxy putty to attach the rocks together. I got the pale white one so it would age with the rocks the same way: 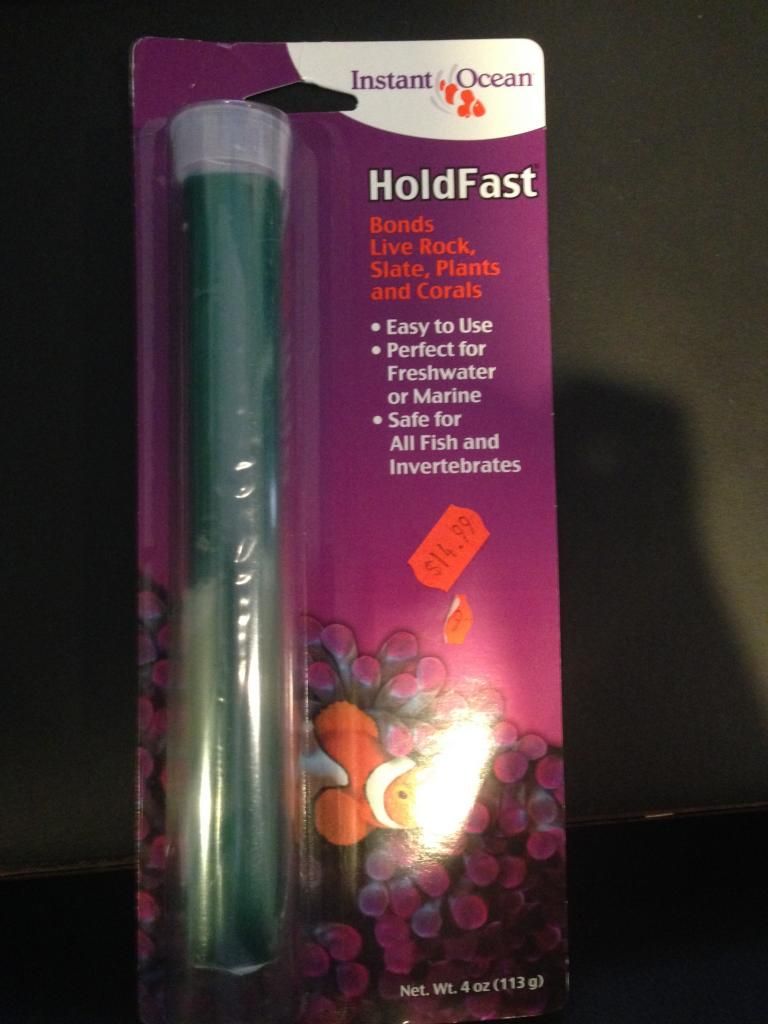 So after some mental images and scouring the internets for inspiration, I set out to work to create a rockscape. The first section I focused was the left, due to the large space there and possibilities I had with the rock wall. What I came up with was this large cavern that I hope can be a home for the little guy (like that will ever happen): [ 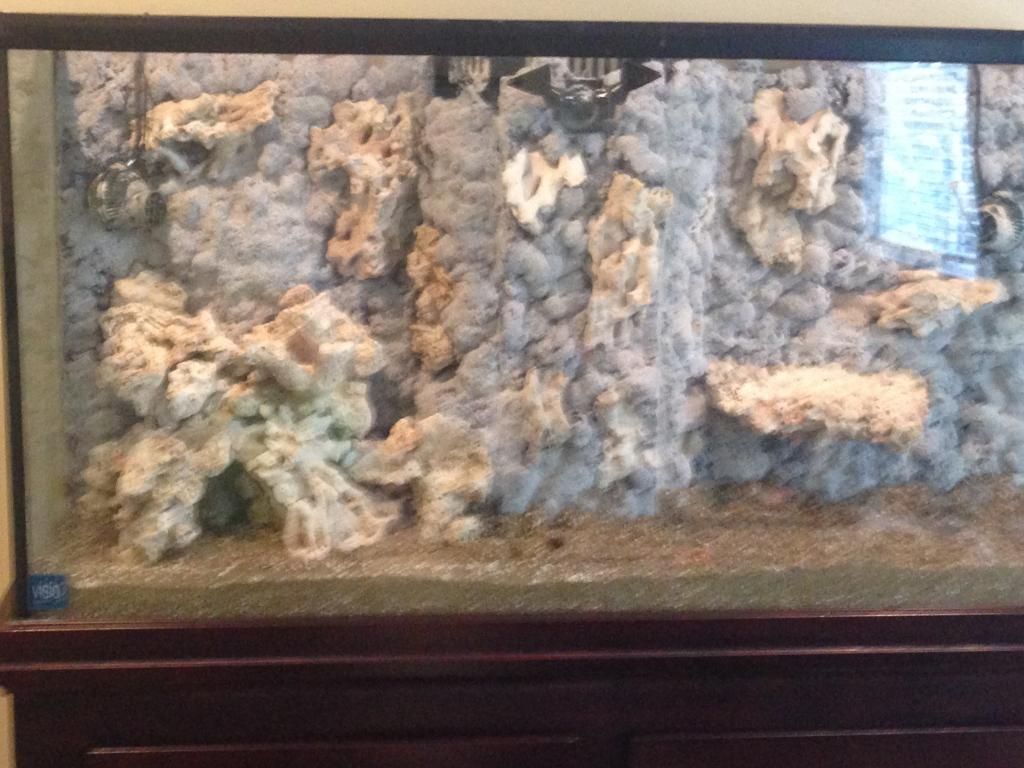 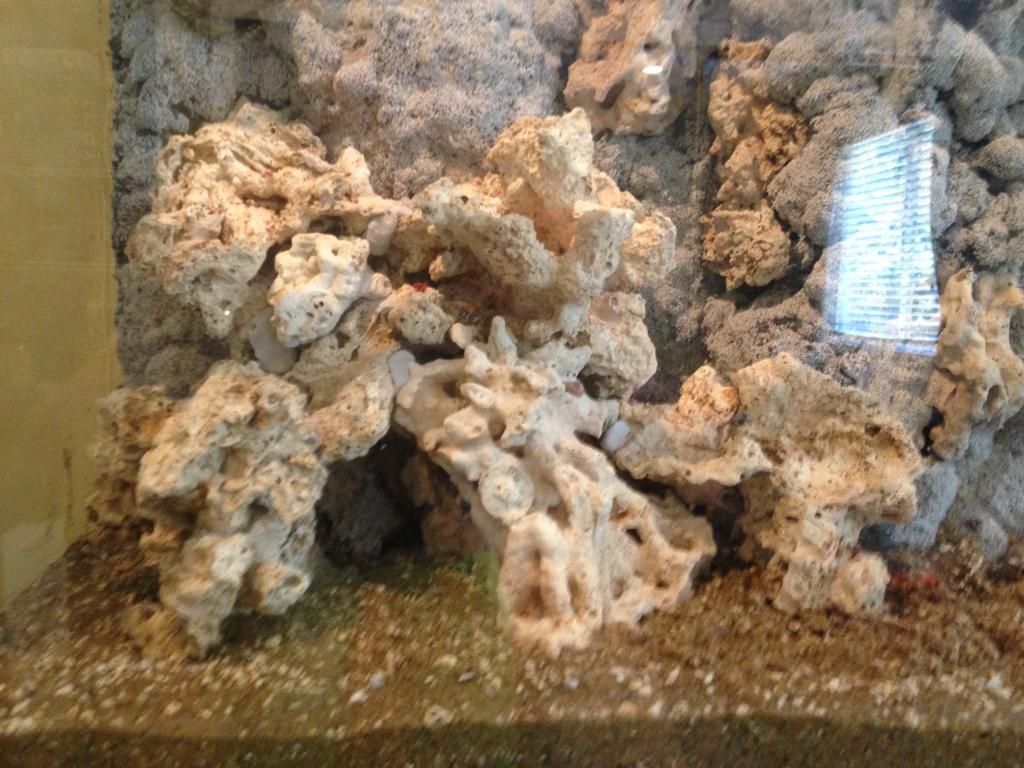 And now I focused on the right side. After using almost 90% of the rock, I had a few pieces left over and a LOT of rubble to work with and this is my creation: 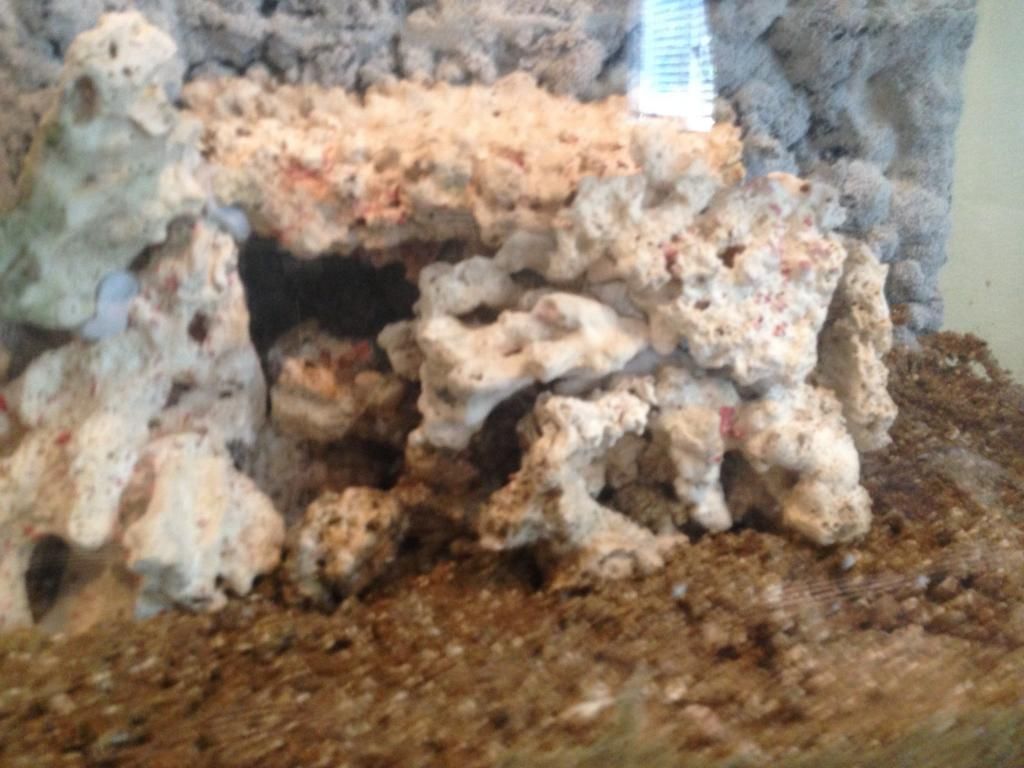 And here is the overall look of the tank! I took the large white branch coral and attached it sticking out of the left rock structure to give the tank some depth: 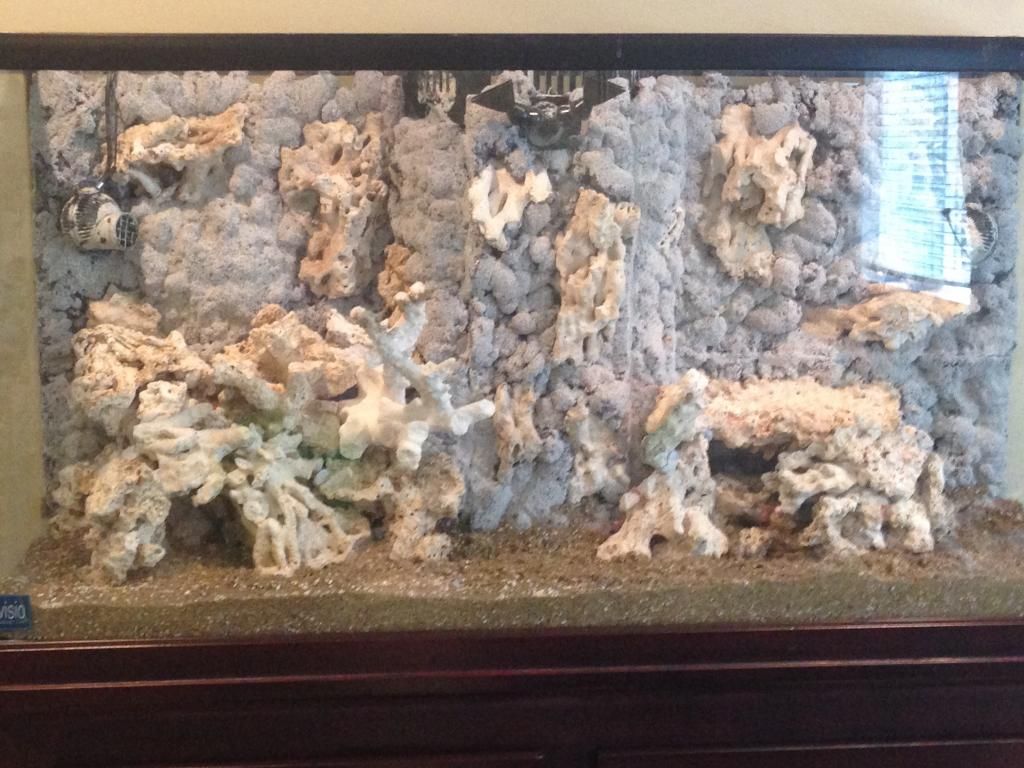 And after putting the hood and lights back on the tank here is the look! The first light setup is the lunar pods for the night mode, and the second picture is the full daylight spectrum. The bulbs are 1xATI Blue Plus, 2x ATI AquaBlue Special, and 1x ATI Purple Plus. The picture looks super blue, but it looks in person very much like natural sunlight: 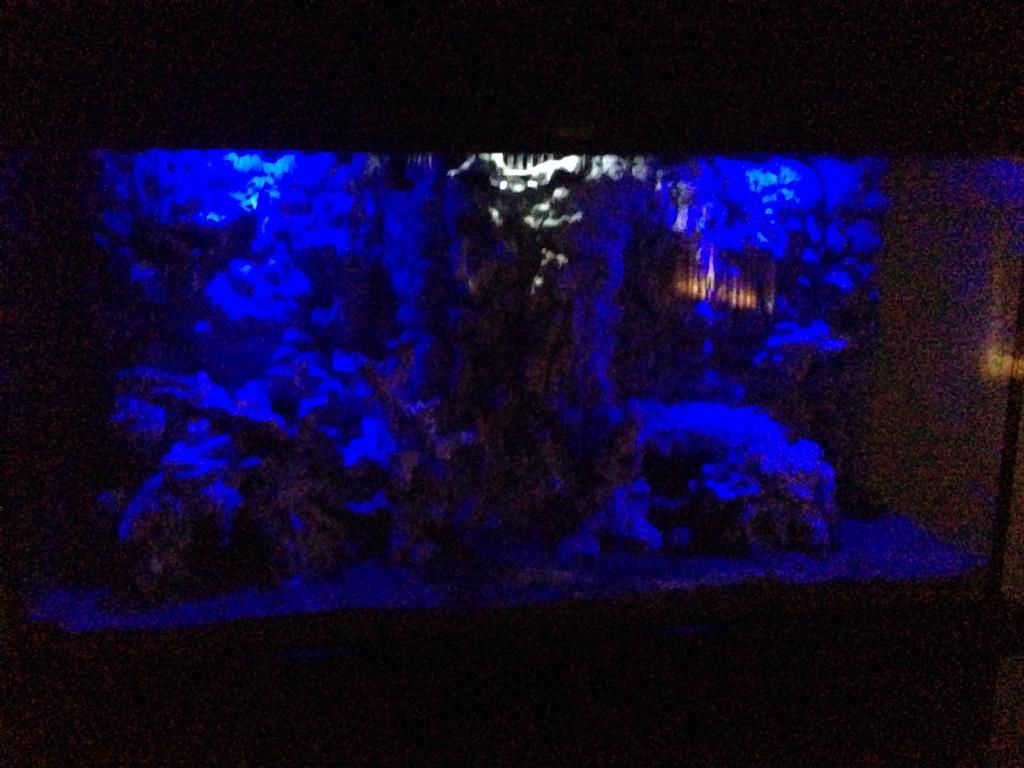  This is by far my most favorite variation of my tank, and I am looking forward to filling it with water in the coming weeks! Time to get wet!!!! |

|

|
|
06/20/2014, 01:55 PM
|
#27 | |
|
Registered Member
Join Date: Apr 2014
Posts: 67
|
Quote:
I love the rock wall. i was wondering if you could tell me how you built it? |
|
|
|
|
|
06/20/2014, 10:15 PM
|
#28 | |
|
Registered Member
Join Date: Jun 2011
Location: Orange County
Posts: 93
|
Quote:
Hey Solar Dragon, I used eggcrate, lots of zip ties, and this black UV pond foam I bought from Home Depot. For reference I followed Speckled Grouper's thread on their build! http://test.reefcentral.com/forums/s....php?t=1437901 |
|
|
|
|
|
07/18/2014, 07:55 PM
|
#29 |
|
Registered Member
Join Date: Jul 2014
Posts: 4
|
subbed! Great looking rock work!
|
|
|
|
|
07/23/2014, 08:47 PM
|
#30 |
|
Registered Member
Join Date: May 2014
Location: NJ
Posts: 790
|
Looks awesome!! Any updates?
__________________
150g NJ Current Tank Info: est.5/9/14 |
|
|
|
|
07/26/2014, 06:38 PM
|
#31 |
|
Registered Member
Join Date: Jun 2011
Location: Orange County
Posts: 93
|
Sadly I must say the octopus tank is no more. After looking at my last electricity bill I cannot afford to keep the tank cool in this heat of SoCal. So I am going back to my initial plan of a predator/ non reef tank. Thank you everyone for the support and advice and it looks like Kermit will once again be my fantasy tank!
|
|
|
|
|
07/26/2014, 08:35 PM
|
#32 |
|
The Reefer From Downunder
Join Date: Feb 2014
Location: Western Australia
Posts: 2,256
|
That's a shame, but its your tank so do what you must. Will you use this tank as your predator one? Give me a heads up when you start setting it up

__________________
Rory "The day that I stop learning will be the day that I die" Current Tank Info: Newly Born Regency 220 "The Impulse Reef" |
|
|
|
|
07/26/2014, 10:33 PM
|
#33 |
|
Registered Member
Join Date: Jul 2014
Posts: 4
|
Please post pics whenever you stock it!
|
|
|
|
|
08/12/2014, 12:08 PM
|
#34 |
|
Registered Member

Join Date: Dec 2013
Location: St John usvi
Posts: 162
|
What kind of octopus are you going to get
__________________
"go girl you can twerk it, let me see you whistle while you work it." -William Shakespeare Current Tank Info: 29 gallon community tank, 10 gallon Caribbean FO, |
|
|
|
|
08/19/2014, 02:04 AM
|
#35 |
|
Registered Member
Join Date: Aug 2014
Posts: 84
|
Looks great so far! Can't wait to see the finished product.
|
|
|
|
|
08/19/2014, 02:06 AM
|
#36 |
|
Registered Member
Join Date: Aug 2014
Posts: 84
|
Oh...just saw not an occy tank anymore. D:
Tell us when you stock it, anyways. |
|
|
|
 |
| Tags |
| 75 gallon, octopus |
|
|


