
|
|
 02/15/2017, 02:03 PM
|
#1 |
|
Registered Member
Join Date: Mar 2011
Location: Golden, CO
Posts: 340
|
A Golden Reef Tank
I've been reading through these big threads for years and it's finally my turn. I started planning this build over four years ago. After moving into our new home two years ago, I first built a shop in the garage to work out of. I am a cabinet maker in my spare time and love DIY projects.
The next big step was finishing the basement where the tank is going. That's about where this project picks up. This is a rough 3D rendering I did while planning the basement remodel and tank setup. 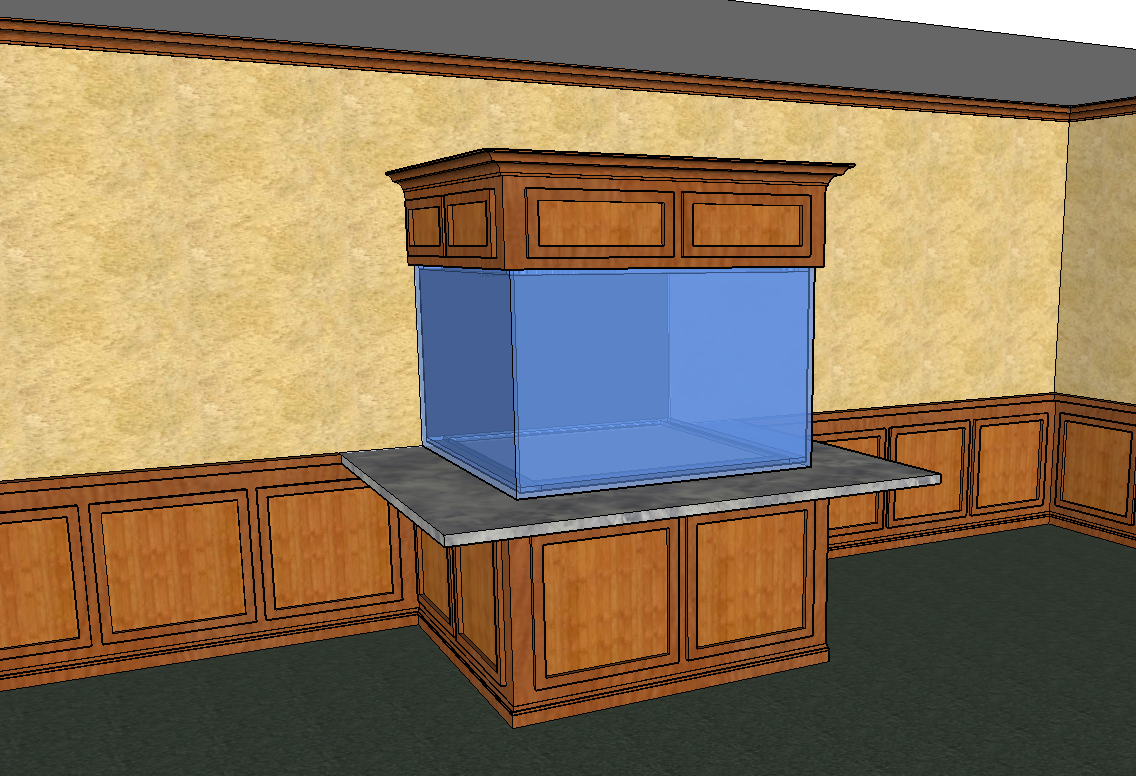 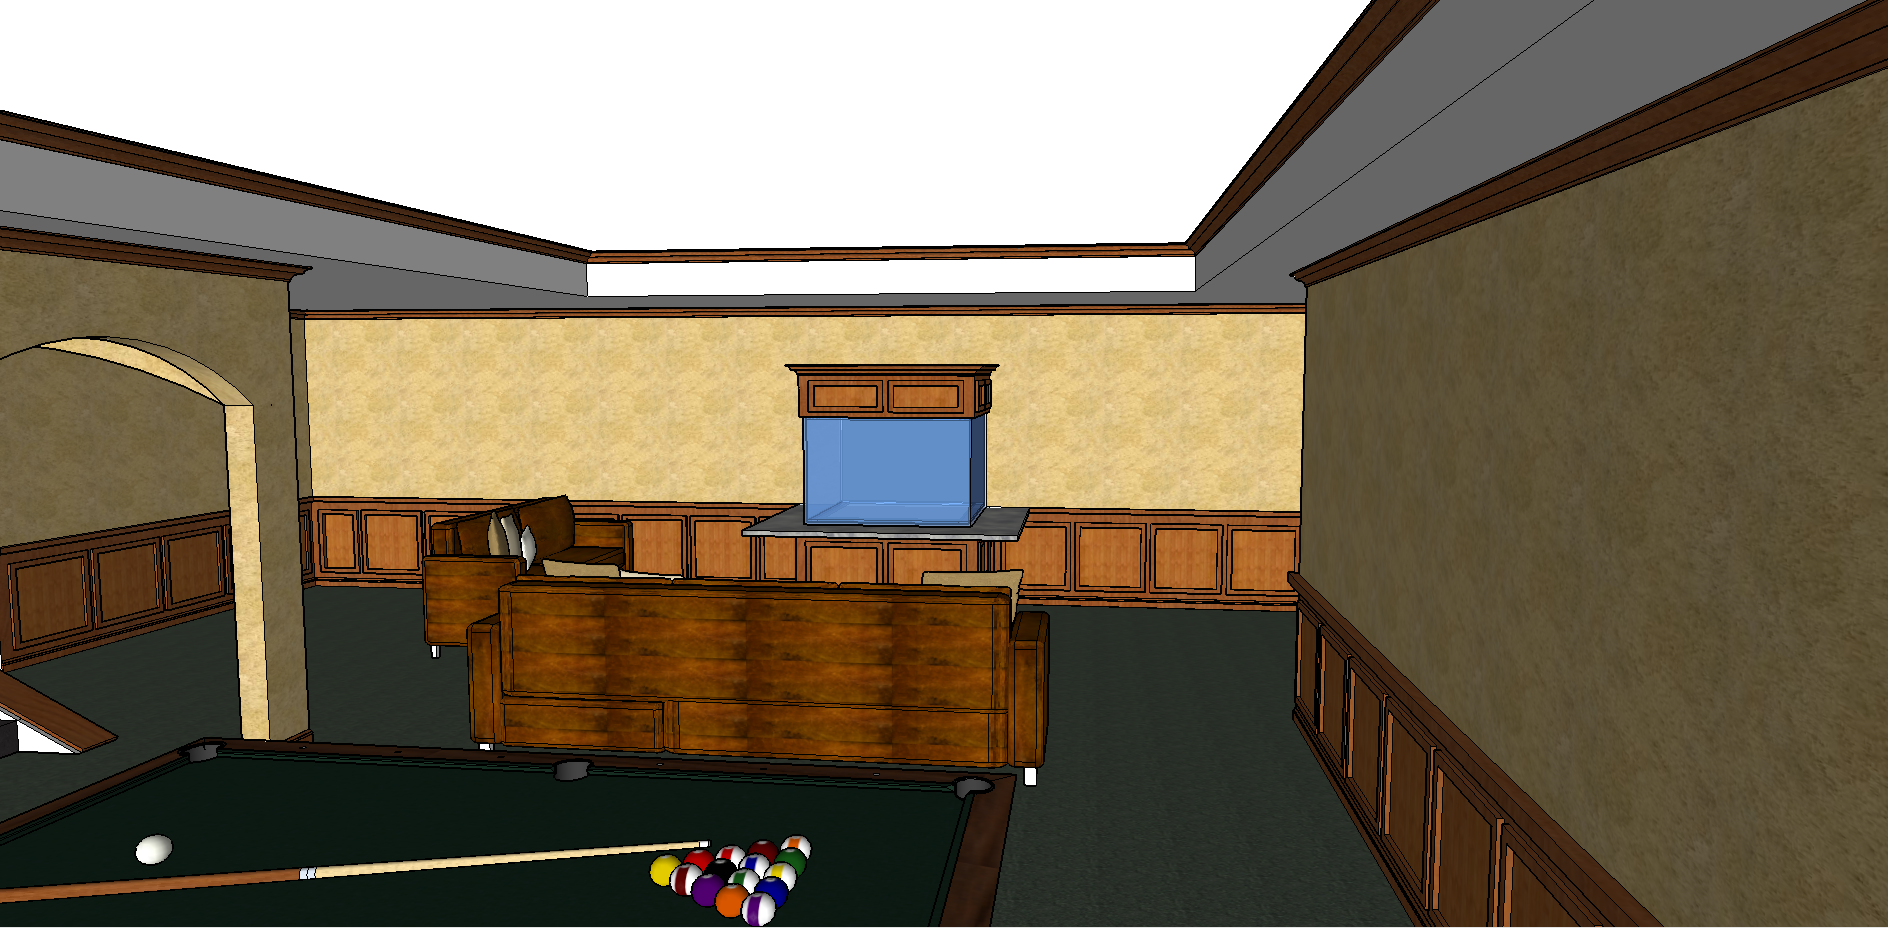
|

|

|
|
02/15/2017, 02:08 PM
|
#2 |
|
Registered Member
Join Date: Mar 2011
Location: Golden, CO
Posts: 340
|
I'm pretty far along in the project now, but I wanted to share it with ReefCentral because I know how much I loved reading through other's builds. So, this will be a huge photo dump to catch everyone up to today.
These are the drawings I sent off to the manufacturer to get the ball rolling on the tank and stand. It's a peninsula tank about 4' x 4' x 3' deep with a built in bar around three sides. 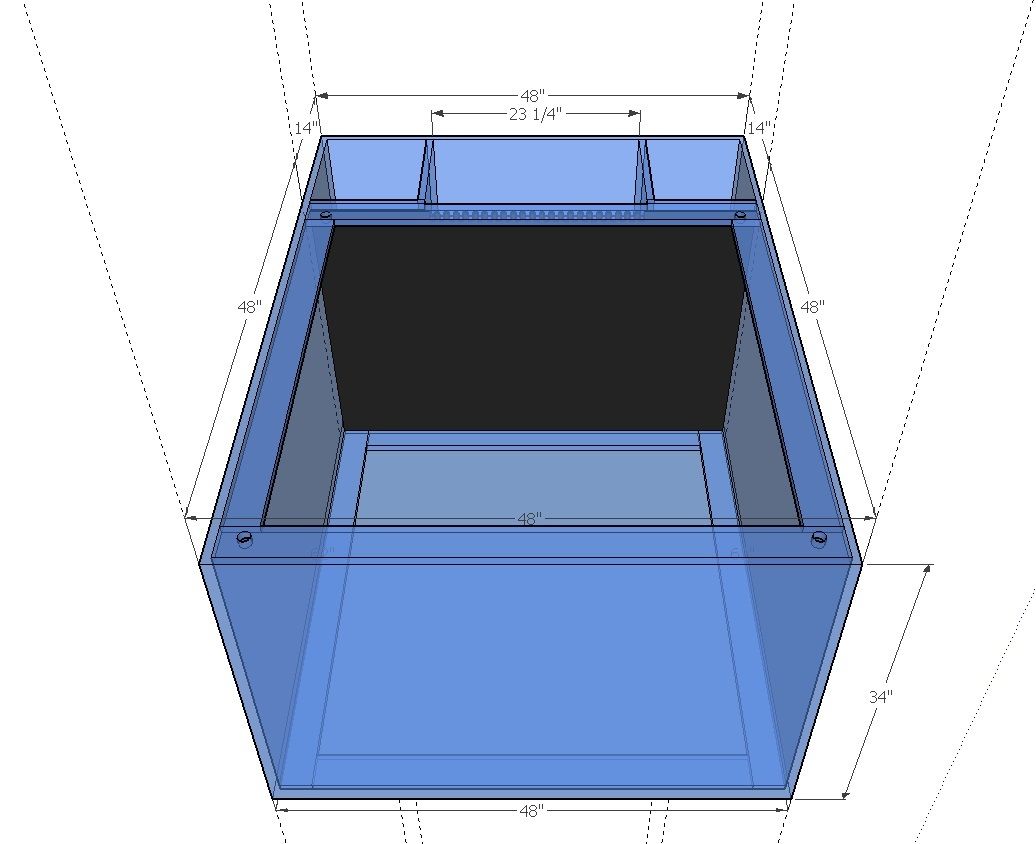 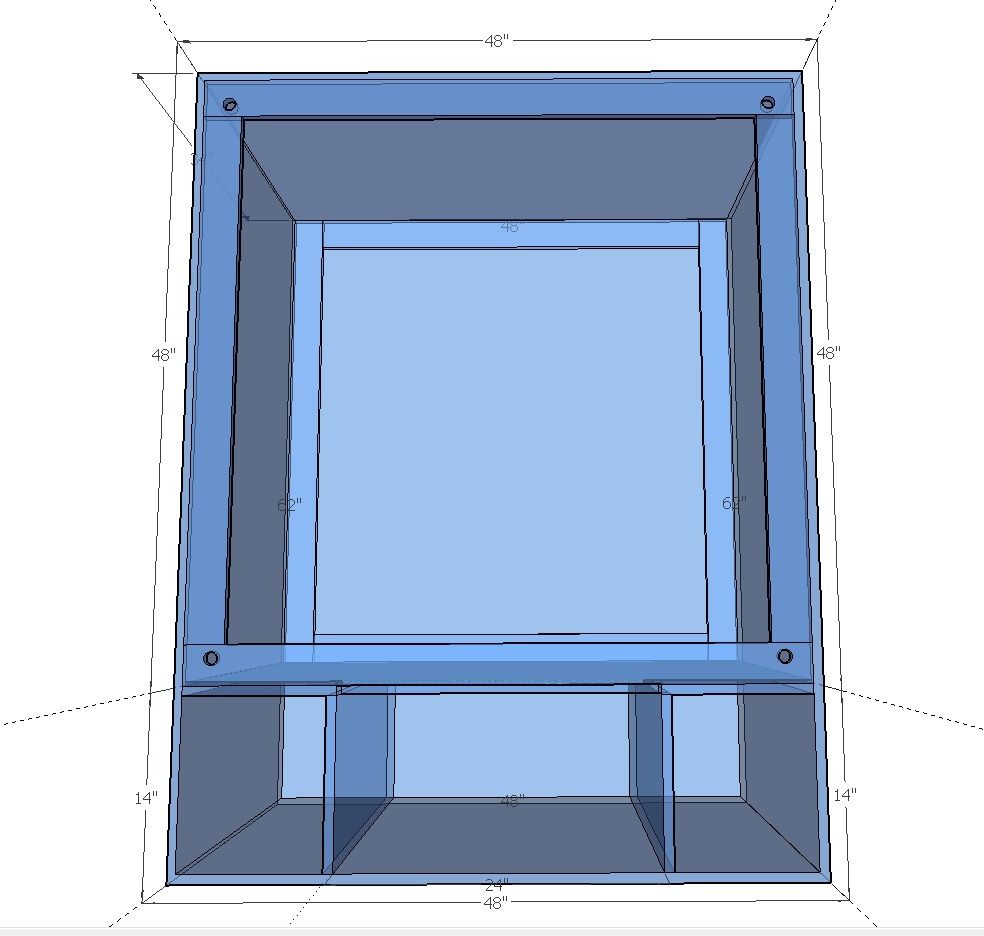 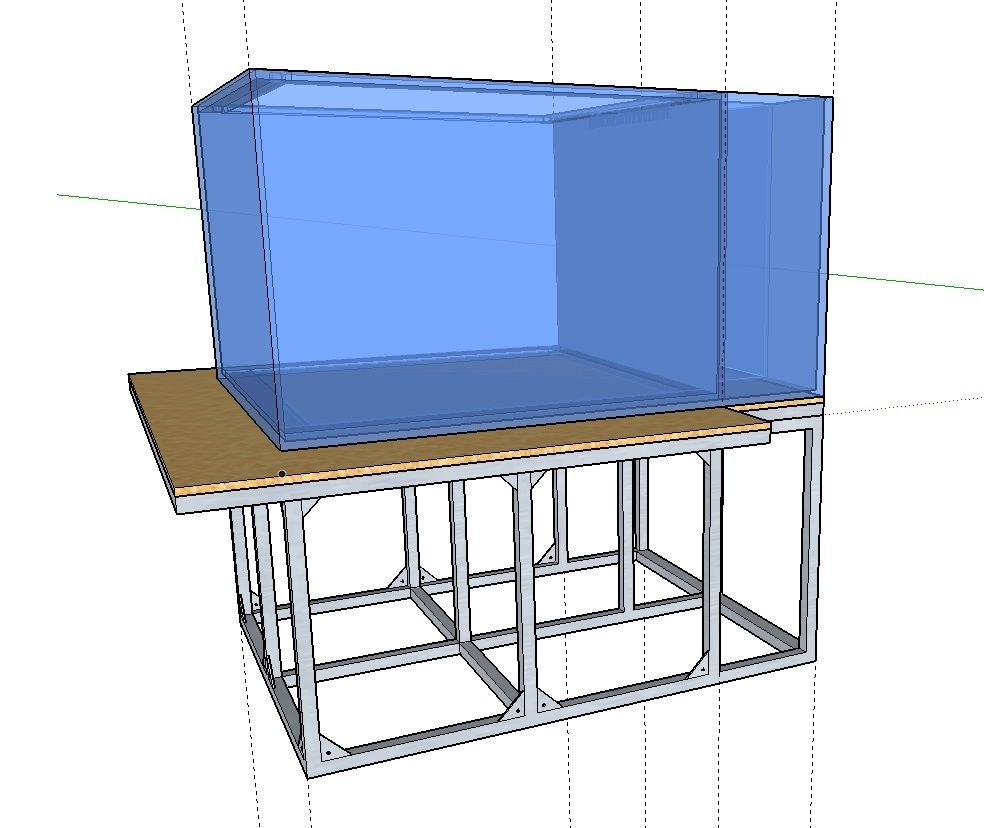 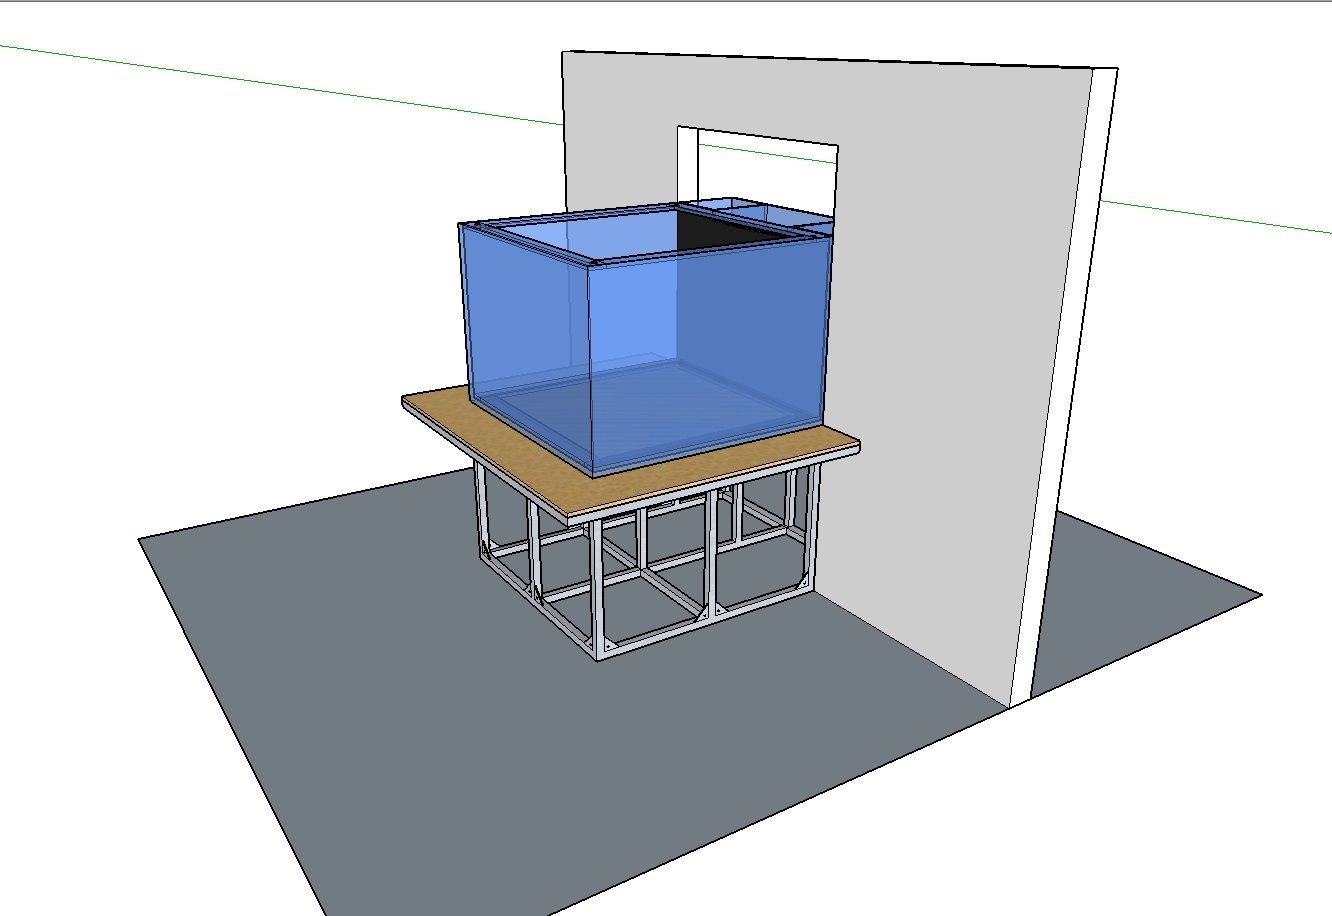 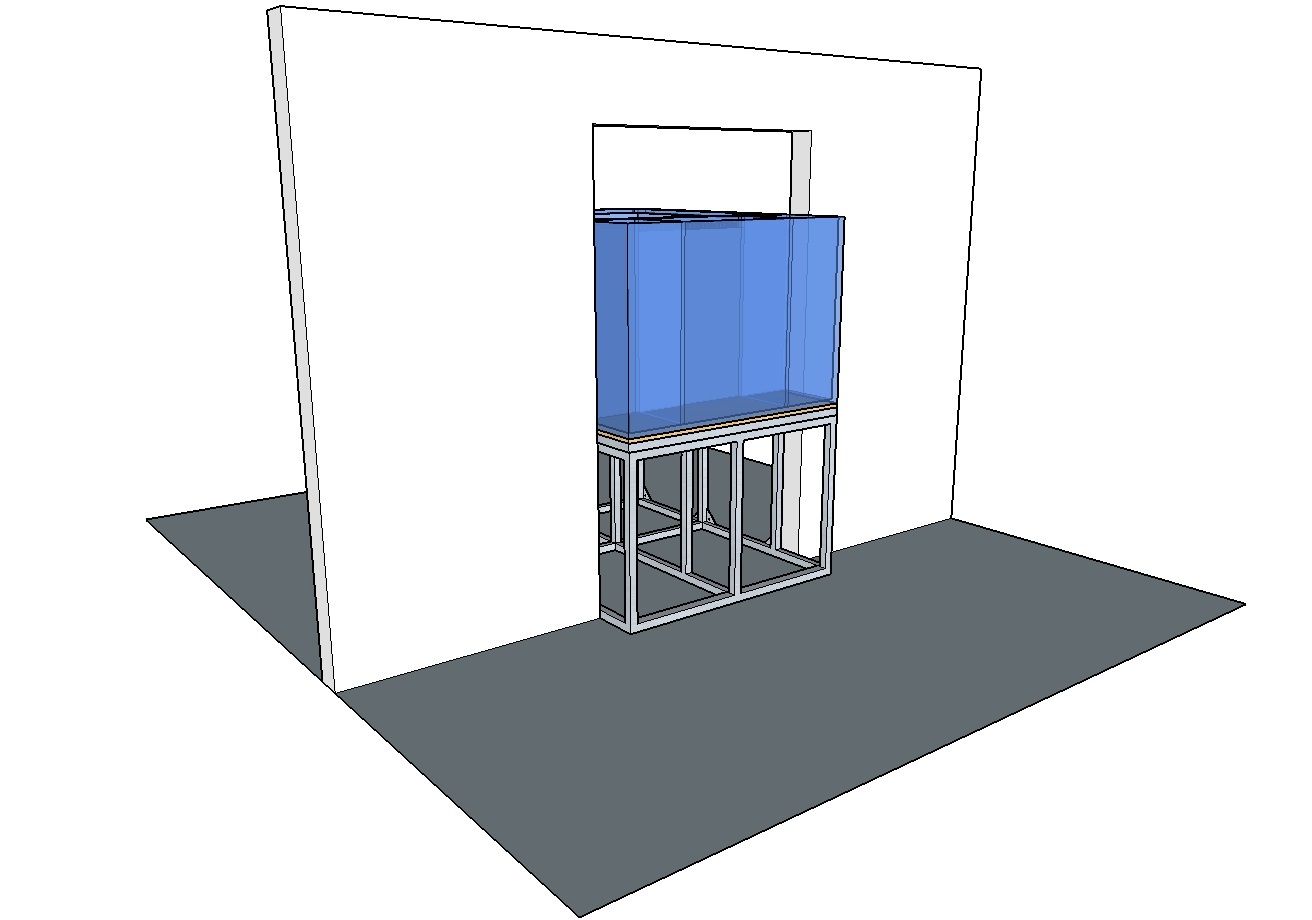 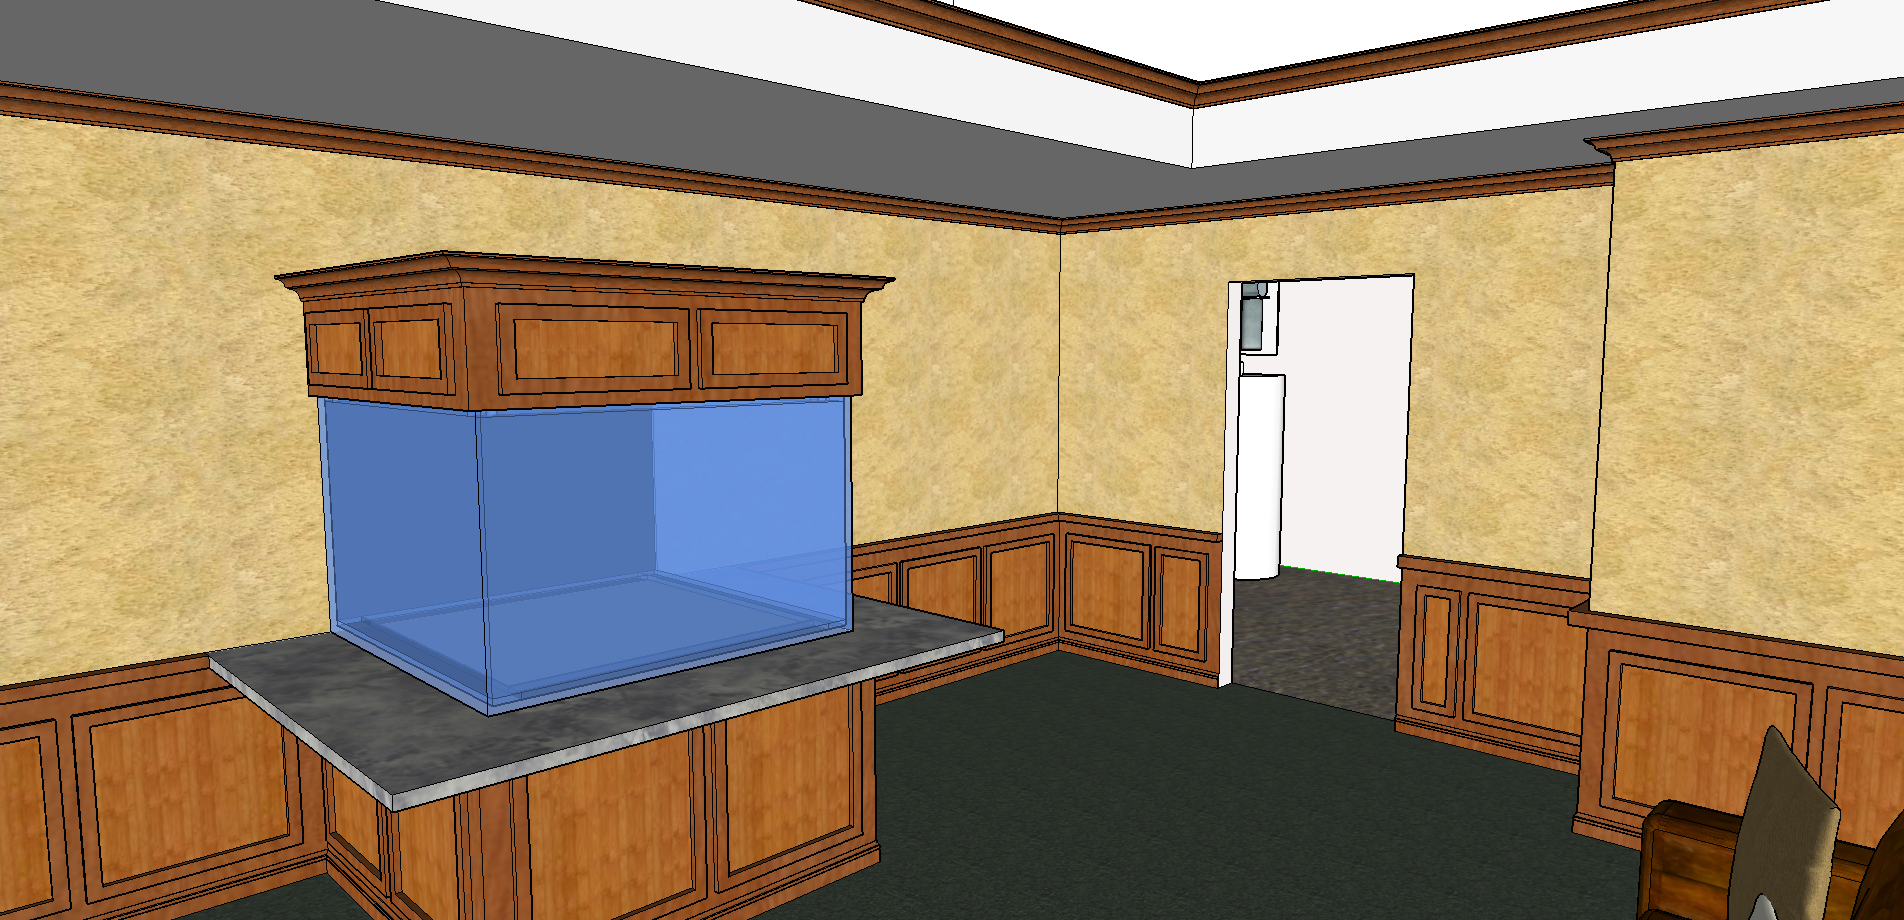
|
|
|
|
|
02/15/2017, 02:10 PM
|
#3 |
|
Not afriad to admit wrong
Join Date: Jun 2012
Location: South of WashDC in Maryland
Posts: 7,774
|
Well planned out so far.
Nice renderings. What are you wanting to keep? Fish Only? Coral? Anemones?
__________________
Stock:LPS/SPS|1 hippo|4 OC Clown|4 Pepp shrimp|2 Brittle Star|3000+ Copepods|10+ MiniBrittle|8+ Bristle Worm|2 Anemone|100+ mini-feather|4 boys 14,21,22,22 Current Tank Info: Tank:300g Mixed Reef 300+lb LR|4" LS|5x MP40W|75g fuge|5x RadionPRO|RO DB250 skimmer|Apex |
|
|
|
|
02/15/2017, 02:10 PM
|
#4 |
|
Registered Member
Join Date: Mar 2011
Location: Golden, CO
Posts: 340
|
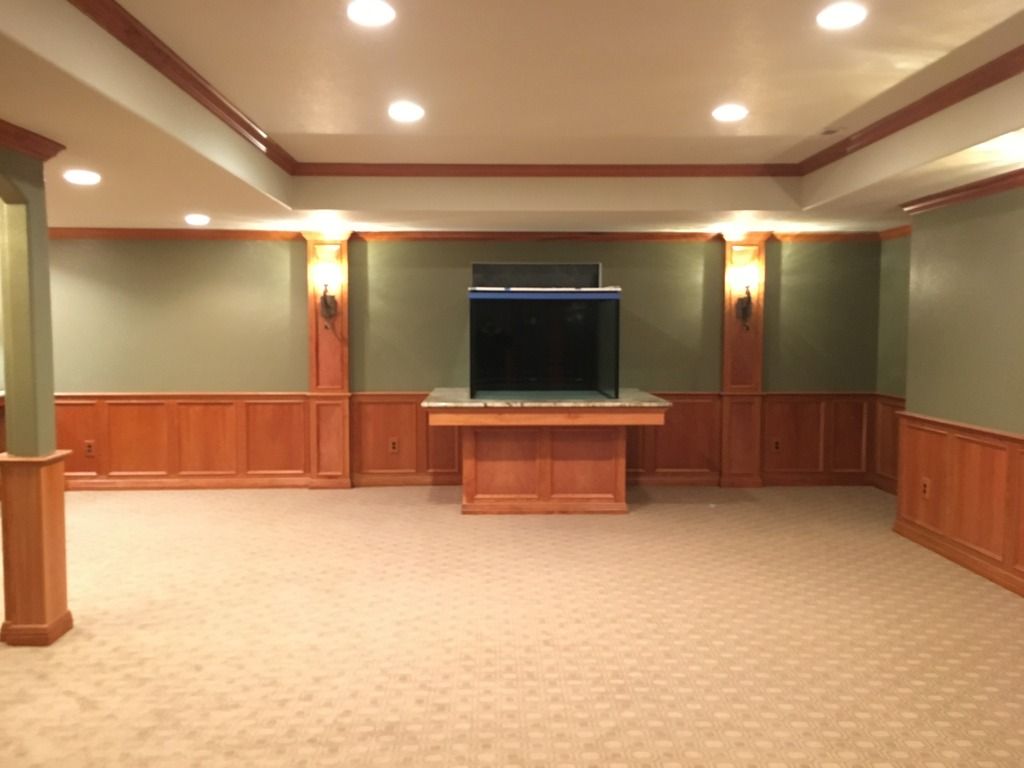
I had contractors in to frame out the basement. I just had them get to the point where drywall was complete and I could do all of the trimwork.
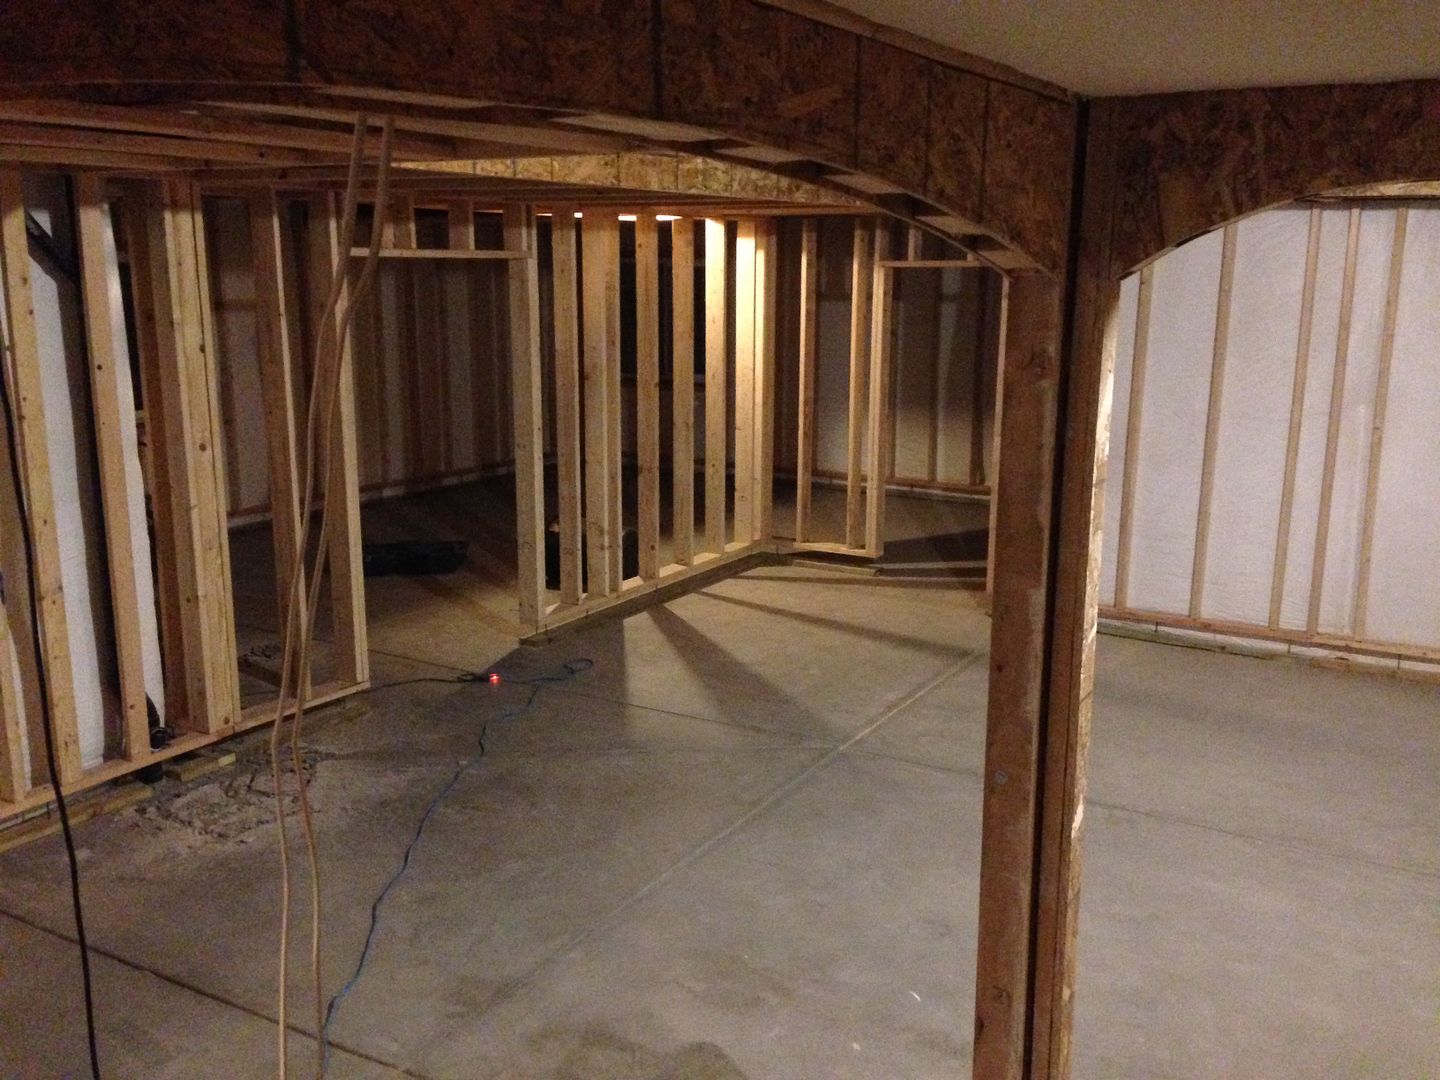 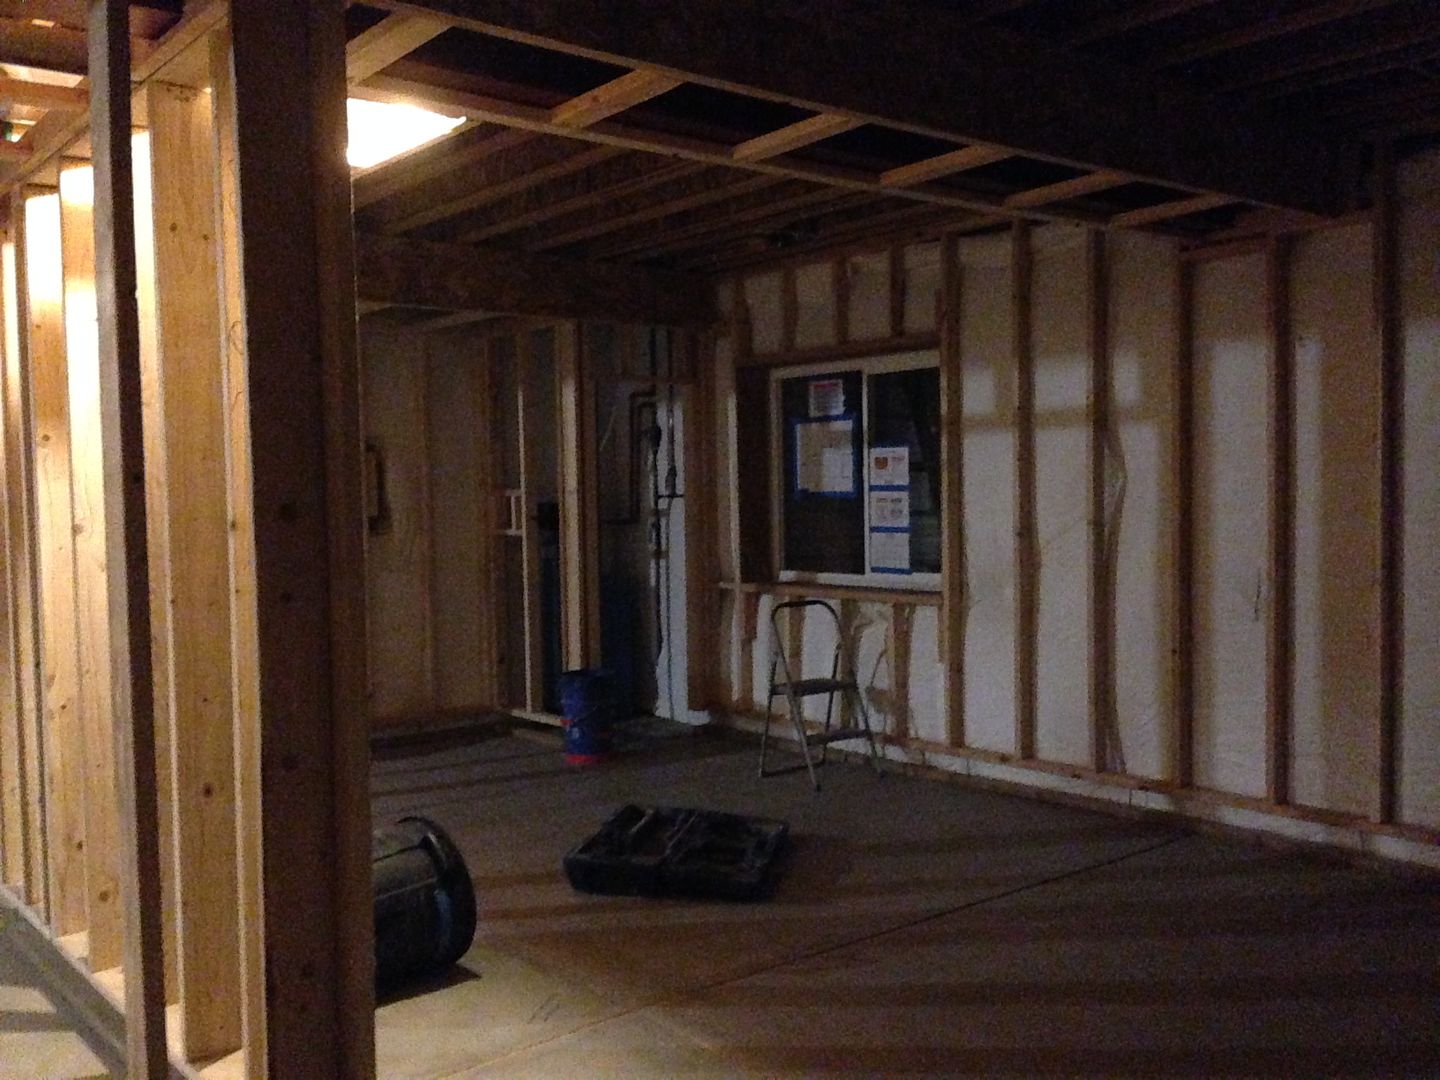 The future filtration room. 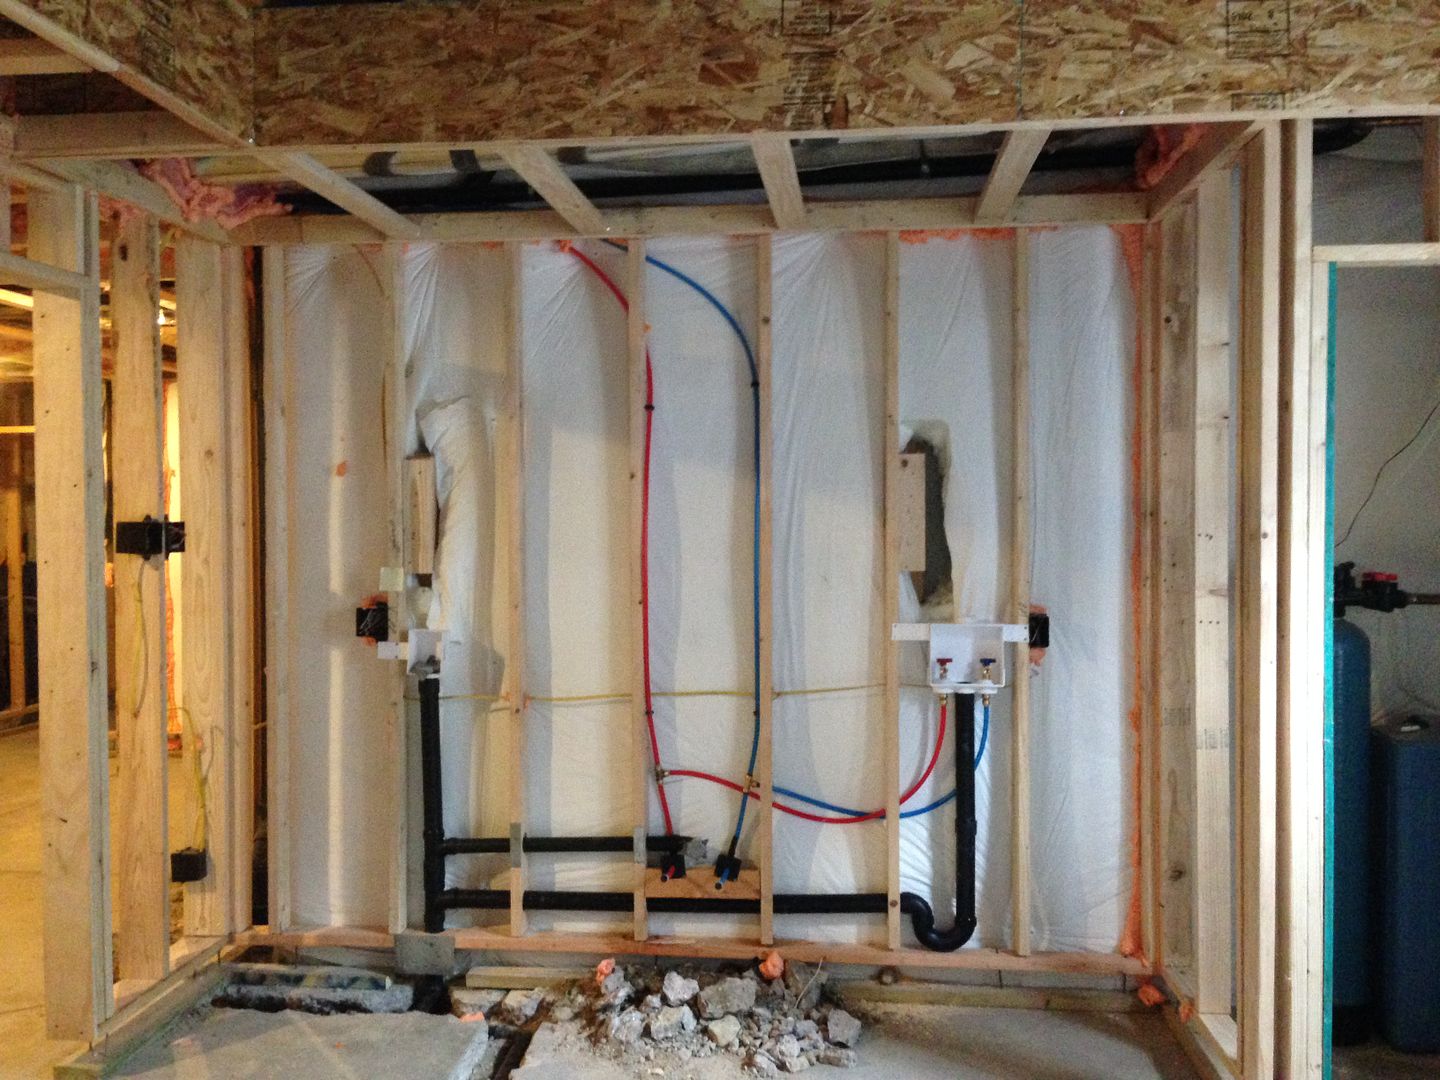 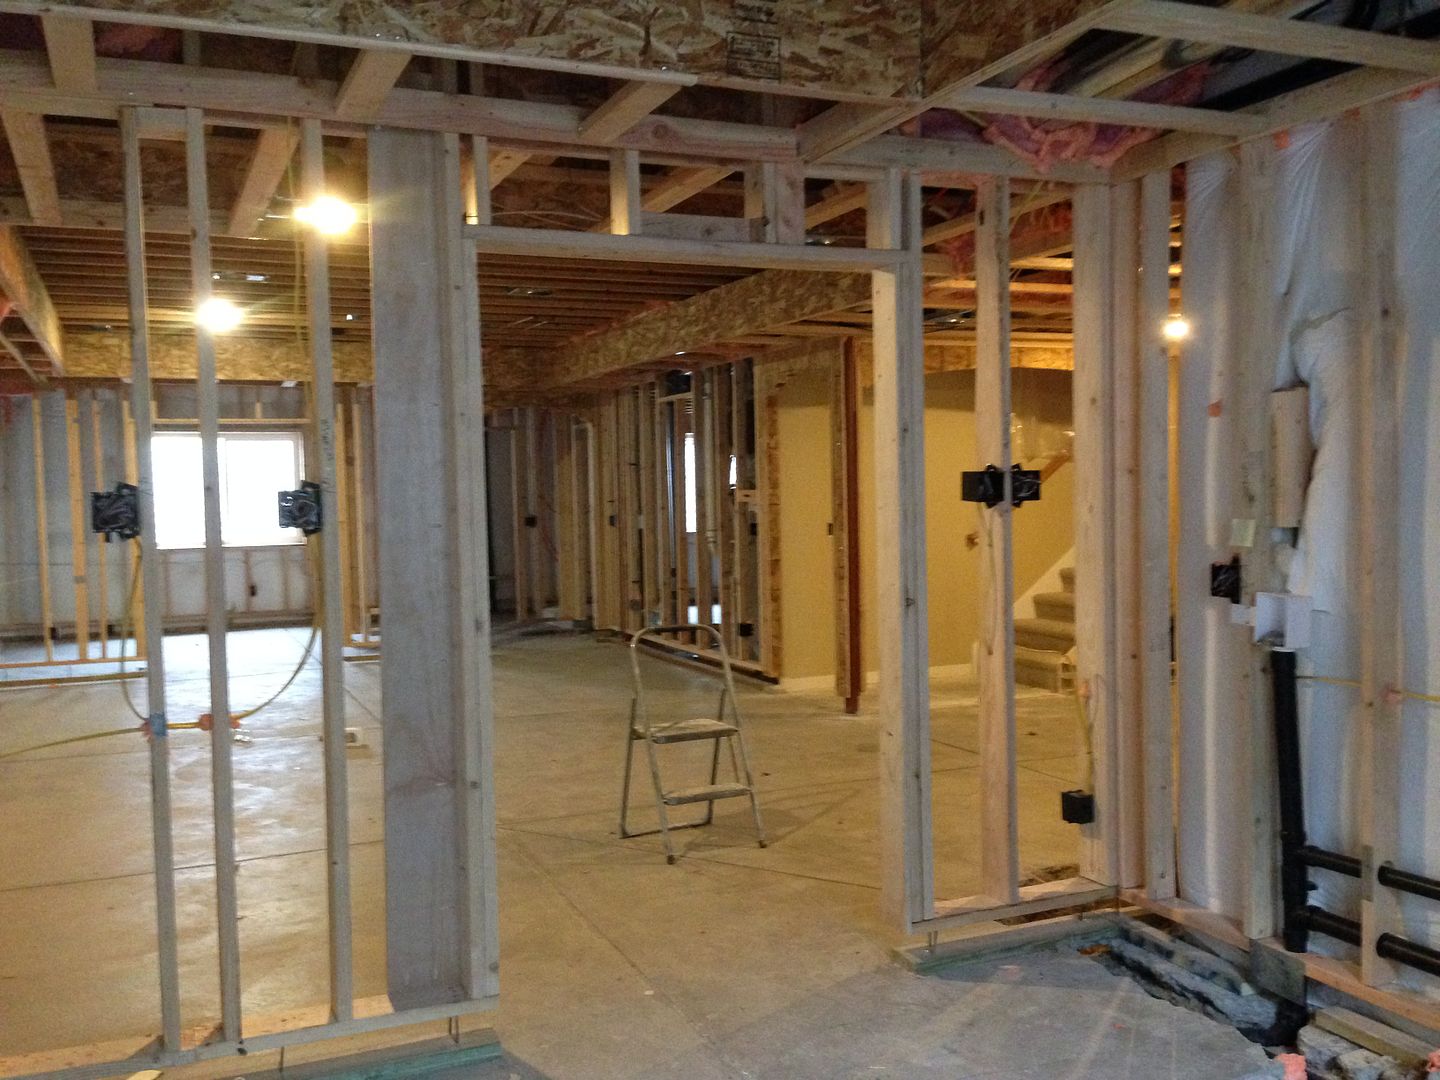 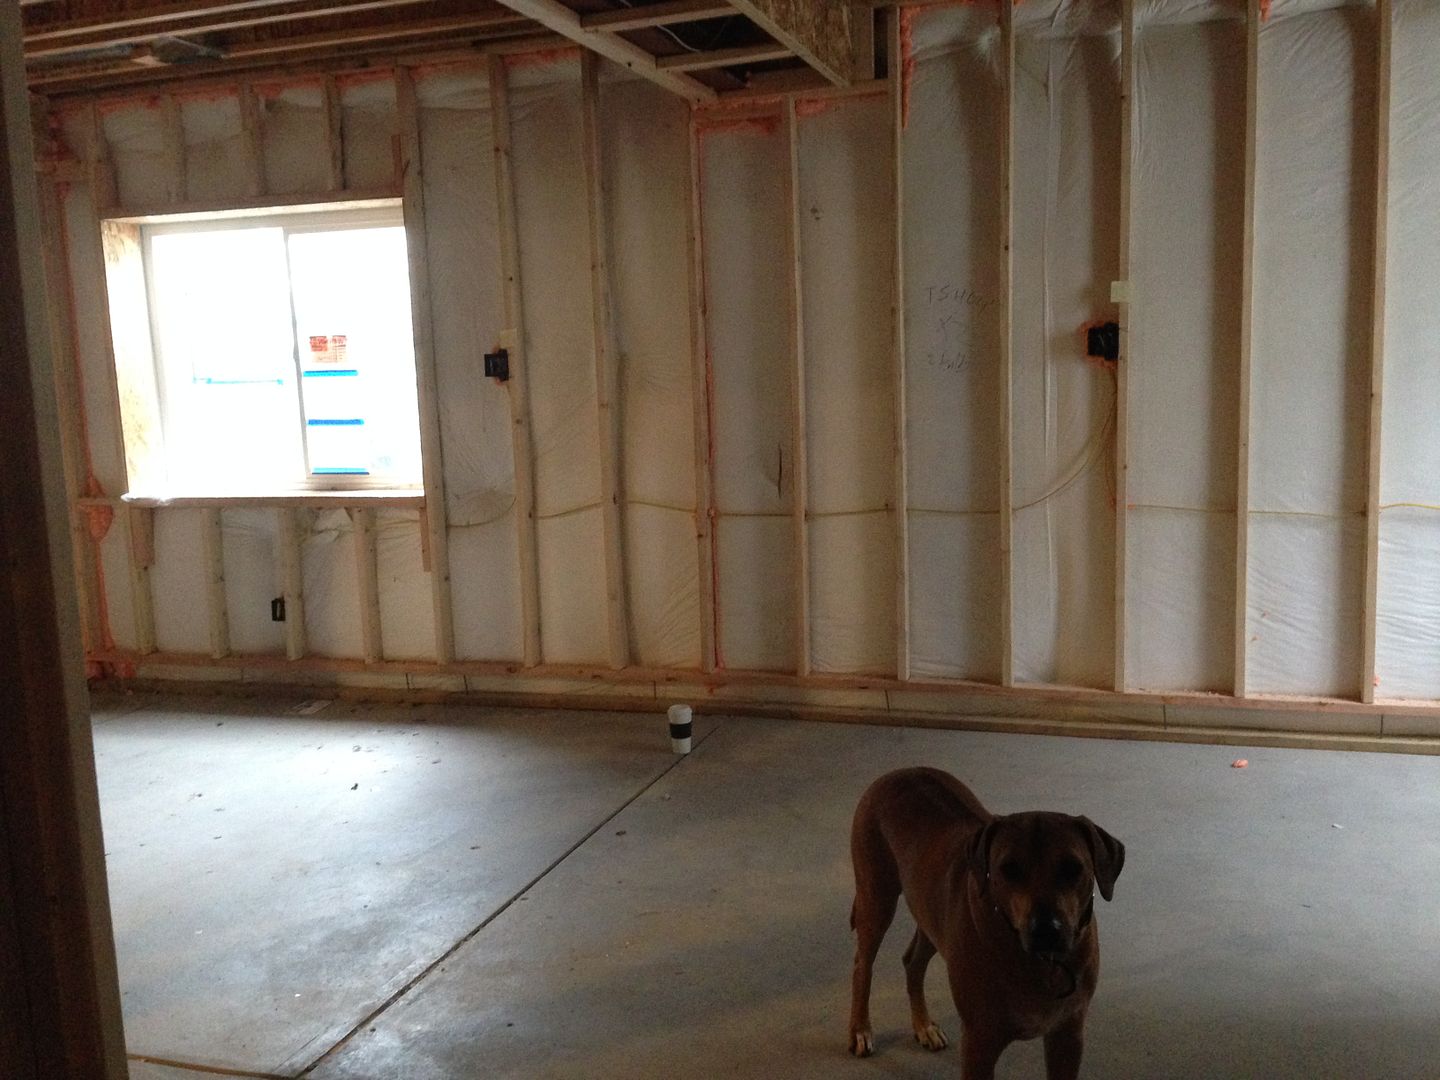
|
|
|
|
|
02/15/2017, 02:11 PM
|
#5 | |
|
Registered Member
Join Date: Mar 2011
Location: Golden, CO
Posts: 340
|
Quote:
|
|
|
|
|
|
02/15/2017, 02:13 PM
|
#6 |
|
Registered Member
Join Date: Mar 2011
Location: Golden, CO
Posts: 340
|
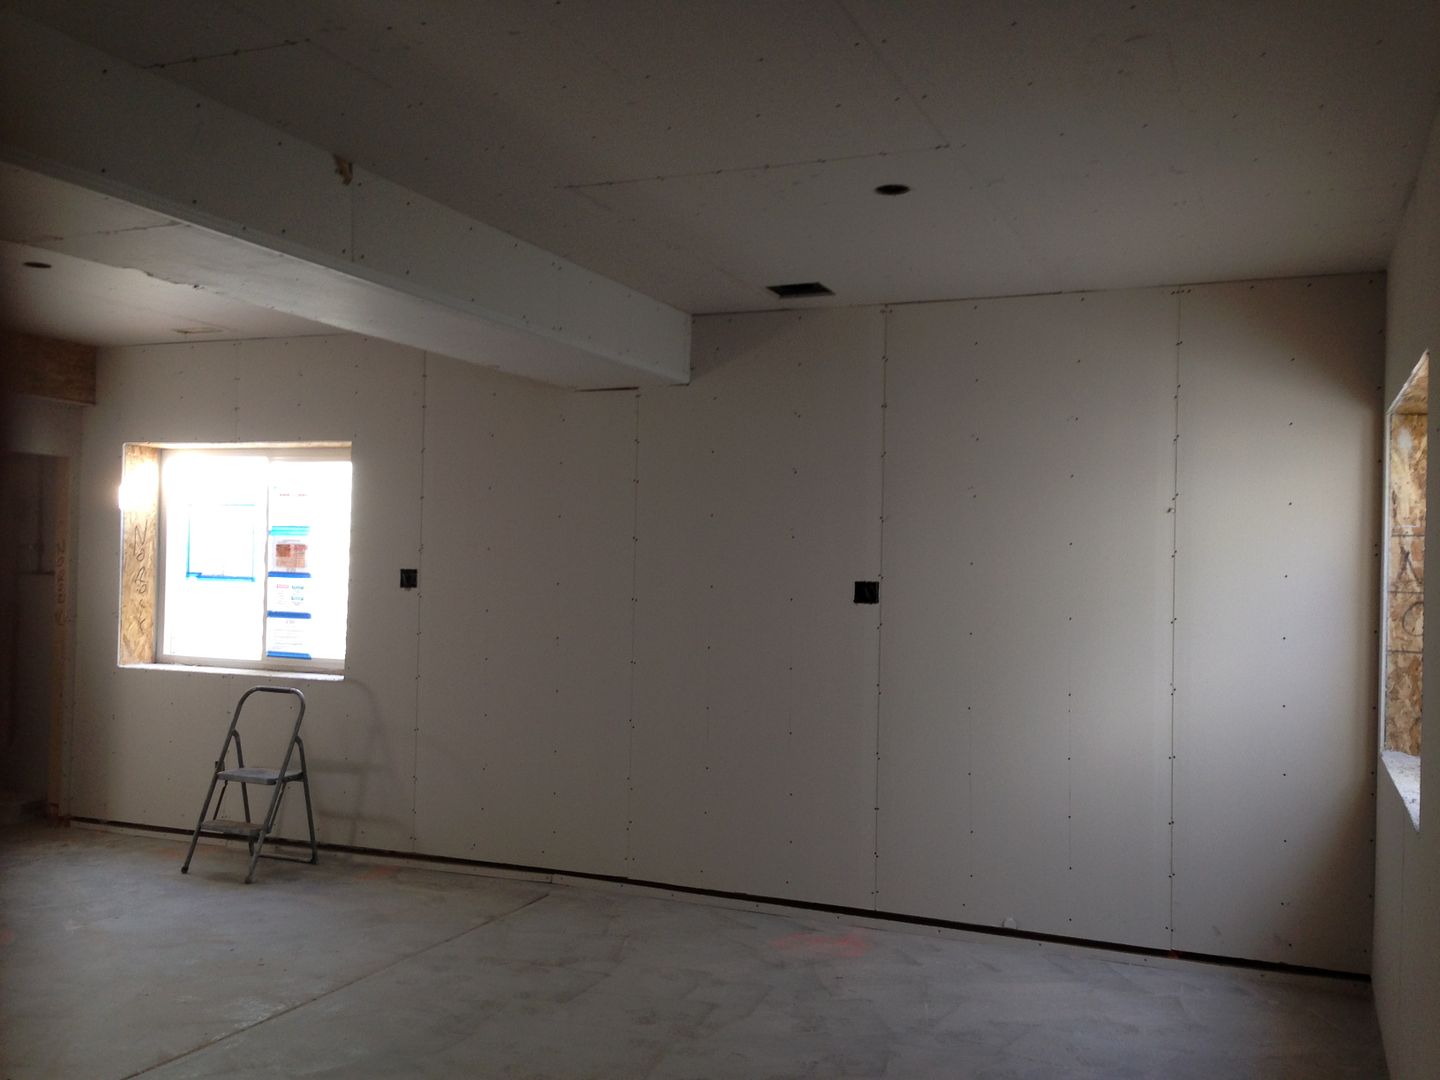
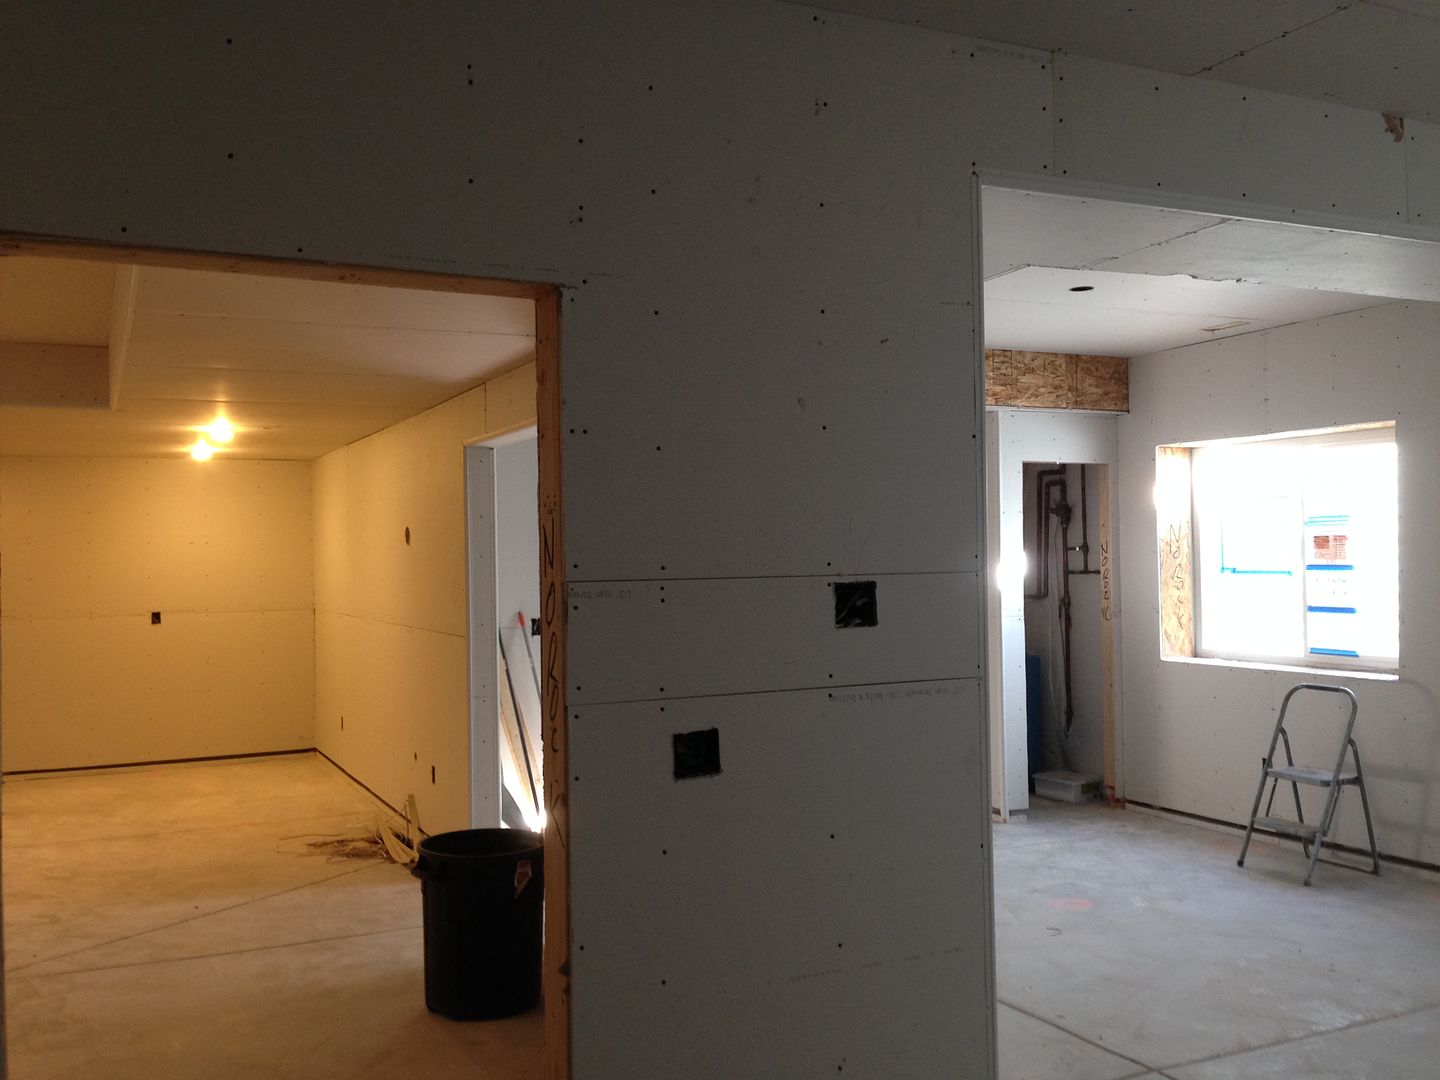
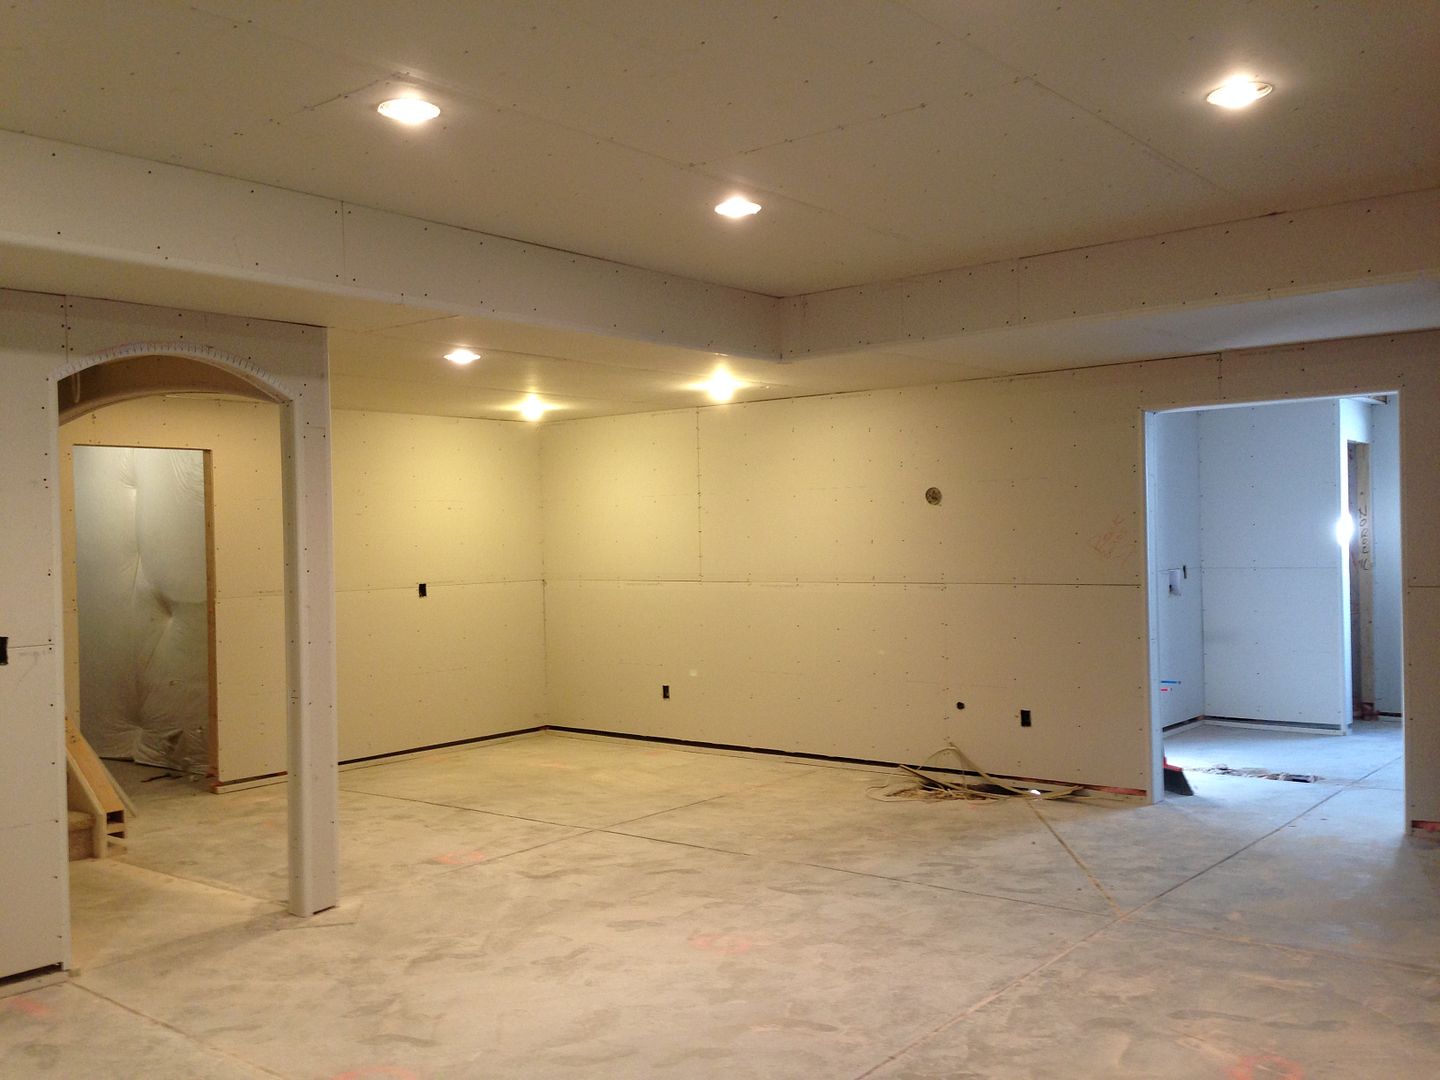
Drywall going up.
|
|
|
|
|
02/15/2017, 02:16 PM
|
#7 |
|
Registered Member
Join Date: Mar 2011
Location: Golden, CO
Posts: 340
|
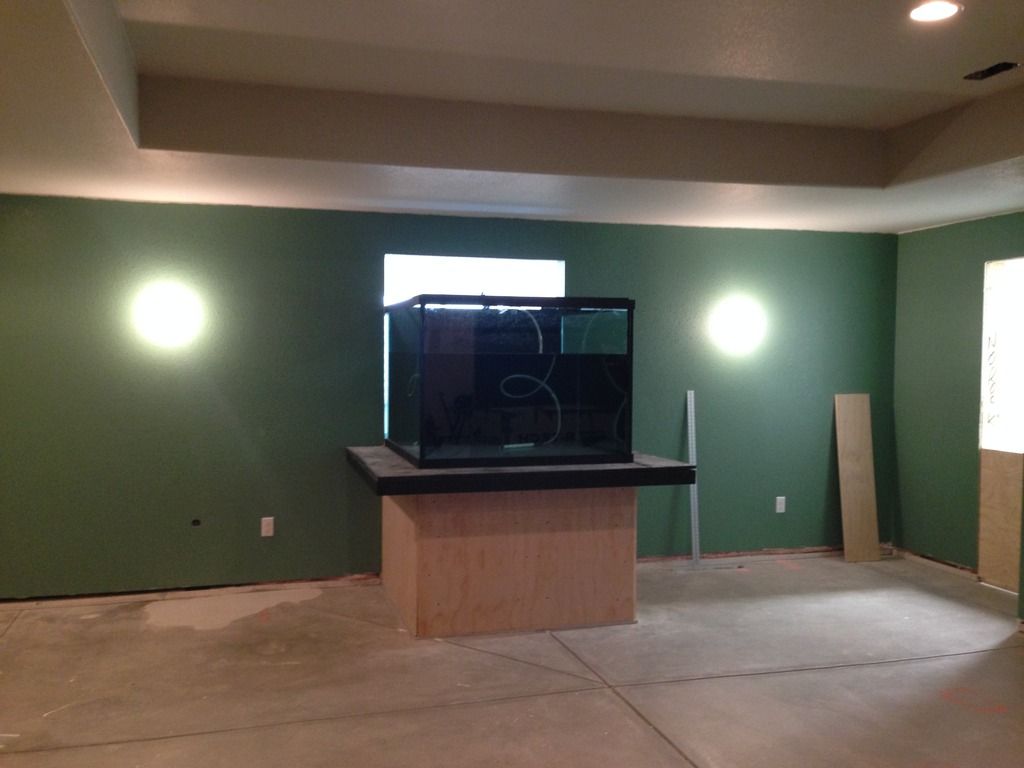
It was over a year ago when the tank and stand arrived! It was a huge effort getting it down into the basement. Thanks to the local Colorado club! Great group of people here along with a great store (Aquatic Art).
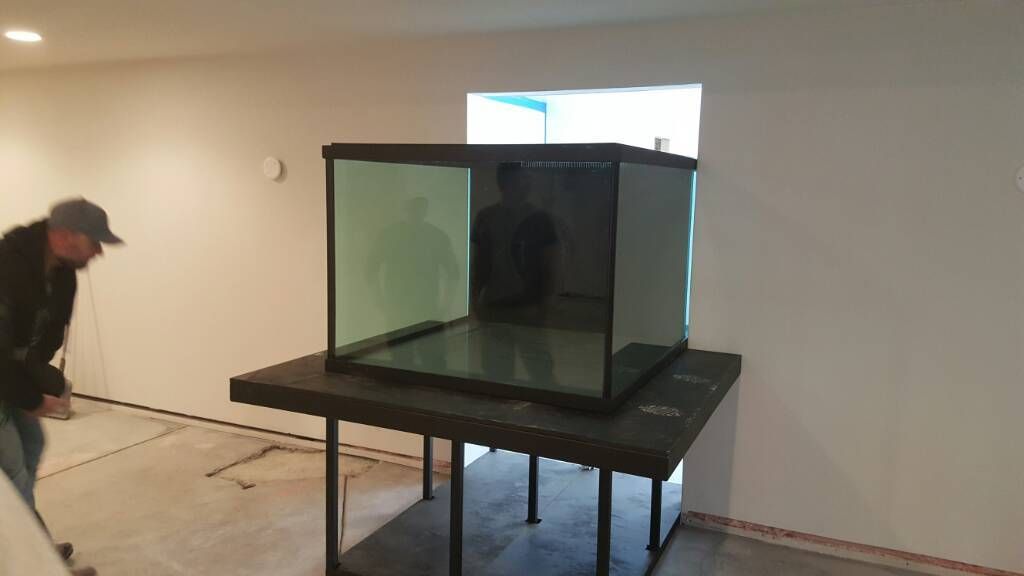 The back end sticking into the filtration room. I covered it with insulation while all of the construction was happening to protect it. 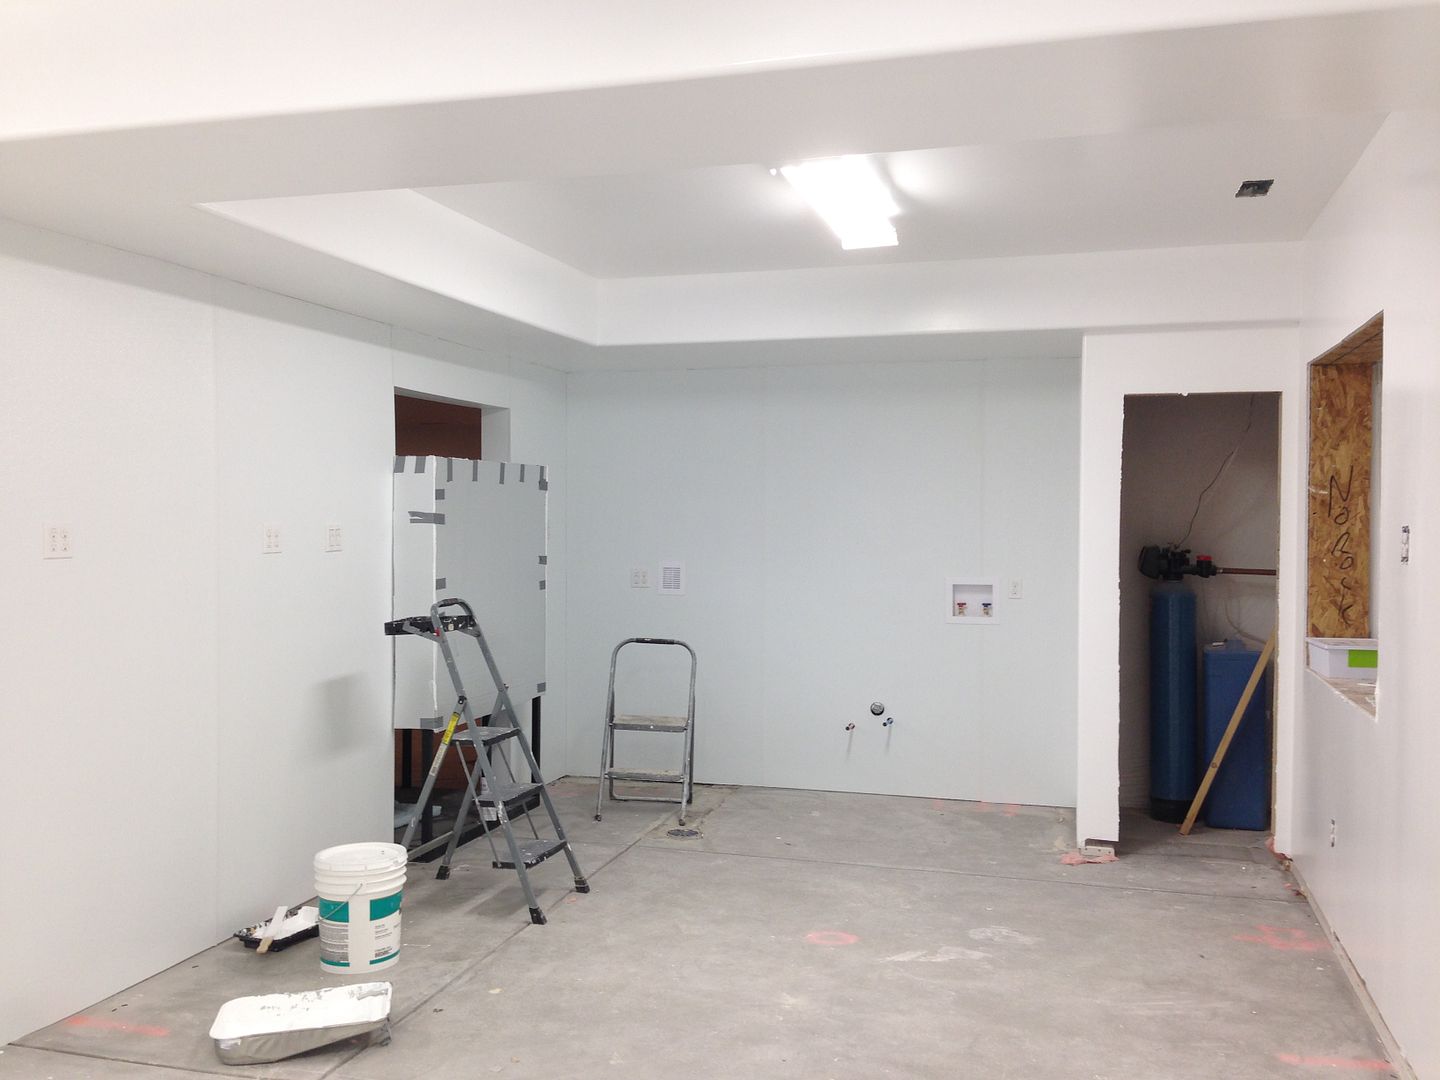
|
|
|
|
|
02/15/2017, 02:21 PM
|
#8 |
|
Registered Member
Join Date: Mar 2011
Location: Golden, CO
Posts: 340
|
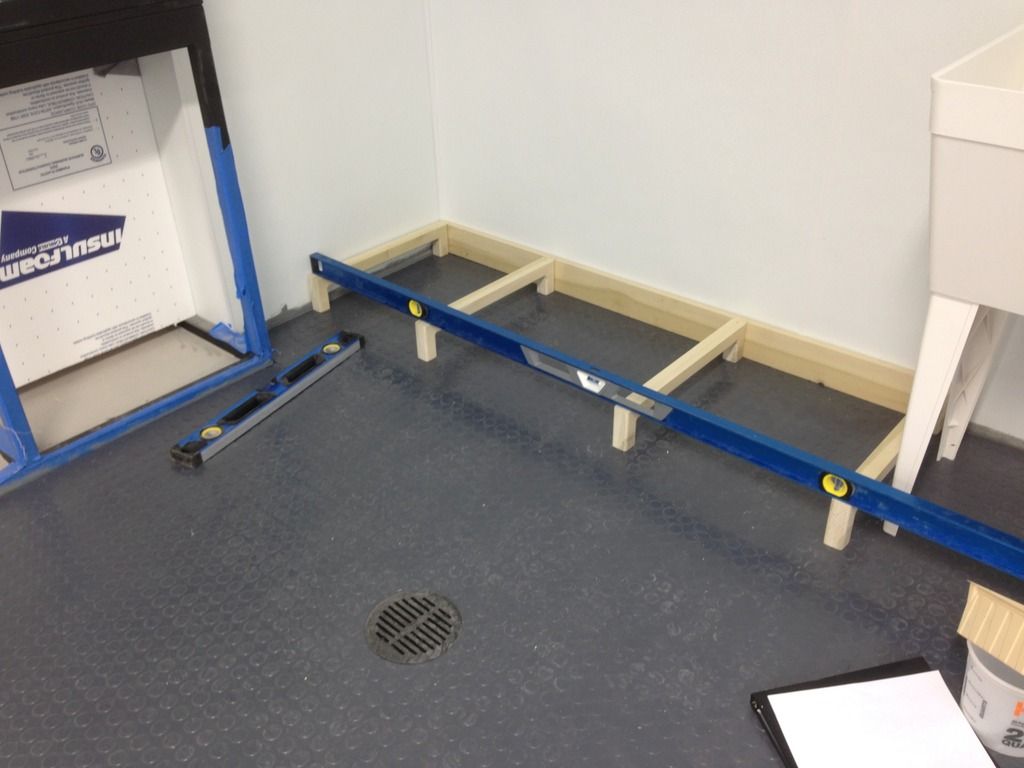
I leveled the floor in the aquarium room with 50+ 50lb bags of self leveling. The contractors put the floor drain in the highest point in the room. (This is where I'm glossing over how dissatisfied I am with their work...)
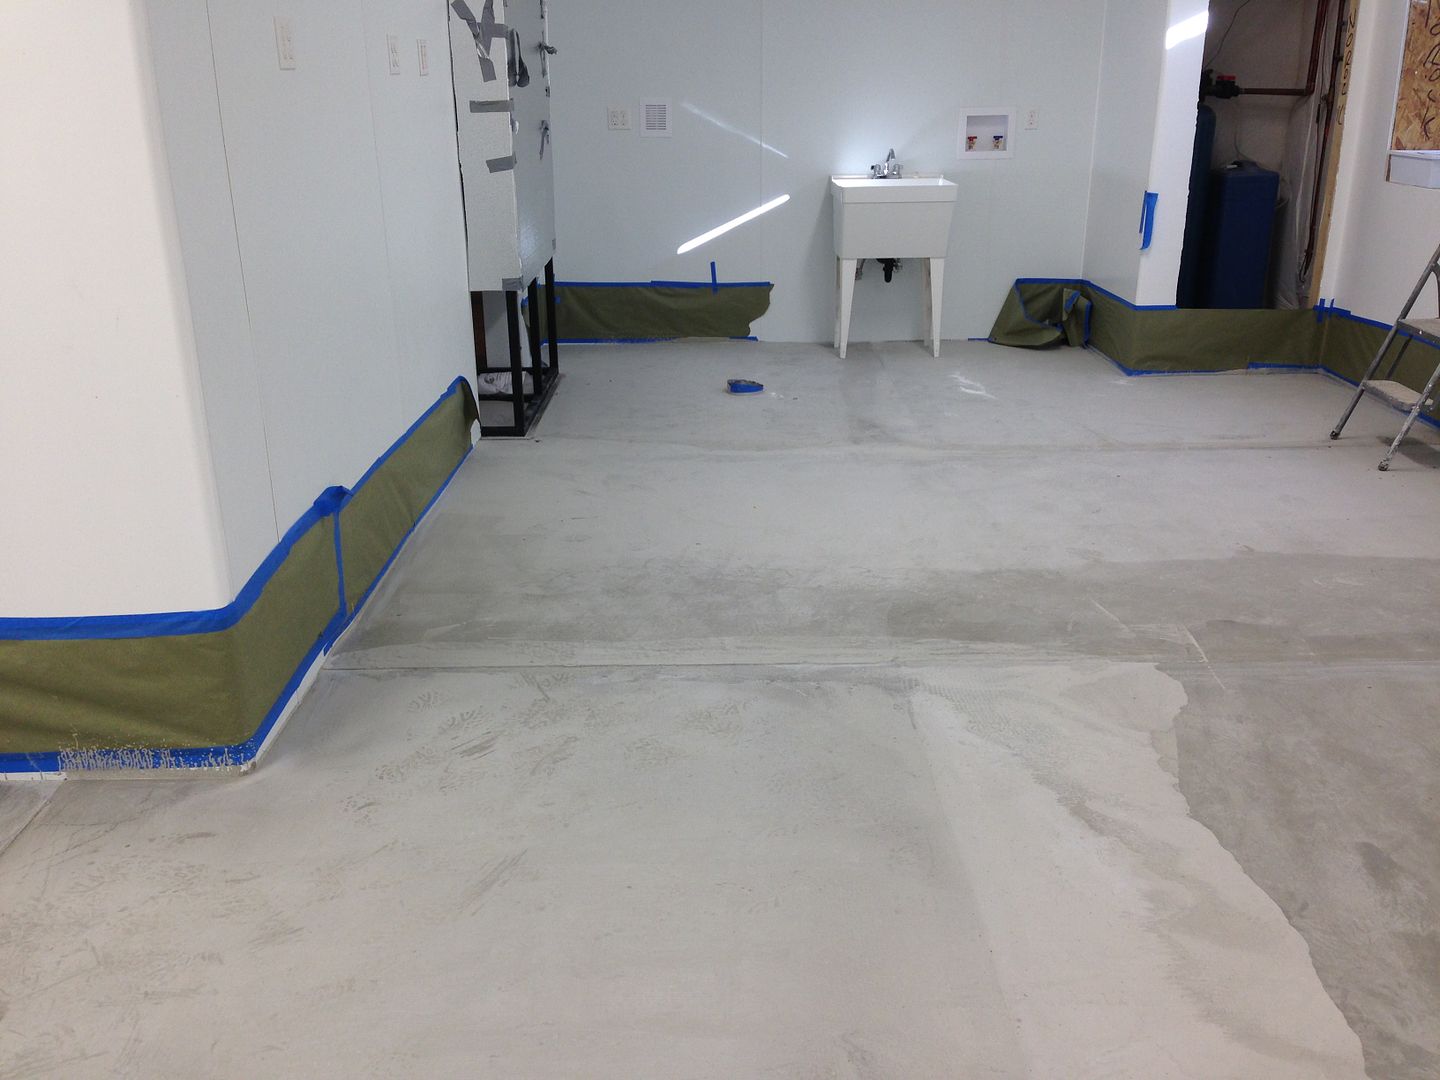 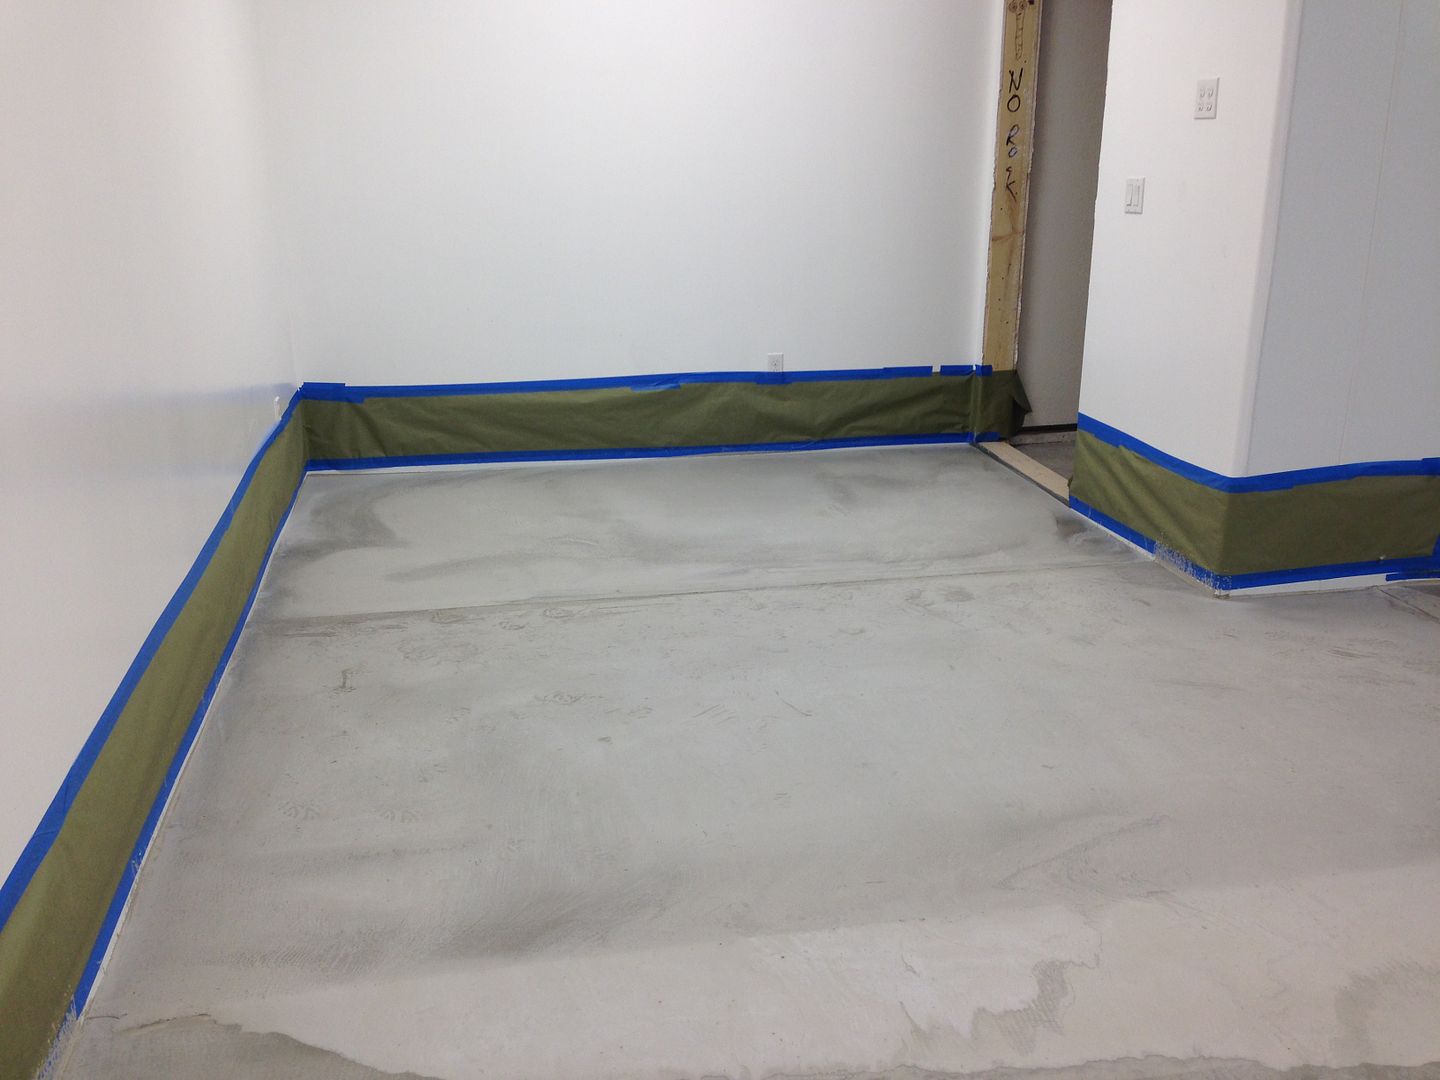 After the self leveling cured, I installed this rubber flooring in the filtration room.  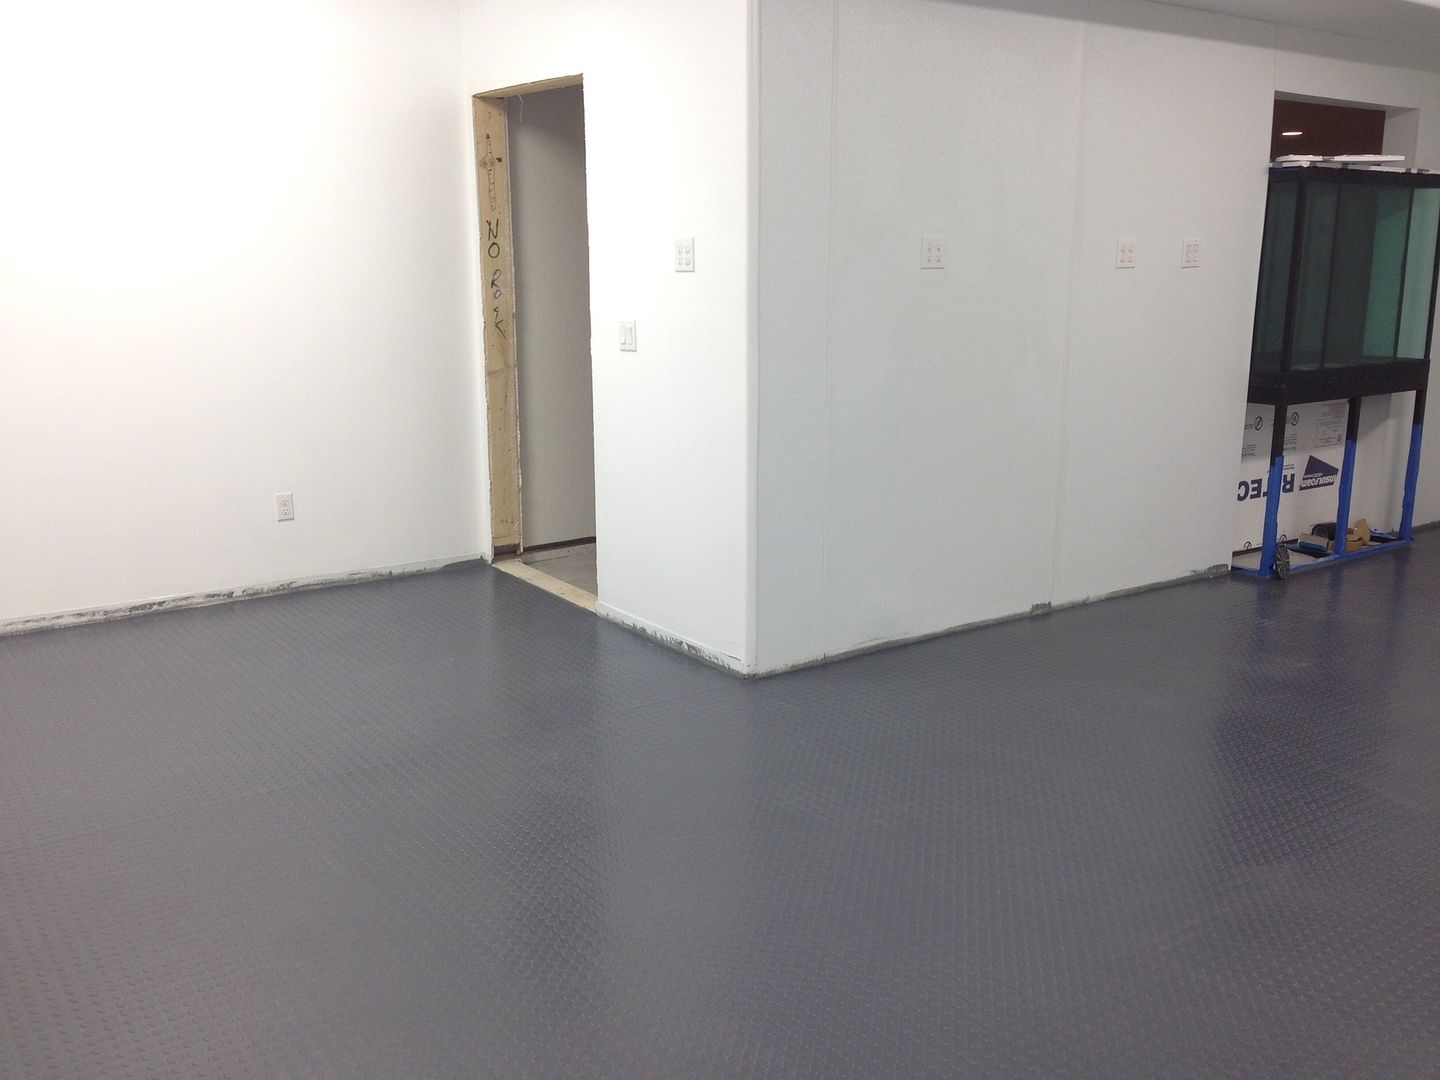 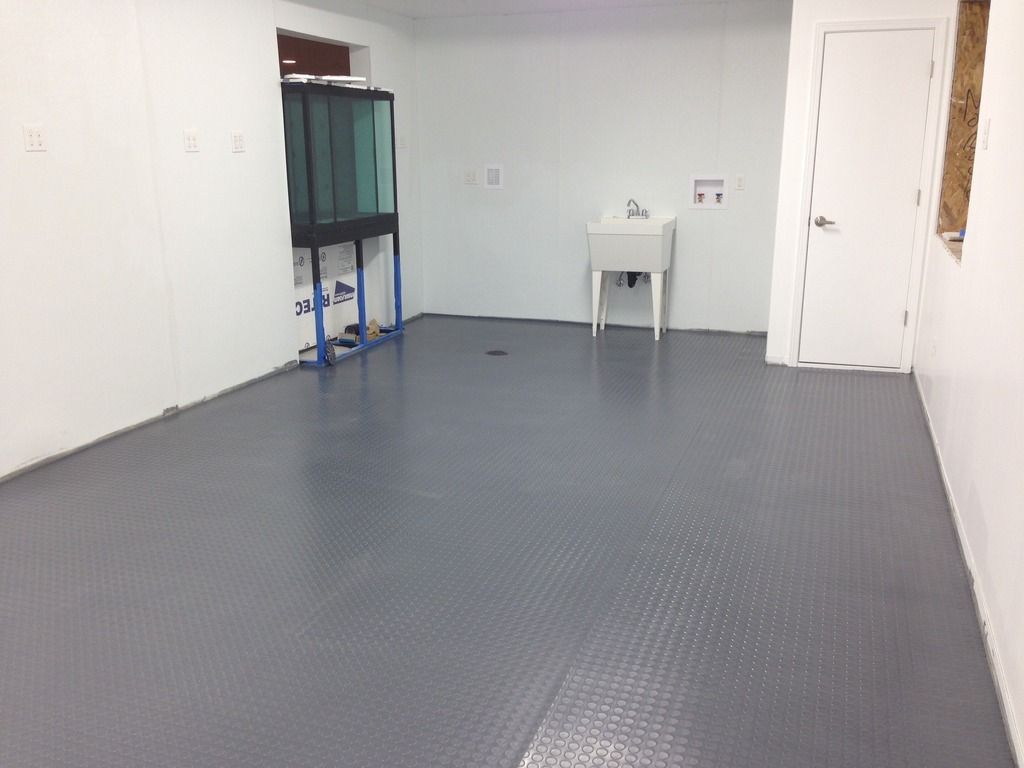 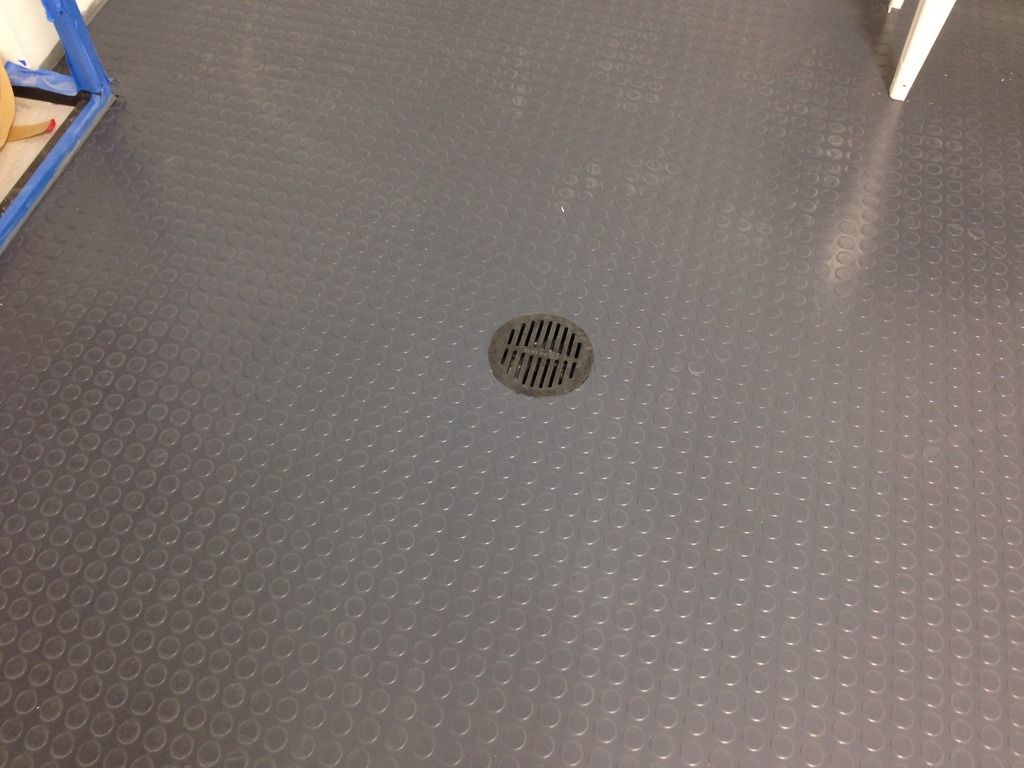 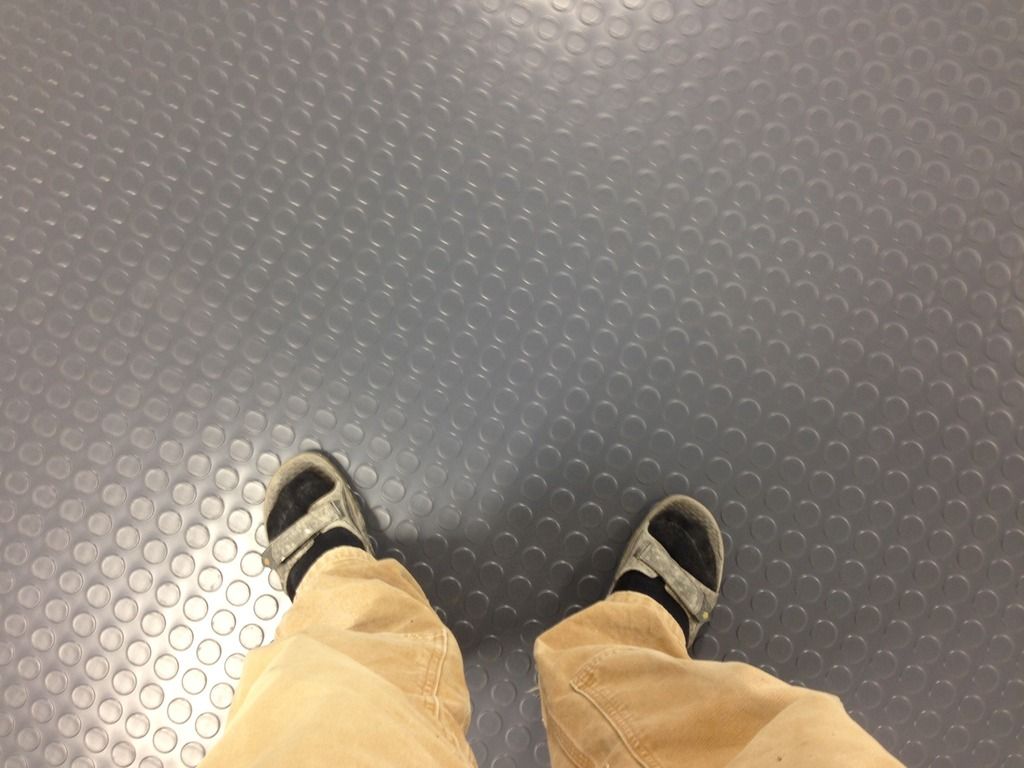 ...and I unwrapped the back side of the tank. 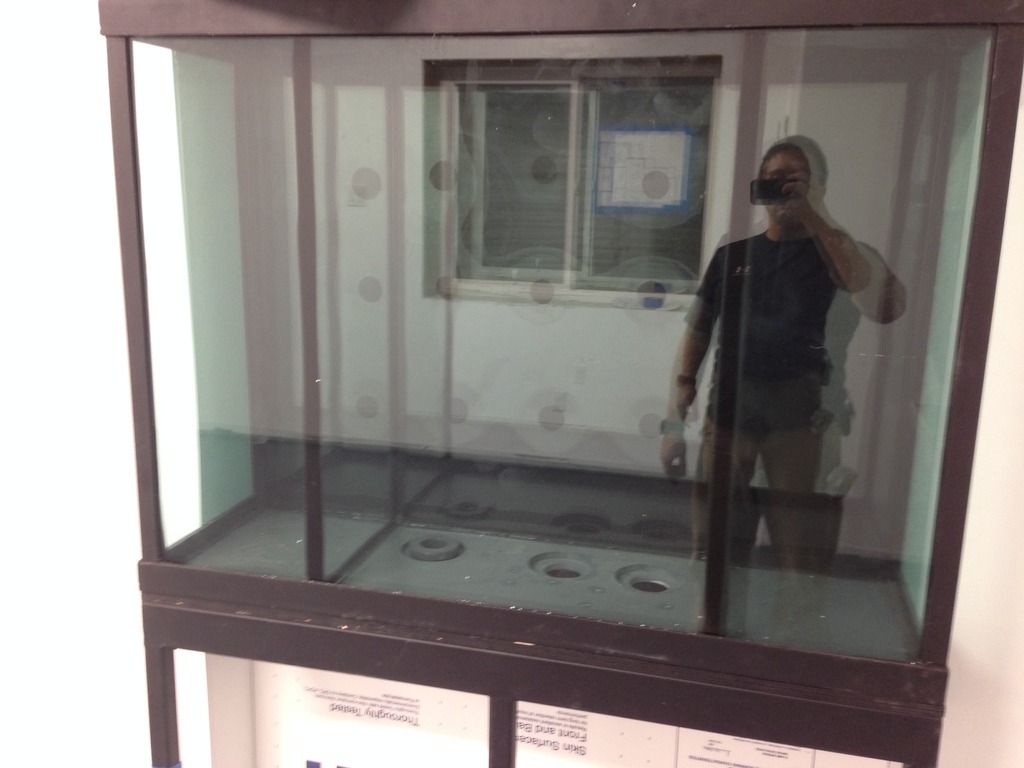
|
|
|
|
|
02/15/2017, 02:24 PM
|
#9 |
|
Registered Member
Join Date: Mar 2011
Location: Golden, CO
Posts: 340
|
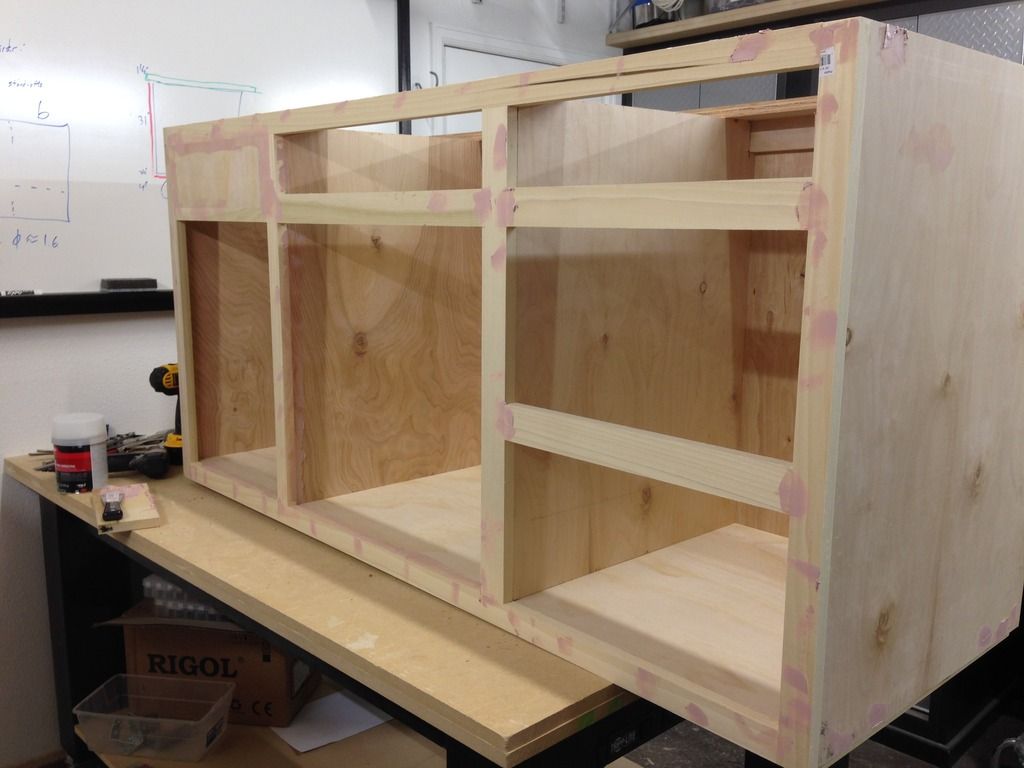
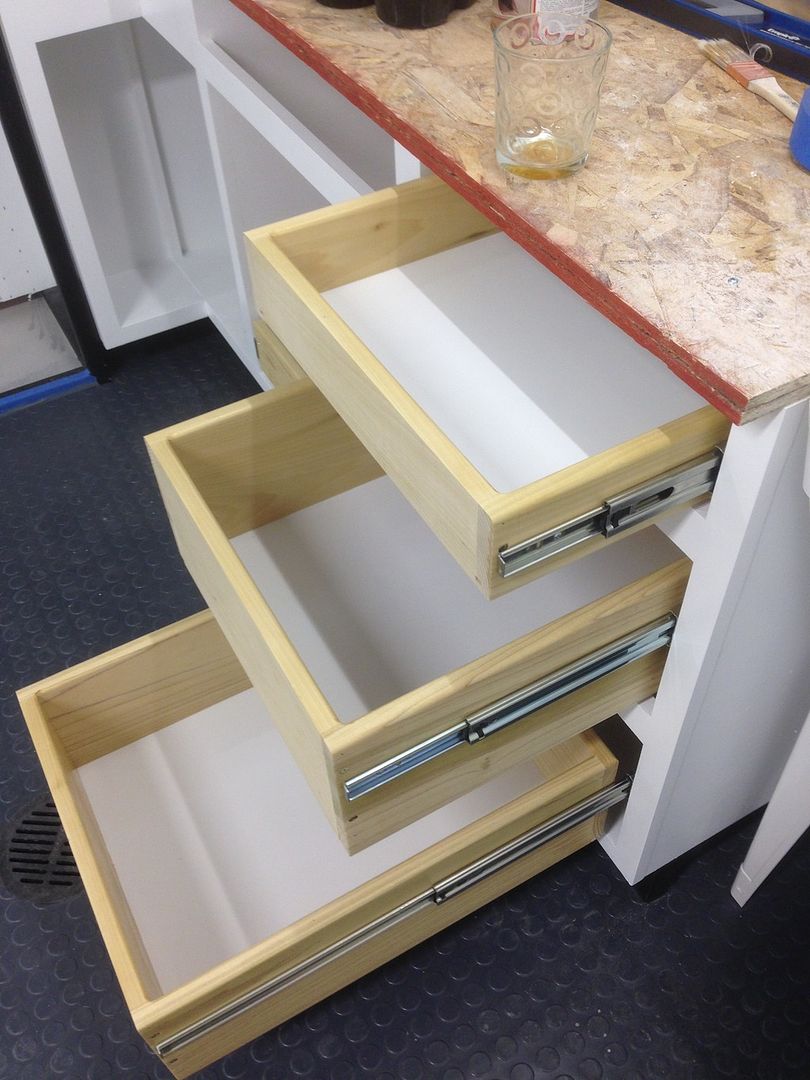
I built some cabinets for the far wall next to the sink.
  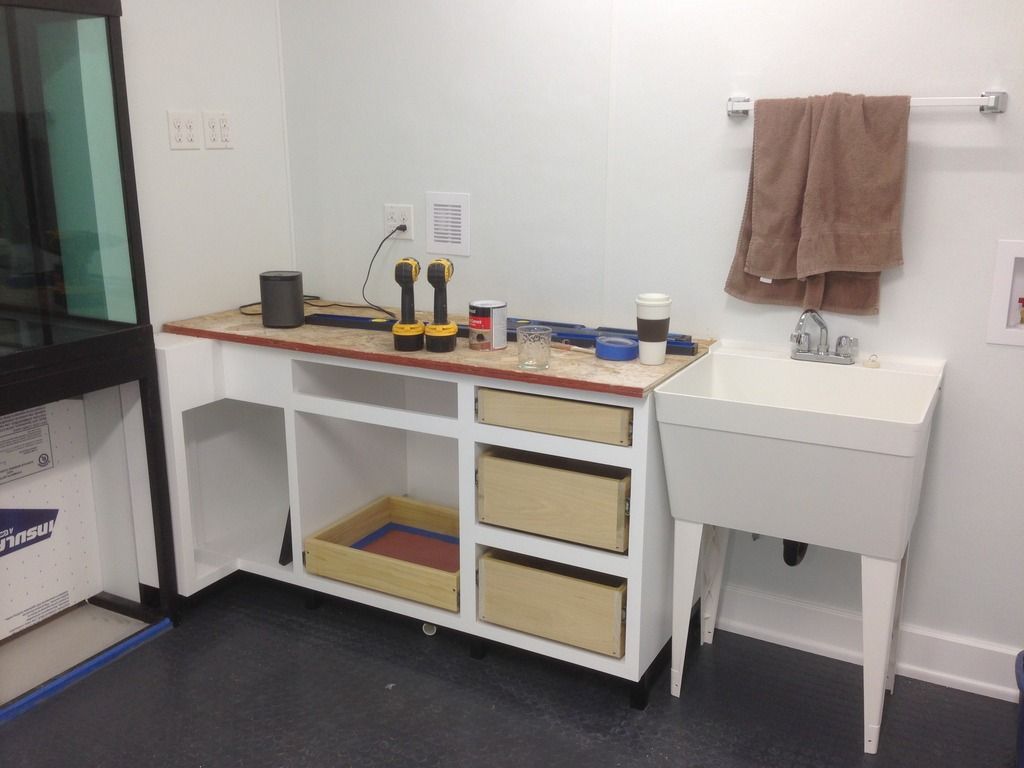 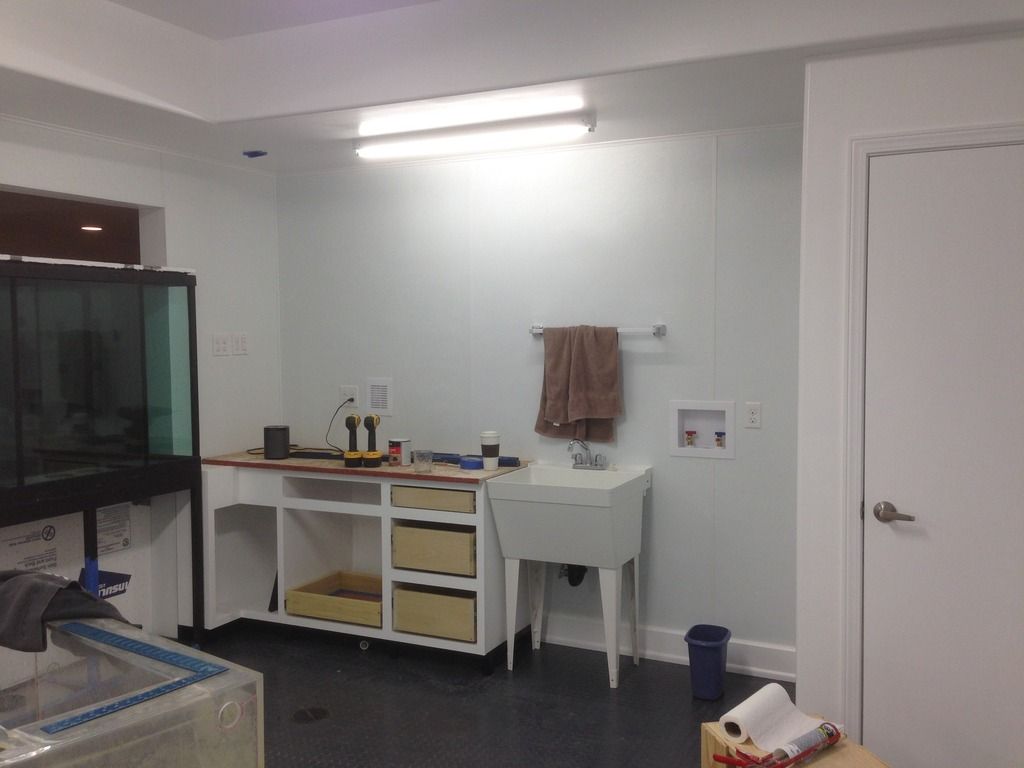  I built custom formica window sills and finished the windows trim. 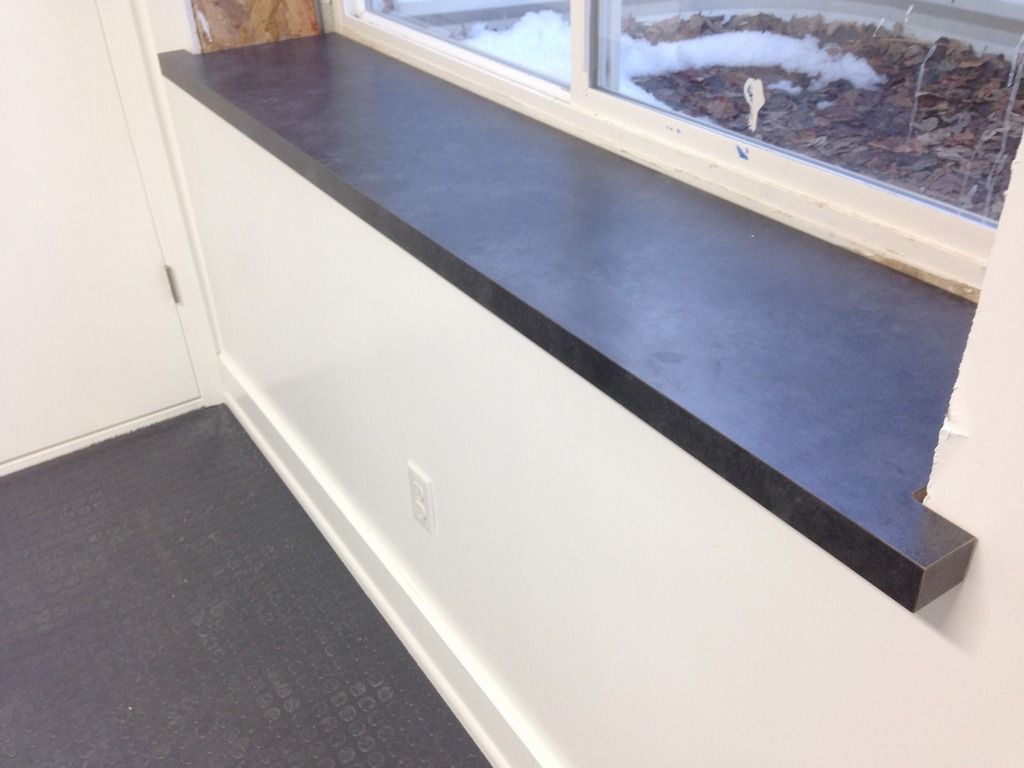 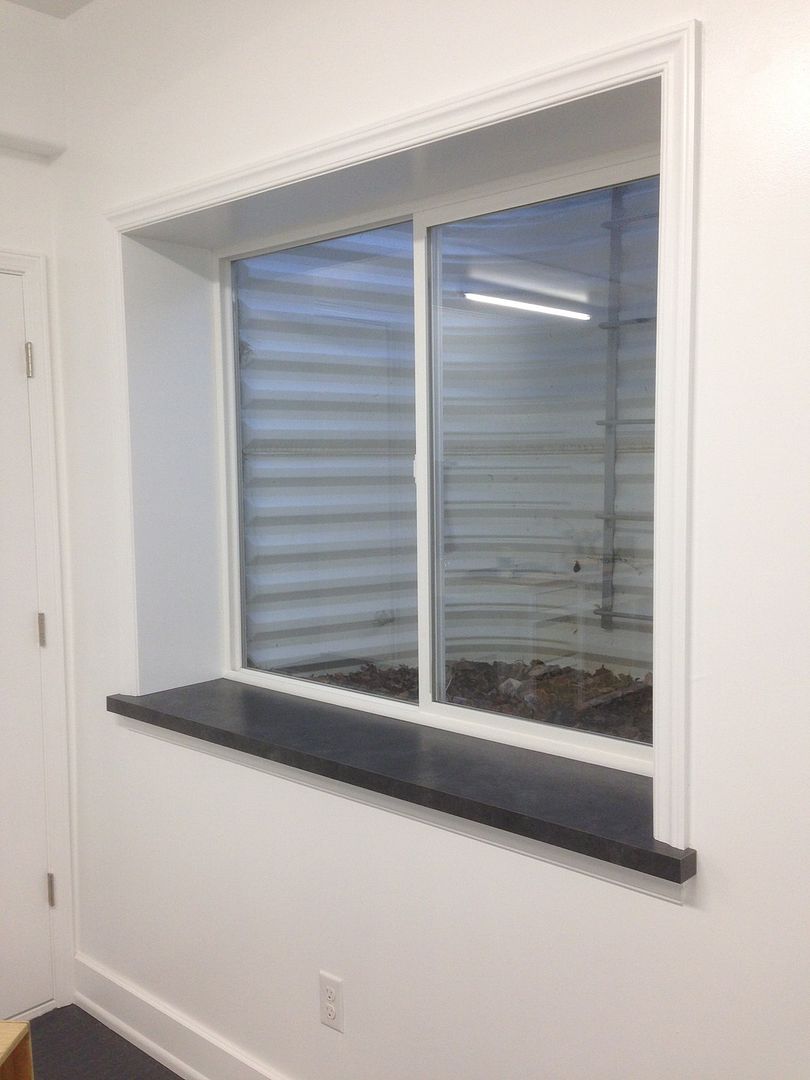 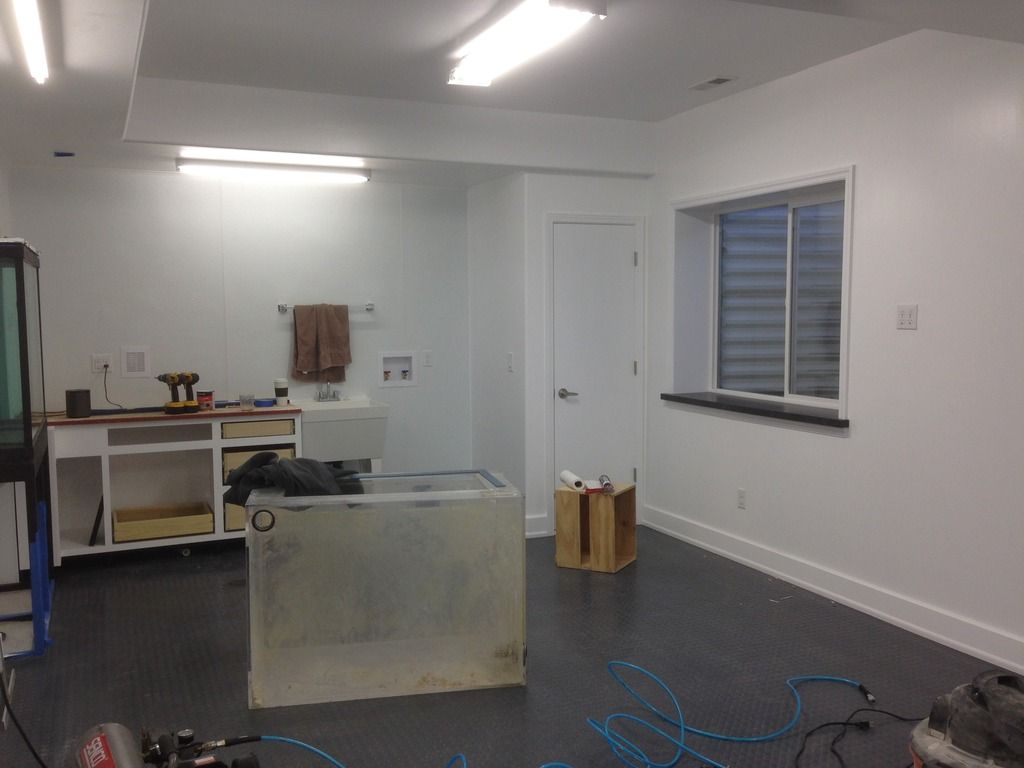
|
|
|
|
|
02/15/2017, 02:27 PM
|
#10 |
|
Registered Member
Join Date: Mar 2011
Location: Golden, CO
Posts: 340
|
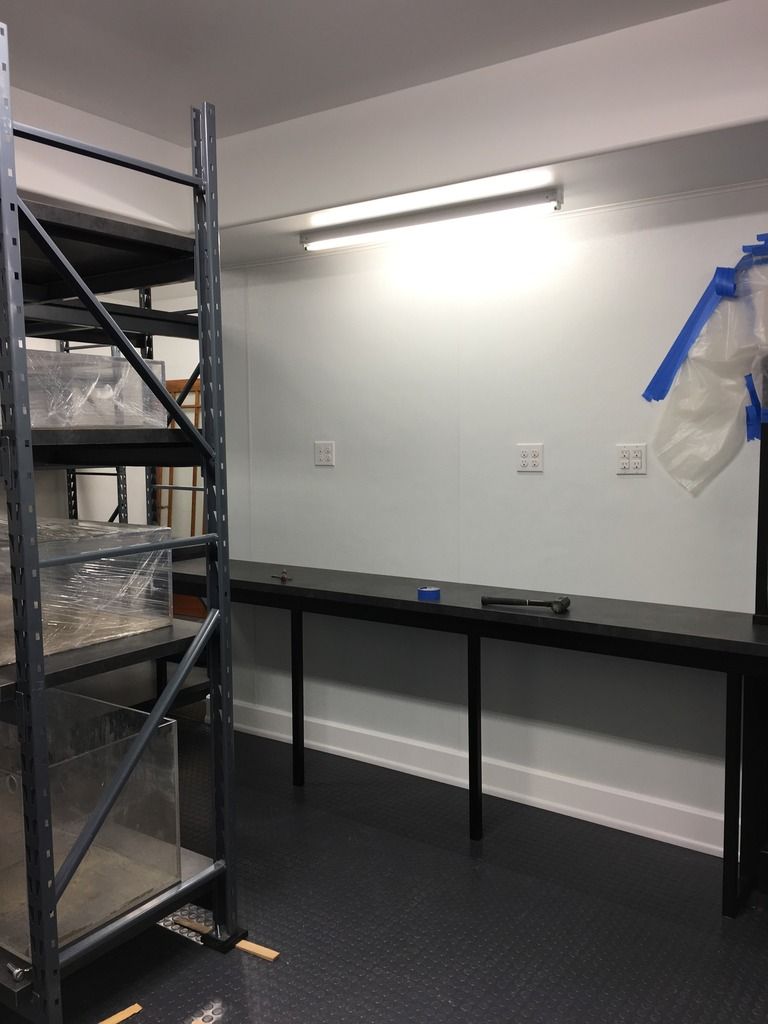
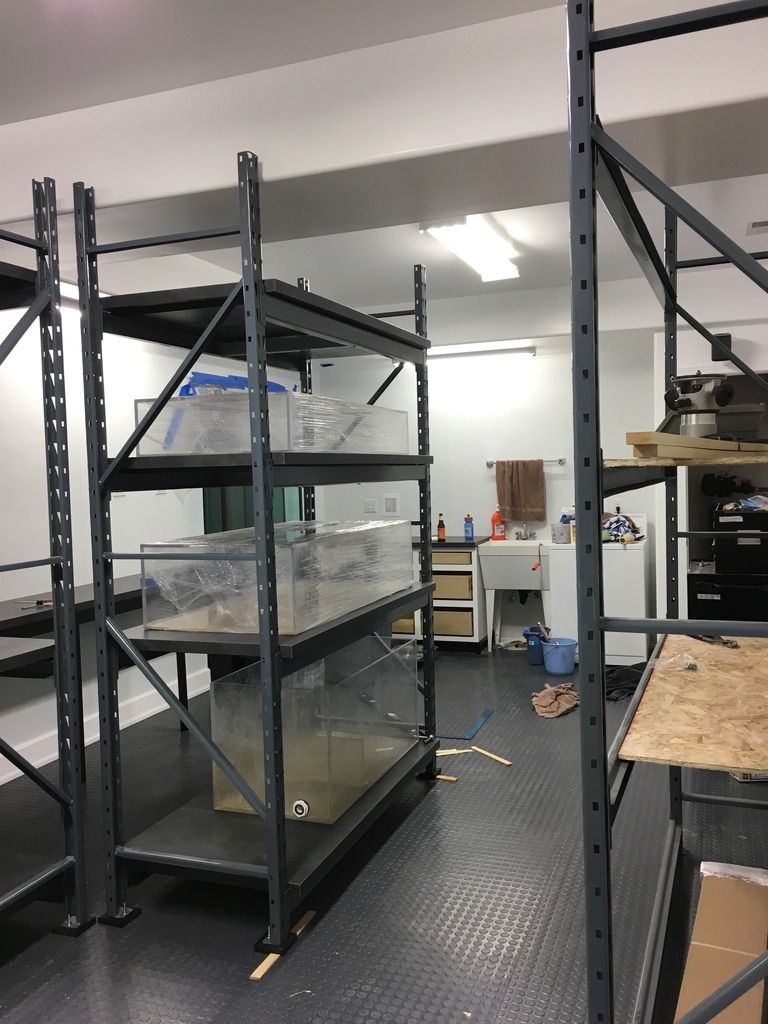
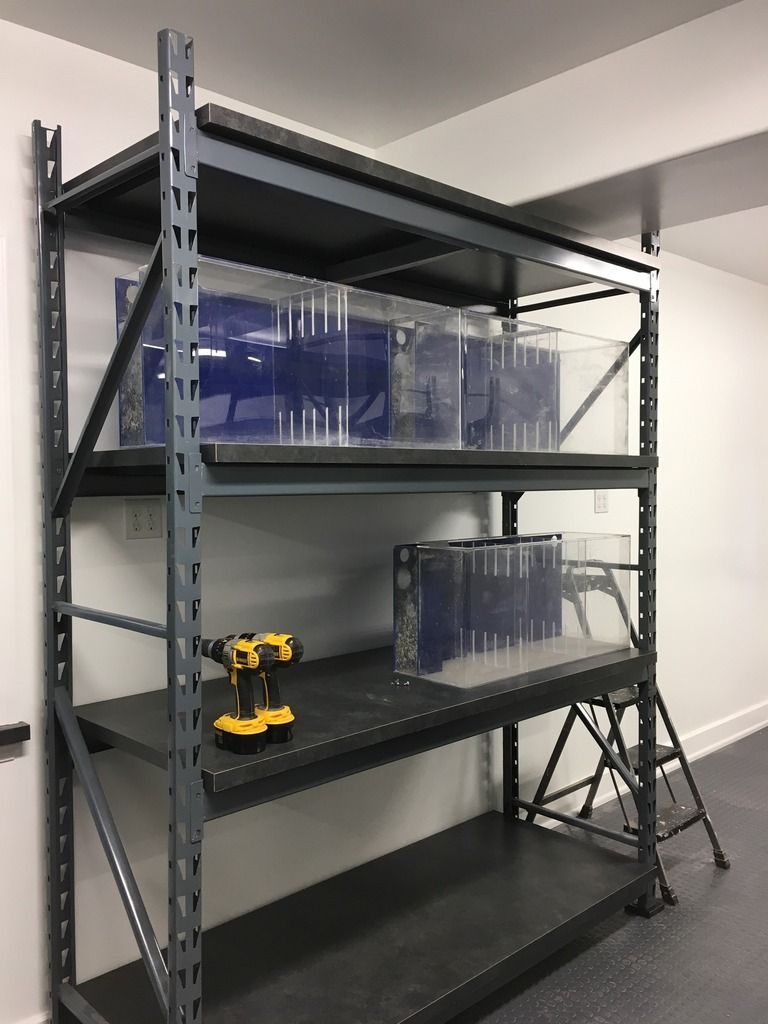
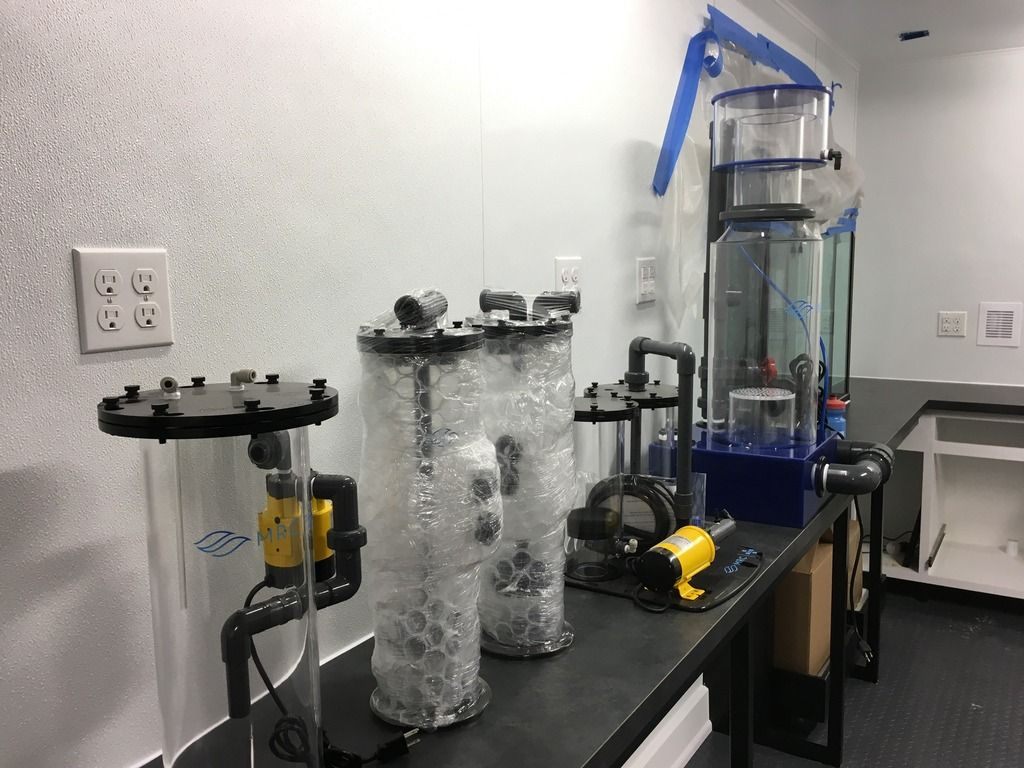
I picked up shelving from Grainger and staged it to start planning out the space.
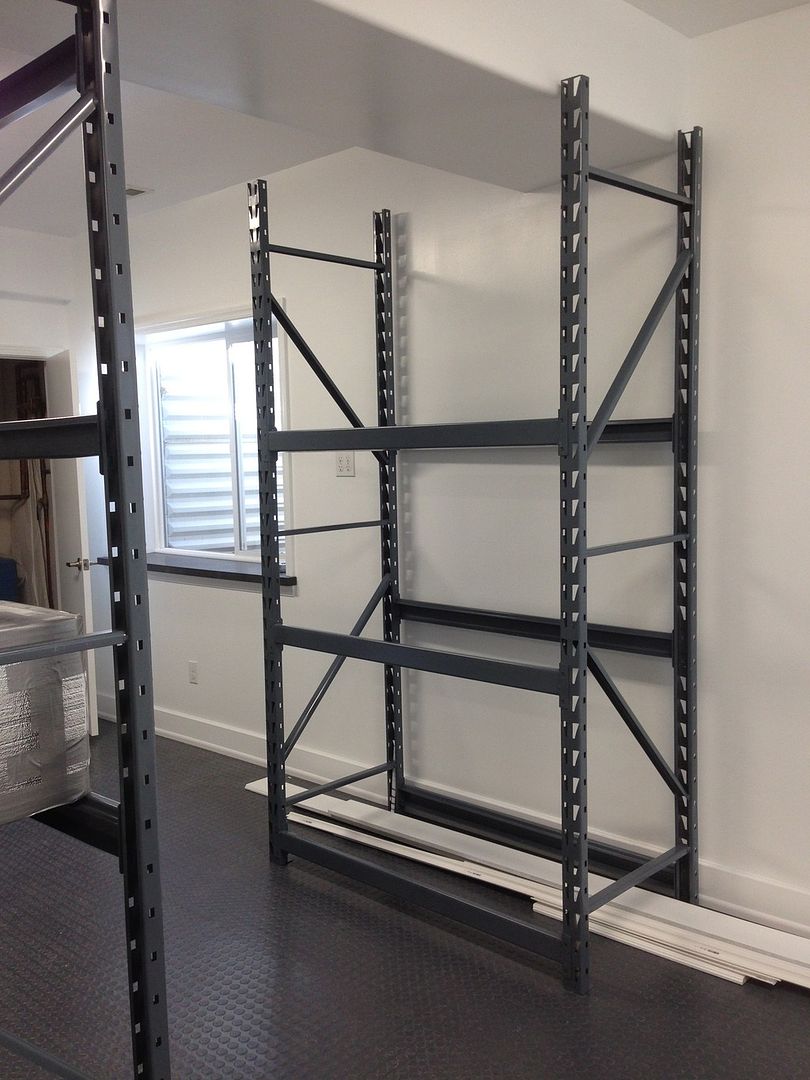 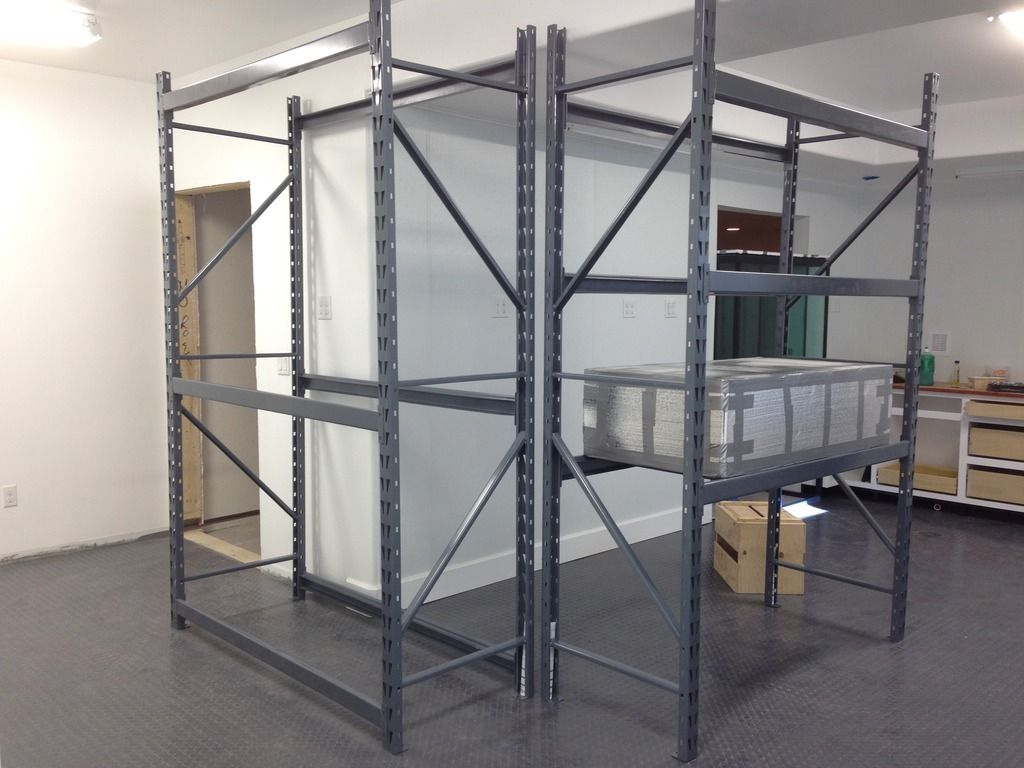 2 x 150 g tanks for the water mixing station. 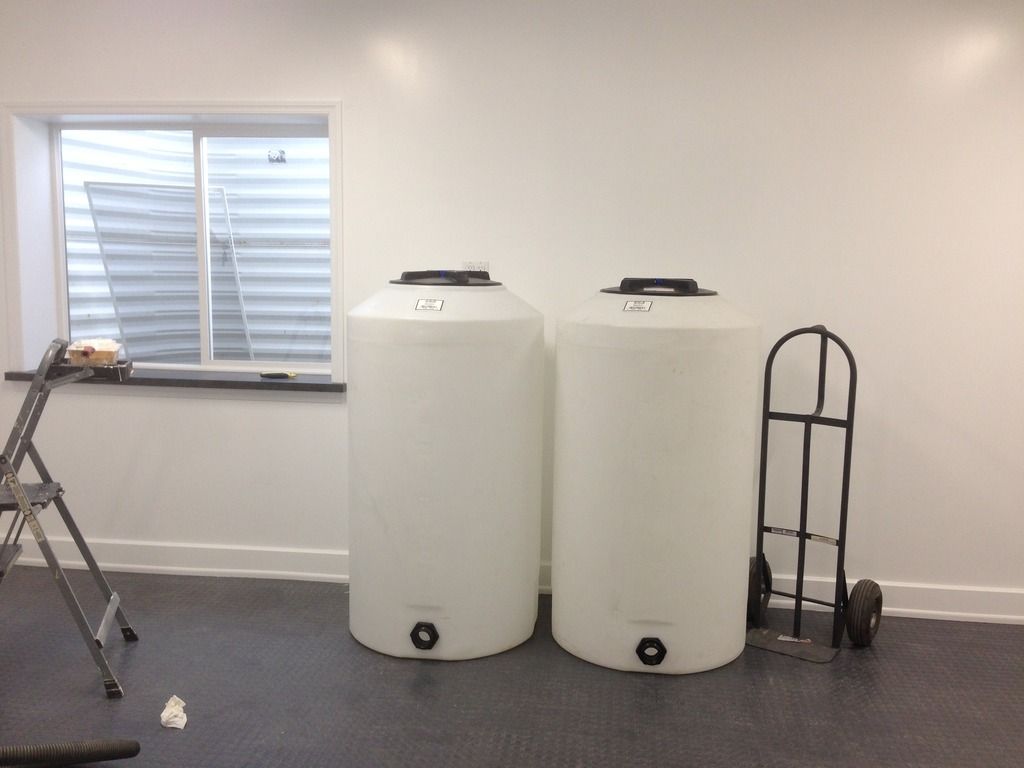 Some MRC equipment came in. Orca Pro II skimmer, reactors, Kalk stirrer, and Calc Reactor. 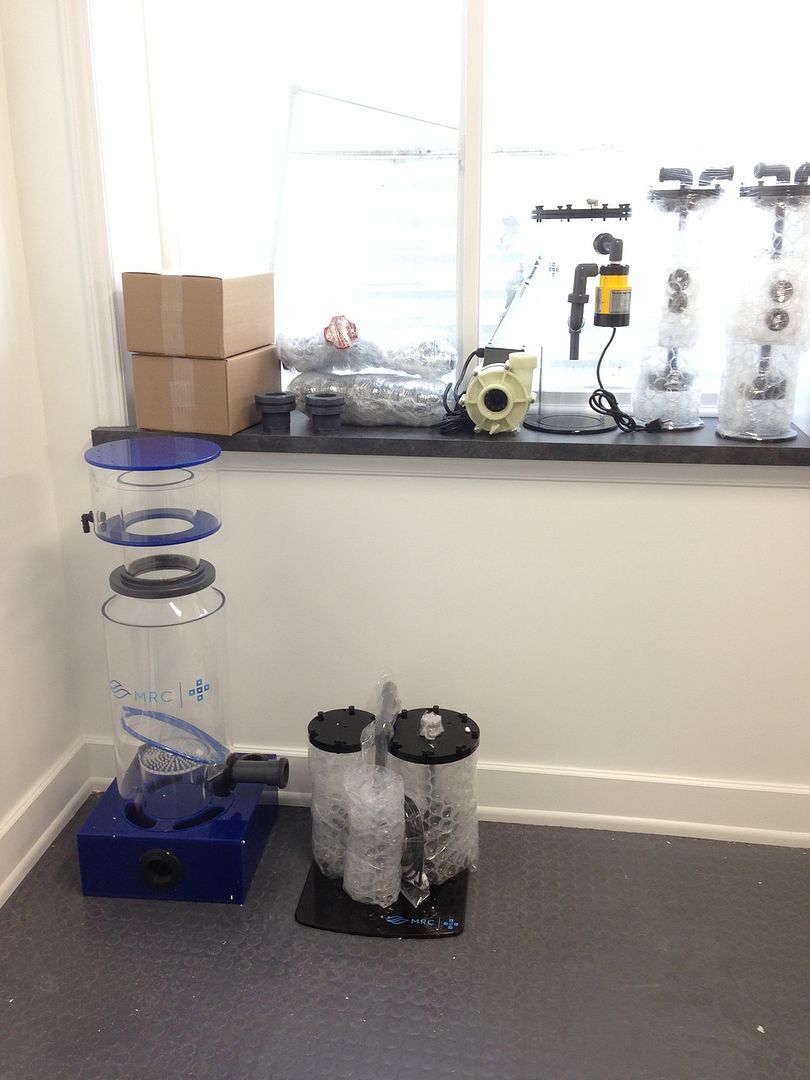
|
|
|
|
|
02/15/2017, 02:32 PM
|
#11 |
|
Registered Member
Join Date: Mar 2011
Location: Golden, CO
Posts: 340
|
This is the original paint color we went with in the basement. I didn't like it but was compromising with the wife. (The color changed once I started building the cherry wainscoting).
 This is where the aquarium was basically on hold for 9 months while I completed all of the trim and cabinetry in the basement. (A LOT of nights and weekends!). 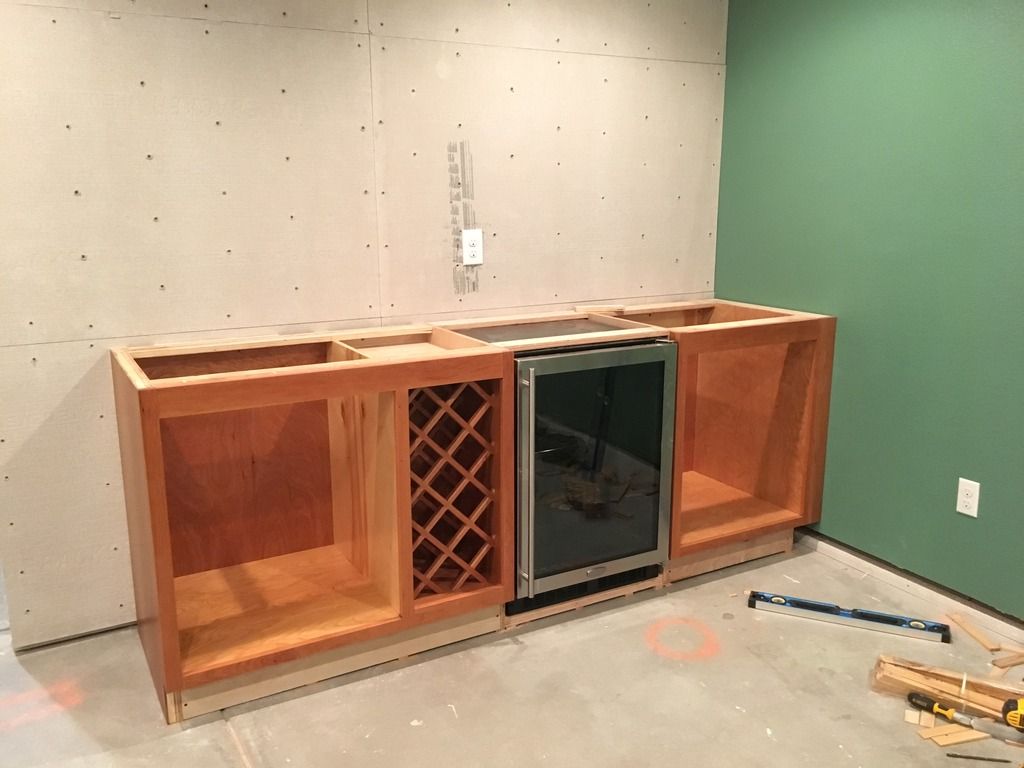 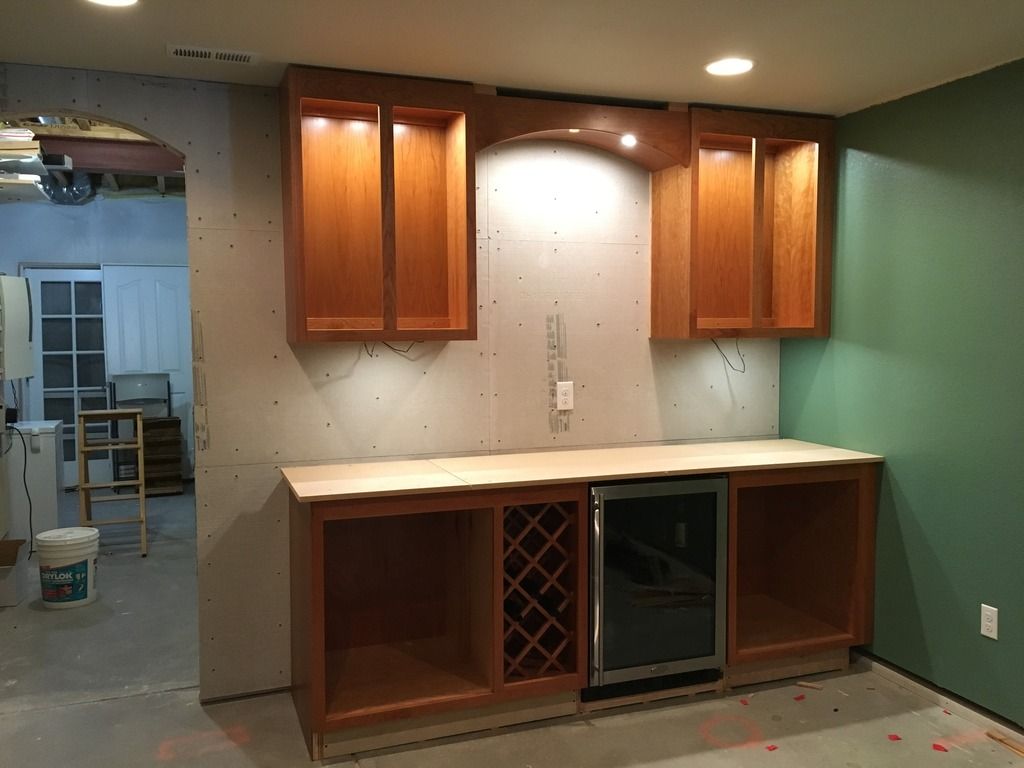 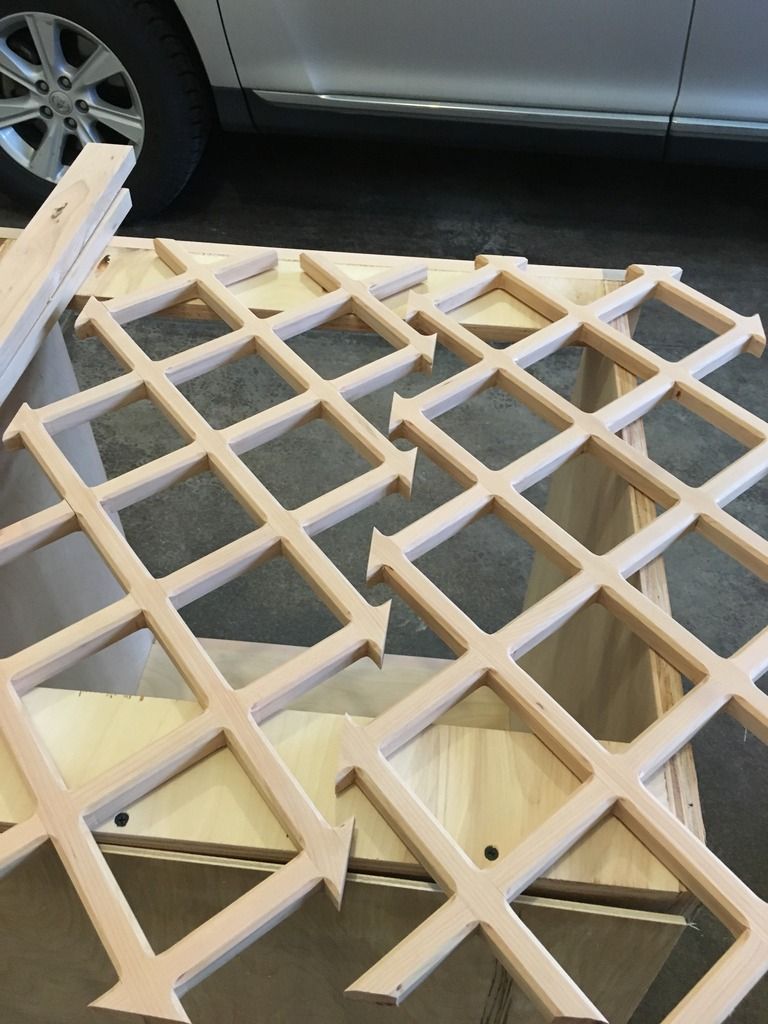 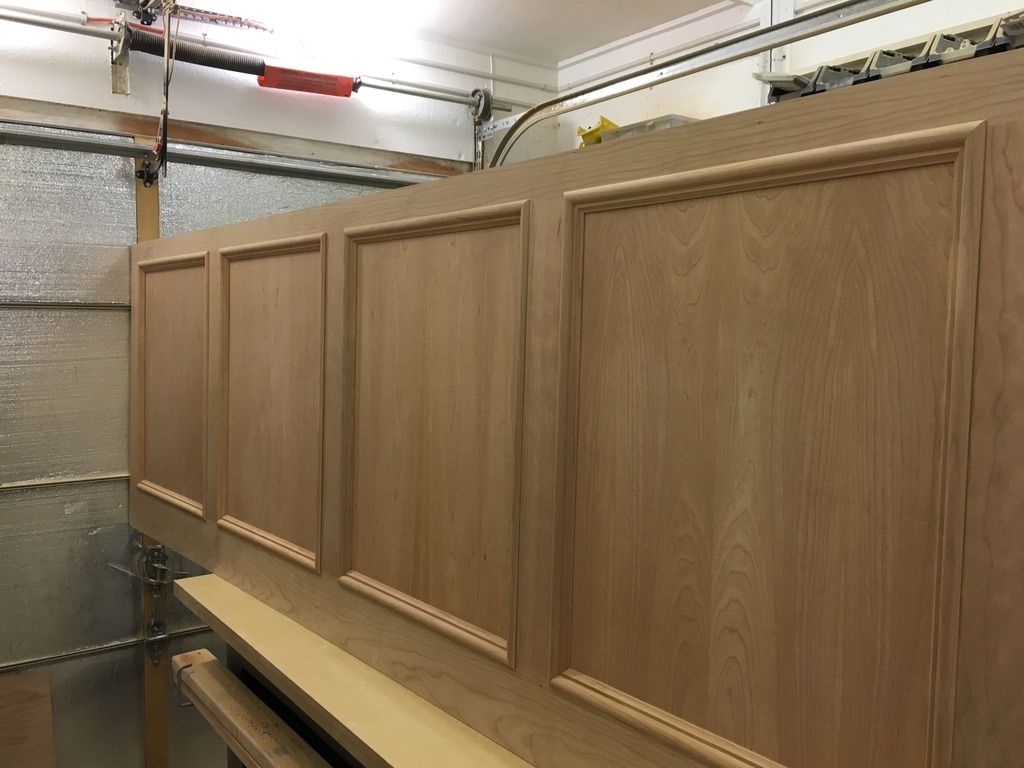 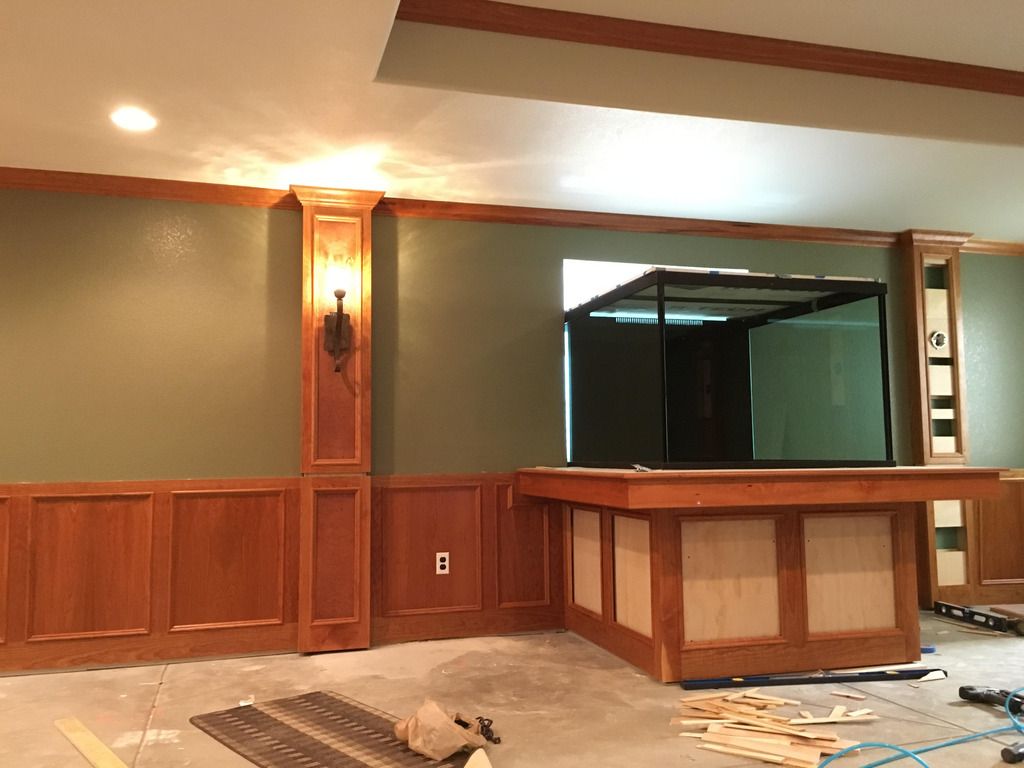 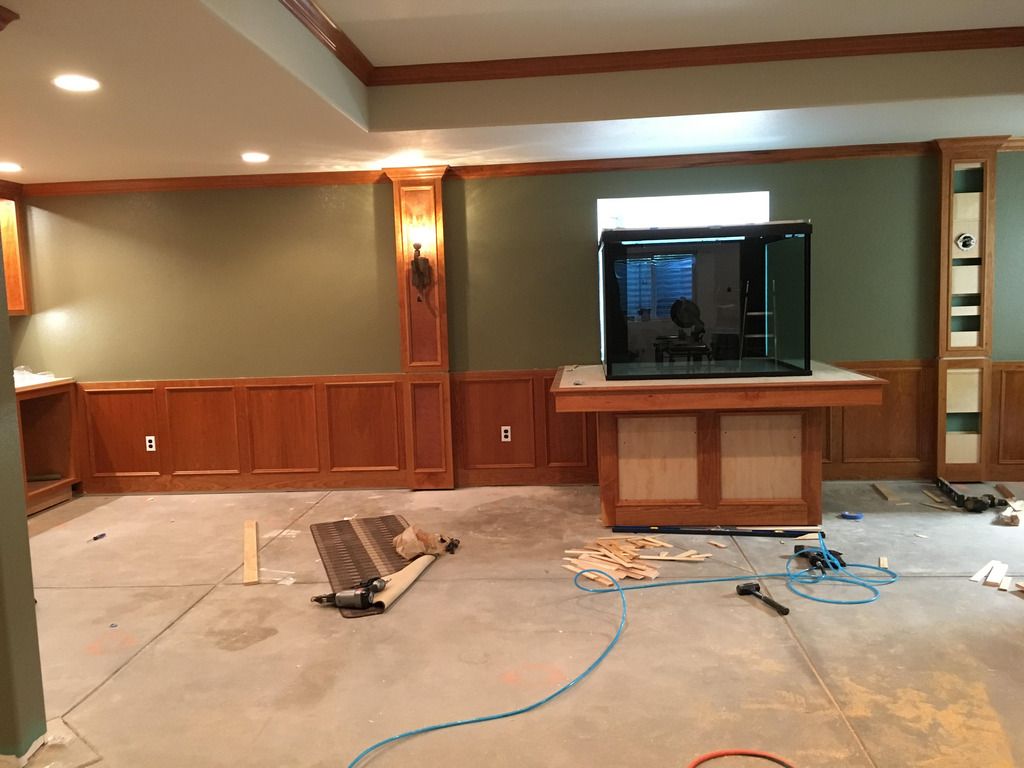 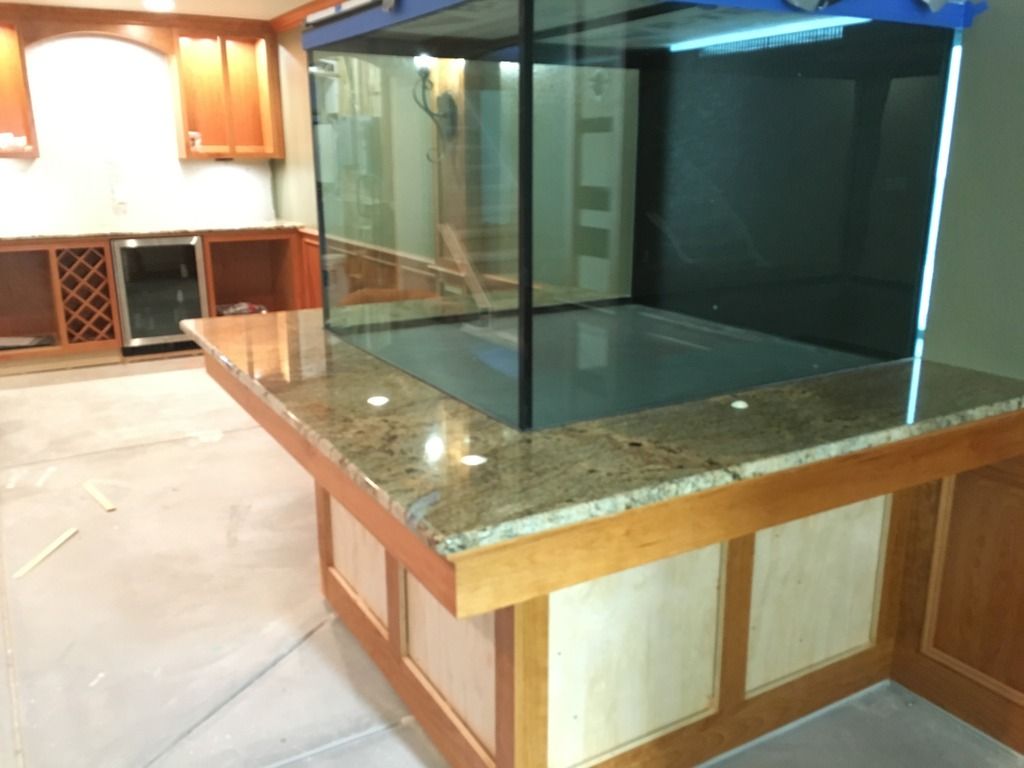 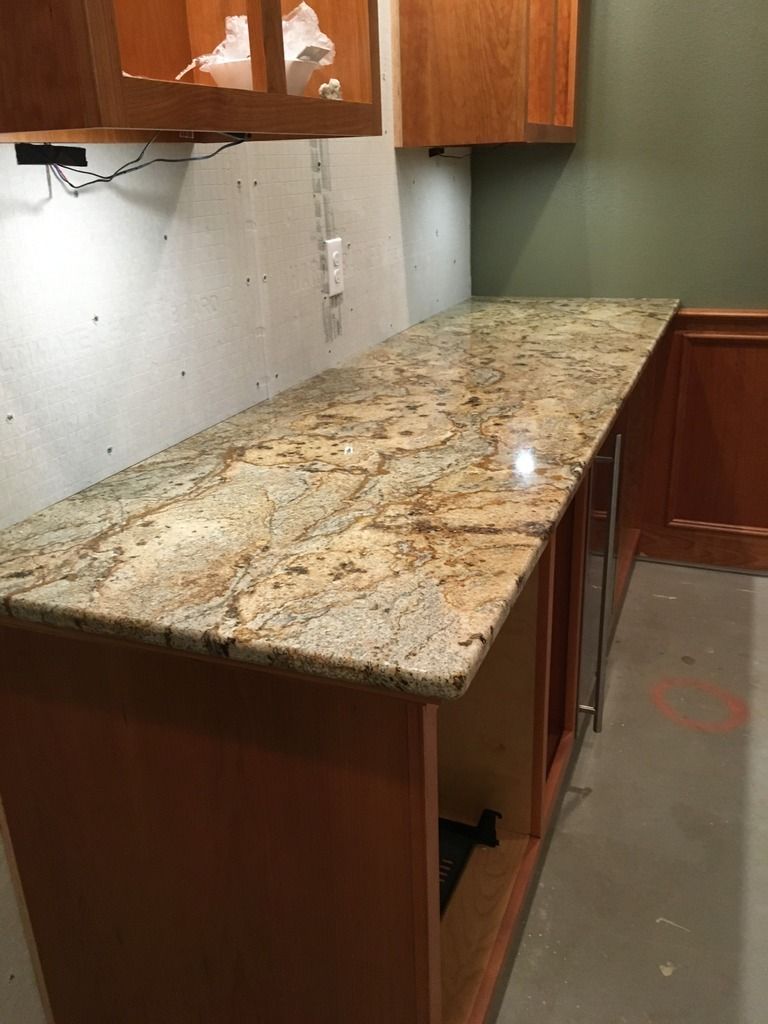
|
|
|
|
|
02/15/2017, 02:34 PM
|
#12 |
|
Registered Member
Join Date: Mar 2011
Location: Golden, CO
Posts: 340
|
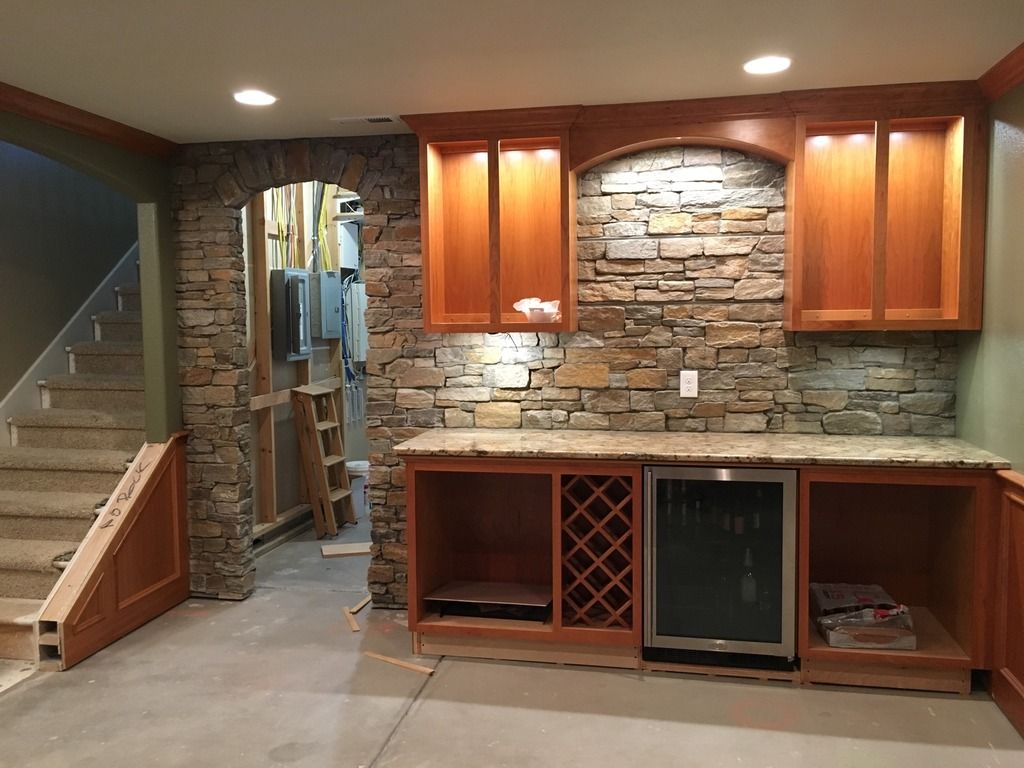
My first time doing masonry.
|
|
|
|
|
02/15/2017, 02:36 PM
|
#13 |
|
Registered Member
Join Date: Mar 2011
Location: Golden, CO
Posts: 340
|
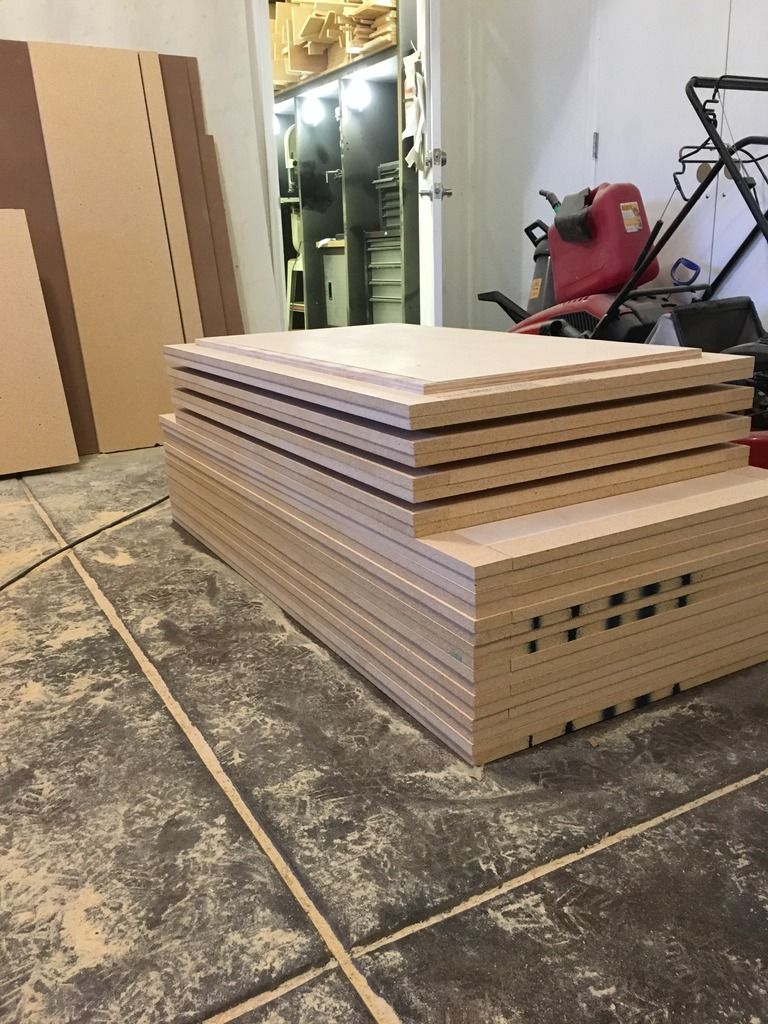
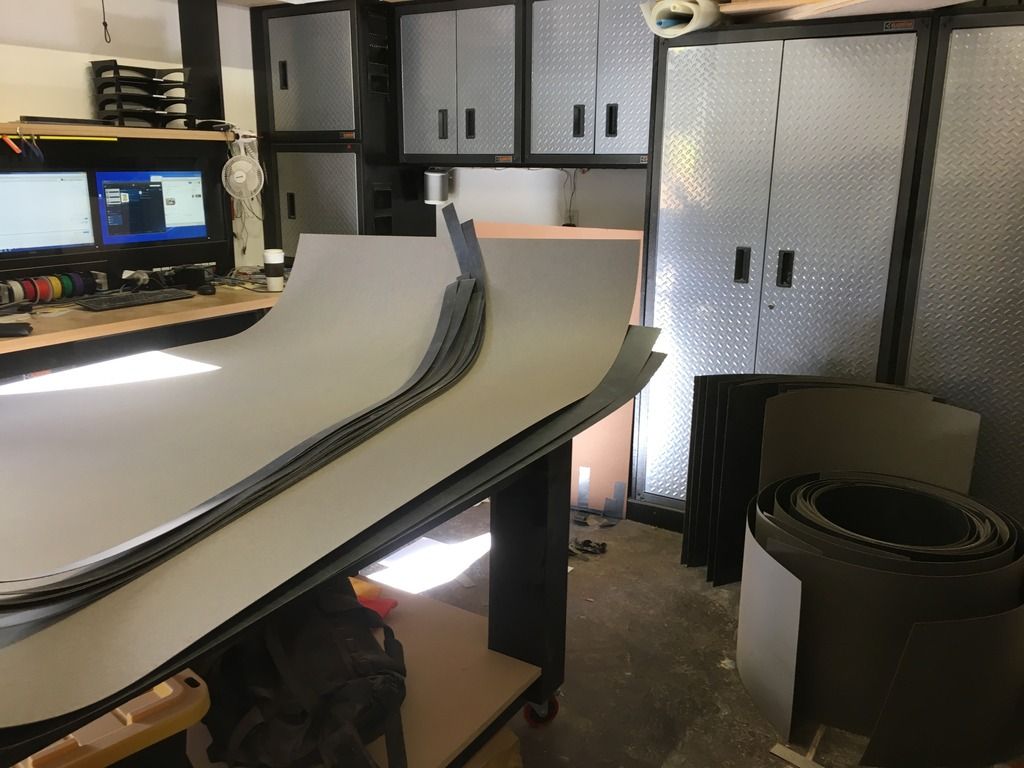
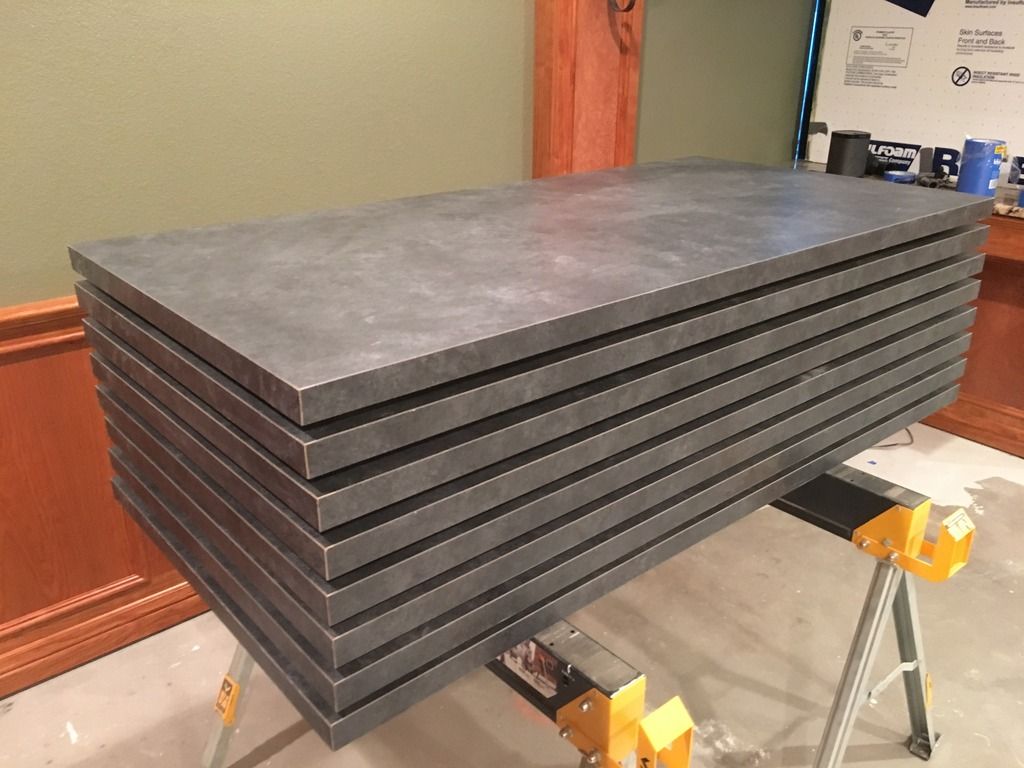
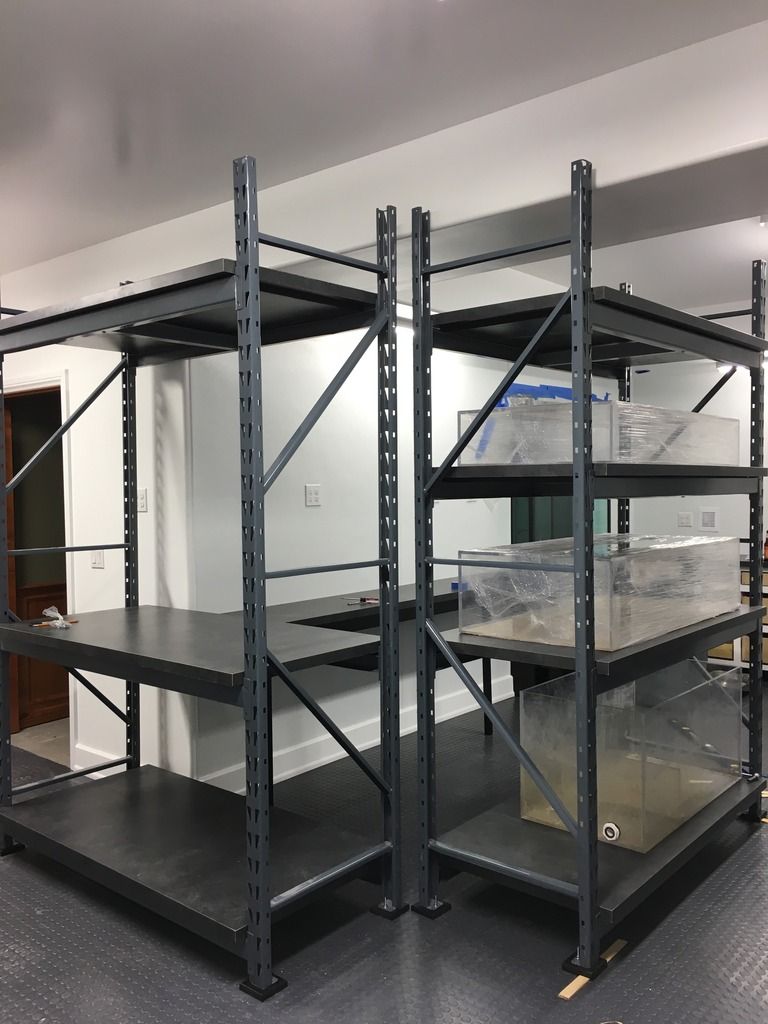
I spent a few weekends building formica covered shelves for everything in the aquarium room somewhere between trimwork.
|
|
|
|
|
02/15/2017, 02:37 PM
|
#14 |
|
Not afriad to admit wrong
Join Date: Jun 2012
Location: South of WashDC in Maryland
Posts: 7,774
|
Looking good.
Was it your video that I saw a lizzard stuck down in the hole by the window and the cat was looking at it?
__________________
Stock:LPS/SPS|1 hippo|4 OC Clown|4 Pepp shrimp|2 Brittle Star|3000+ Copepods|10+ MiniBrittle|8+ Bristle Worm|2 Anemone|100+ mini-feather|4 boys 14,21,22,22 Current Tank Info: Tank:300g Mixed Reef 300+lb LR|4" LS|5x MP40W|75g fuge|5x RadionPRO|RO DB250 skimmer|Apex |
|
|
|
|
02/15/2017, 02:38 PM
|
#15 |
|
Registered Member
Join Date: Mar 2011
Location: Golden, CO
Posts: 340
|
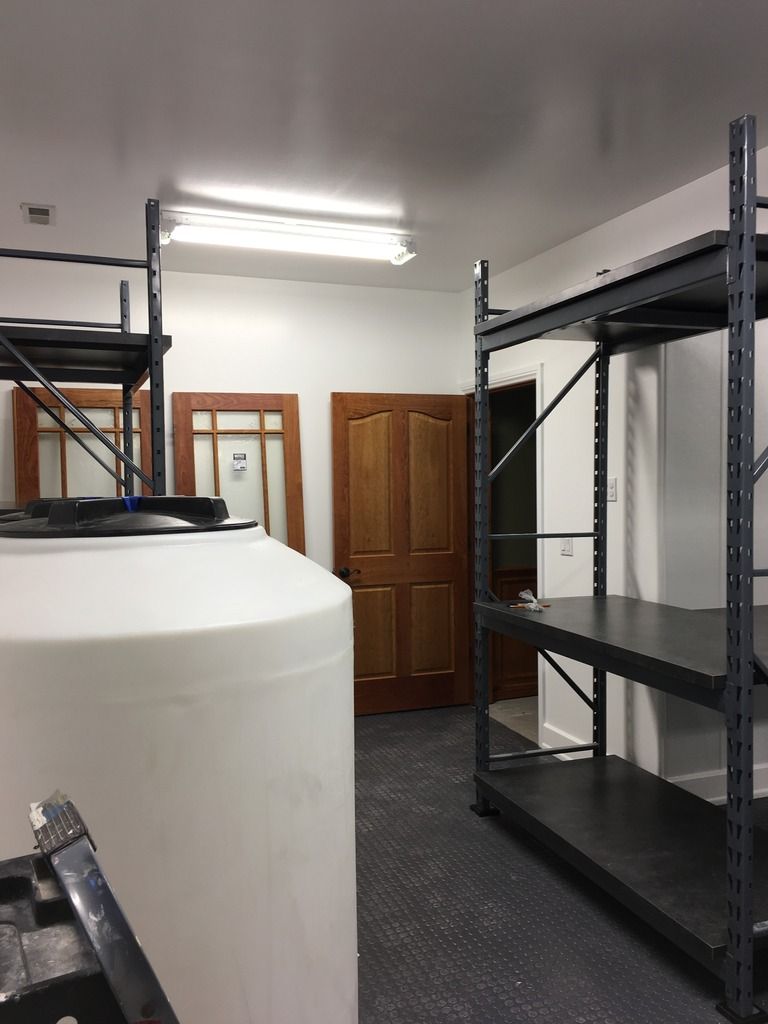
I finished the trim work in the main basement areas including all of the custom doors. Carpet was installed.
|
|
|
|
|
02/15/2017, 02:41 PM
|
#16 | |
|
Registered Member
Join Date: Mar 2011
Location: Golden, CO
Posts: 340
|
Quote:
No, I don't remember any lizard videos.  I have been pretty active on the local forums, but have been mostly lurking on the RC forums for years enjoying everyone's work. I have been pretty active on the local forums, but have been mostly lurking on the RC forums for years enjoying everyone's work.
|
|
|
|
|
|
02/15/2017, 02:42 PM
|
#17 |
|
Registered Member
Join Date: Mar 2011
Location: Golden, CO
Posts: 340
|
So, all of those posts account for over a year and half of work up until last December when I was finally at a breaking point with the rest of the basement.
Starting in December, I was finally able to really focus on the aquarium build. |
|
|
|
|
02/15/2017, 02:46 PM
|
#18 |
|
Registered Member
Join Date: Mar 2011
Location: Golden, CO
Posts: 340
|
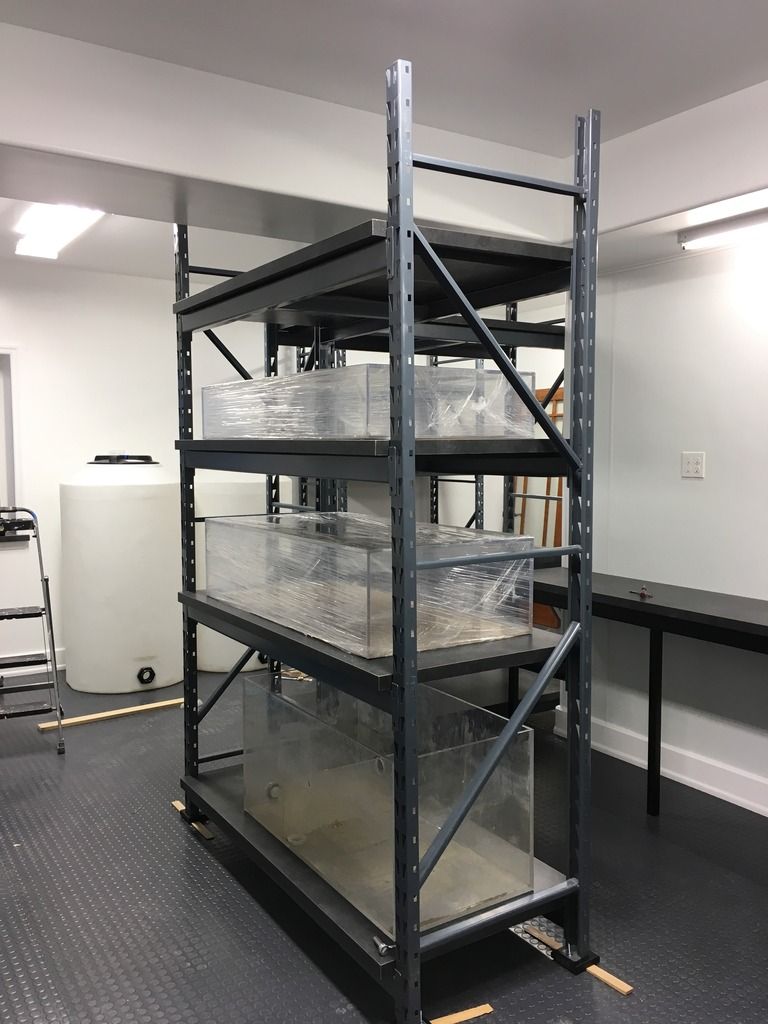
I pulled out some of the tanks that I had been accumulating for the last few years and started staging everything.
|
|
|
|
|
02/15/2017, 02:47 PM
|
#19 |
|
Registered Member
Join Date: Mar 2011
Location: Golden, CO
Posts: 340
|
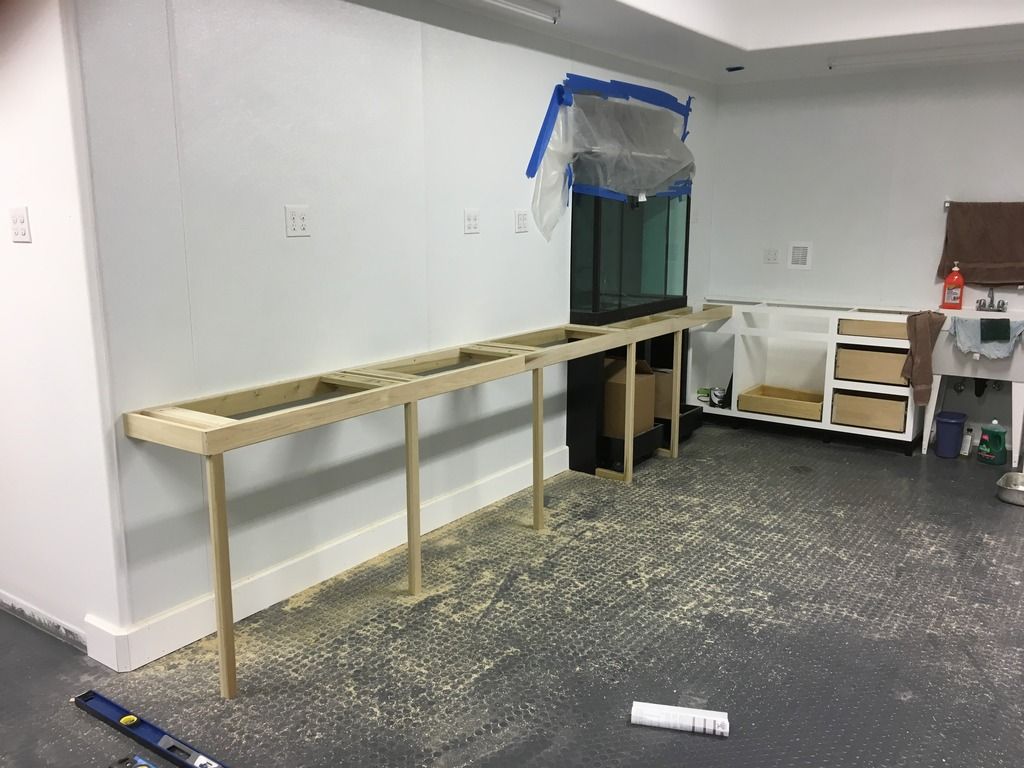
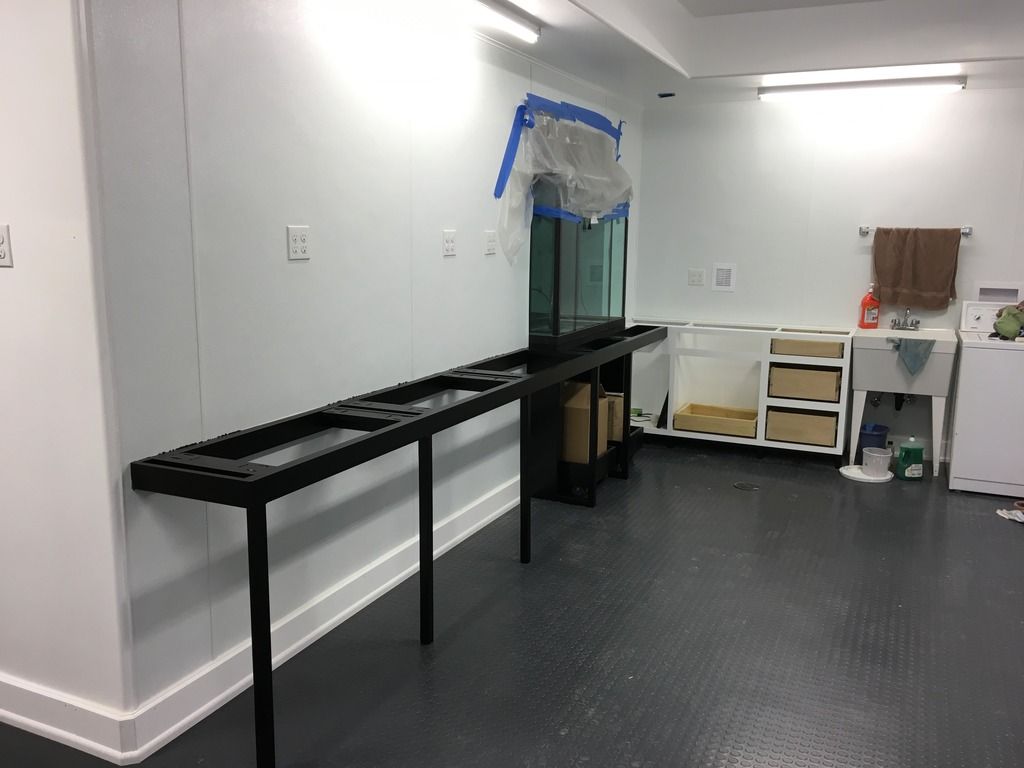
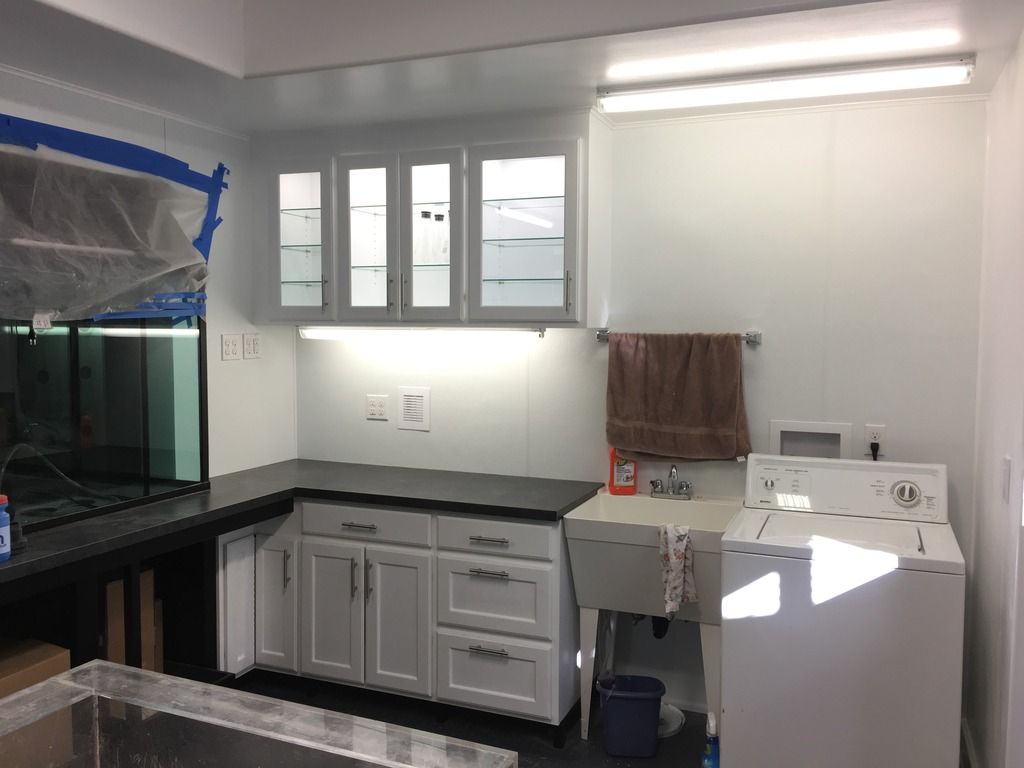
I finished the cabinets in the corner and installed the uppers and doors.
|
|
|
|
|
02/15/2017, 02:49 PM
|
#20 |
|
Registered Member
Join Date: Mar 2011
Location: Golden, CO
Posts: 340
|
The washing machine was an old one we had around. Part of the remodel was building my wife a new laundry room with new machines. I had the contractors rough in for the spare washing machine. Now I can clean the dirty fish towels in the fish room.
|
|
|
|
|
02/15/2017, 02:53 PM
|
#21 |
|
Registered Member
Join Date: Oct 2003
Location: 18901
Posts: 271
|
Dedicated filter sock washing machine, I like it!
__________________
Current Tank Specs: 180g Custom Starphire 60"x30"x24", Bubble King SuperMarine 250, Tunzes, Vortech, APEX, Dart Gold, PM Reactors, Profilux Doser, BioPellets, IceCap T5, AI Hydras. Current Tank Info: 180 gallon SPS Dominated, BK Supermarin 250, 3x AI Hydras, Icecap T5's,Tunzes, Vortechs, APEX. |
|
|
|
|
02/15/2017, 03:01 PM
|
#22 |
|
Registered Member
Join Date: Mar 2011
Location: Golden, CO
Posts: 340
|
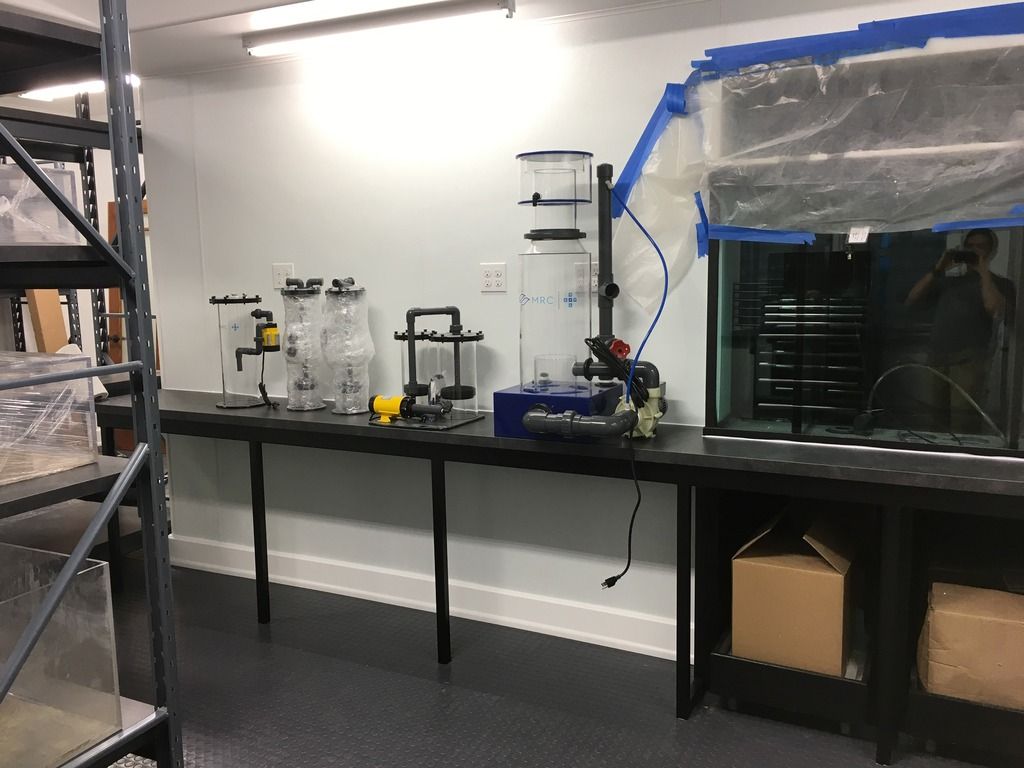
Starting in January of this year, I started the acrylic work. I had some tanks already on hand. The sumps, I wanted to build custom. So, I used some old tanks I had acquired over the years, or in some cases, built from scratch.
This is the main sump. It's big but nothing fancy. I did build an elevated section so that the filter socks will be suspended above the water line. I've always elevated my filter socks on past builds and it seems to work out better for me. 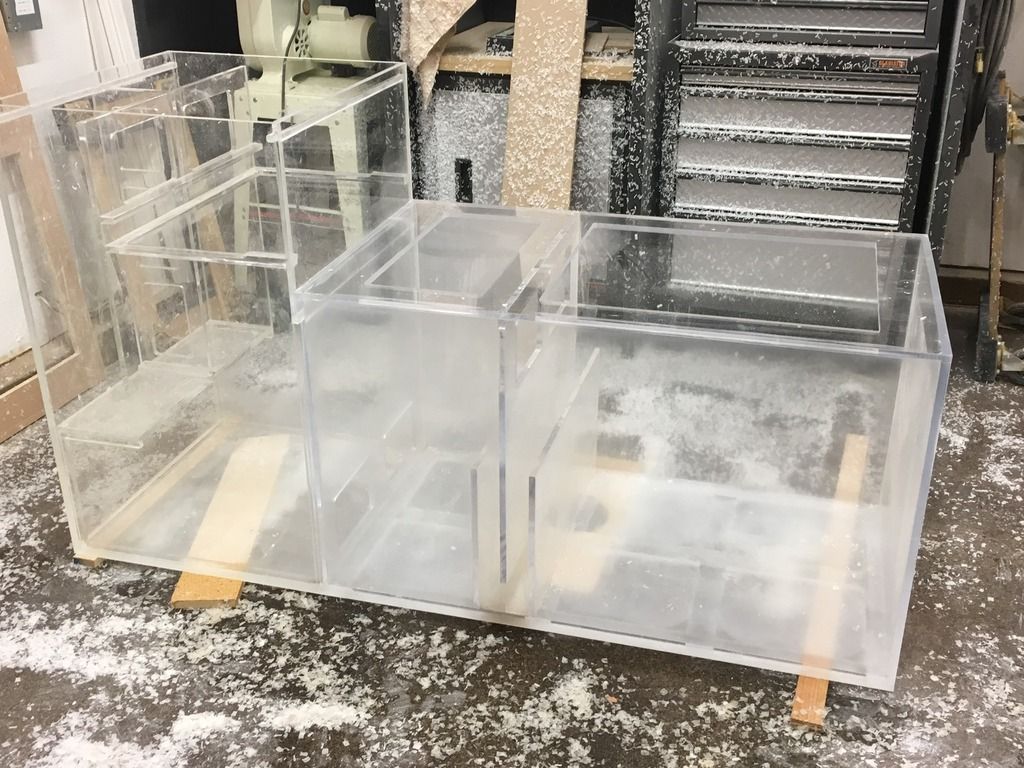 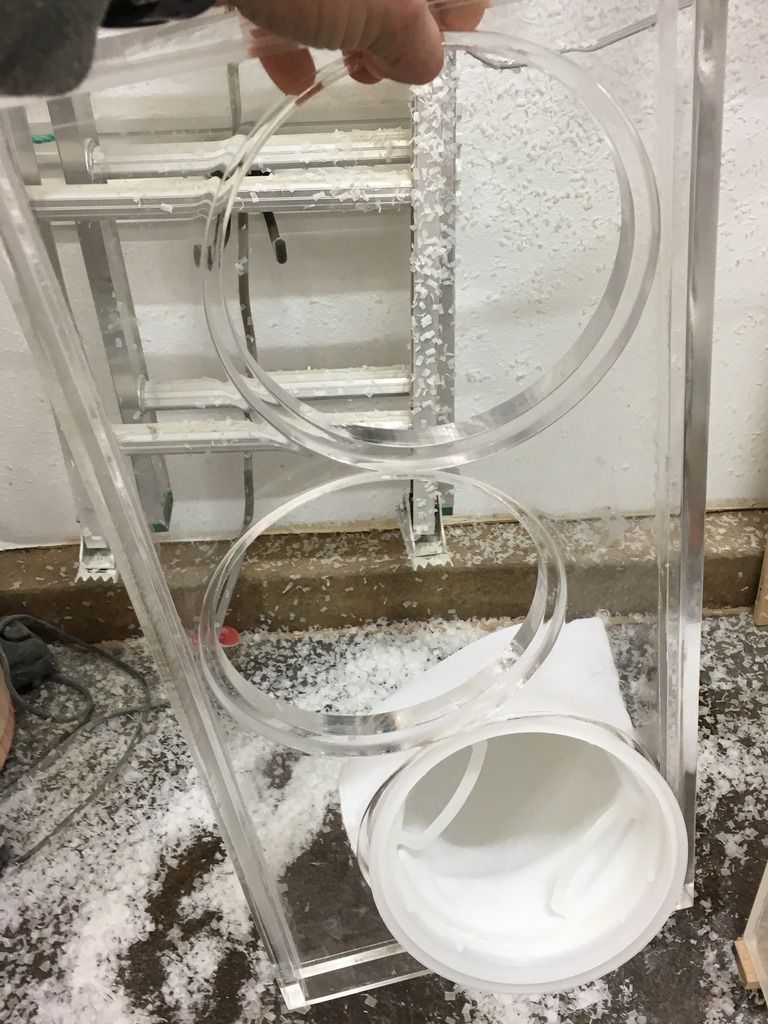 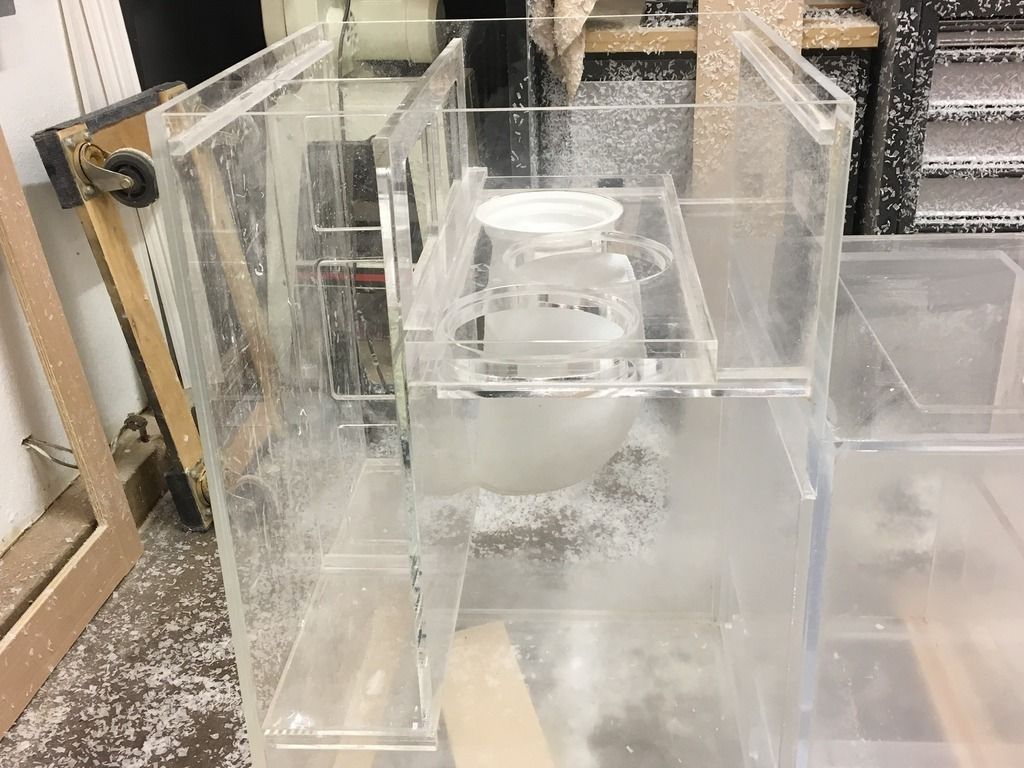 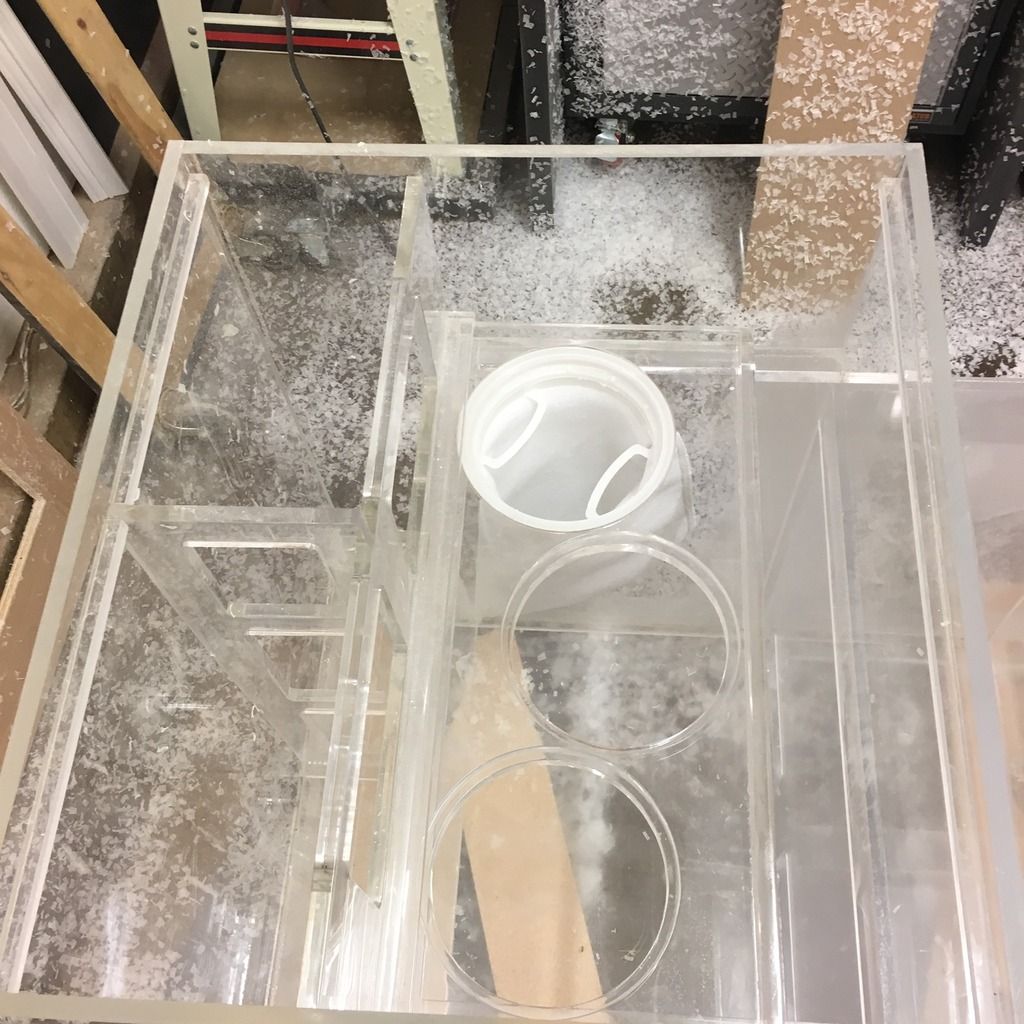 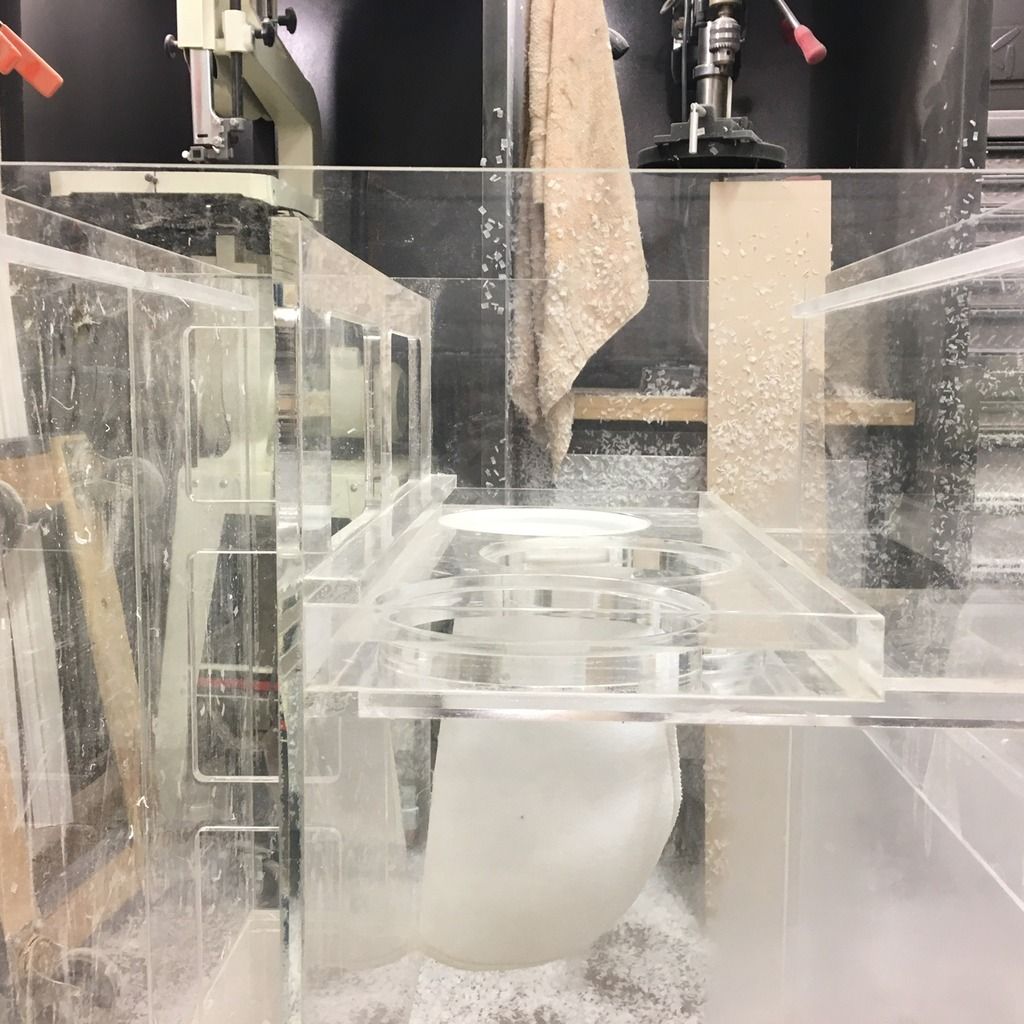
|
|
|
|
|
02/15/2017, 03:01 PM
|
#23 |
|
Registered Member
Join Date: Mar 2011
Location: Golden, CO
Posts: 340
|
Most of the sumps I'm building are skinned with 1/4" white acrylic. In my mind, it helps a little with strength of the joints. That's in my mind, I'm sure someone could tell me otherwise.
More than strength, it covers up the fact that I don't do a good job of containing drips and runs from the solvent and I'm not good about buffing out the clear to a high quality finish. Plus, the white just looks good to me. 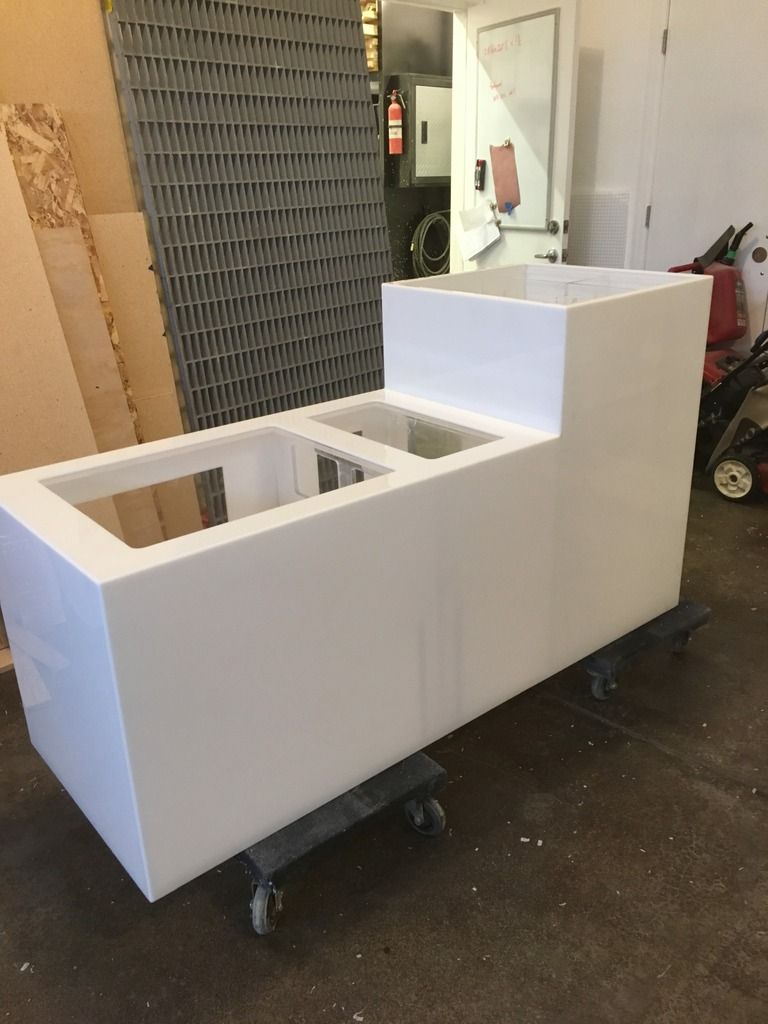 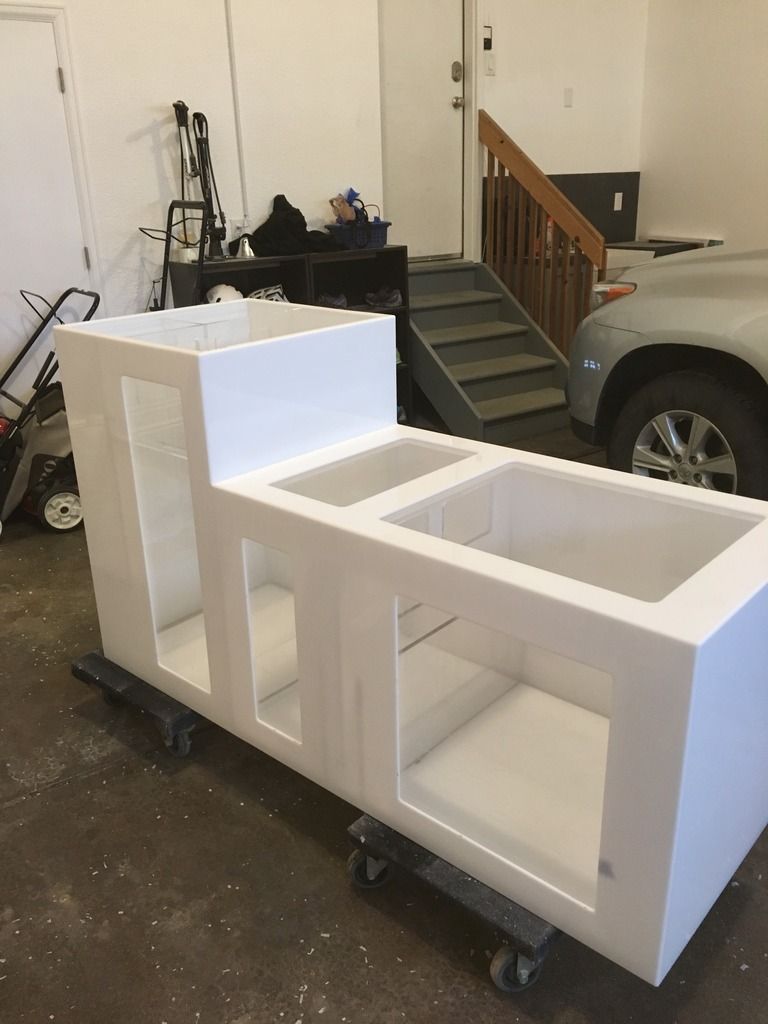 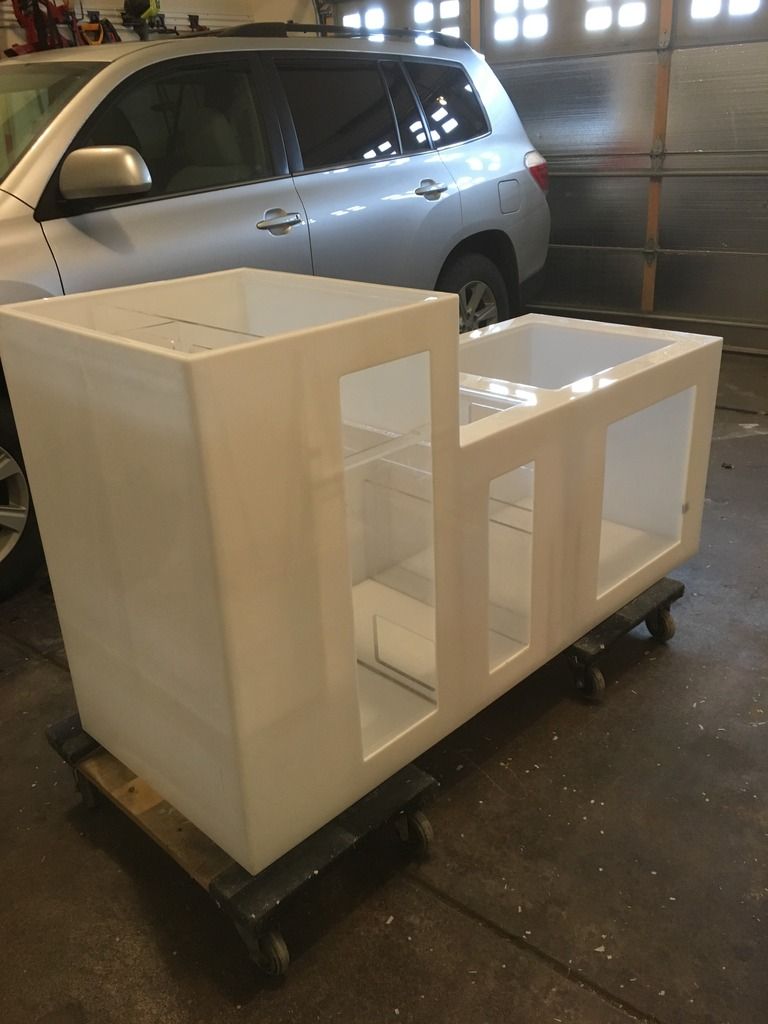  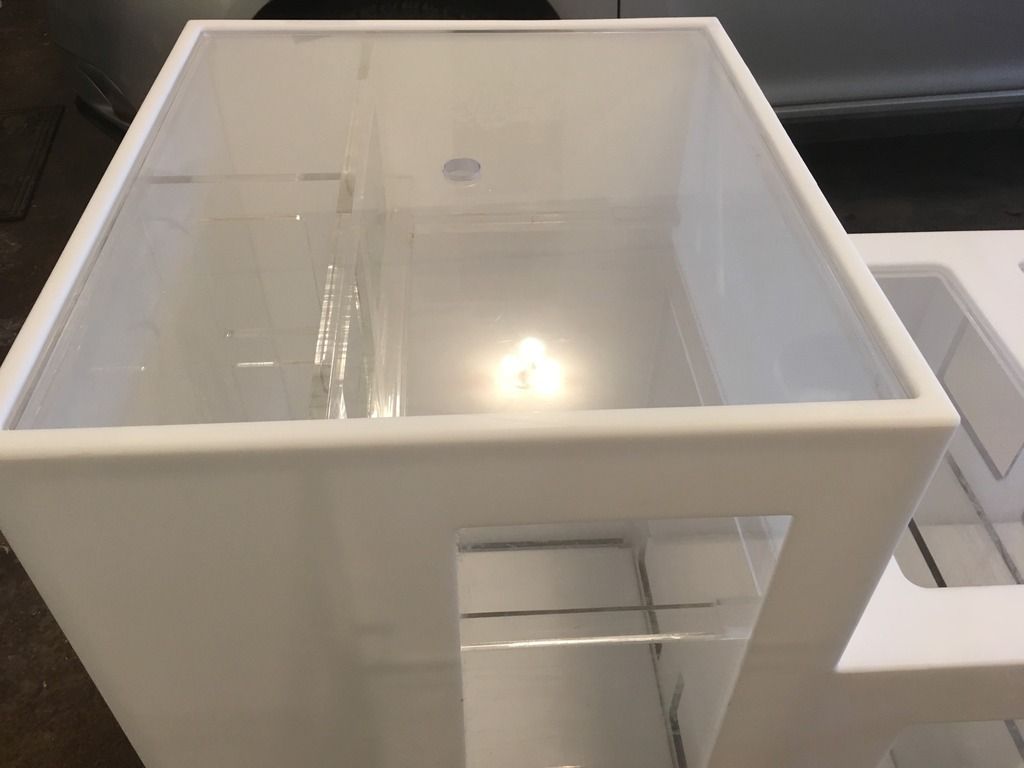 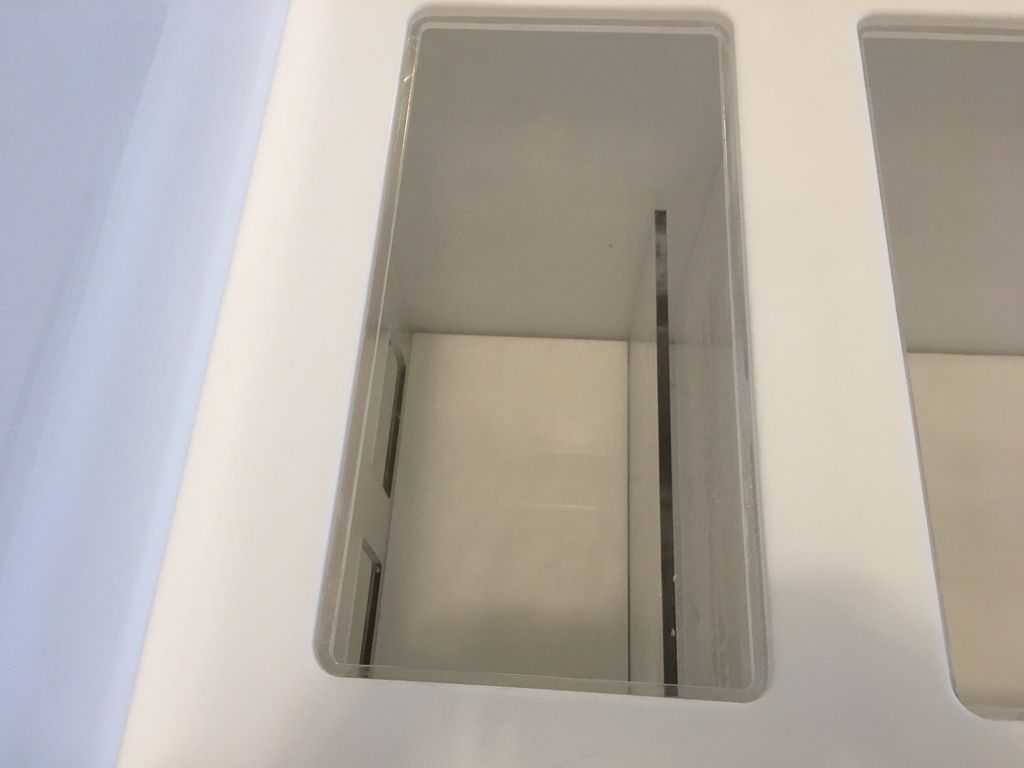 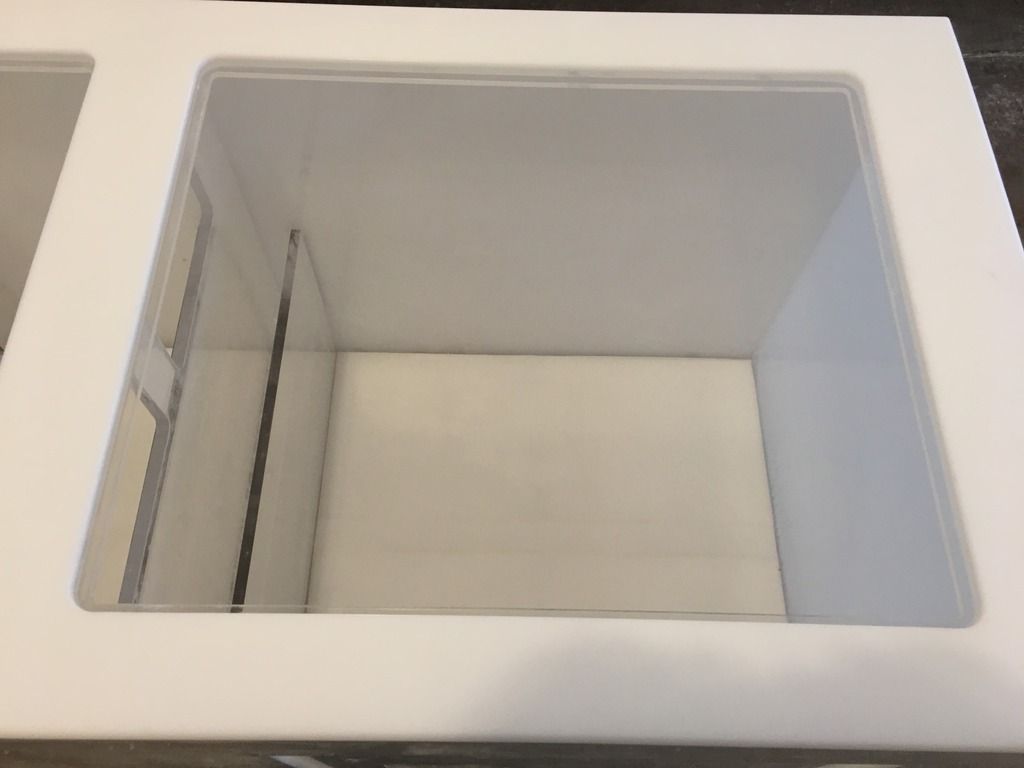
|
|
|
|
|
02/15/2017, 03:07 PM
|
#24 | |
|
Registered Member
Join Date: Mar 2011
Location: Golden, CO
Posts: 340
|
Quote:
|
|
|
|
|
|
02/15/2017, 03:10 PM
|
#25 |
|
Registered Member
Join Date: Mar 2011
Location: Golden, CO
Posts: 340
|
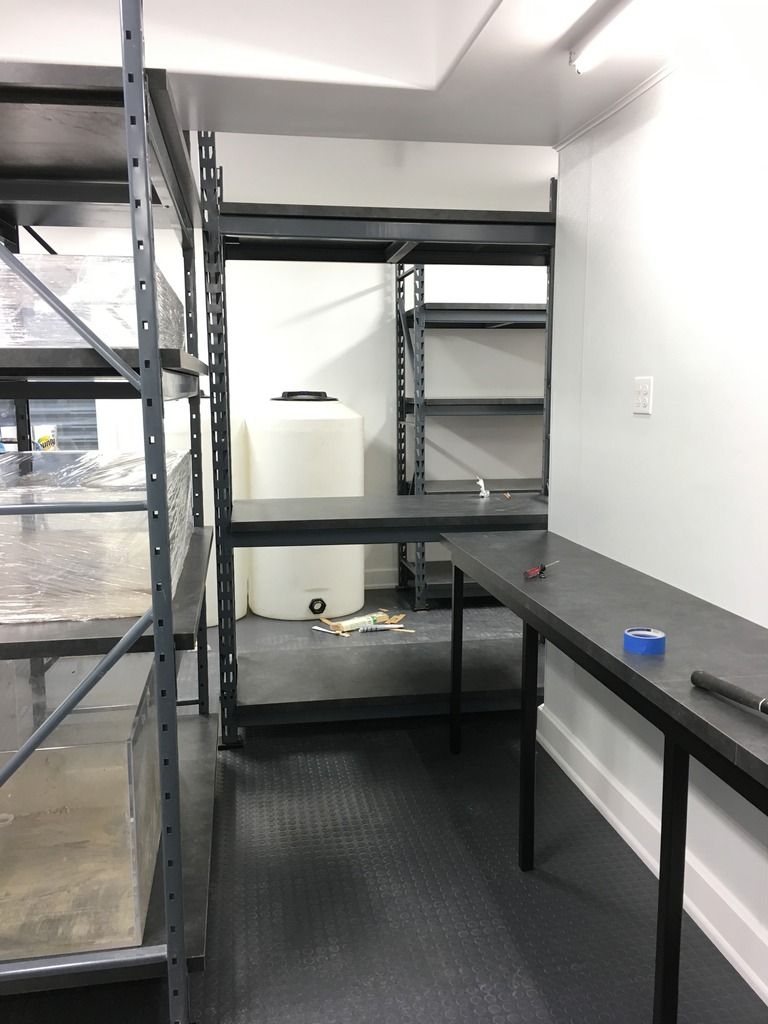
Panning the room at that point:
The door going out into the living area and the mixing station on the left. 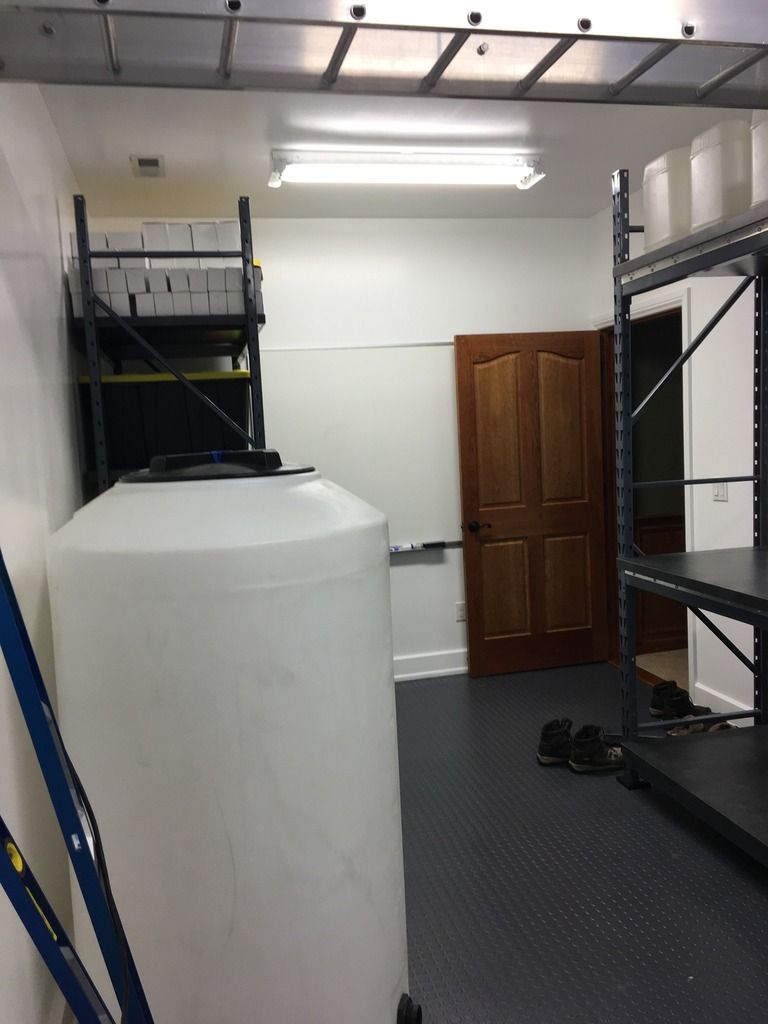 Where the refugium will sit. 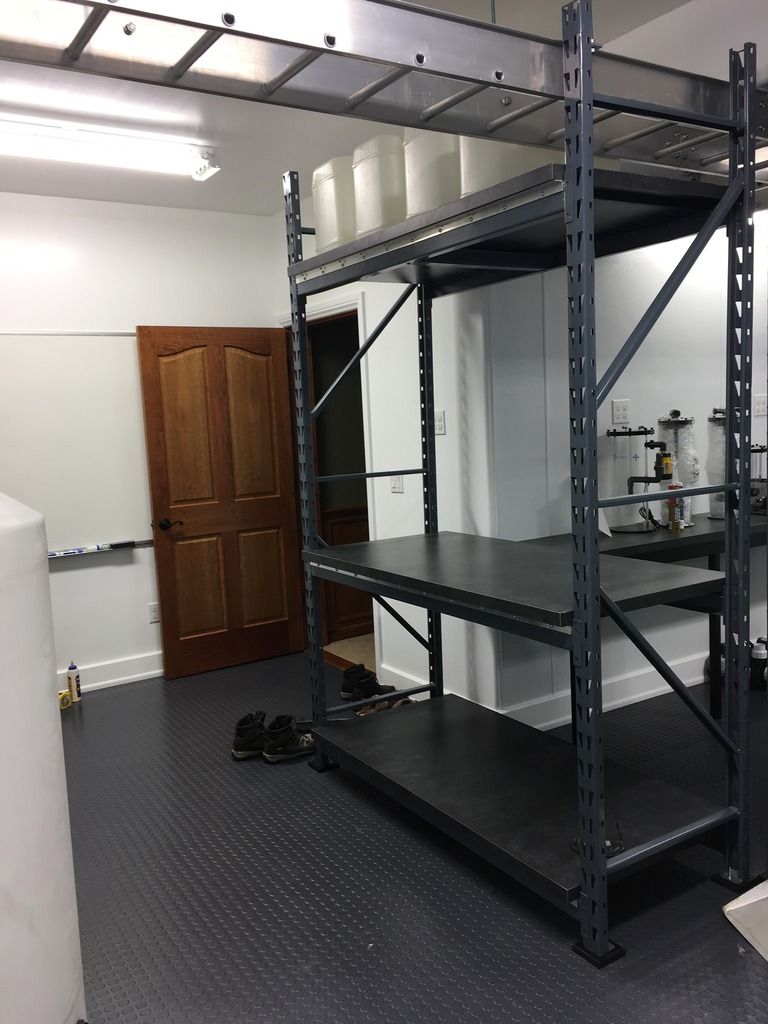 The refugium shelf (left) and the frag tank area perpendicular to the right. 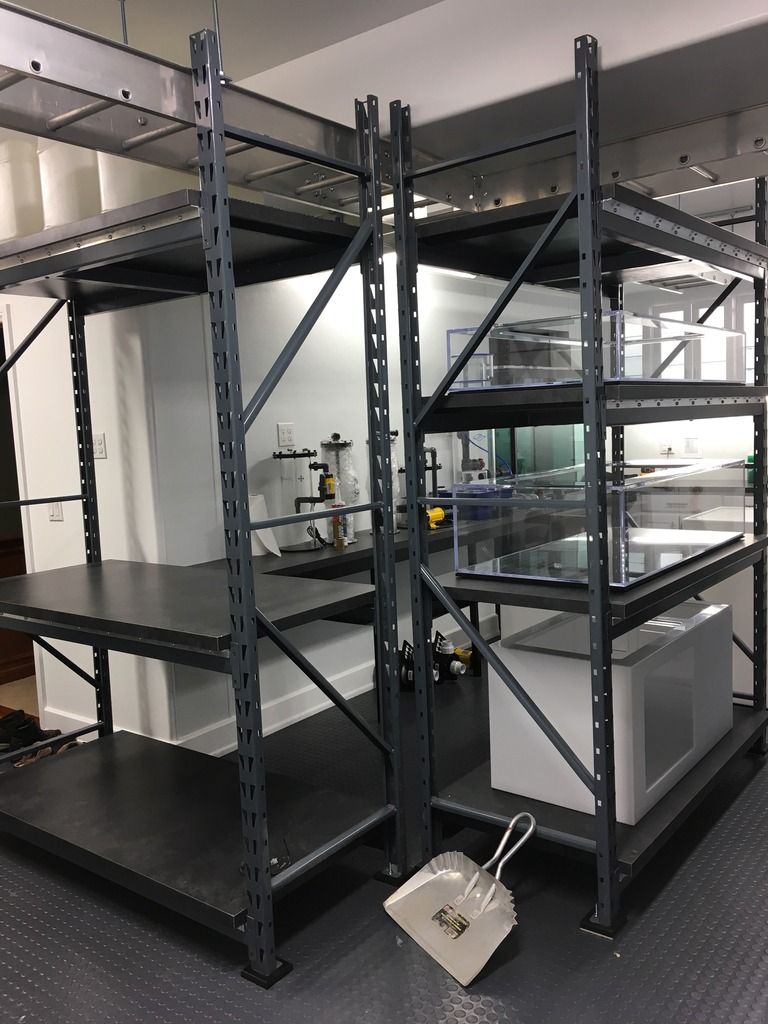 The walkway between the frag tanks (Left) and the coral/fish QT (Right) 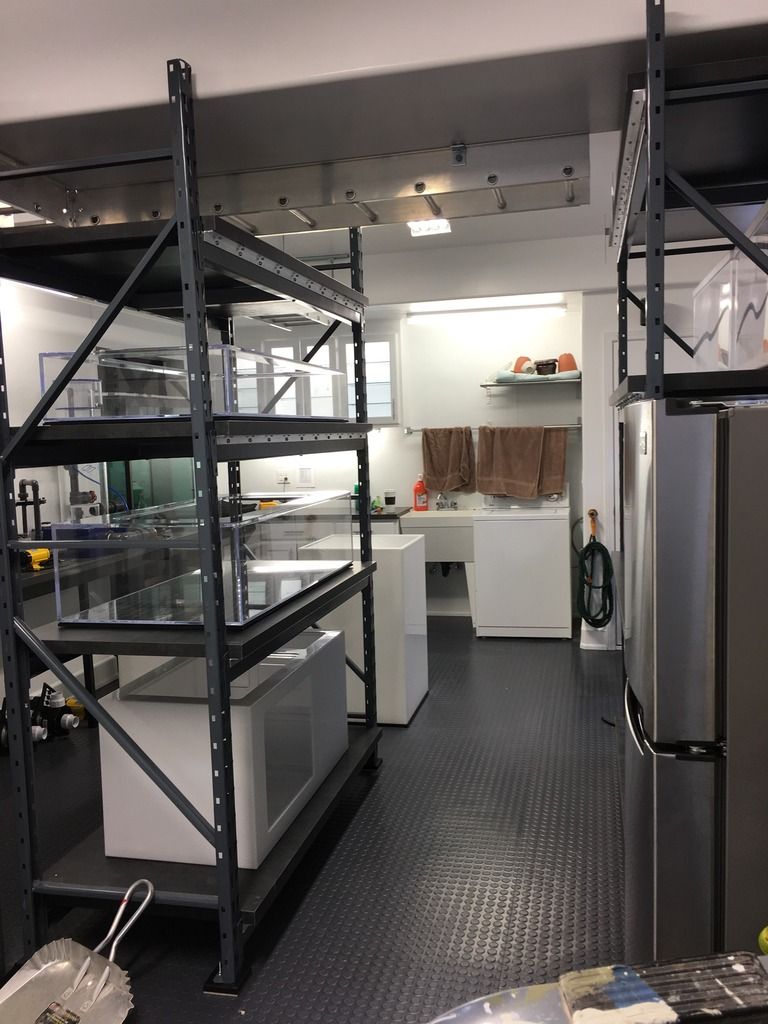
|
|
|
|
 |
| Thread Tools | |
|
|


