
|
|
 06/11/2012, 08:36 PM
|
#1 |
|
Registered Member
Join Date: Jun 2012
Location: Chillicothe, IL
Posts: 59
|
Hanging LED's Ideas
Hey everyone, I'm just looking to see if anyone has pictures of how they hung suspended their LED's above their tanks and kept it looking sleek... I need to mount 3 fixtures above my tank and want to get some ideas of how to make it look nice so the wife is happy :-)
|

|

|
|
06/11/2012, 10:09 PM
|
#2 |
|
Registered Member
Join Date: Mar 2001
Location: Naples, FL
Posts: 215
|
__________________
Current Tank Info: Reef SAVVY 55 gallon 26" x 24" x 20" |
|
|
|
|
06/12/2012, 10:51 AM
|
#3 |
|
Moved On
Join Date: Dec 2011
Location: Galveston
Posts: 417
|
Well I started off with just a huge heatsink (10"x46") that is the backbone of the LED fixture:
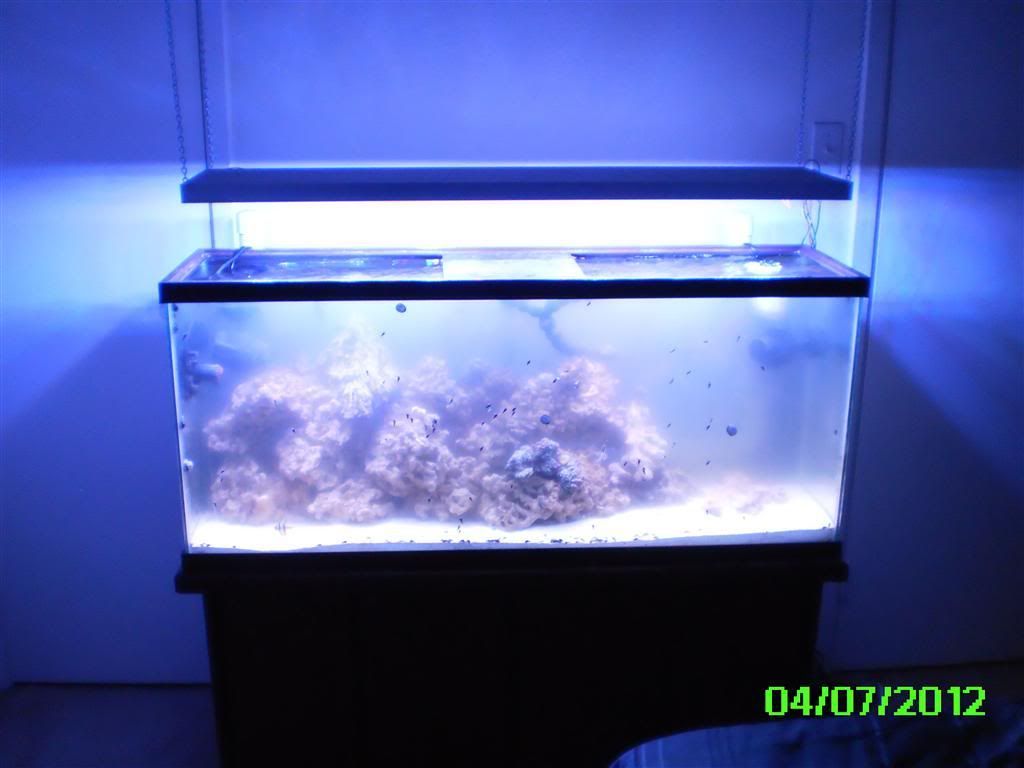 Then made a box with black sides and a clear bottom and siliconed it over the bottom to encase and protect the LEDs (dont mind the clothespins, they are just holding it on while the silicone dries): 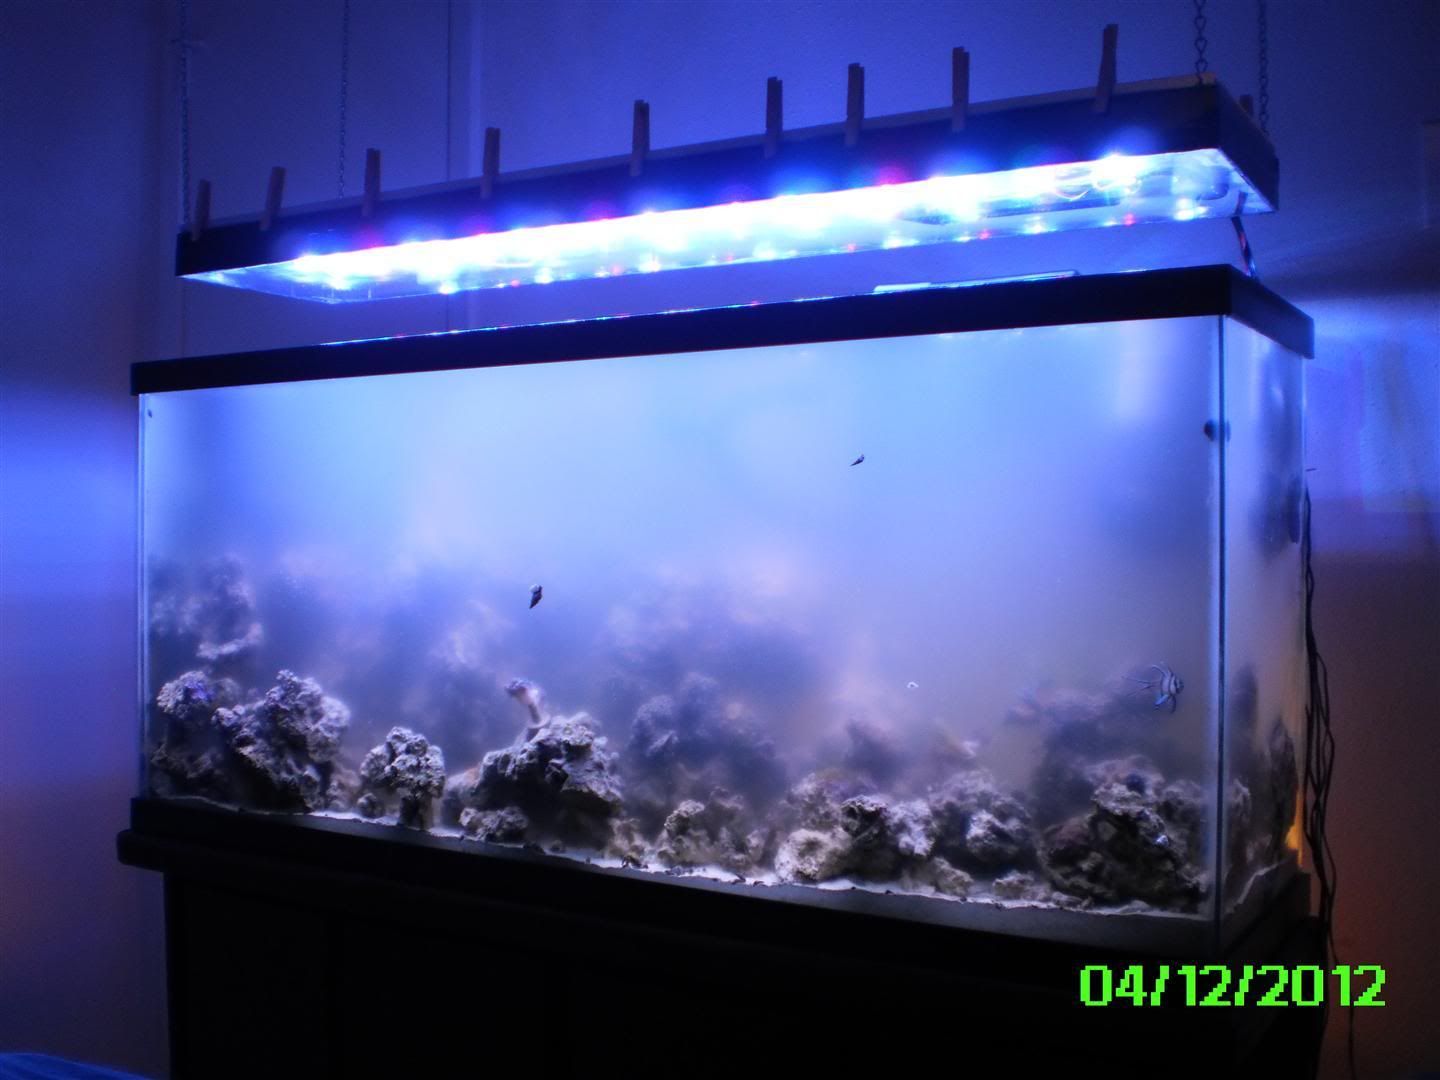 Then I added a blind so I wouldnt roll over in bed and blind myself (my tank is in my bedroom): 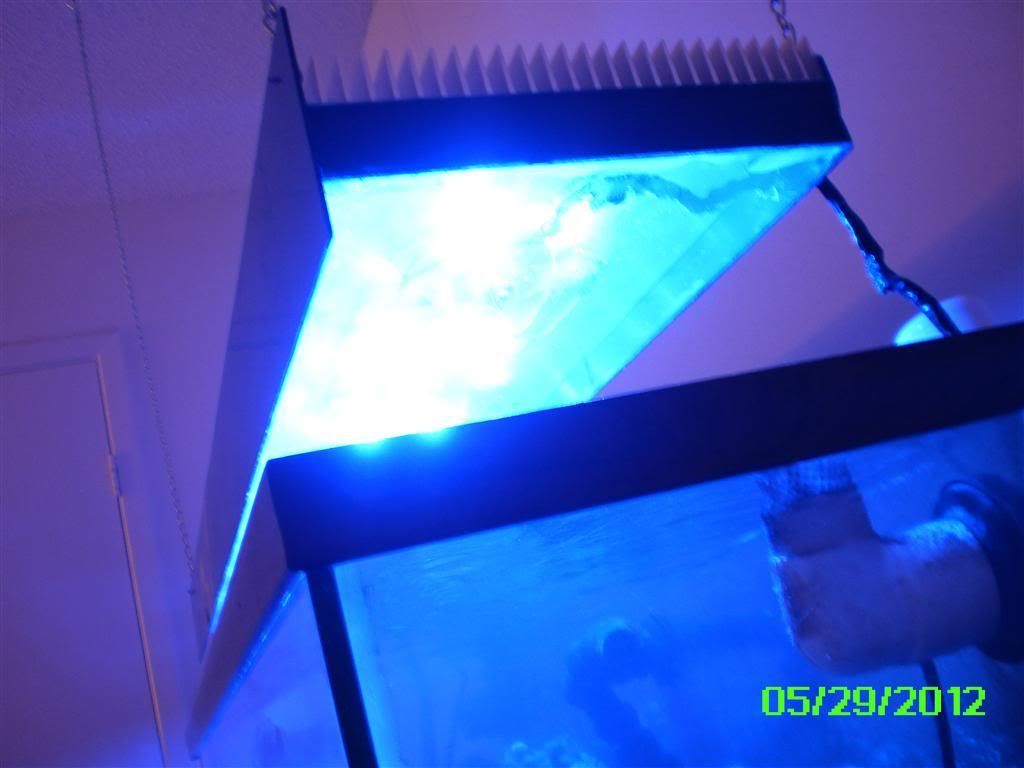 Looking back on it I think it would be better to build the box with a exactly the same way but put light scattering material on the bottom, lower the light a bit and forget the blind. I also could have used some real wire loom, and probably still will, instead of just electrical tape. |
|
|
|
|
06/12/2012, 12:29 PM
|
#4 |
|
Registered Member
Join Date: Nov 2002
Location: NY
Posts: 977
|
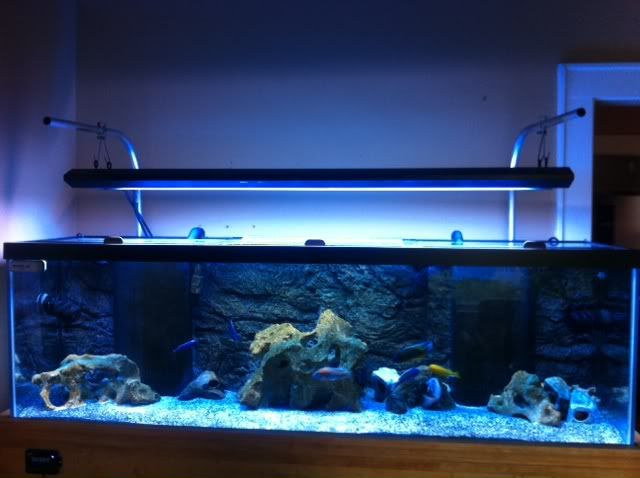
  I made a mount out of a standard LCD swingarm. |
|
|
|
|
06/12/2012, 12:39 PM
|
#5 |
|
Registered Member
Join Date: Jun 2012
Location: Chillicothe, IL
Posts: 59
|
Thats an interesting Idea Kahuna
|
|
|
|
|
06/12/2012, 02:41 PM
|
#6 | |
|
Registered Member
Join Date: Nov 2002
Location: NY
Posts: 977
|
Quote:
http://www.reefcentral.com/forums/sh....php?t=2168214 Nothing fancy, essentially a wooden post with the mount bolted atop. With a cube-like tank and oddball rockwork I wanted the ability to move the lights around and look decent so this seemed to fit the bill. |
|
|
|
|
|
06/12/2012, 08:10 PM
|
#7 |
|
Registered Member
Join Date: Feb 2012
Posts: 258
|
i just used conduit. and depending on how you hook up your heatsinks you can do 3 individual pieces of bent conduit, or 2 on each end and join the heatsinks with some 90 degree aluminum
 conduit un painted and un cut |
|
|
|
|
06/12/2012, 08:43 PM
|
#8 |
|
Registered Member
Join Date: Jun 2012
Location: Houston TX
Posts: 63
|
cool ideas guys. i need to get my canopy made so i can mount my light
|
|
|
|
|
06/12/2012, 09:32 PM
|
#9 |
|
Registered Member
Join Date: Apr 2012
Posts: 14
|
If you go the conduit route, I've seen people use copper pipe (easier to bend?) and then paint it.
|
|
|
|
|
06/13/2012, 05:01 AM
|
#10 |
|
Registered Member

Join Date: Apr 2009
Location: Columbus, IN
Posts: 532
|
__________________
Enjoy your time reefing ! Current Tank Info: 90G Perfecto Mfg. Cube, 20G sump, DIY 24 LED light fixture + 250 MH, DIY Arduino controller, Reef Octopus 1000 LSS skimmer |
|
|
|
|
06/13/2012, 07:18 AM
|
#11 | |
|
Registered Member
Join Date: Feb 2012
Posts: 258
|
Quote:
i think i paid 1 or 2 dollars for each 10ft piece of 3/4inch conduit ideally you want to use a metal primer, and then whatever spray paint for color for a longer lasting finish |
|
|
|
|
|
06/13/2012, 12:54 PM
|
#12 |
|
Moved On
Join Date: Dec 2011
Location: Galveston
Posts: 417
|
So out of curiosity why not just hang the lights from the ceiling? IMO its not much of an option with small tanks, but once you get up to the 40-50+ gallon size, and especially once they are close to eye level (closer to the ceiling) it seems like the cleanest option to me....
|
|
|
|
|
06/13/2012, 04:05 PM
|
#13 | |
|
Registered Member
Join Date: Jan 2012
Location: Massachusetts
Posts: 77
|
Quote:
Where did you get the hanging kit from, Can you please provide a link to it ? Is the hanging kit holding on to the acrylic or is it holding on to the heatsink underneath it ? |
|
|
|
|
|
06/13/2012, 09:50 PM
|
#14 | ||
|
Registered Member
Join Date: Mar 2001
Location: Naples, FL
Posts: 215
|
Quote:
I realized the benefits of the having the vent directly above the tank later on. Quote:
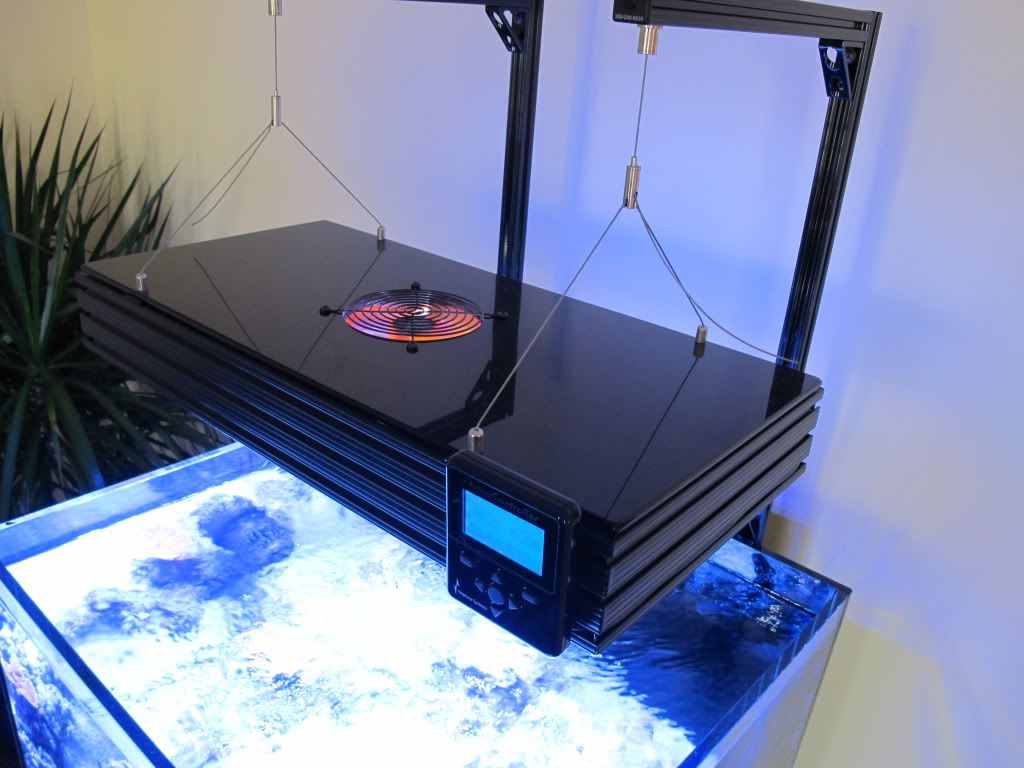
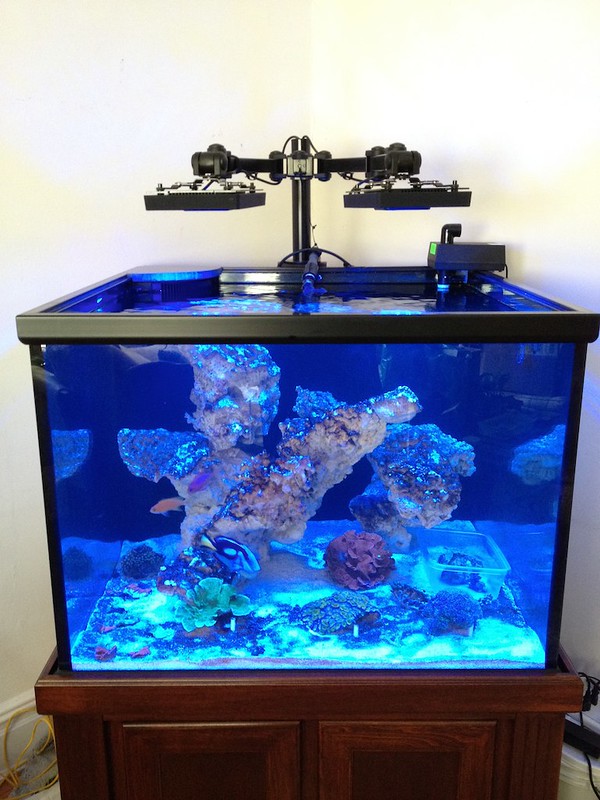
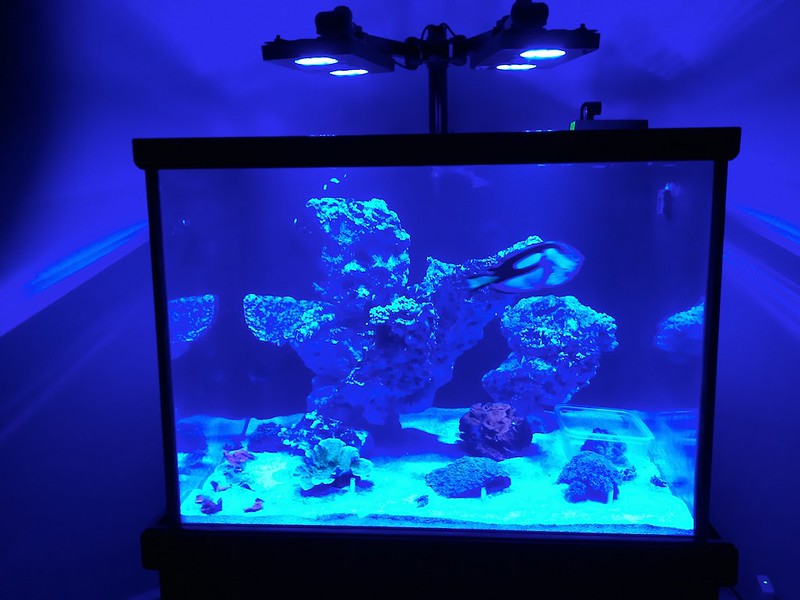
Thank you wastedtime, The hanging kit is from RapidLED http://www.rapidled.com/y-shaped-hanging-kit/ and it's mounted to aluminum frame. The acrylic top cover is held in place using the same 4 mounting bolts.
__________________
Current Tank Info: Reef SAVVY 55 gallon 26" x 24" x 20" |
||
|
|
|
|
06/14/2012, 11:19 AM
|
#15 |
|
Registered Member
Join Date: Dec 2011
Location: Las Vegas, NV
Posts: 430
|
|
|
|
|
|
06/14/2012, 12:48 PM
|
#16 | |
|
Registered Member
Join Date: Jan 2012
Location: Massachusetts
Posts: 77
|
Quote:
I am planning on doing something similar, Most mounting kits i have seen were super flimsy or too bulky. The rapidled one is perfect. |
|
|
|
|
|
06/14/2012, 01:06 PM
|
#17 | |
|
Registered Member
Join Date: Mar 2001
Location: Naples, FL
Posts: 215
|
Quote:
I'm not using a conventional heatsink on this build. The whole LED fixture is built using 80/20 aluminum extrusion. http://www.8020.net/T-Slot-4.asp 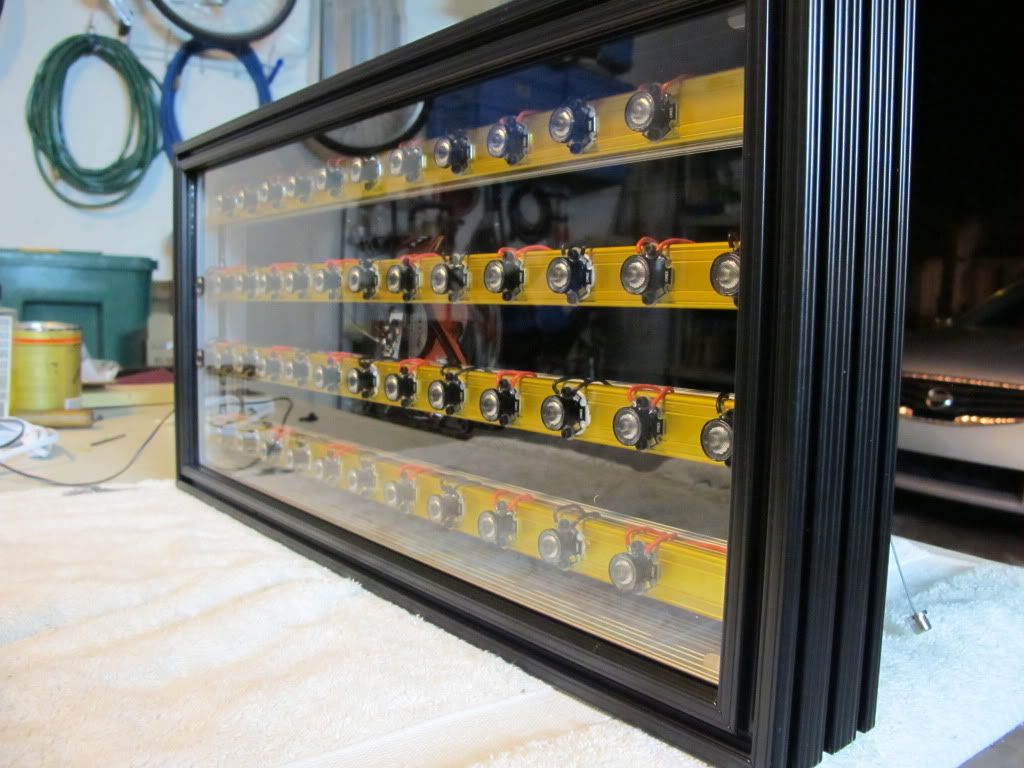 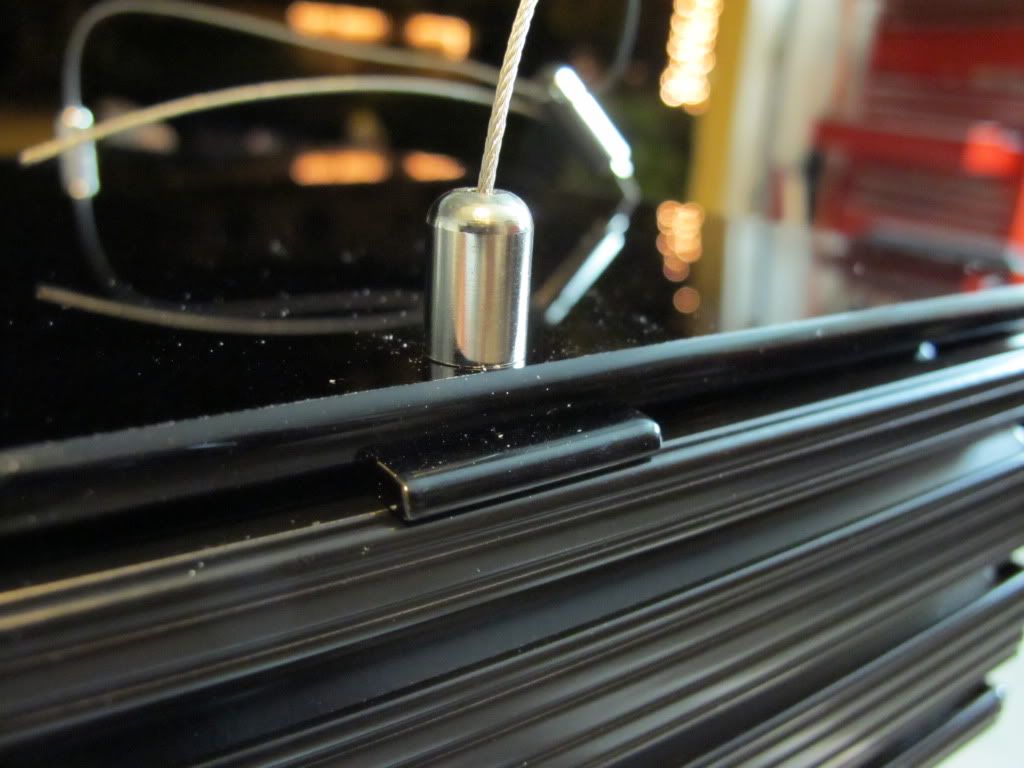
__________________
Current Tank Info: Reef SAVVY 55 gallon 26" x 24" x 20" Last edited by Snootch; 06/14/2012 at 01:13 PM. |
|
|
|
|
|
06/14/2012, 01:16 PM
|
#18 |
|
Registered Member
Join Date: Jan 2012
Location: Massachusetts
Posts: 77
|
Ahh I see it now. Those pictures help a lot. Thanks Snootch.
|
|
|
|
|
06/14/2012, 01:48 PM
|
#19 |
|
Registered Member
Join Date: Jun 2012
Location: Chillicothe, IL
Posts: 59
|
Great job on that build Snootch.
|
|
|
|
|
06/14/2012, 03:50 PM
|
#20 | |
|
Registered Member
Join Date: Nov 2002
Location: NY
Posts: 977
|
Quote:
|
|
|
|
|
|
06/14/2012, 04:21 PM
|
#21 | |
|
Registered Member
Join Date: Dec 2011
Location: Las Vegas, NV
Posts: 430
|
Quote:
That looks fantastic. Last edited by Landsailor; 06/14/2012 at 04:33 PM. |
|
|
|
|
|
06/14/2012, 09:11 PM
|
#22 |
|
Registered Member
Join Date: Dec 2008
Location: ft. laud
Posts: 5,994
|
there are 3 250w fixtures that are on a track and can move from one end to the other depending on which end I want to work in or they can all be removed all together if need be .....pg 8 has a pic of the individual fixtures http://www.reefcentral.com/forums/sh...2147084&page=8
 
__________________
Nano with a few dozen tangs. Life is the slowest form of suicide! |
|
|
|
|
06/14/2012, 09:45 PM
|
#23 | |
|
Registered Member
Join Date: Mar 2001
Location: Naples, FL
Posts: 215
|
Thank you guys, I appreciate the positive comments.
Quote:
__________________
Current Tank Info: Reef SAVVY 55 gallon 26" x 24" x 20" |
|
|
|
|
|
06/15/2012, 06:33 PM
|
#24 |
|
Registered Member
Join Date: Apr 2010
Location: orange county calif
Posts: 68
|
36x24x18 cree diy led build
__________________
36x24x20 lee mar euro braced 30 gal sump euro reef skimmer brs dual reactor diy leds 12 white xpg 18 blue xpe pwm controller keepin it simple |
|
|
|
|
07/18/2016, 12:42 PM
|
#25 | |
|
Registered Member
Join Date: Jan 2012
Posts: 67
|
Quote:
|
|
|
|
|
 |
|
|


