
|
|
 03/04/2010, 05:56 PM
|
#1 |
|
Registered Member
Join Date: Jan 2010
Location: Pacific NW
Posts: 156
|
Reef Tank Journal-death of a 125g, birth of a 150g.
Heres a quick summary to begin:
for 57 days i had a 125 gallon reef tank up and running. on march 1st i woke up to a decent size crack in the bottom pane of glass on my tank, spitting water everywhere. Since the glass is actually cracked i cant just re-silicone the leaky part, and since i dont have the time, or faith in myself, to take apart and reseal the entire tank. (if it were a 12 gallon tank sure, but were talking about 125 gallons of water at roughly 8.5 pounds per gallon here). i purchased a 150 gallon reef ready tank (that 6/8ths of this thread will be about) with the dimensions 48"L x 30"W x 25"H. The tank is going to arrive some time between now (the 4th) and the 20th of March. Since all my fish and coral are in a 10g QT for now, i dont have much of an aquarium to play with right now and im bored. so i decided to do this journal thread and ill start off with some pics of the short life of my 125. |

|

|
|
03/04/2010, 05:59 PM
|
#2 |
|
Registered Member
Join Date: Jan 2010
Location: Pacific NW
Posts: 156
|
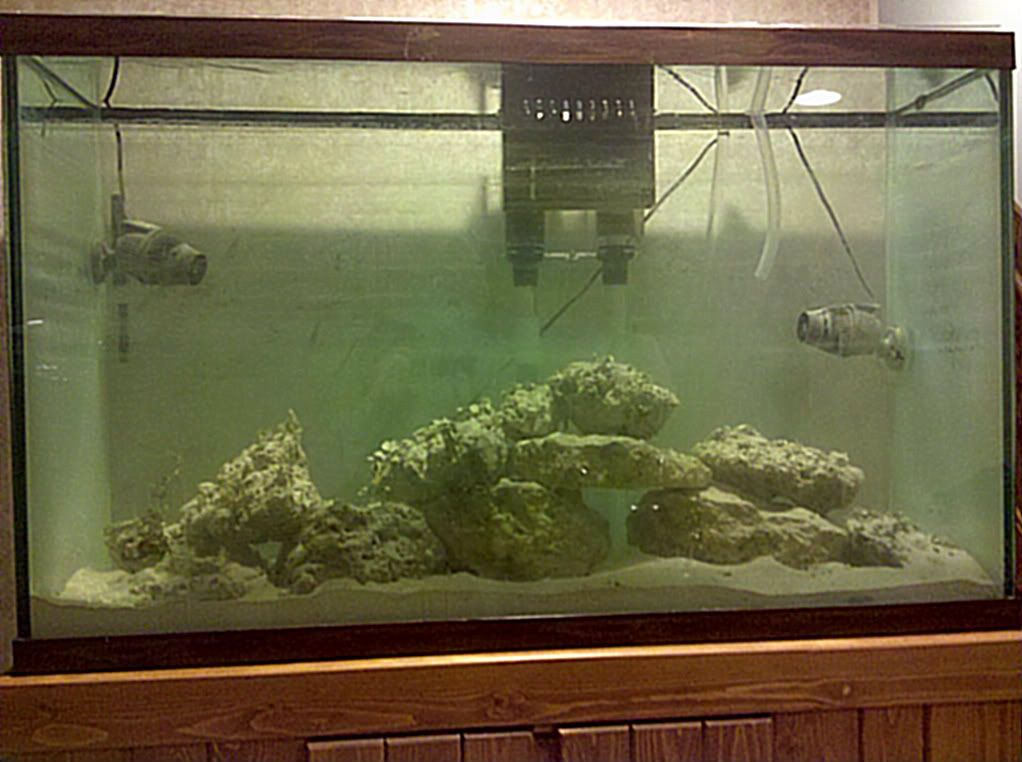
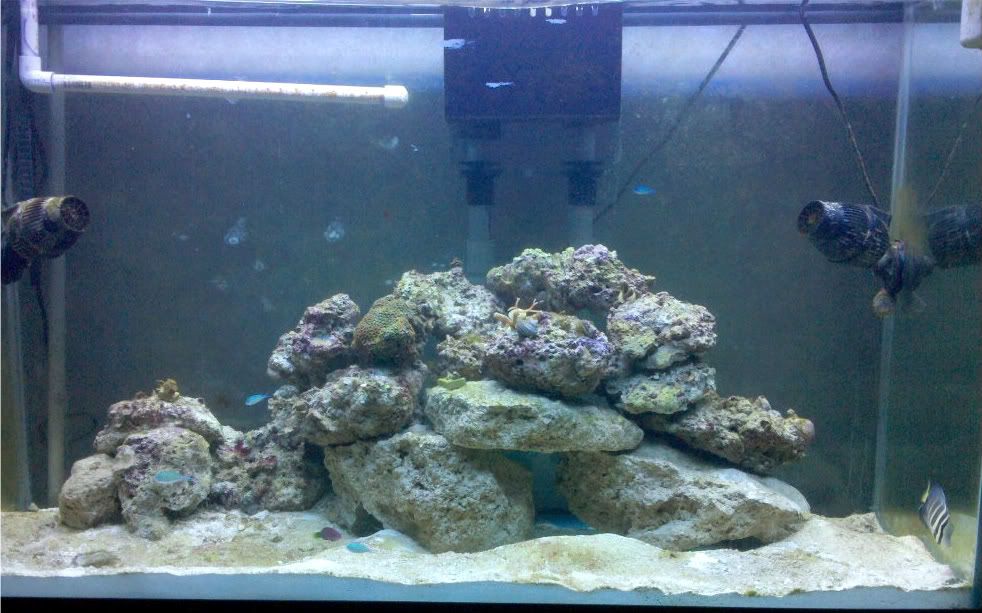
heres a pic of when it was first set up. i believe this is day 14. (sorry in advance for my poor picture taking skills with a cellfone. im working on getting a camera)
 heres a shot of my sump and skimmer. its an eshopps 20 gallon sump, reef octopus extreme 160, and an eheim 1262 return pump. 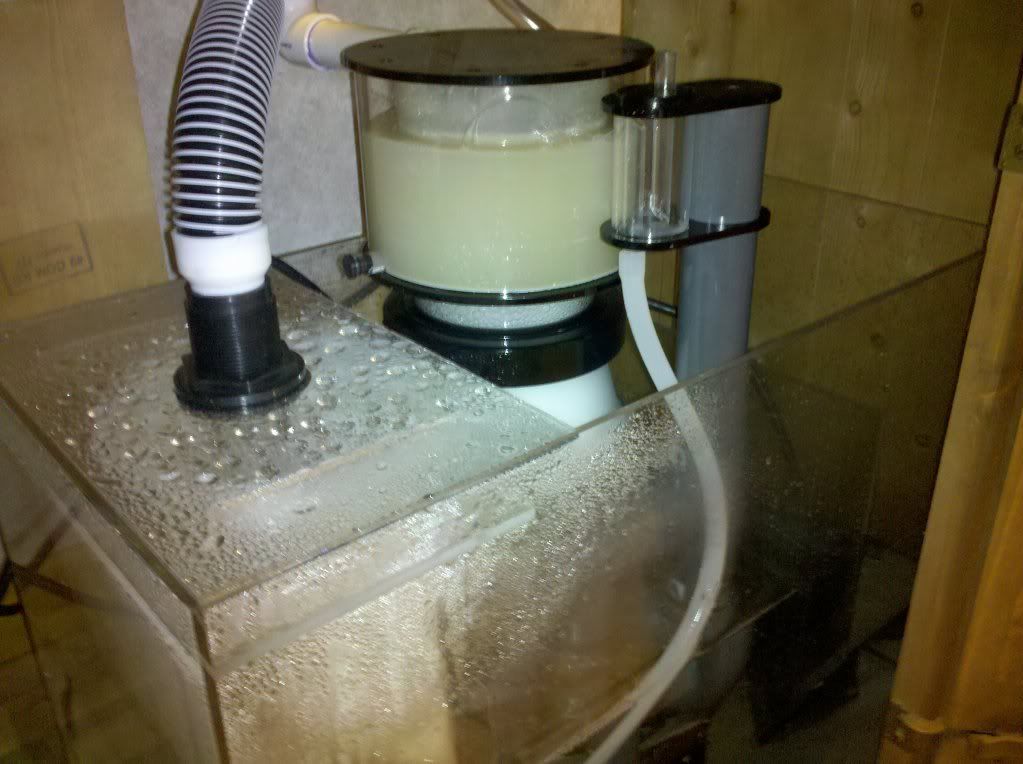
|
|
|
|
|
03/04/2010, 06:02 PM
|
#3 |
|
Registered Member
Join Date: Jan 2010
Location: Pacific NW
Posts: 156
|
a better shot of the return side.
 about a month into the process i noticed some aiptasia popping up 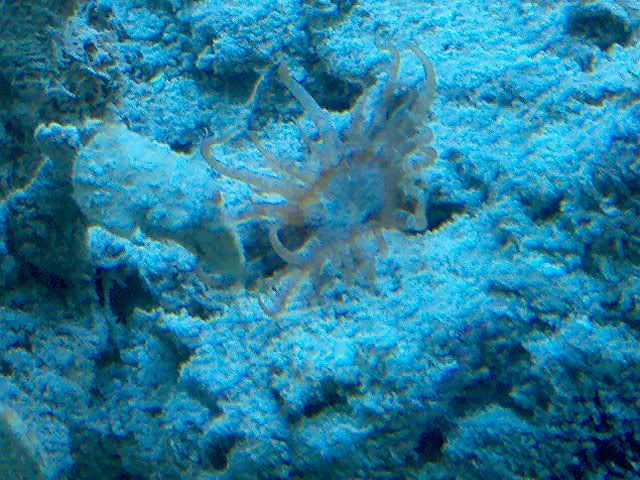 i got 5 peppermint shrimp and they took care of it as far as i can (or could) see. |
|
|
|
|
03/04/2010, 06:05 PM
|
#4 |
|
Registered Member
Join Date: Jan 2010
Location: Pacific NW
Posts: 156
|
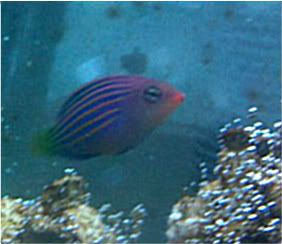
my first fish addition, a sixline wrasse
 i also added 4 blue chromis at the same time, this was the best pic i could get of one of them, theyre fast lil mofos lol. 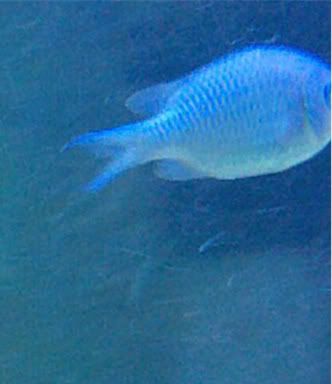 i got really excited when i saw the first signs of coralline algae growth: 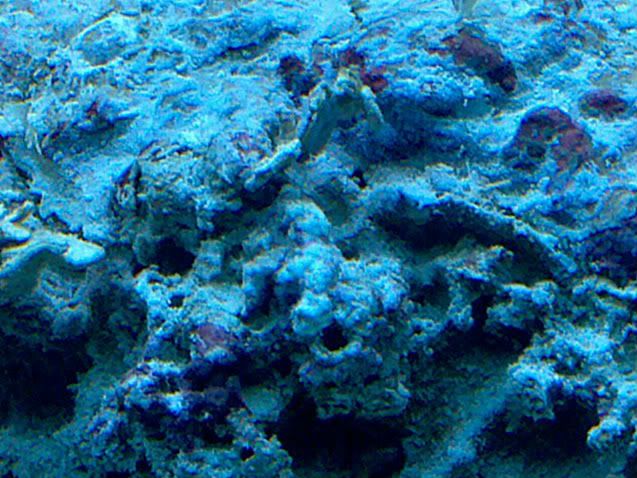
|
|
|
|
|
03/04/2010, 06:09 PM
|
#5 |
|
Registered Member
Join Date: Jan 2010
Location: Pacific NW
Posts: 156
|
then i got my first frag a green birdsnest from that fish place
 i also picked up a polyp rock while i was there too 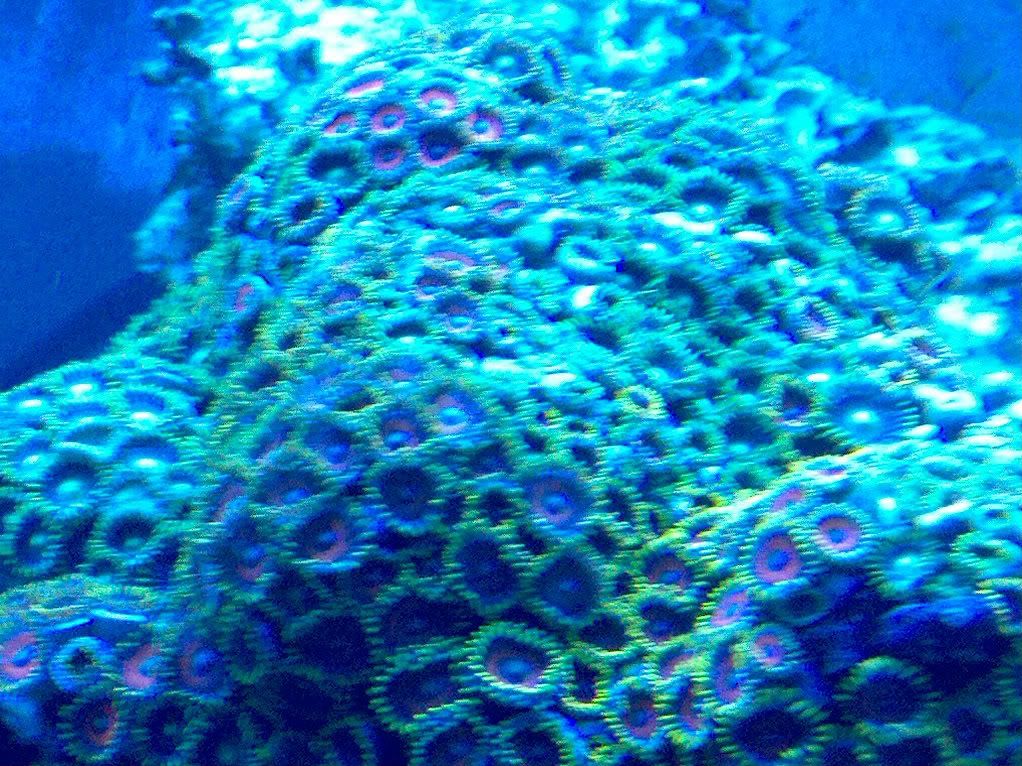 i couldnt resist temptation and i got a sailfin tang aswell 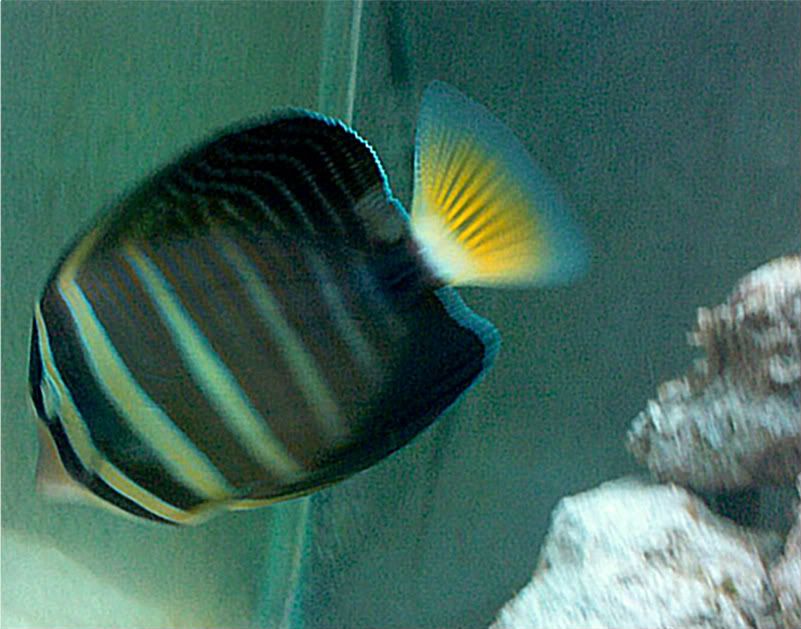 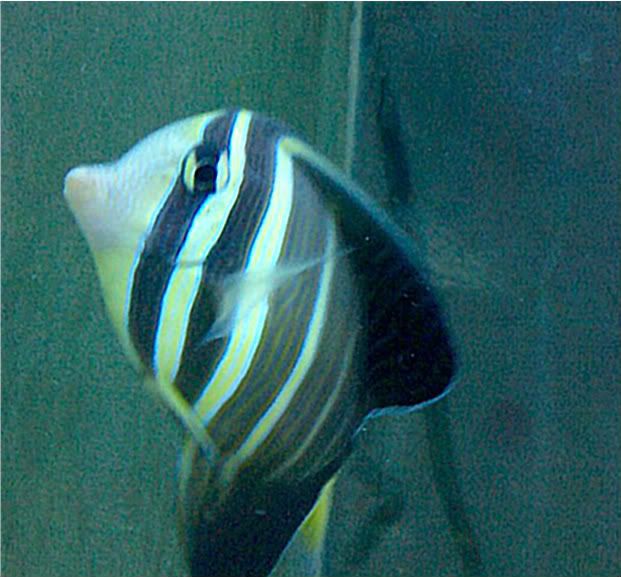
|
|
|
|
|
03/04/2010, 06:11 PM
|
#6 |
|
Registered Member
Join Date: Jan 2010
Location: Pacific NW
Posts: 156
|
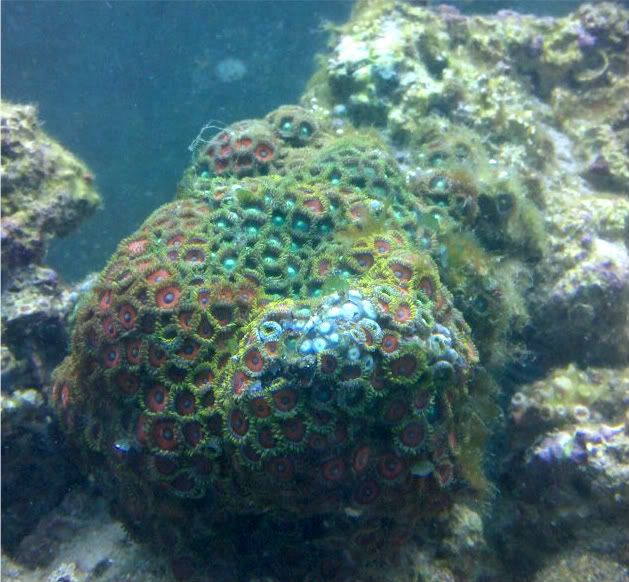
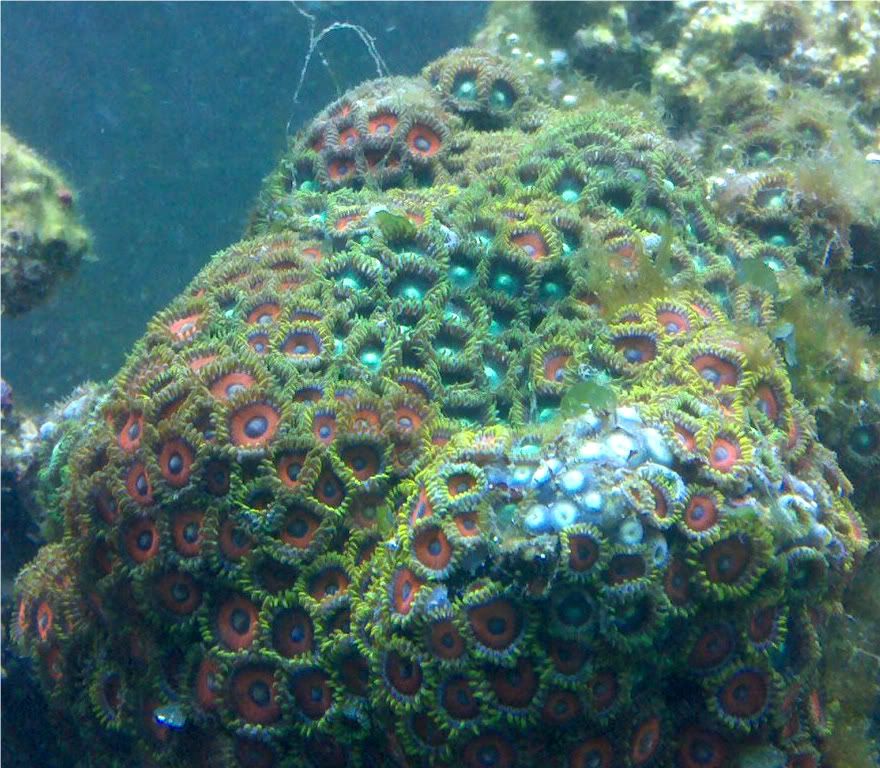
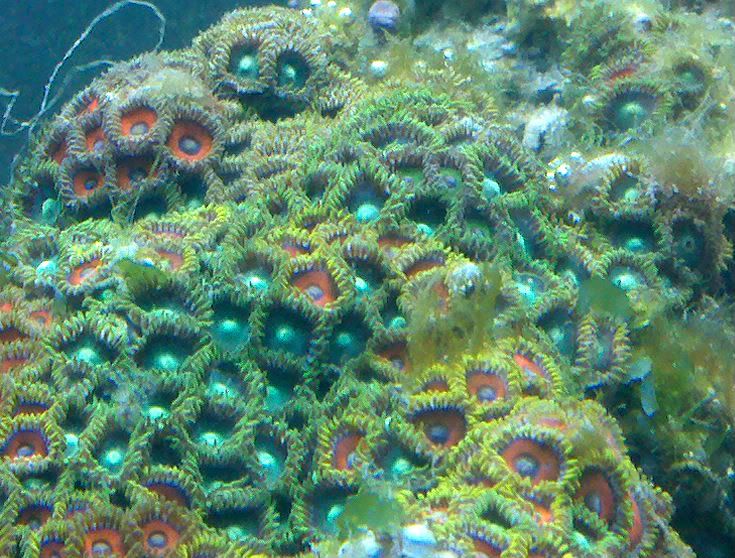
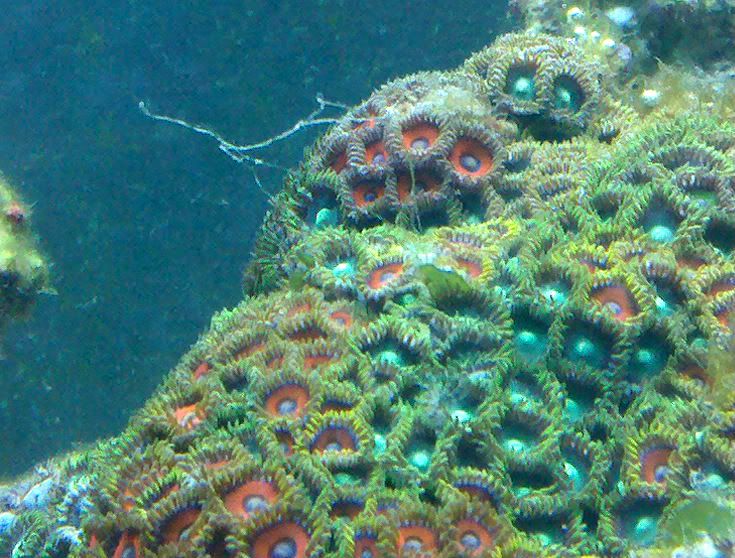
i picked up a few frags from a friend:
brown galaxy zoas 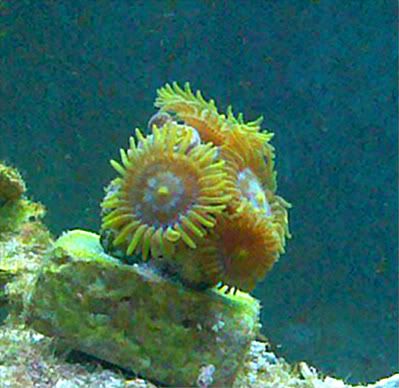 green millepora 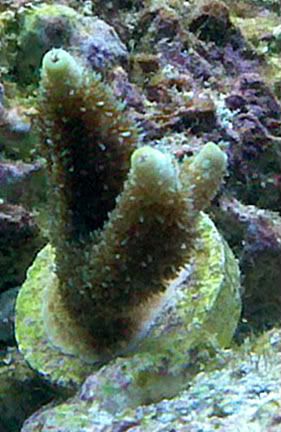 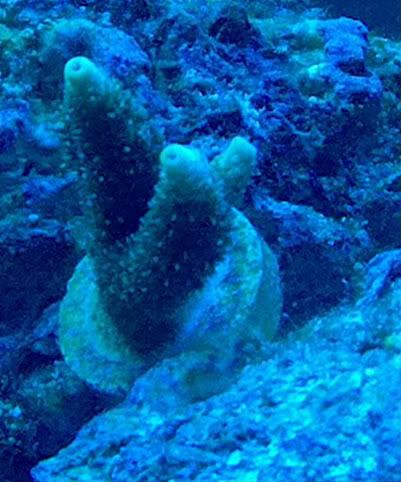 an ORA pink birdsnest 
|
|
|
|
|
03/04/2010, 06:14 PM
|
#7 |
|
Registered Member
Join Date: Jan 2010
Location: Pacific NW
Posts: 156
|
heres a FTS day 44
 another shot of the green birdsnest 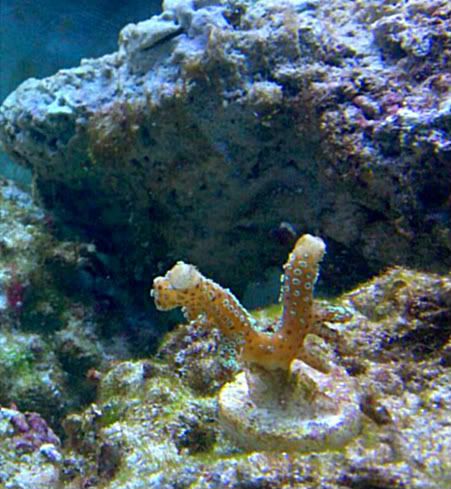 heres one of my turbo snails that loved to knock frags over 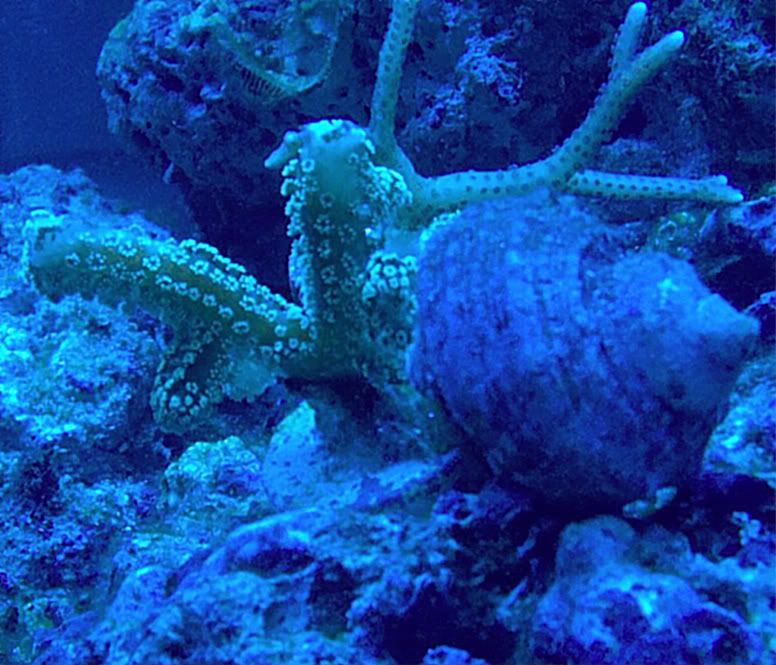
|
|
|
|
|
03/04/2010, 06:15 PM
|
#8 |
|
Registered Member
Join Date: Jan 2010
Location: Pacific NW
Posts: 156
|
Left
 Middle 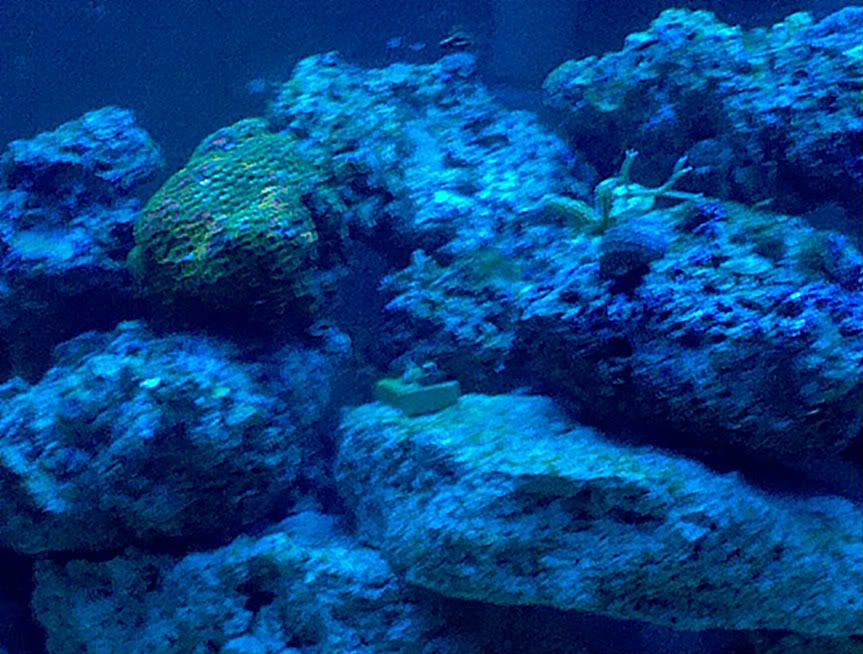 Right 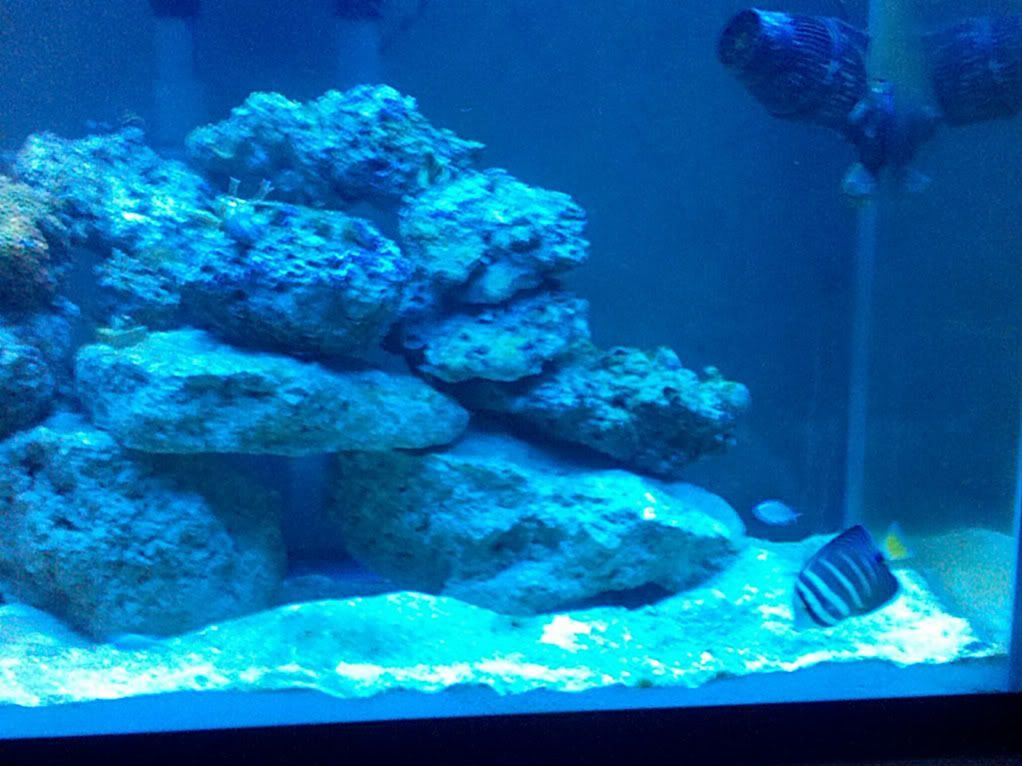
|
|
|
|
|
03/04/2010, 06:18 PM
|
#9 |
|
Registered Member
Join Date: Jan 2010
Location: Pacific NW
Posts: 156
|
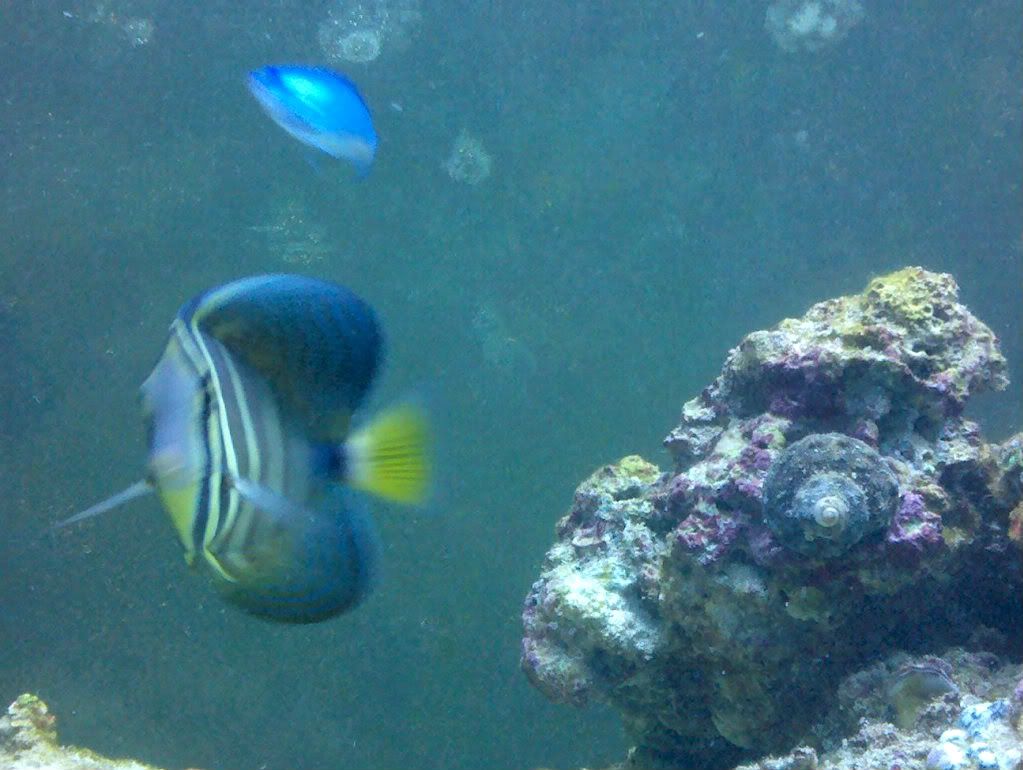
heres a shot of the tang and a chromis
 and this guy, for a month and a half i thought he was a hermit crab untill i saw him crawling up the tank side... 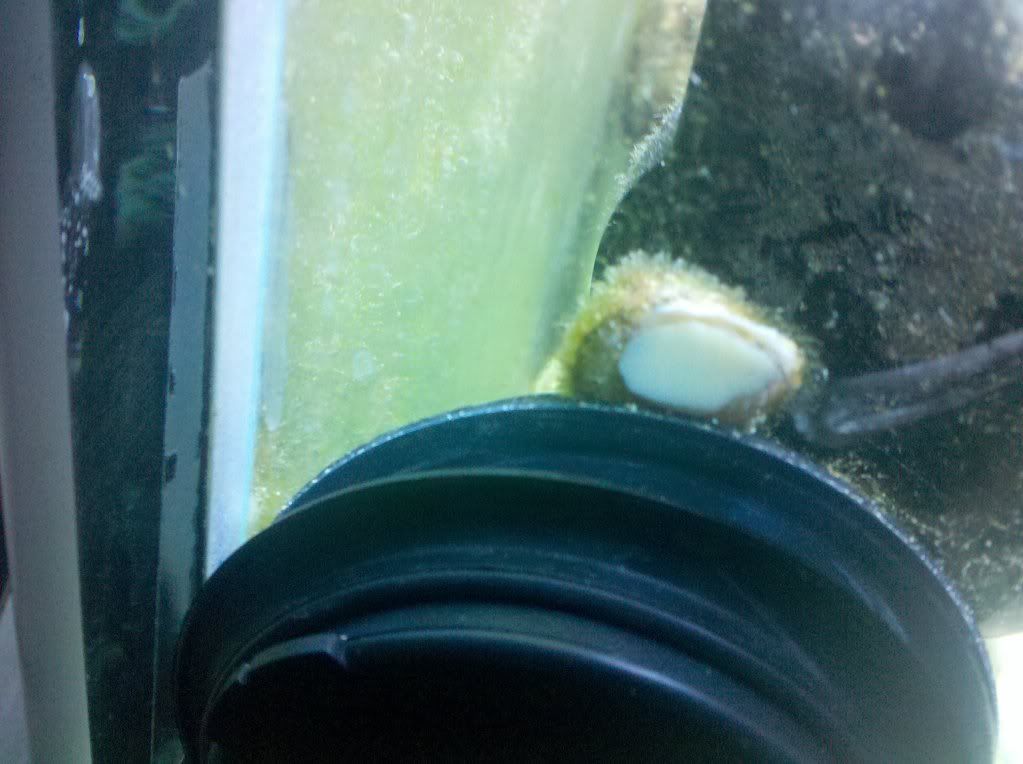
|
|
|
|
|
03/04/2010, 06:20 PM
|
#10 |
|
Registered Member
Join Date: Jan 2010
Location: Pacific NW
Posts: 156
|
then i noticed some algae growing on my polyp rock
|
|
|
|
|
03/04/2010, 06:22 PM
|
#11 |
|
Registered Member
Join Date: Jan 2010
Location: Pacific NW
Posts: 156
|
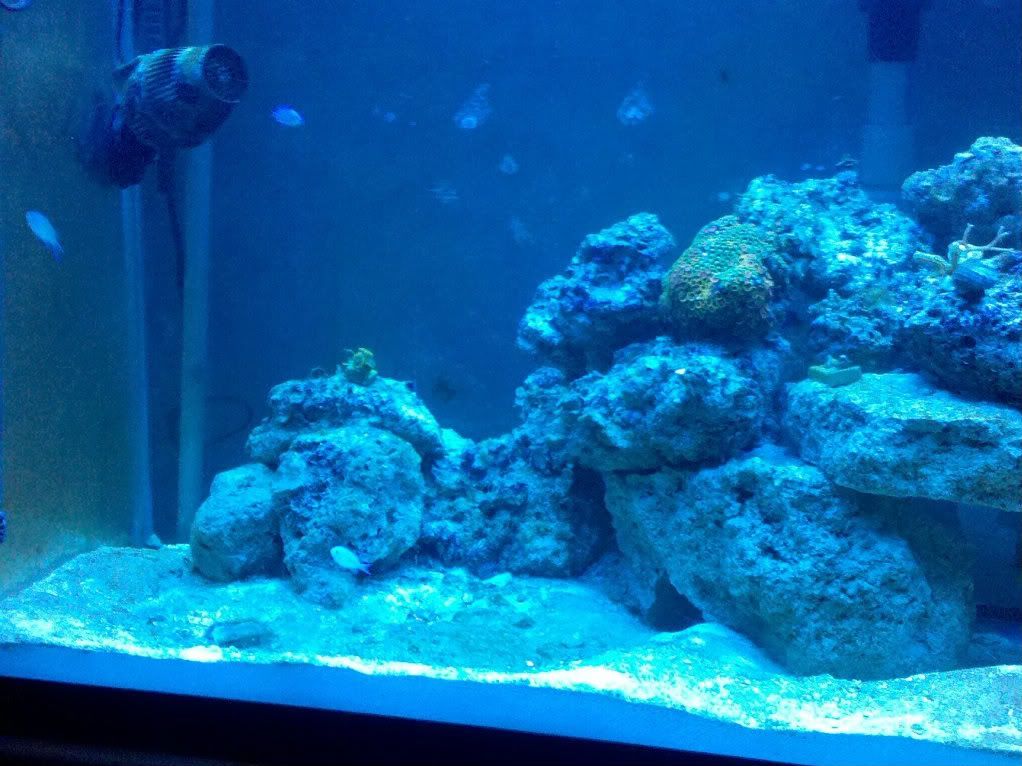
i was trying to figure out what to do with my algae problem, i got alot of help from some of you guys over in the newbie forum (ill hafta look for the thread). heres the last FTS of the 125 reef.....
day 56 feb. 28th 2010 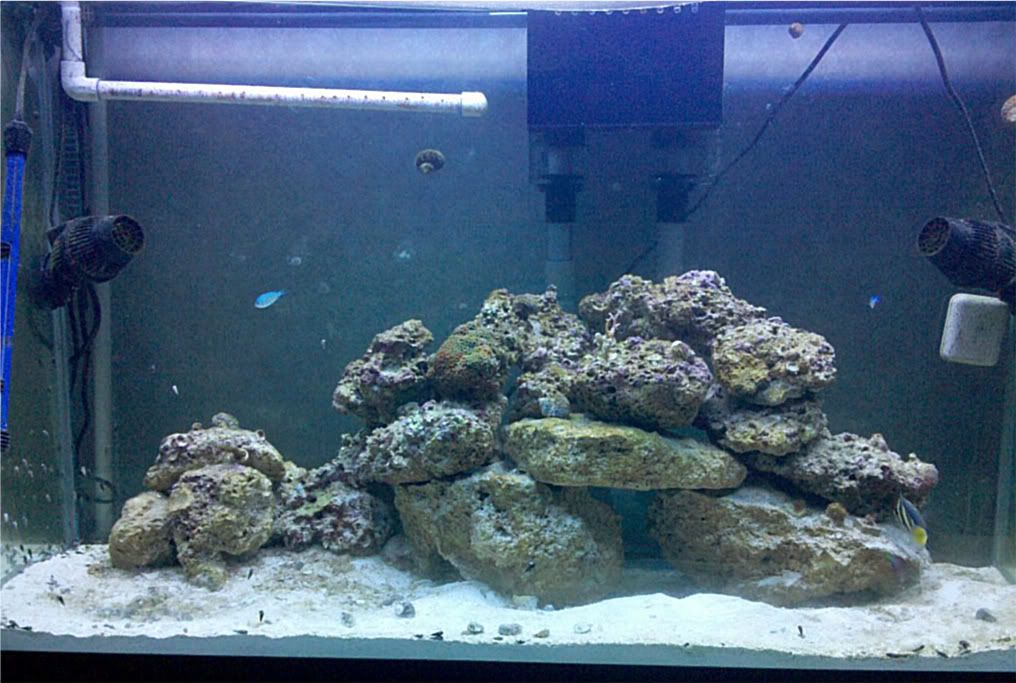
|
|
|
|
|
03/04/2010, 06:26 PM
|
#12 |
|
Registered Member
Join Date: Jan 2010
Location: Pacific NW
Posts: 156
|
the next morning i woke up to the cracked tank
 , ,  & &  still havent concluded on what exactly happened. the tank itself still has the sticker from mfg. it says march 9th 1987. so its almost a 23 year old tank, i guess its time has come for now. i figure when it gets warmer out i could try and get it back in working order out in my garage, but we shall see. heres the final 125 FTS: march 1, 2010 day 57 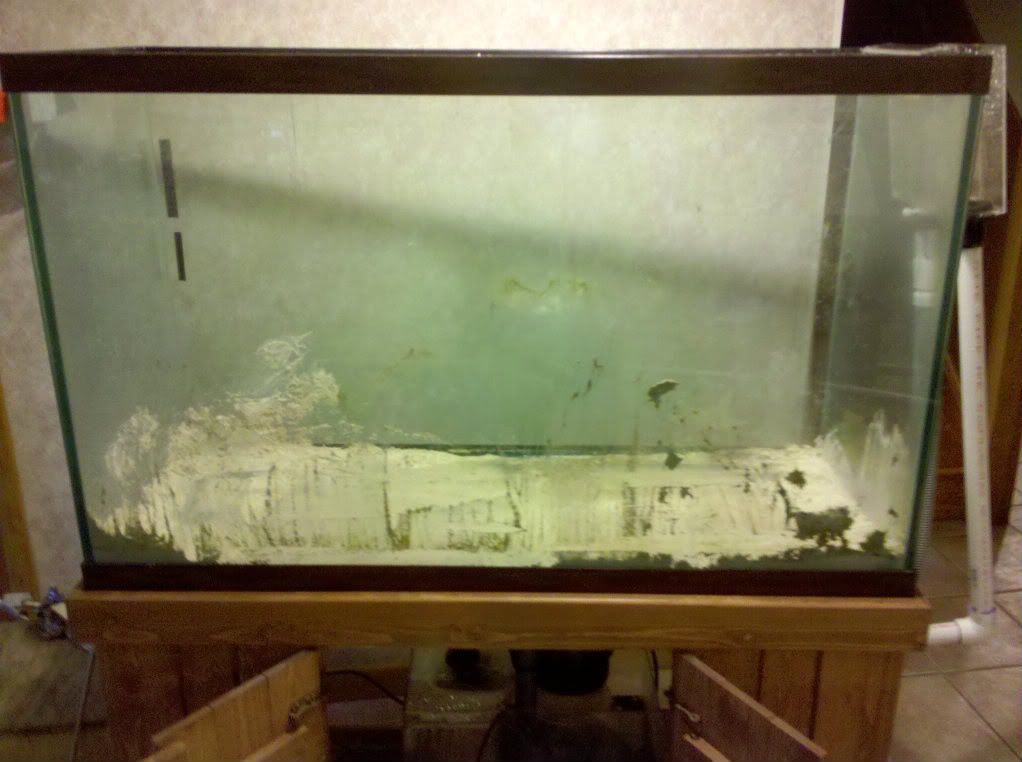
|
|
|
|
|
03/04/2010, 06:27 PM
|
#13 |
|
Registered Member
Join Date: Jan 2010
Location: Pacific NW
Posts: 156
|
sorry if this was extremely boring, im done with pics for now. tomorrow ill get some pics up of the QT and the LR being stored and stuff.
|
|
|
|
|
03/21/2010, 01:57 AM
|
#14 |
|
Registered Member
Join Date: Jan 2010
Location: Pacific NW
Posts: 156
|
i picked up my tank and stand today from glasscages. it was an awesomely easy process. there were a few other people waiting for tanks and stuff from them at the delivery spot. i had the biggest tank being delivered
 so i got to load mine into my vehicle first. i was surprised that they showed up in their own glasscages semi (i wish i got a picture of it, it was pretty sweet). the guys were very professional about the whole thing, it took about 5 minutes from my name being called to my tank and stand being unloaded, and then packed up and ready to go. the tank looks pretty good, it is definitely better than a lot of rumors i have read about this company. i dont have a picture of the tank atm. but i will in the morning. the stand i got from them looks pretty good too, its an unfinished oak stand that i am staining myself. when i got home today i started sanding and doing the first 3 coats of stain on the stand. tomorrow i will be finishing the staining and detailing, and then bring the stand in from the garage to set up the plumbing. pictures of the stand to follow, and more of the tank and rest of the build tomorrow. so i got to load mine into my vehicle first. i was surprised that they showed up in their own glasscages semi (i wish i got a picture of it, it was pretty sweet). the guys were very professional about the whole thing, it took about 5 minutes from my name being called to my tank and stand being unloaded, and then packed up and ready to go. the tank looks pretty good, it is definitely better than a lot of rumors i have read about this company. i dont have a picture of the tank atm. but i will in the morning. the stand i got from them looks pretty good too, its an unfinished oak stand that i am staining myself. when i got home today i started sanding and doing the first 3 coats of stain on the stand. tomorrow i will be finishing the staining and detailing, and then bring the stand in from the garage to set up the plumbing. pictures of the stand to follow, and more of the tank and rest of the build tomorrow.
|
|
|
|
|
03/21/2010, 02:02 AM
|
#15 |
|
Registered Member
Join Date: Jan 2010
Location: Pacific NW
Posts: 156
|
stand
stand direct from factory
|
|
|
|
|
03/21/2010, 02:06 AM
|
#16 |
|
Registered Member
Join Date: Jan 2010
Location: Pacific NW
Posts: 156
|
after 3 coats of Minwax Golden Pecan 245
|
|
|
|
|
03/22/2010, 12:11 AM
|
#17 |
|
Registered Member
Join Date: Jan 2010
Location: Pacific NW
Posts: 156
|
heres a few more shots of the stand being stained, should be done and ready for the tank tomorrow or tuesday. what do you think of the color of the stain?
|
|
|
|
|
03/22/2010, 01:56 AM
|
#18 |
|
Registered Member
Join Date: Nov 2006
Location: Titusville, FL
Posts: 3,227
|
Well, everything looks like it is working out for you now! Is that white patch on the top of the stand a hole for your overflow?
__________________
The ocean is the pinnacle of reef tanks. Someone up there is keeping up with his PH and Phosphates to. |
|
|
|
|
03/22/2010, 07:43 AM
|
#19 |
|
Registered Member
Join Date: Mar 2010
Location: central wisconsin
Posts: 68
|
I had a 240 gallon tank that i came home from work one day and walked into my basement and had 2 iches of water on the floor... It had cracked so i know ur feelings... Most of the everything was dead when i got home... To make a long story short, i got another piece of glass and silicone FOR FREE from the company i order the tank from, can't remember off hand who it was, and then put siliconeover the the crack which was spidered kinda bad then had my brother help me put the glass down into place... Filled it up with water a week later to check it for leaks and everything was all good... Its really easier than it sounds to do so save the tank and buy some silicone and glass and u will be all good... Take ur time and make sure the silicone covers all the cracked spots and have some heavy buckets or something to put on the glass to hold it down... Hope this makes u feel better about fixing the tank urself...
|
|
|
|
|
03/22/2010, 12:31 PM
|
#20 | ||
|
Registered Member
Join Date: Jan 2010
Location: Pacific NW
Posts: 156
|
Quote:
Quote:
wow i never would have thought it would really be that easy, im sorry to hear that happened to you. since i bought it second hand there was no way to get it replaced for free, although i thought of just replacing the bottom but then another seam somewhere would probably break, the tank is 23 years old. now that its warmer out i will be taking it out to the garage to break it down and completely re silicone the whole thing (it just might lead to a FOWLR build thread  ) )
|
||
|
|
|
|
04/12/2010, 01:38 PM
|
#21 |
|
Registered Member
Join Date: Jan 2010
Location: Pacific NW
Posts: 156
|
update
ive got the tank and stand in the house finally, all the plumbing is done except im just waiting for the loc-line i ordered to complete the return line. i would have pictures of the plumbing getting put together but my friend using my camera phone to take pictures while i was working didnt press the "save picture" button.
anyways, as soon as i get the loc-line i will be leak testing, and if everything goes well i will add my sand and LR and begin the cycle!  heres some pics: heres some pics:
|
|
|
|
|
04/12/2010, 01:43 PM
|
#22 |
|
Registered Member
Join Date: Jan 2010
Location: Pacific NW
Posts: 156
|
i had to attatch the black acrylic overflow cover, so i figured GE silicone II would be the best bet. i sealed all the edges to make sure no water, detritus etc. could get stuck between the overflow box and overflow cover. i think i did pretty good for my first time using silicone. heres a pic of my durso standpipe and some beading i did with the silicone.
|
|
|
|
|
04/12/2010, 01:45 PM
|
#23 |
|
Registered Member
Join Date: Jan 2010
Location: Pacific NW
Posts: 156
|
ok for some reason the site wants to time out when im uploading pics so ill wait till later and see if it will work
|
|
|
|
|
04/12/2010, 01:47 PM
|
#24 |
|
Registered Member
Join Date: Jan 2010
Location: Pacific NW
Posts: 156
|
i dont know how that pic got there...but ok lol.
|
|
|
|
|
04/12/2010, 02:01 PM
|
#25 |
|
Registered Member
Join Date: Apr 2003
Location: Knoxville, TN
Posts: 977
|
that sure sucks about the 125. the 150 is gonna be sweet when you get some water in there... one question. is that a brass valve on top of your drain?
|
|
|
|
 |
| Tags |
| journal, newbie, pictures, reef |
|
|


