


|
 |
|
|
#1 |
|
Registered Member
Join Date: Jan 2016
Posts: 52
|
Basso Inspired 40B AIO Reef
Hey all. I tend to ramble so I'll try to keep this short and sweet. I'm in the middle of building an all in one 40 breeder. I put a premium on the aesthetics of a tank, so naturally I fell in love with Basso's way of hiding his overflows and pump. However, using a sump isn't possible right now, so I'm going with a peninsula style AIO that returns the water under the sand and shoots up towards the surface.
I've seen many successful reef aquariums utilize algae turf scrubbers as their main or even single source of nutrient removal, so I built my internal filter around the idea of incorporating one. I also designed the false wall around hiding a Vortech MP10, but I didn't realize the dry side of the pump wasn't waterproof. I really want a wave maker powerhead, so hopefully a Jebao will fit in the 3" gap I provided for the pump. Seeing as I'm waiting for the silicone to dry I figured I'd post pictures of the progress. I bought a Lowe's stand that fits the 40B, so the stand in the pictures isn't permanent. 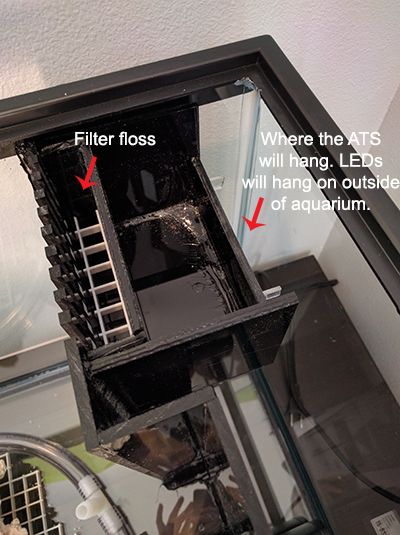 A short video of the aquascape. Please excuse the portrait style recording, this video was only intended as a reference if I needed to rebuild the aquascape. https://youtu.be/QD2UOOUNaC8 |
|
|

|
|
|
#2 |
|
Registered Member
Join Date: Jan 2012
Location: FWB FL
Posts: 181
|
Looking good. I subd. Your filtration setup is unique. Care to elaborate on it?
Sent from my SM-G900V using Tapatalk
__________________
40 Breeder Retrofit Quad T5 Powered Minimalist Glass Box with Alien Creatures Living in a Pool of Sodium Chloride. |
|
|

|
|
|
#3 |
|
Registered Member
Join Date: Dec 2005
Location: Jackson Hole Wy
Posts: 3,430
|
nice job sir!
I was making a 40b AIO a while back did not go through with it tho. I really like what you did here can you do a write up on how you build it. I am very interested with measurements too if possible. I thought silicone & acrylic did not bond very well? I used 1/4" plate glass then covered it with nice stain glass wish I would have been about to set up that tank. but landlady said NO  fallowing... |
|
|

|
|
|
#4 | ||
|
Registered Member
Join Date: Jan 2016
Posts: 52
|
Quote:
In the photo I'm just giving an example of how much I might need to feed the tank if it's totally stocked with fish and corals. I don't know if I'll ever need a cube a day, but I wanted the sump to be open so I could make the scrubber as long as it needed to be. 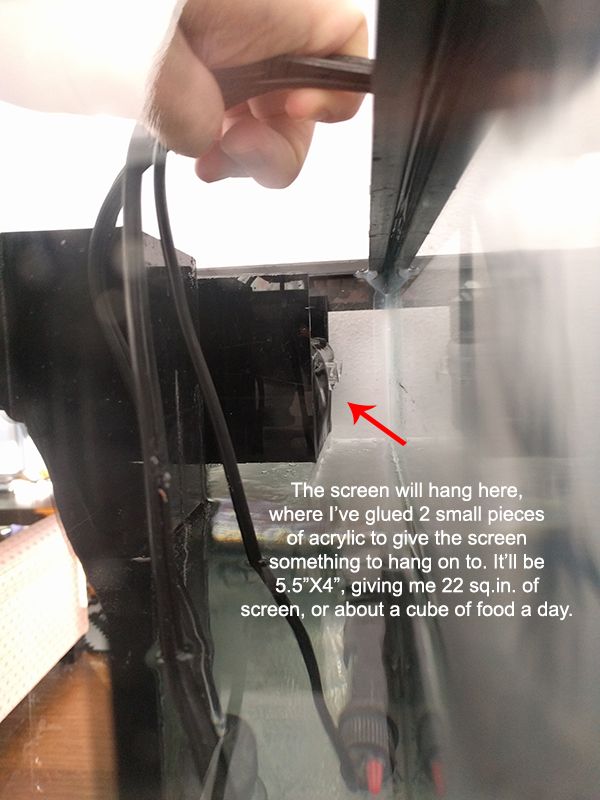 Quote:
I bought a 24"X24"X1/4" piece of black acrylic for about $42 online from USPlastic. This is plenty of material to work with. If you're going to cut the acrylic yourself, don't forget to account for the 1/8" saw blade of your table saw. I cut (10) 1.5" deep teeth and they have no problem handling the water flow from my ~400GPH pump. They could easily hand triple that, yet the waterline is still hidden above the black rim of the tank with a 15.5" tall wall. When gluing the pieces together, pay attention to where I have them placed. The 3" piece needs to go inside the two 2" pieces. 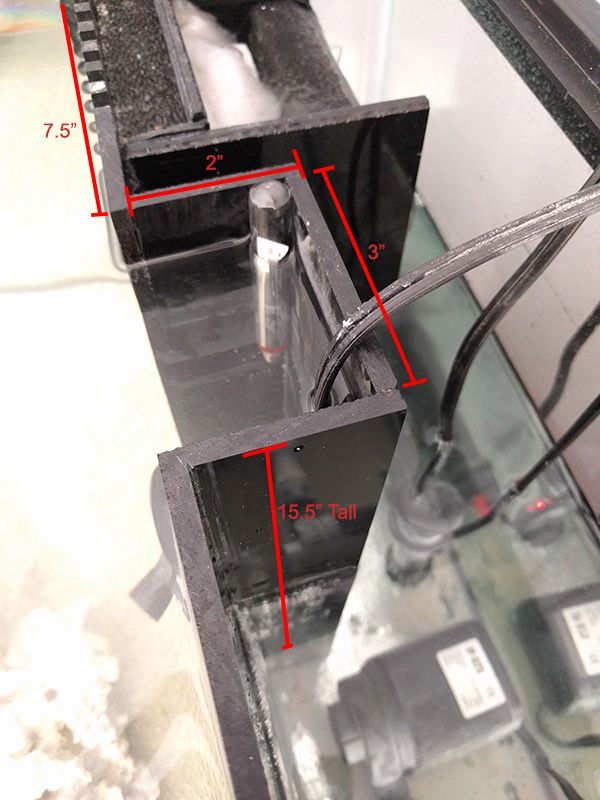
|
||
|
|

|
|
|
#5 |
|
Registered Member
Join Date: Jan 2016
Posts: 52
|
Thought I'd give an update while the tank cycles.
Bought a rack from Lowe's that fits the 40B perfectly. I don't know why these things are recommended by YouTubers. I can't believe these people actually put two 40B's on them. The legs are steel, so they will rust over time, and they're super flimsy! Seriously, when I had the tank full of rock and water during my leak test I could easily twist the legs, even with the extra bracing of the other shelves I had on there. It really blows my mind that people trust these things long term. 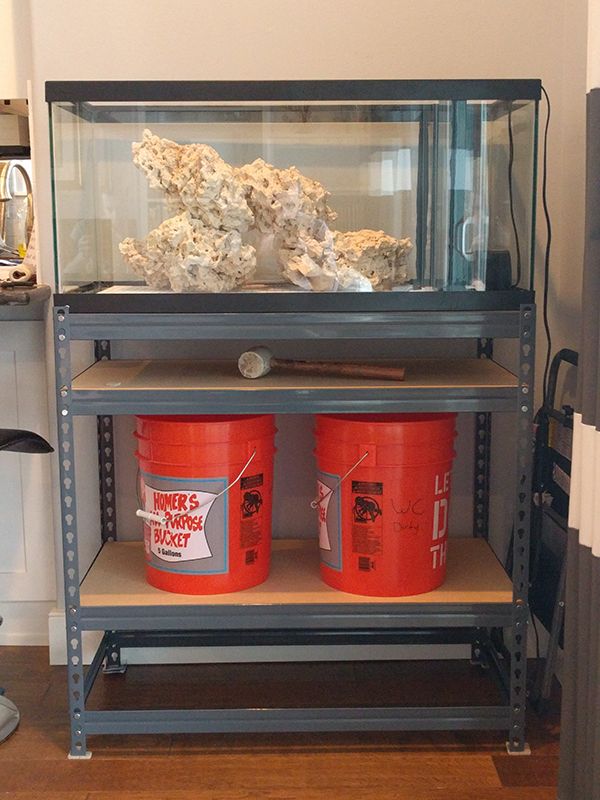 Returned the rack, bought lumber and screws with the credit (paid less than half of the rack's price), and 5.5 hours later I had a sturdy, level stand. Painful experience, but I can sleep at night knowing it won't fail. Took 2 days to fill the tank with my dinky RO/DI filter. Bought a shrimp from Albertson's for $.32, grabbed some Matrix from my 10 gallon AIO I built a year ago, and started the cycle process last night. My rock and sand are dry, so it might take a month to cycle. IMO, dry aragonite will work just as good as live aragonite. Saved a bunch of money and I'm pleased with the way it looks. 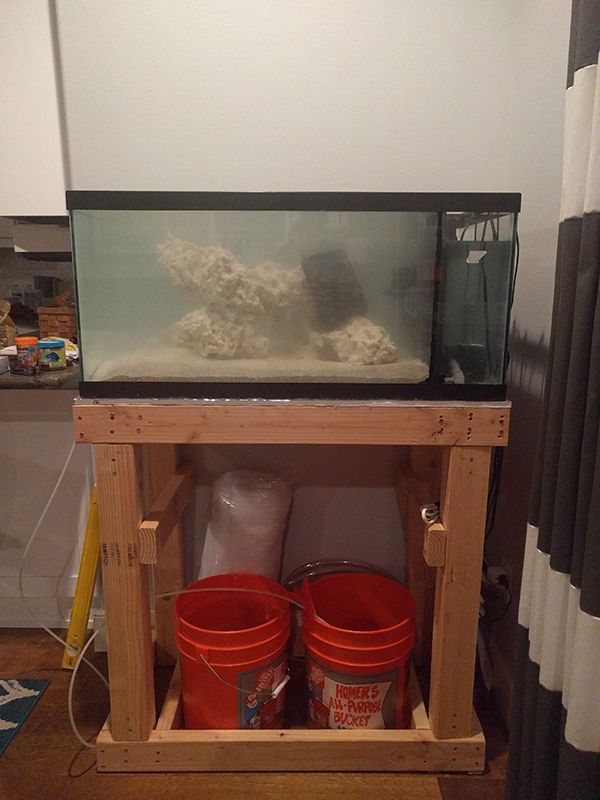
|
|
|

|
|
|
#6 |
|
Registered Member
Join Date: Jan 2016
Posts: 52
|
A few more pics I took this morning. And a question: There's a lot of ambient light coming through our sliding glass doors, so should I cover the tank with towels during the first month to keep my tank from growing a lot of algae? Beneficial bacteria can reproduce without a lot of light, right?
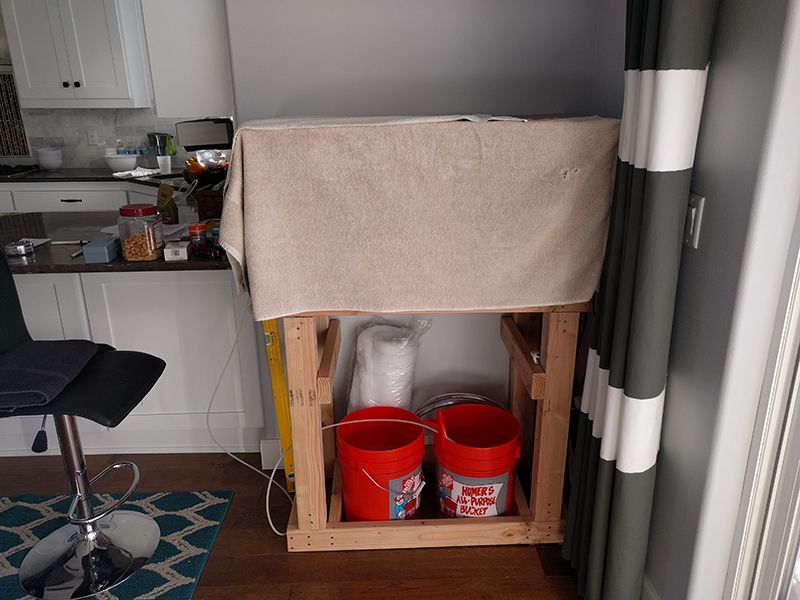 Also, here's a shot of the surface agitation I'm getting from the ~400GPH pump. I can't decide if I want to find a more powerful pump or not. It's not really circulating the water very much from what I can tell, but I also plan to put in a Jebao PP4 wave maker. So, maybe I'll keep it the way it is and just get the PP4 as soon as I can afford it. 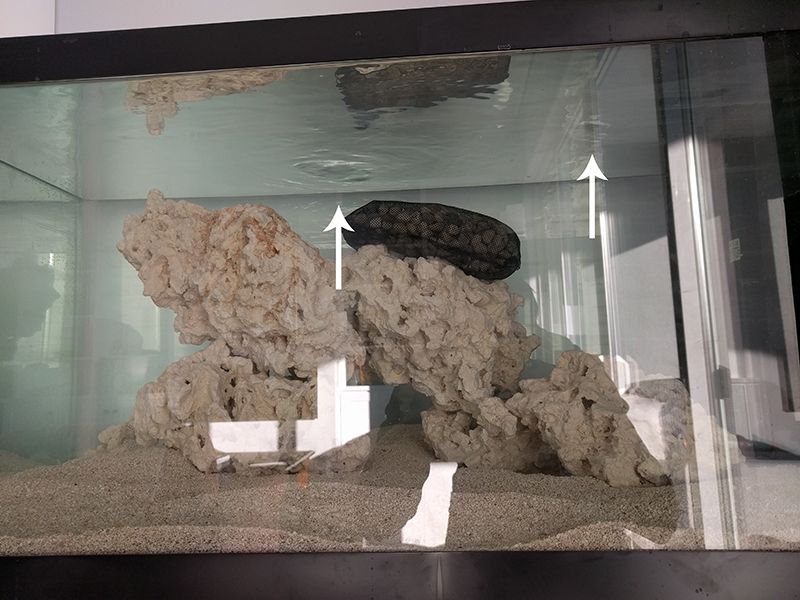 After all, my tank evaporated about a gallon of water overnight, so maybe I don't want more surface agitation. The whole point of the under-substrate return was to help provide random flow to corals, and also to hide the return. But the pump isn't powerful enough to move a lot of water. Any thoughts? Should I get a better pump and deal with a lot more evaporation? Or stick with the 400GPH pump? 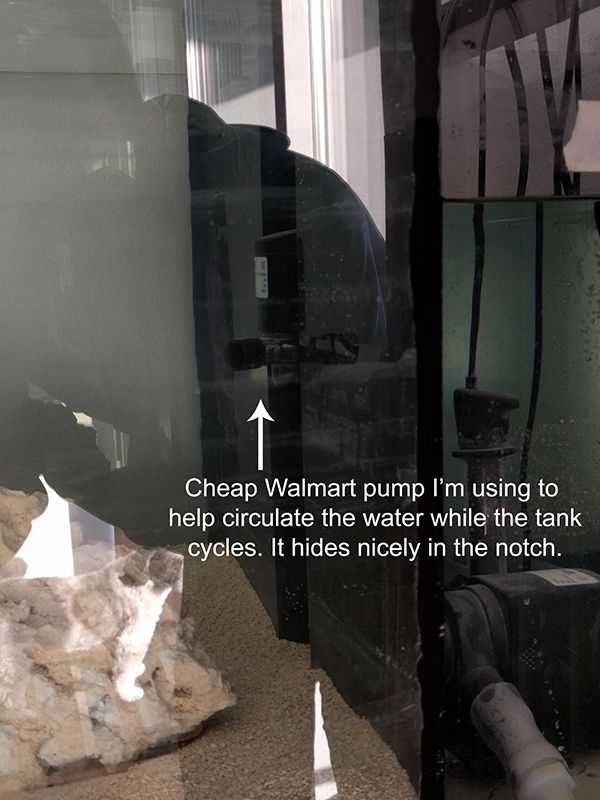
|
|
|

|
|
|
#7 |
|
Registered Member
Join Date: Jan 2016
Posts: 52
|
One more thing- If I could go back and do it all over again, I'd swap the location of the overflow and return. I built the partition wall before I knew it'd be going in the corner of this room. I thought it was going in my bedroom and I planned on the partition wall being on the left side of the tank. I'm losing a lot of flow because of the where the pump ended up and where it has to pump water to.
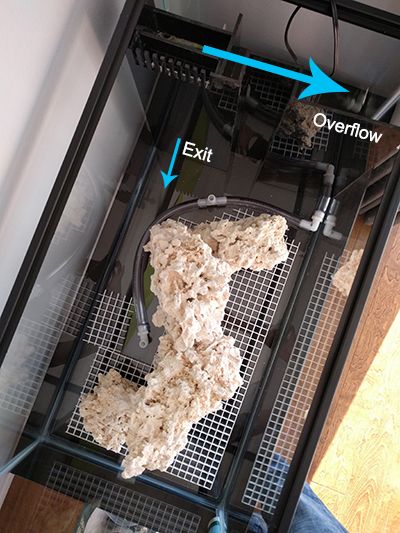
|
|
|

|
|
|
#8 |
|
Registered Member
Join Date: Jan 2016
Posts: 52
|
I'll keep posting here, even if it's just so I can look back and see all the progress
 It turns out my aquarium didn't need much of a cycle. I added a teaspoon of pure ammonia and my levels were at least 8ppm. I'm a little afraid I shocked the bacteria on the bag of Seachem Matrix, but they seem to have recovered fine. My levels have dropped to >2ppm in 12 days. No nitrites and lots of nitrates. Anyways, I'll do a big water change in a few days and stick my pair of clowns in there. I roughed up my ATS screen and hung it on the overflow. I installed the lights on the outside of the glass and fired it up. I have nitrates so I may as well start maturing my screen. 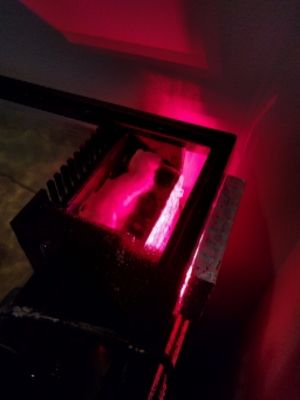 I modified my return hose to have only 1 return nozzle. I'm getting a lot more upward flow and great surface agitation. 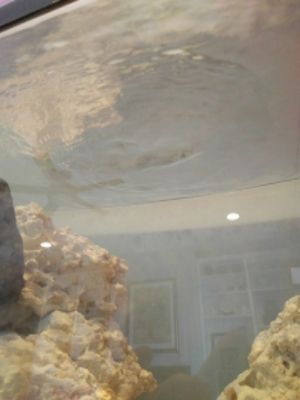 Changed my aquascape a little bit so that I wouldn't have any shadows. I plan on having mostly LPS and maybe a Stylophora or two because I've read they can handle moderate light/flow. It's been really difficult to decide on either LPS or SPS, but I'll keep things safe with my first reef tank and go with mostly LPS. 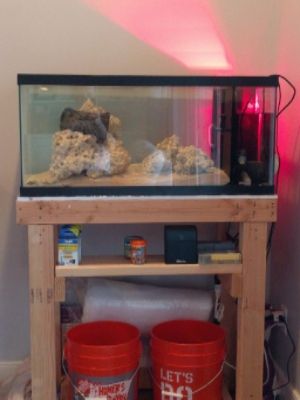 Having custom sheet metal panels made for the stand, should be done in a week or so. |
|
|

|
|
|
#9 |
|
Registered Member
Join Date: Jan 2016
Posts: 52
|
Tank was cycled in under 12 days, maybe even quicker. That bag of Seachem Matrix really sped up the process. It should be noted that I raised the tank temperature to 85+ to help the bacteria populate quicker. I've been lowering the temperature a couple degrees for the last few days to get it to 79-80. I also kept feeding the tank 1/8 TSP of pure ammonia for the last couple days until I received the pump I ordered for mixing salt water. No ammonia readings every 24 hours after feeding the ammonia, so it's ready to go.
I used a few online water volume calculators to determine that 40 breeders hold 44 gallons of water. The inside dimensions of a 40 breeder are (accounting for the 1/4 inch glass thickness) 35.5"L X 17.5"W X 16.75"H, which is 44 gallons. My water level is at 16", though, and I have 30 pounds of live rock and 1" of sand, so I'm confident I have close to 39 gallons of water in the tank. I did a 50% water change today, which got my nitrates to 5ppm and that gave me the green light to move my fish into the new tank. Little guys were upset for awhile but they're eating like crazy, so they should be fine. 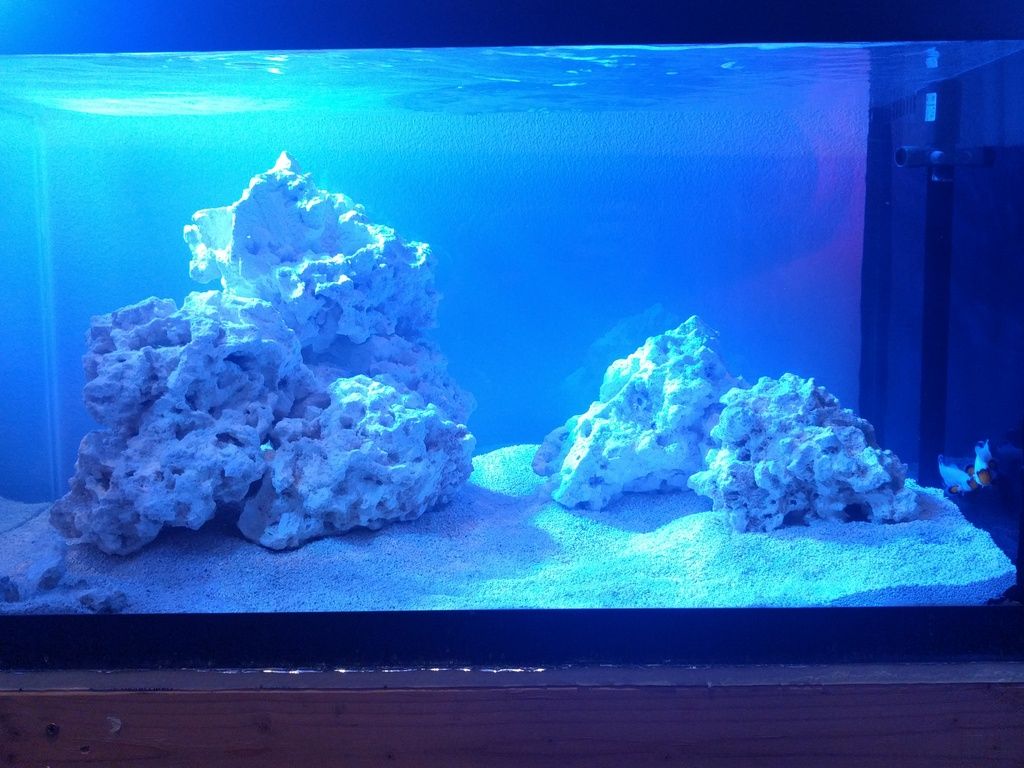 I added like half a cube of hikari frozen food and the particles stayed suspended off the sand bed for a reeeeally long time. The clowns ate nearly every piece in a few short minutes and I'm not sure anything even made it onto the sand bed. I am soooo glad I went with a return that's under the substrate. Water pulls particles up towards the surface and my smaller pump keeps the water rotating throughout the tank. I was watching the particles moving in the water column and there is a lot more random flow than I expected. I couldn't be happier. I used my old light to get a preview of the Kessils I plan on mounting soon. Just waiting on my employer to send me a W2 so I can get my tax return and order some equipment! 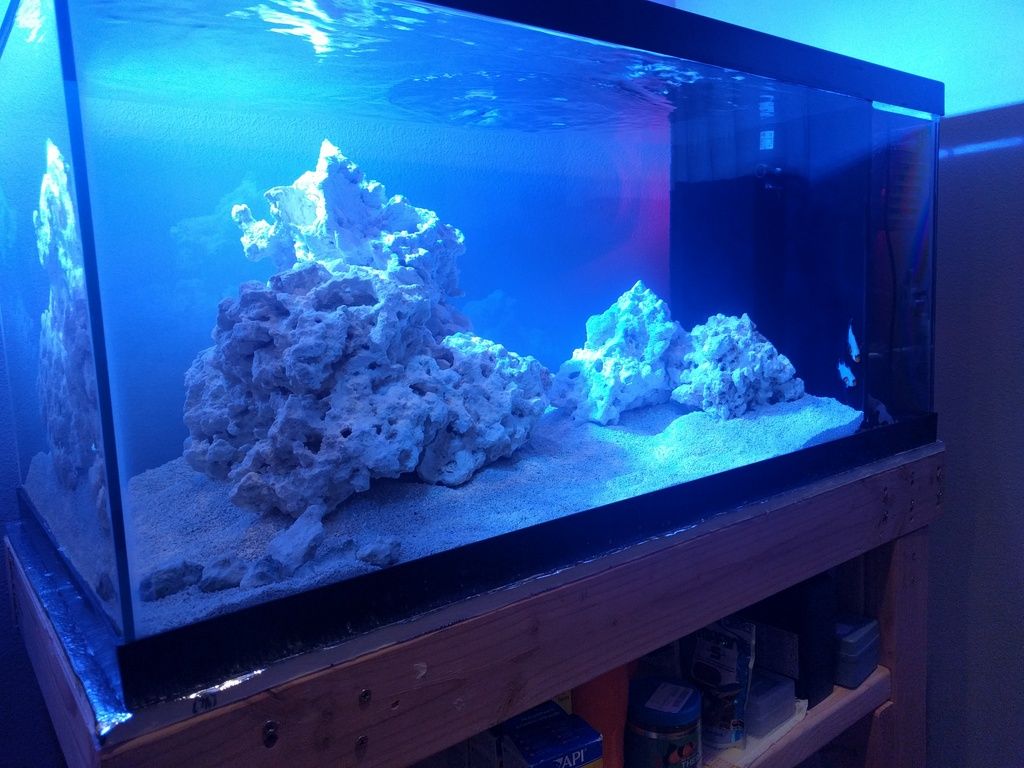
|
|
|

|
|
|
#10 |
|
Registered Member
Join Date: Dec 2016
Posts: 14
|
Looks amazing. Where do you get the black acrylic from?
|
|
|

|
|
|
#11 |
|
Registered Member
Join Date: Jan 2016
Posts: 52
|
Thank you!
It was a 24"X24" piece of 1/4" from US Plastic. Was the cheapest I could find and I'm really happy with the quality of it. Here's a link. http://www.usplastic.com/catalog/ite...1903&catid=442 |
|
|

|
|
|
#12 |
|
Registered Member
Join Date: Jan 2016
Posts: 52
|
Thought I'd share where some of my inspiration has come from.
jmiotke has an incredible build going on right now that everyone should check out: http://www.reefcentral.com/forums/sh...2591143&page=3 This is one shot of his build that I often refer to: 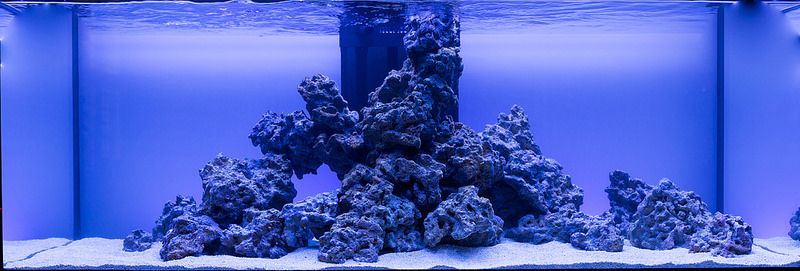 I plan on covering the back of the tank with a frosted window film like he did, but I'm going to have to get creative because my tank is in place. I'll probably cut a clear piece of acrylic and apply it to that and then slide the acrylic into place on the back of the tank. Then I'll order some LEDs and light it up! |
|
|

|
|
|
#13 |
|
Registered Member
Join Date: Jan 2016
Posts: 52
|
Just a quick update into what I've been working on. Decided on an aquascape that will give me the best chance to raise a SPS dominant tank, so I created a small lagoon where I'm able to create a circular flow throughout the tank. Added a Jebao pump for variable flow throughout. Also added a couple hammer corals once I raised my levels. It's really difficult getting the colors to match reality, so I'm sorry if the pics aren't that great yet. I moved the hammers after I took this first picture.
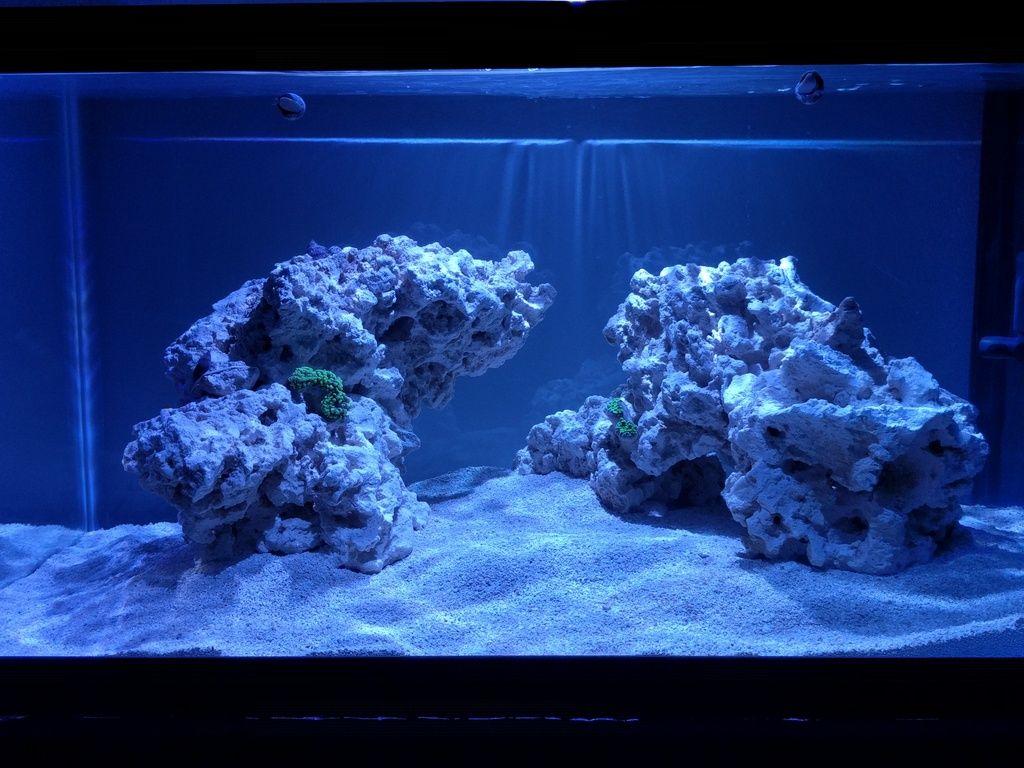 80/20 Light stand 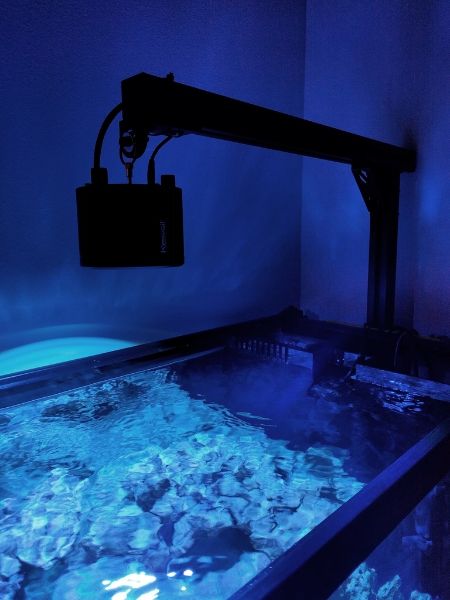 I lucked out with these two small colonies. They each have several new heads growing already. I actually took this picture today because this is the most open they've ever been. I raised my alkalinity to 9.0 and they almost immediately responded by extending their polyps. 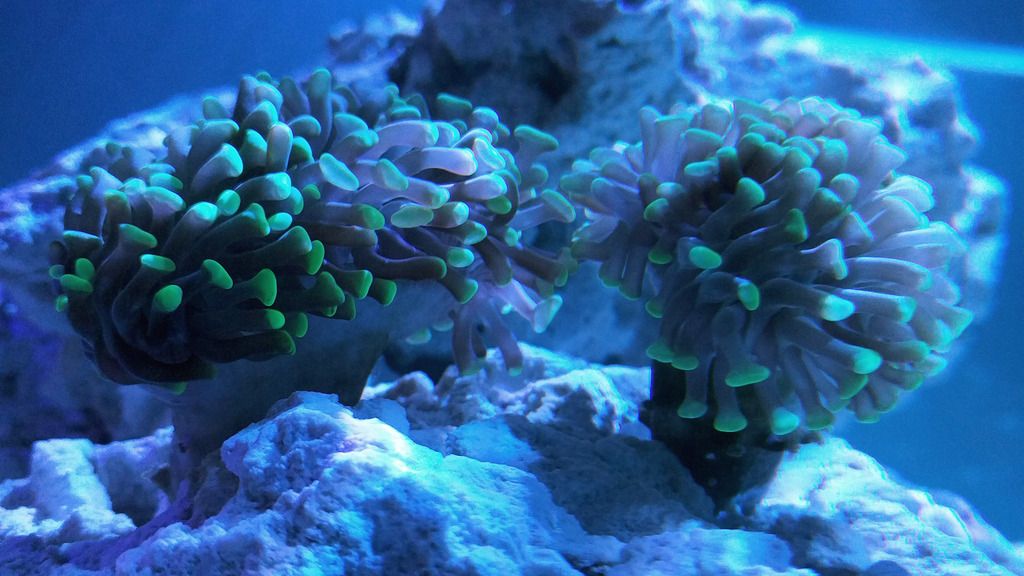 I'm almost done building a cabinet that will hang above the tank. Hidden underneath will hang my Kessil A360, and it will be straddled by a couple T5 retrofit kits. I want to add T5 because I really want to have an SPS dominant tank, but I love the color and shimmer of the Kessil. Tomorrow I will post a couple pictures of my cabinet build so you can get an idea of what it will look like over my tank. |
|
|

|
|
|
#14 |
|
Registered Member
Join Date: Jan 2016
Posts: 52
|
I understand! This thread is so riveting that it's left you all speechless. Well, I must continue to give the people what they want!
 I've built a cabinet that will mount on the wall above the tank. I'll spray it with paint this weekend, and hopefully mount it next weekend. I'll drill a few holes to prep for the T5 retrofits I plan on hanging underneath it. 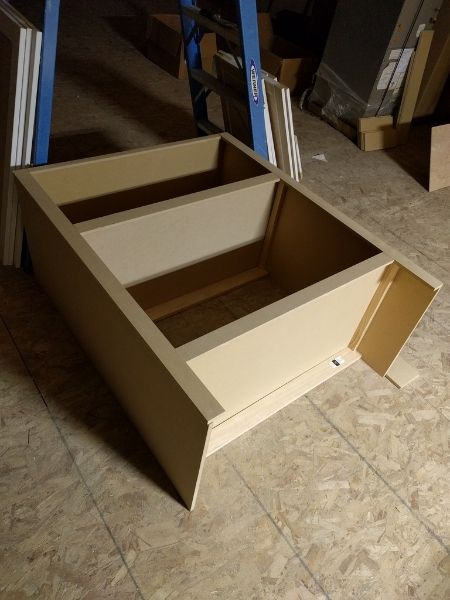
|
|
|

|
|
|
#15 |
|
Registered Member
Join Date: Aug 2017
Posts: 26
|
I know you think no one cares about this build. However, I just read through it and thought it was very interesting. I would love for an update. One thing however: please use something other than photobucket to provide images. I want to be able to see this interesting tank I have heard about!
|
|
|

|
 |
|
|