
|
|
 05/01/2012, 04:59 PM
|
#1 |
|
Registered Member
Join Date: Jan 2012
Posts: 393
|
75 gallon reef build
Hi all I am in the process of collecting stuff for my 75 gallon upgrade. Currently have an 18 inch metal halide/actinic mix on my 24 gallon. I was wondering if I got a second one would that be enough for the bigger tank? Totaling about 356 watts.
Things I have: -stand and canopy -mag 7 return -bio ball tower (I am aware of the challenges with these but I will clean 1/4 of them weekly) -80 pounds of oolite live sand Thanks for checking this out! |

|

|
|
05/01/2012, 05:03 PM
|
#2 |
|
Registered Member
Join Date: Jan 2012
Posts: 393
|
Also I am trying to decide between a perfecto vs aqueon tank. Is there a difference? Which one is better? What are the pros and cons of each?
|
|
|
|
|
05/01/2012, 05:43 PM
|
#3 | |
|
Registered Member
Join Date: Apr 2012
Posts: 25
|
Quote:
|
|
|
|
|
|
05/01/2012, 08:12 PM
|
#4 |
|
Registered Member
Join Date: Jan 2012
Posts: 393
|
Bump?
|
|
|
|
|
05/04/2012, 09:57 PM
|
#5 |
|
Registered Member
Join Date: Jan 2012
Posts: 393
|
Update! Got some new toys today! I got the tank in place and am going to make the sump tomarrow, it's a 30 breeder with a bubble trap and a baffle. Her is the tank I also got 2 korilla powerheads 1400 gph, and a few other goodies.
as you can see I decided to go with perfecto! Got it for a good price, $220 for tank and plumbing kit. I am doing a herbie overflow. 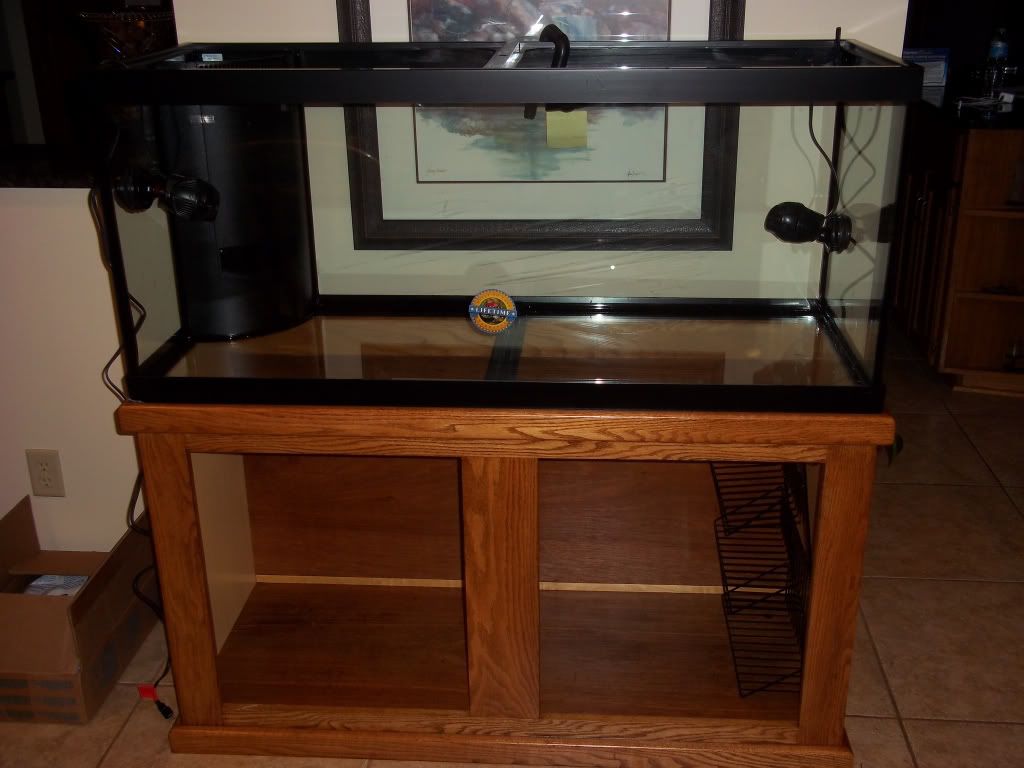 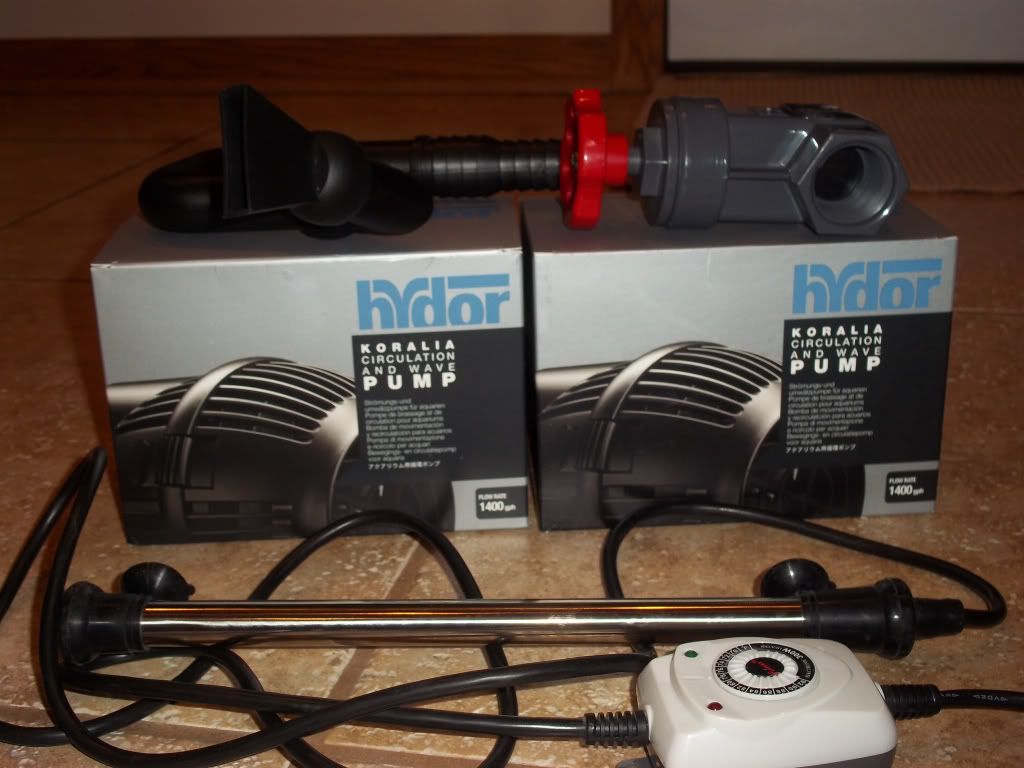 As you can see I marked out where the baffles will go! First chamber is the intake and skimmer, second is the fuge, and last is return. 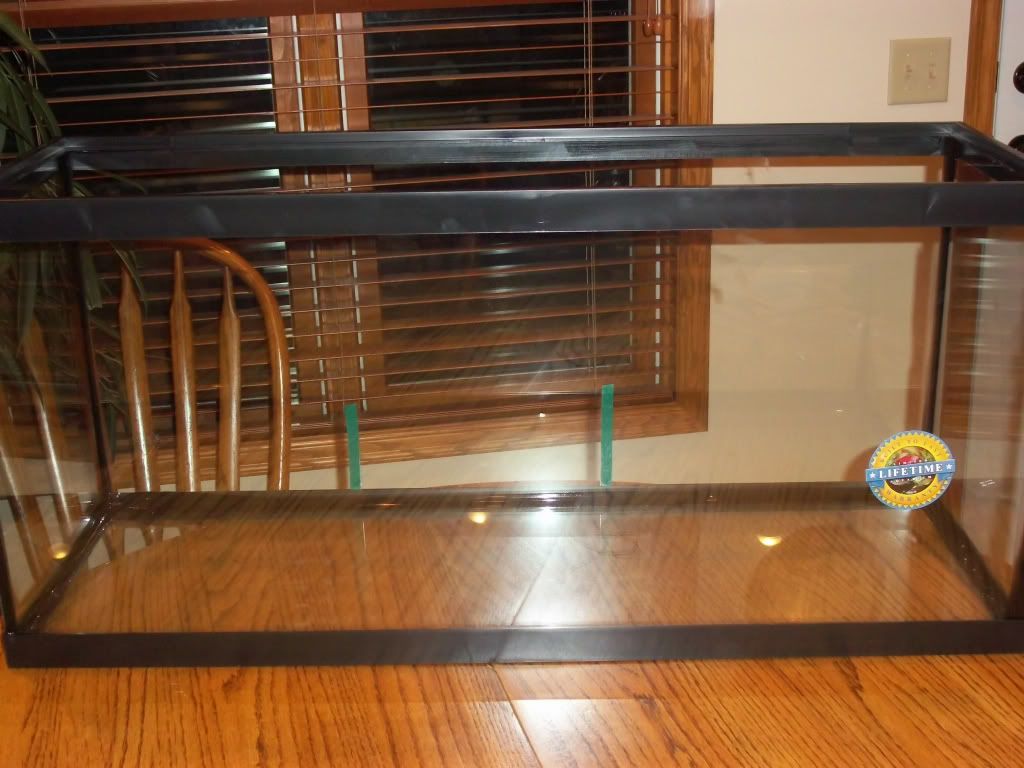 Here is the 80 pounds of Oolite live sand! 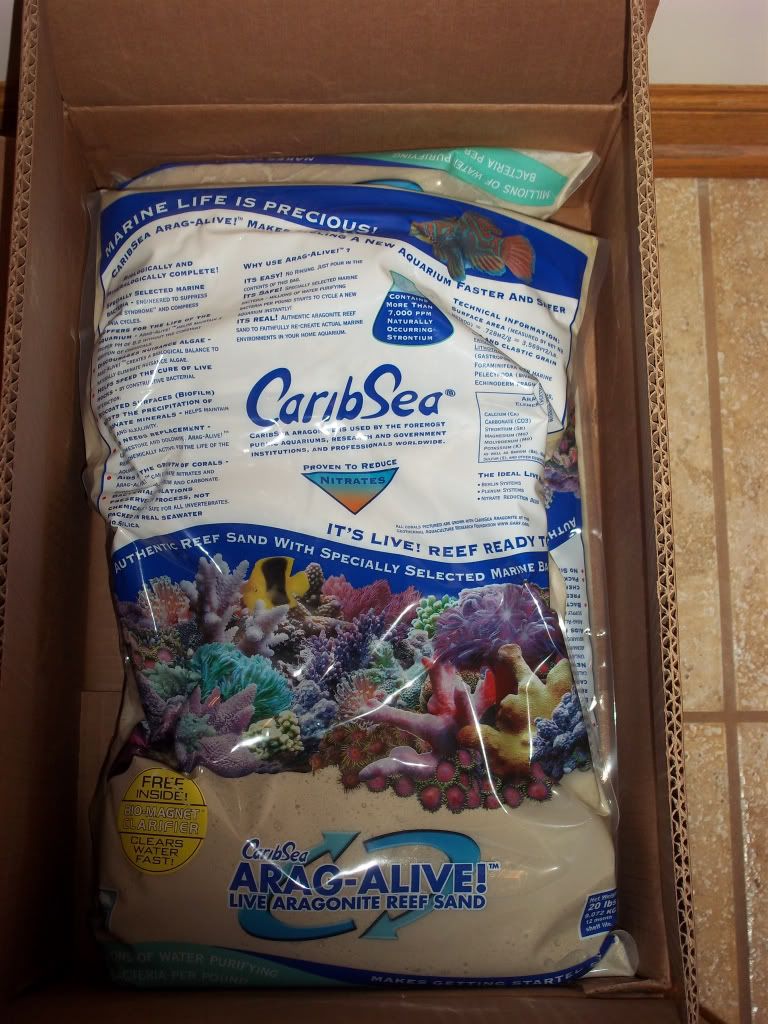 Need to buy: Reef octopus 100 Variouse plumbing supplies 1 150 watt metal halide with 2 14 watt actinics (already have one over my 24 gallon) 2 30 gallon trash bins 5 gallon bucket of salt |
|
|
|
|
05/04/2012, 10:26 PM
|
#6 |
|
Registered Member
Join Date: Mar 2012
Location: U.S.
Posts: 76
|
Can't wait to see the progress!
__________________
120 Gallon Mixed Reef Progress: Planning Stage. 20 Gallon Long Saltwater Reef Tank: 6/26/2012 10 Gallon Freshwater Tank: 5/31/2012 1.5 Gallon Betta Only Tank: 3/11/2012 |
|
|
|
|
05/04/2012, 10:48 PM
|
#7 |
|
Registered Member
Join Date: Jan 2012
Posts: 393
|
Oh I can't either! It's gonna need like a week for the sand to settle! And the RO/DI unit comes on Tuesday!
|
|
|
|
|
05/04/2012, 11:45 PM
|
#8 |
|
Registered Member
Join Date: Apr 2012
Posts: 25
|
Tank is looking good man
|
|
|
|
|
05/05/2012, 12:17 AM
|
#9 |
|
Registered Member
Join Date: Jan 2012
Posts: 393
|
Thanks! Any suggestions on the best placement of the powerheads?
|
|
|
|
|
05/05/2012, 12:35 AM
|
#10 | |
|
Registered Member
Join Date: Apr 2012
Posts: 25
|
Quote:
|
|
|
|
|
|
05/05/2012, 05:49 AM
|
#11 |
|
Registered Member
Join Date: May 2005
Location: Clermont ,Florida
Posts: 634
|
That is the exact tank my wife likes. Where did you get the stand?
|
|
|
|
|
05/05/2012, 08:27 AM
|
#12 |
|
Registered Member
Join Date: Jan 2012
Posts: 393
|
I actually baught it from one of my LFS used. It's in really good shape but I hated the color! It was an ugly yellow. So I stripped off all the stain, sanded it, stained it and sealed it with 3 coats of clear coat to make is semi-waterproof!
|
|
|
|
|
05/05/2012, 09:19 AM
|
#13 | |
|
Registered Member
Join Date: Jul 2009
Location: Virginia Beach
Posts: 6,659
|
Quote:
|
|
|
|
|
|
05/05/2012, 10:22 AM
|
#14 |
|
Registered Member
Join Date: Jan 2012
Posts: 393
|
Thanks for all the responses! Today I will be getting all the plumbing and just ordered the skimmer and a new retune because I bought it locally and it costed $124 so I went online to BRS and it was $85! So I am returning it and will be receiving my order this week! I will also be buying some electrical components today along with the baffles for the sump and will post pictures when it is drying!
|
|
|
|
|
05/05/2012, 08:35 PM
|
#15 |
|
Registered Member
Join Date: Jan 2012
Posts: 393
|
So a little update.....I made the sump today and decided to go with only 2 chambers and then use plastic buckets with tons of holes in them for the rock and a big container of sand. Here is what's bought today:
- 30 gallon brute trash bin (water changes) - female to barb pipe fitting - male the slip PVC fitting - PVC primer and cement - baffles for the sump - 200 gallons worth of salt (makes 200 gallons) - dolly for the trash bin - 10 feet of vinyl tubing - silicon - door handles for the stand and canopy - hose clamps for return I will post pictures in a little bit of the sump! |
|
|
|
|
05/05/2012, 08:47 PM
|
#16 |
|
Reef and Coral Fanatic
Join Date: Jul 2008
Location: Lexington, Ky.
Posts: 1,739
|
I just used the same caribsea sand (mine is a bit courser) but it created a very dense fog. I ended up using a 200 micron filter sock and a slotted spoon (to remove the thick foam) to clear my tank up faster. Just an idea for you.
__________________
Chris Kirkland Reef Nerd. Current Tank Info: Getting back into the hobby. |
|
|
|
|
05/05/2012, 09:06 PM
|
#17 |
|
Registered Member
Join Date: Mar 2012
Posts: 60
|
Looking good.
|
|
|
|
|
05/05/2012, 10:13 PM
|
#18 |
|
Registered Member
Join Date: Jan 2012
Posts: 393
|
Pics I promised!
Sump: 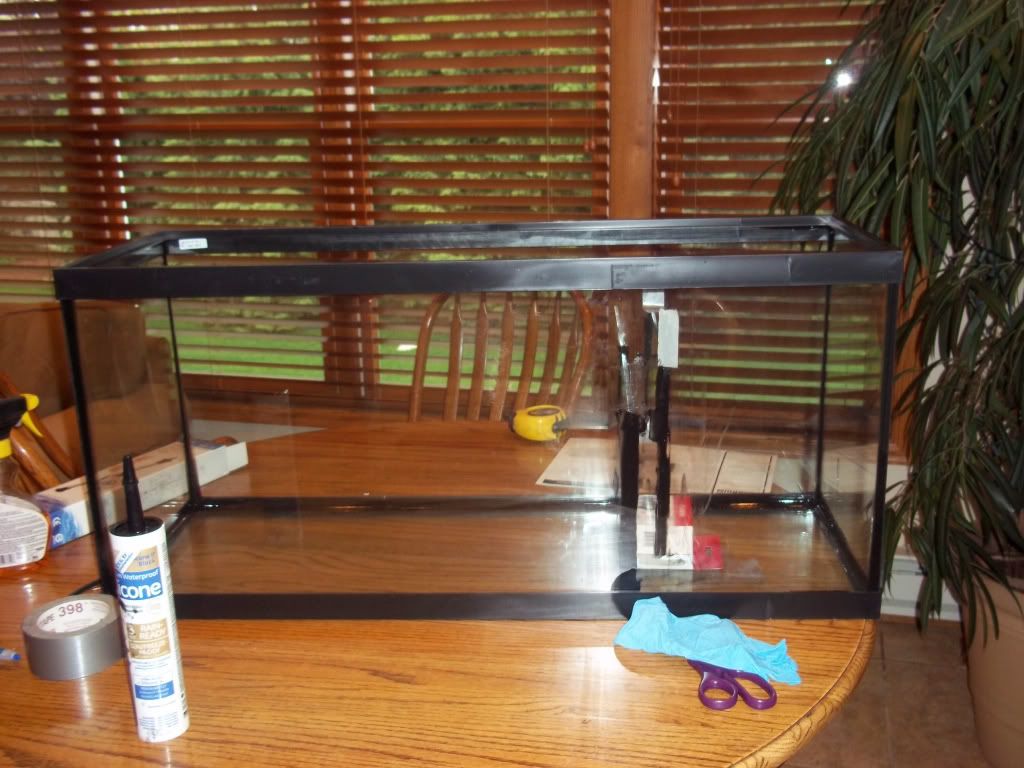 Plumbing from overflow: 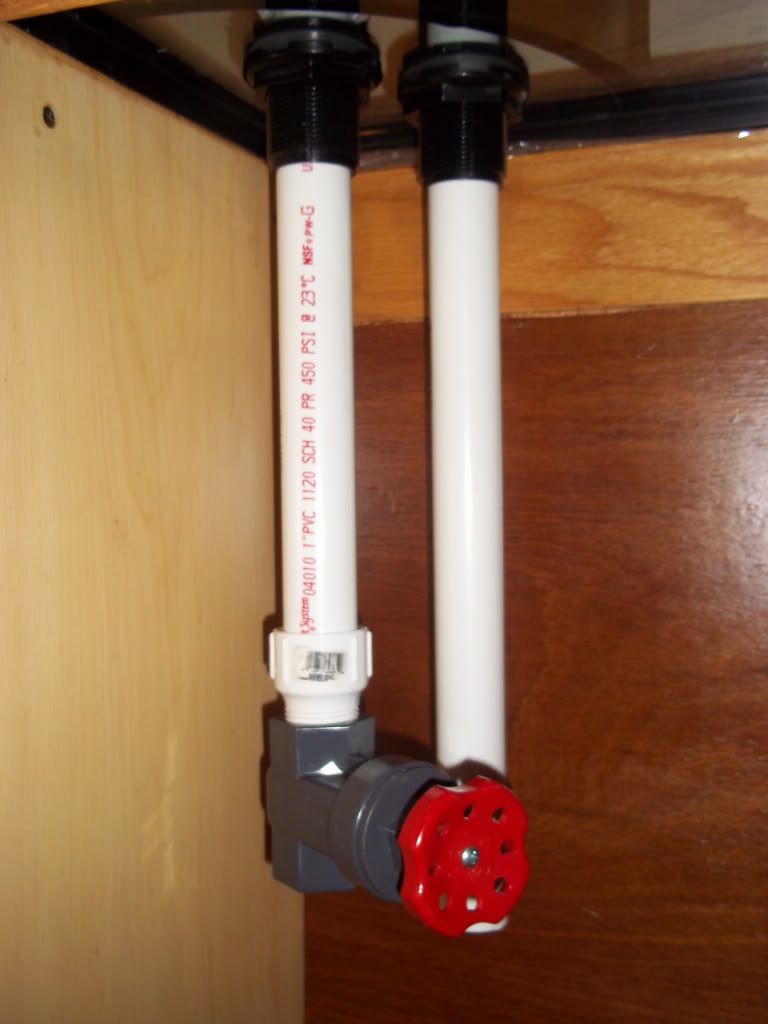 Plumbing from return: the gray hose fitting will screw into the mag 7 and then I will add another one to the other end with a male adapter that will screw into a u shaped PVC pipe which will screw onto a y shaped lock line: 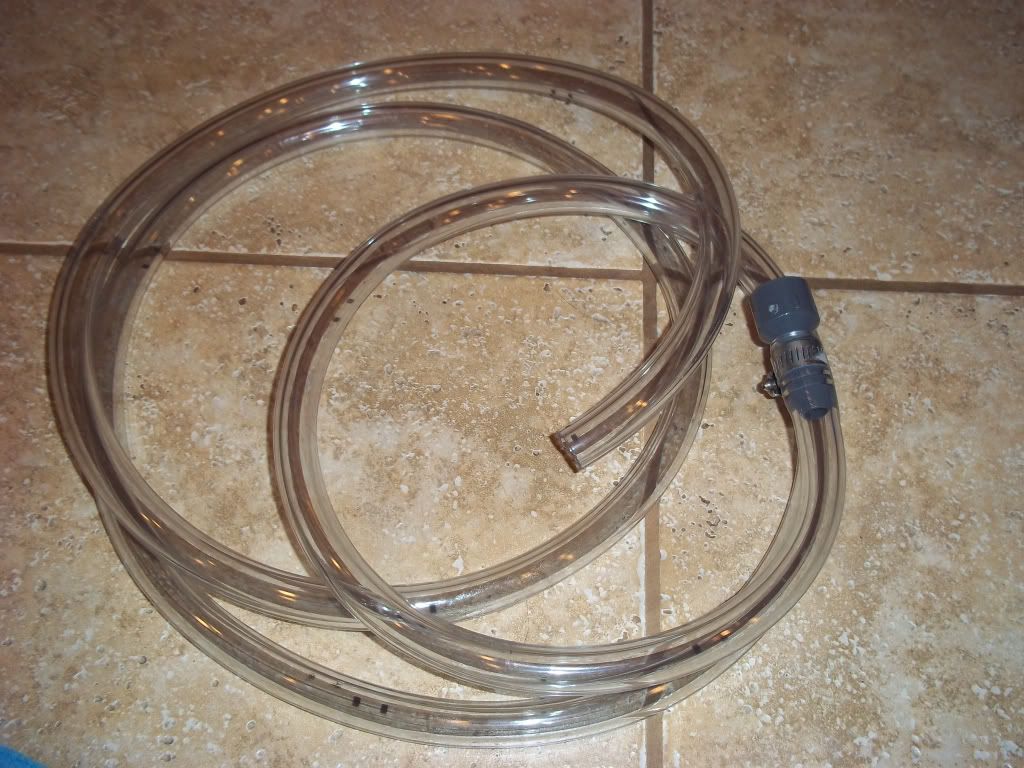 Switch box taken from my computer  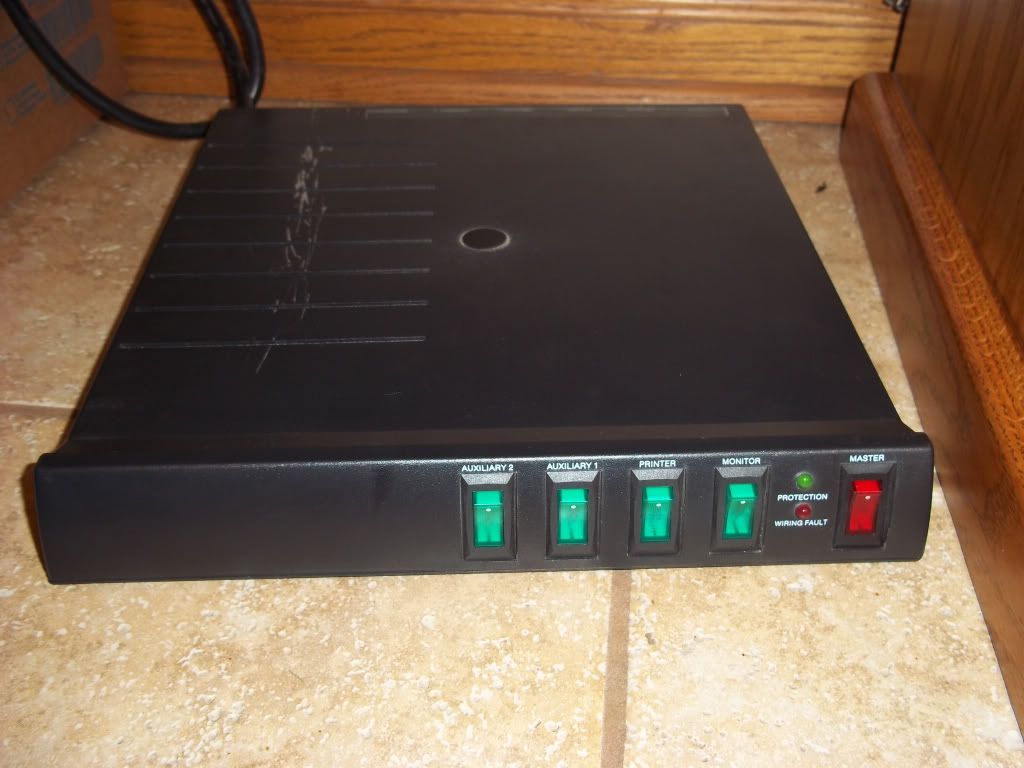 Water change bin: 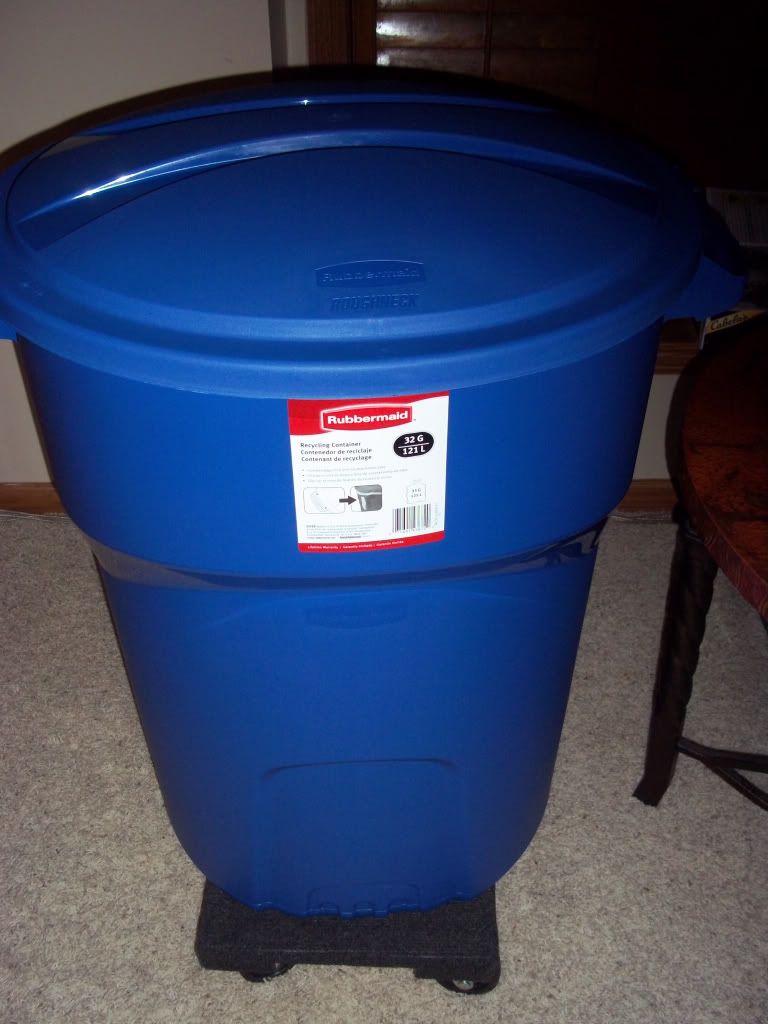
|
|
|
|
|
05/06/2012, 09:26 AM
|
#19 |
|
Registered Member
Join Date: Jan 2012
Posts: 393
|
Anybody know how to remove the haze you get from smudged silicone? I tried a razor blade to no availe.
|
|
|
|
|
05/06/2012, 10:01 AM
|
#20 |
|
Registered Member
Join Date: Feb 2012
Posts: 1,953
|
"goo be gone" works wonders for all that stuff. even takes the surf wax out of my boardshorts. had success with it and superglue and liquidnails
|
|
|
|
|
05/06/2012, 12:35 PM
|
#21 |
|
Registered Member
Join Date: Jan 2012
Posts: 393
|
Any ideas on removing the "oily" smear after using goo gone?
|
|
|
|
|
05/06/2012, 01:45 PM
|
#22 |
|
Registered Member
Join Date: Oct 2010
Location: Norwich, CT
Posts: 1,532
|
Make sure that trash can is pretty rugged. I used a regular old trash bin before and it ended up stretching from the water and the lid didn't fit anymore. Most people use Brute trash cans which are very thick and don't bow. Plus, the dolly for the Brute locks into the bottom of the can so there's no chance of it falling/sliding off.
Looks good so far though!
__________________
Red Sea Max 130D Mixed Reef: ReefKeeper2, Rapid-LED retrofit, MiniMaxx Reactor, Tunze 9001 Skimmer, 2x Jebao RW-4, 2x Maxi-Jet 600 returns, 2x Koralia Nano 425 |
|
|
|
|
05/06/2012, 01:46 PM
|
#23 | |
|
Registered Member
Join Date: Apr 2012
Posts: 25
|
Quote:
|
|
|
|
|
|
05/06/2012, 02:08 PM
|
#24 |
|
Registered Member
Join Date: Jan 2012
Posts: 393
|
Ok so we ran into a big problem....We cant get the sump into the stand! wont fit in the doors and we cant go in from the top. We are now going to saw a hole in the back fiberboard of the stand to allow for some extra lee way to shimmy it in there and then cover the hole with a second piece of fiberboard. Will this hinder its stability?
|
|
|
|
|
05/06/2012, 02:13 PM
|
#25 |
|
Registered Member
Join Date: Apr 2012
Location: Appleton, WI
Posts: 268
|
i dont think that it would make a huge issue but if you want more piece of mind cut a 2x4 and put it on the inside of the stand behind the sump standing on its end as another support...
|
|
|
|
 |
|
|


