
|
|
 11/17/2017, 05:52 PM
|
#1 |
|
Premium Member
 Join Date: Mar 2002
Location: Spokane, WA
Posts: 3,234
|
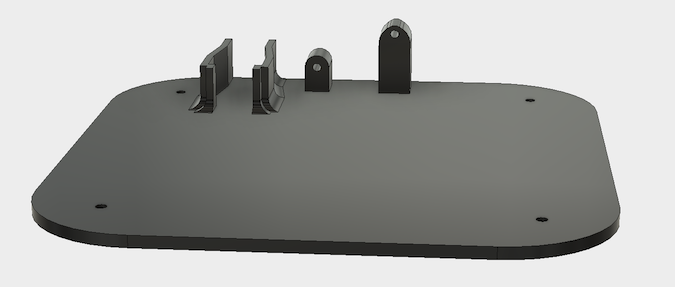
DIY Phyto LED base
This is a prototype light base for growing phytoplankton
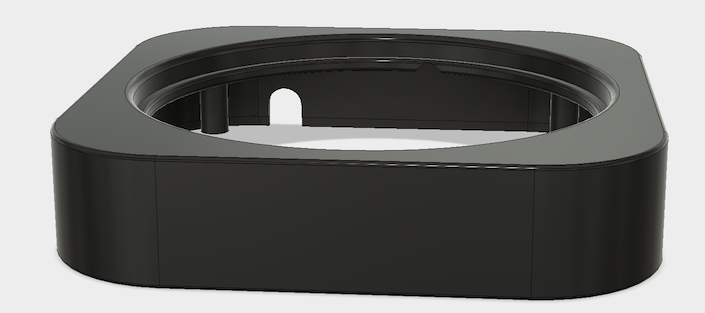
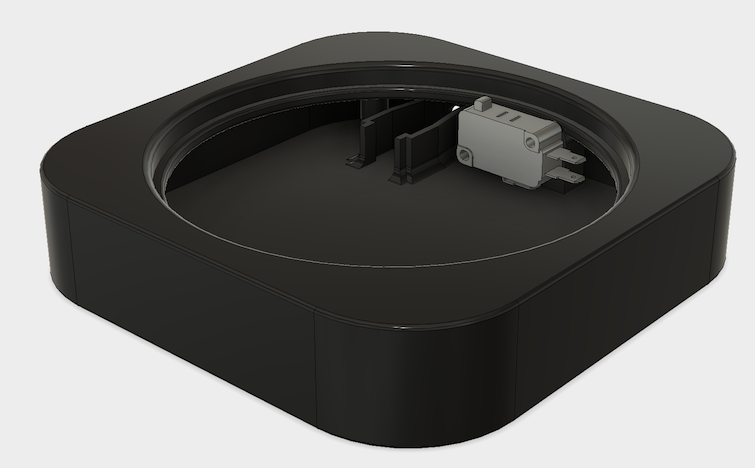
I've always wanted to grow phytoplankton, but didn't want to do the typical PVC pipe and shop-light setup. And I was looking for something new to design and print. This is printed in PVA, but I'll probably move to PETG for the final prints. There are 14x3 LEDs (42) running at 12v. It was pulling almost 1 amp, and they were getting too hot. I put in a 5 watt 5 ohm power resister in series, and that dropped the current down to 550ma. Still a little warm, but not baking at least. In my next version I'm going to try to use some 3w Red/Blue LEDs like these on a heatsink: http://www.topledlight.com/3w-660nm-...amp_p1488.html Here are the LEDs that I actually used: https://www.amazon.com/gp/product/B00XHRYX2O And these are the power connectors I used:https://www.amazon.com/gp/product/B01GO56CCE/ Here is the rendering of the base from Fusion 360: 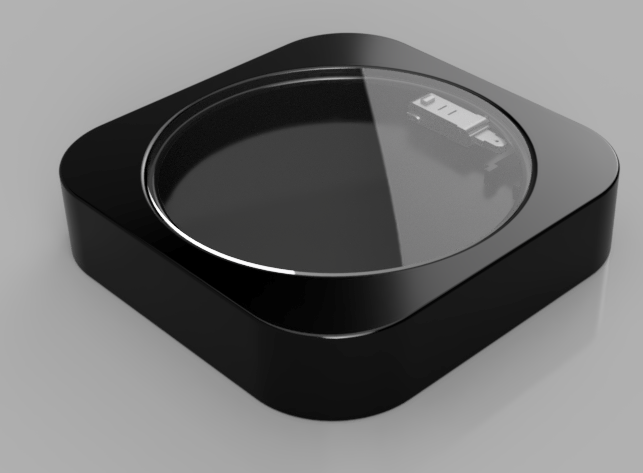 And some completed pictures:  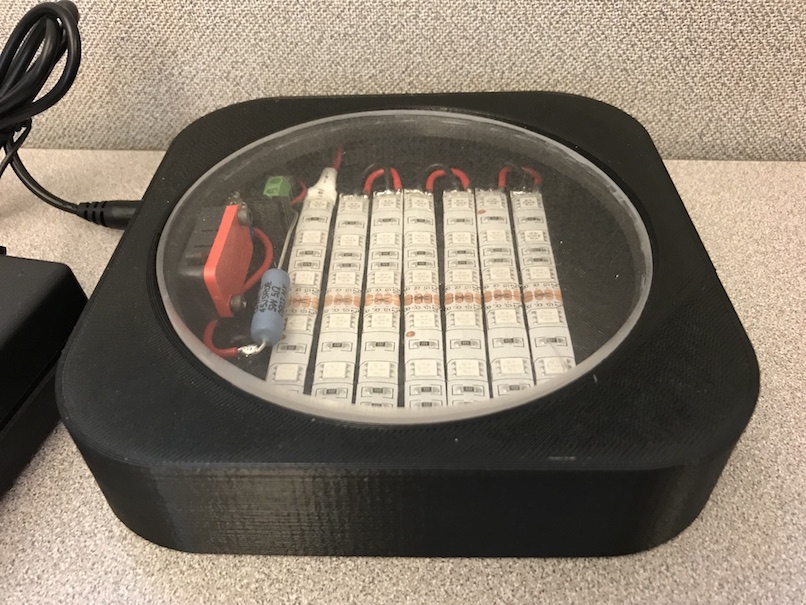 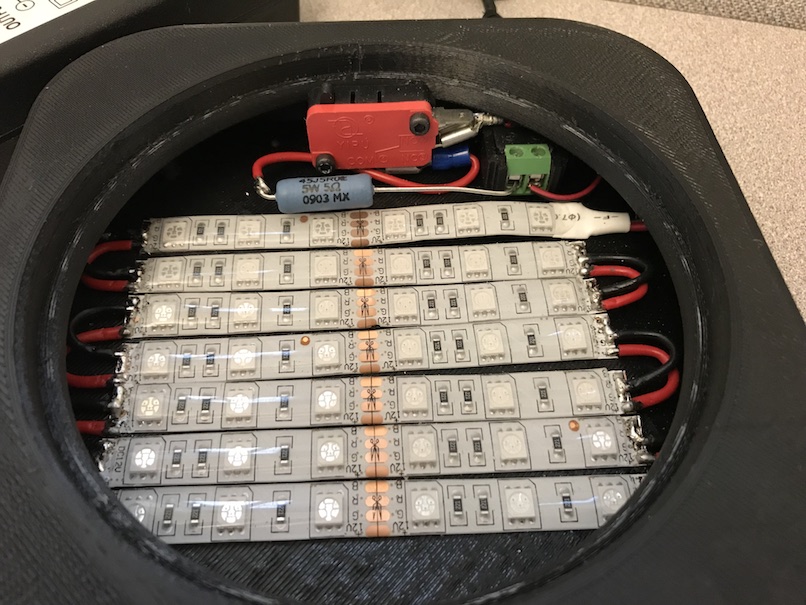 The neat part of this design is the micro-switch. When the bottle is placed on the acrylic lens, the lights turn on. They turn off again when the weight is removed. It takes about 5 oz (400ml) to turn on the light, so the 1 liter flasks I have will work perfectly. I don't know yet how much light I'll need. I'll give this a try, and change the intensity and lighting hours as needed over the next few weeks. My phyto culture is coming in next Wednesday, so I'll get started then. Should have another one or two printed by then too. |

|

|
|
11/17/2017, 11:09 PM
|
#2 |
|
Registered Member
Join Date: May 2012
Posts: 81
|
That looks awesome! Subscribed.
|
|
|
|
|
11/20/2017, 04:26 PM
|
#3 |
|
Premium Member
Join Date: Mar 2002
Location: Spokane, WA
Posts: 3,234
|
I made a few more tweaks to the design, and am printing out a second one now.
   I'll put the files on Thingiverse when I get done tweaking them. |
|
|
|
|
11/21/2017, 11:07 AM
|
#4 |
|
Premium Member
Join Date: Mar 2002
Location: Spokane, WA
Posts: 3,234
|
Thingiverse link: https://www.thingiverse.com/thing:2661121
I have two made, and will start my culture tomorrow. I'm using 1 liter Erlenmeyer flasks on them. I won't know for a few weeks if the light is strong enough. |
|
|
|
|
11/22/2017, 11:37 AM
|
#5 |
|
Premium Member
Join Date: Mar 2002
Location: Spokane, WA
Posts: 3,234
|
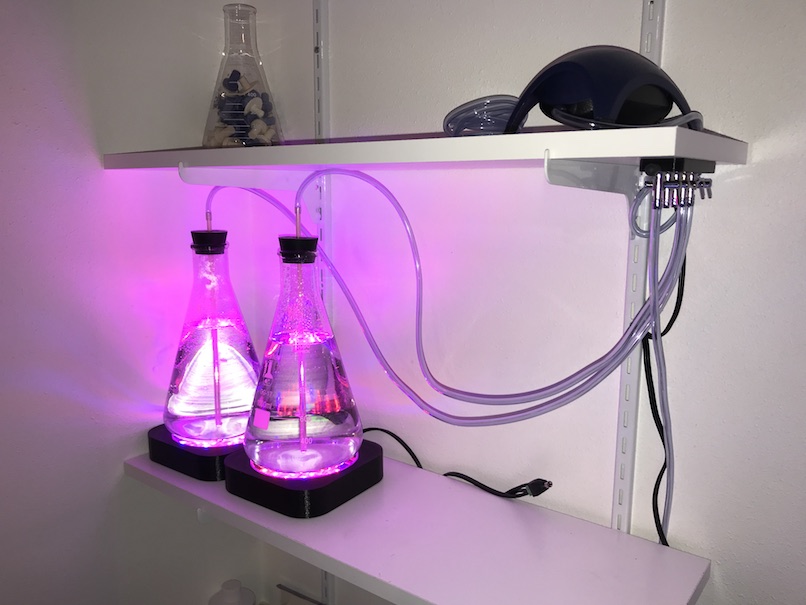
Got two stations setup- Running at about 6w, they don't get too hot. I put them on a digital timer to run from 6am to 10pm.
|
|
|
|
|
11/22/2017, 12:04 PM
|
#6 |
|
Registered Member
Join Date: Mar 2015
Location: Glocester, RI
Posts: 3,336
|
Interesting, looks very nice. And cool that it was done by 3d printer. Only drawback I guess is the size, can only manage one flask compared to a couple shoplights covering more area.
__________________
My build thread: http://reefcentral.com/forums/showthread.php?t=2548422 Current Tank Info: 65 gallon mixed reef, Eshopps sump and HOB overflow, RO-110int skimmer, Reefbreeder 32" photons V1. |
|
|
|
|
11/22/2017, 02:15 PM
|
#7 | |
|
Registered Member
Join Date: May 2003
Location: Anaheim, CA
Posts: 6,902
|
Quote:
__________________
240G mixed reef, 29G SPS/LPS clam tank, 50G mixed reef Current Tank Info: 300g mixed reef, 50g cube |
|
|
|
|
|
11/22/2017, 03:07 PM
|
#8 | |
|
Registered Member
Join Date: Mar 2015
Location: Glocester, RI
Posts: 3,336
|
Quote:
Oh yea def works for small spaces. My previous comment was more just my stream of thought going online lol. What phyto are you planning to grow with it? What's the plan to use it for?
__________________
My build thread: http://reefcentral.com/forums/showthread.php?t=2548422 Current Tank Info: 65 gallon mixed reef, Eshopps sump and HOB overflow, RO-110int skimmer, Reefbreeder 32" photons V1. |
|
|
|
|
|
11/23/2017, 11:51 PM
|
#9 |
|
Premium Member
Join Date: Mar 2002
Location: Spokane, WA
Posts: 3,234
|
I've got three printed, then ran out of PLA. I intend to start with four, which is what will fit on my 2' shelf. (They are 6"x6").
I got a culture of Nannocloropsis from Mercer of Montanna, so have two cultures started. One with 200ml of Nanno, 3ml of f/2, the other with about 20ml of Nanno, and 1ml of f/2. I've done a ton of reading, so there is of course conflicting information, so there is some guessing going on. Feel free to offer any ideas. Plan is to dose my tanks lightly for pod growth, and possible coral uses, and eventually grow Rotifers or other pods for live fry. No egg layers yet, but wanted to learn and get ready. Hoping the Clarkii or the Percs get with the program. No idea if 6 watts of red/blue grow LED is enough. The bases get warm, so I can't go brighter without adding some vents, or a small fan. If this is not bright enough, I may do a PCB and use the 3 watt grow LEDs. One minor issue- can't tell how green it is when there is no green light from the LEDs. Looks brown, not the vibrant green I'd like to see. If I do a PCB, I'll include a white LED just for looks. |
|
|
|
|
11/24/2017, 12:24 AM
|
#10 |
|
Registered Member
Join Date: Mar 2007
Location: Spencer, WI
Posts: 314
|
Just wanted to say I LOVE this! I love using 3d printing in any way I can to make my own stuff. Good work!
|
|
|
|
|
11/27/2017, 12:12 PM
|
#11 |
|
Premium Member
Join Date: Mar 2002
Location: Spokane, WA
Posts: 3,234
|
Here are some growth shots from the first four days. I'm really happy with how well it is growing.
After 1 day, 200ml of Mercer of Montana phyto in the left flask, 20ml in the right. Each picture taken at about the same time at night, with the phyto base lights off so the green can be seen: 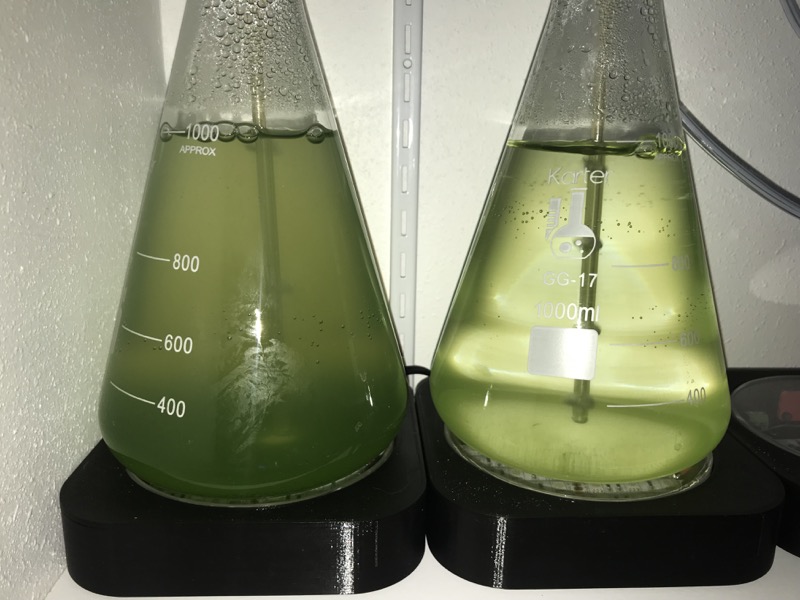 After 2 days: 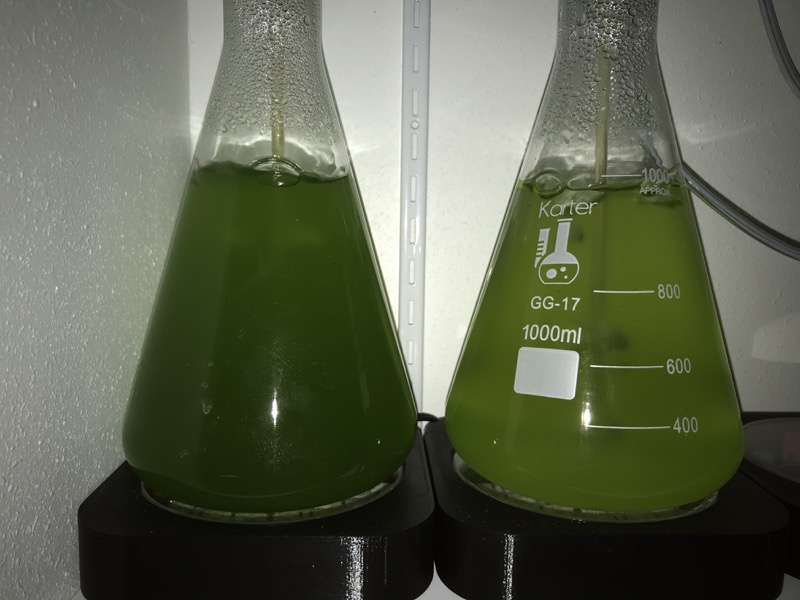 After 3 days:  After 4 days: 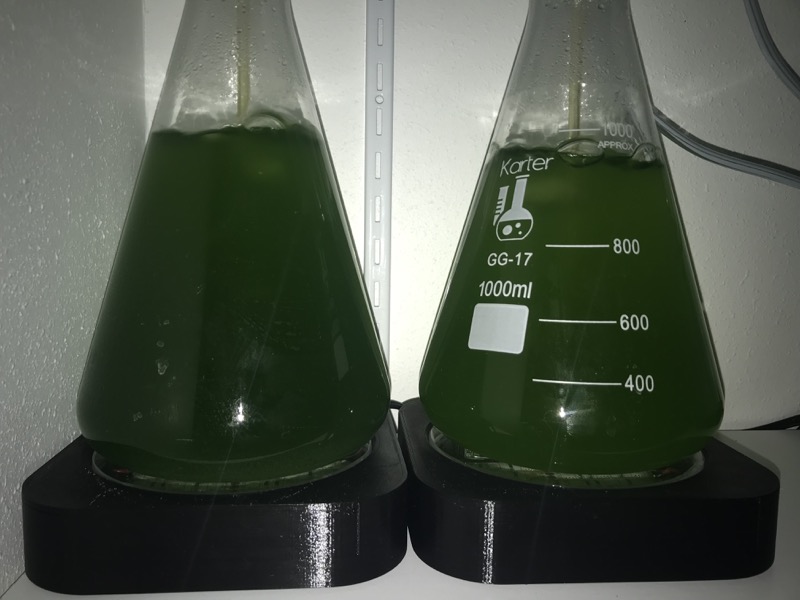 So I can certainly confirm that 6.6 watts of red/blue LEDs (four red for each blue) can grow Phyto. |
|
|
|
 |
|
|


