


|
 |
|
|
#1 |
|
Registered Member
Join Date: Apr 2012
Location: Orange Park, Florida
Posts: 292
|
56G Column Seahorse Build
Hey guys, my name is David. I have been in the reef hobby for roughly 8 years now. Though I have no first-hand experience with seahorses yet, I have been doing a lot of research and trying to plan accordingly to make sure I can keep them healthy. I'm still not sure what species I will house, but I have a lot of time to figure out what my best option will be.
I picked up a 56 gallon column aquarium (18"L x 30"W x 24"H) from Marineland along with the stand that came with it. Originally it was meant to be a holding tank for some corals that needed a home while I moved another aquarium, but after the move I decided I wanted to house horses in it. Here it is being set up as a holding tank. 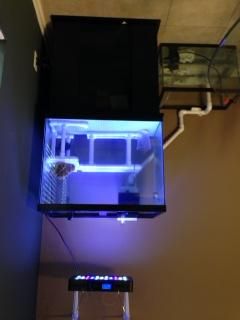 I also decided that the stand was not going to work for me, so a new one would need to be built. The generic stands that come with a lot these tanks don't look the best so I would rather make something that I like better. The tank will be backed up to a closet that I have accessible and all of the filtration will be housed there. A beananimal overflow will be used which will run through the wall and into the closet and into a 20G long sump. A 20G high refugium will be next to the sump and will be fed by the return. I have been working on various parts of the build simultaneously, so I figured I would share some of the progress.
__________________
75 Gallon Mixed Reef |
|
|

|
|
|
#2 |
|
Registered Member
Join Date: Apr 2012
Location: Orange Park, Florida
Posts: 292
|
The Rock
I had about 50 pounds of once-live rock sitting in my garage for a couple years from a previous aquarium, and figured it would work fine with some good cleaning. I want to have fully cured rock by the time water goes into the tank, so I figured I would start this project first as the most time is needed for it.
As you can see, this rock was pretty covered with old algae and other nasty stuff. 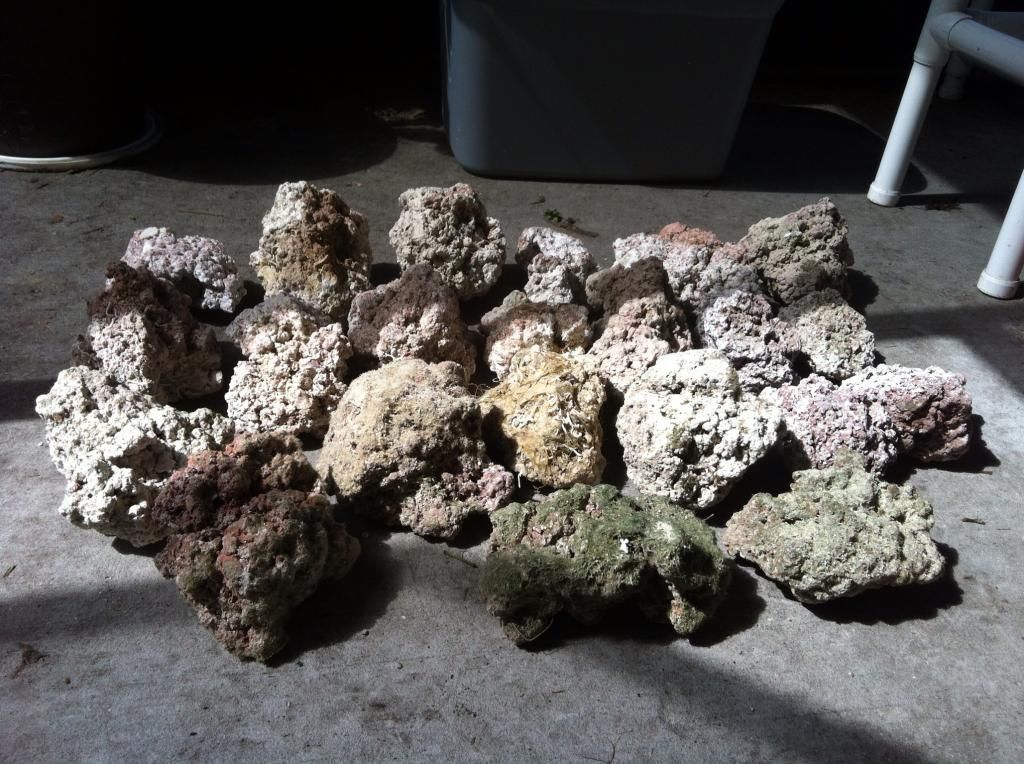 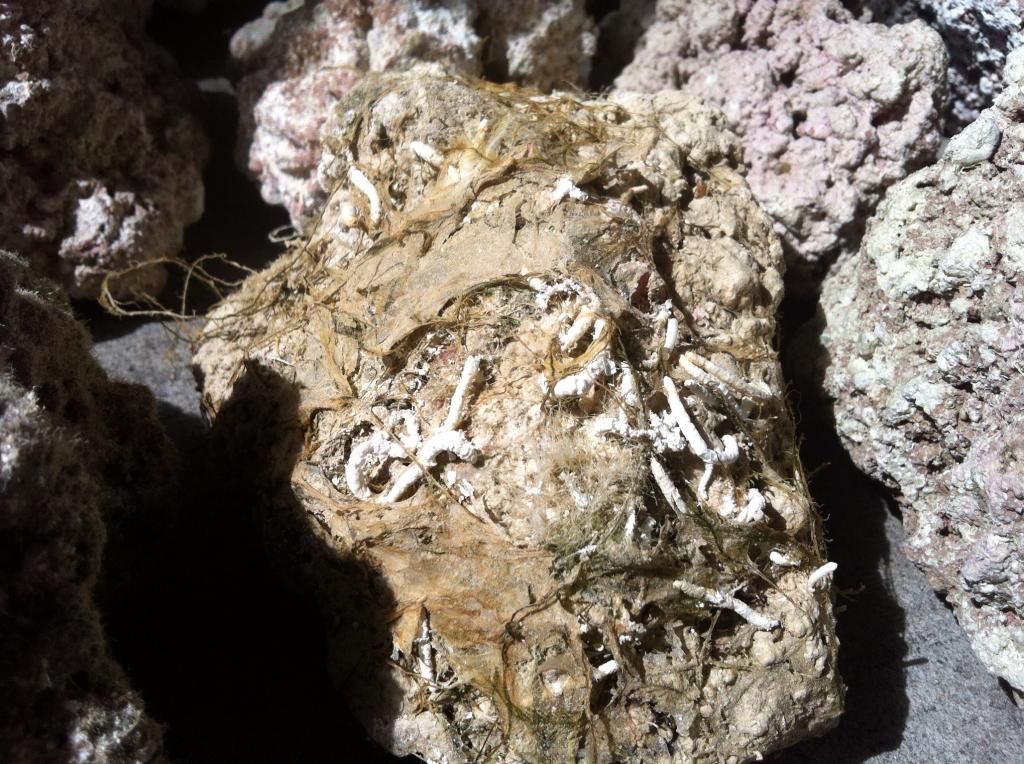 The plan was to follow this thread which I found to be very useful to "reincarnate" the rock. http://www.reefcentral.com/forums/sh....php?t=1914426 So, the rocks went into a 1:10 bleach:water solution for about a day to dissolve most of the organic material off of it. 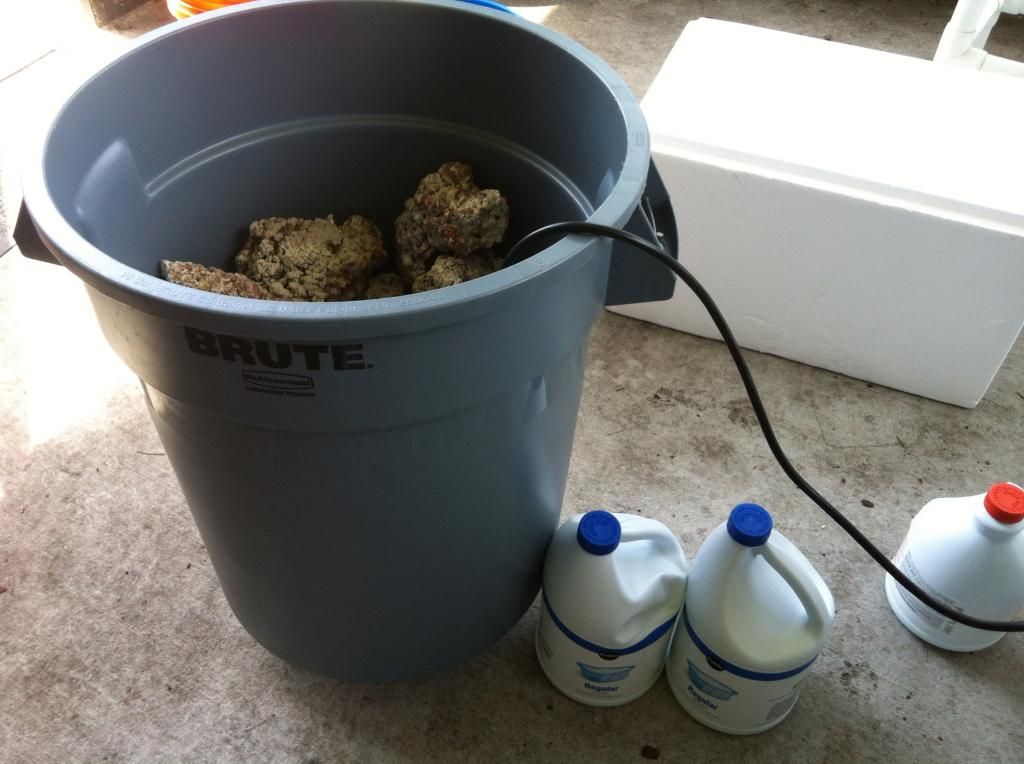 And this is the result so far. The bleach did a good job at getting almost all of the algae off. 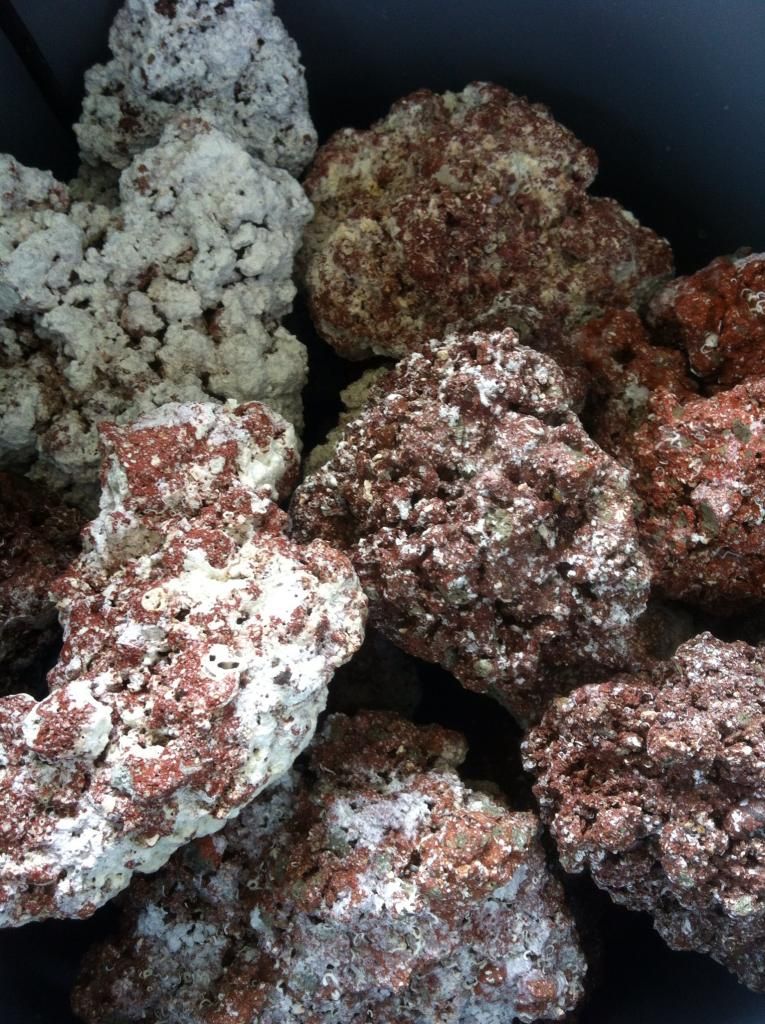
__________________
75 Gallon Mixed Reef |
|
|

|
|
|
#3 |
|
Registered Member
Join Date: Oct 1999
Location: London, Ontario, Canada
Posts: 3,969
|
Good luck in your new endeavour.

__________________
Seahorses. Culture nanno, rotifers and brine shrimp. Current Tank Info: Seahorses |
|
|

|
|
|
#4 |
|
Registered Member
Join Date: Apr 2012
Location: Orange Park, Florida
Posts: 292
|
The Rock Continued
After the bleach bath, the rocks were rinsed with RO water and then they went into a 1:10 Muriatic Acid:water ratio.
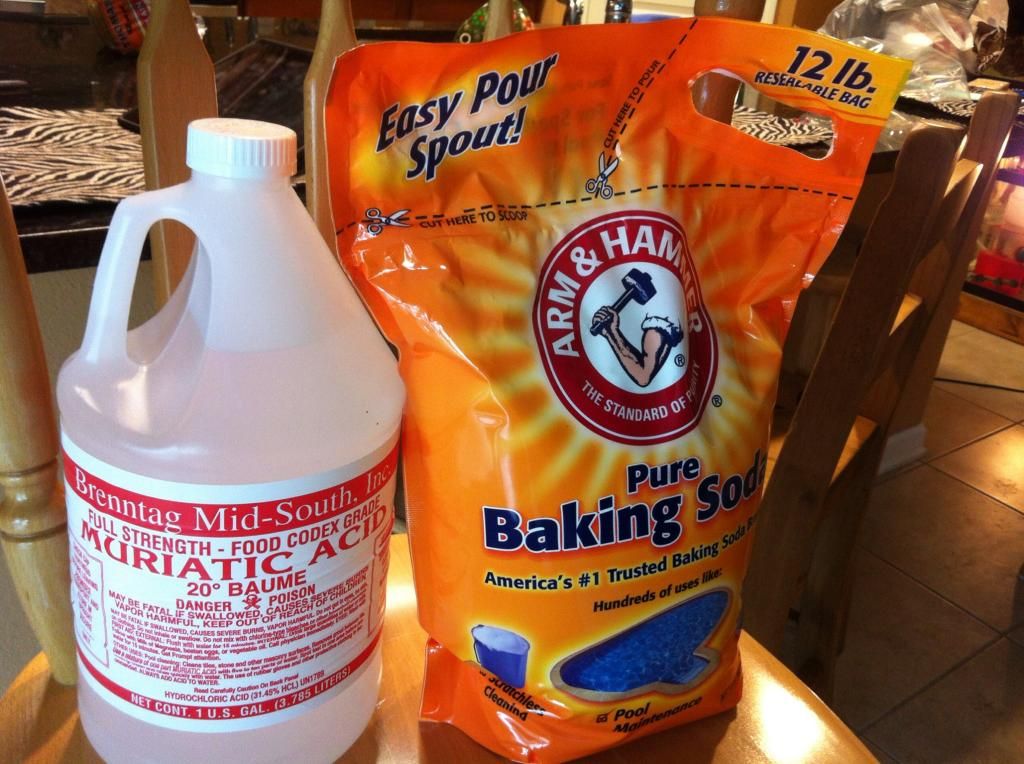 I set up a time-lapse of the acid bath with my GoPro, which I thought was pretty cool to watch. Here is the link to it: http://youtu.be/BcG4UxDqUKY The muriatic acid did a real good job of getting rid of the rest of the organics on the outside of the rock. Here is one of the rocks to show how it turned out. This is the rock at the beginning before bleach and acid: 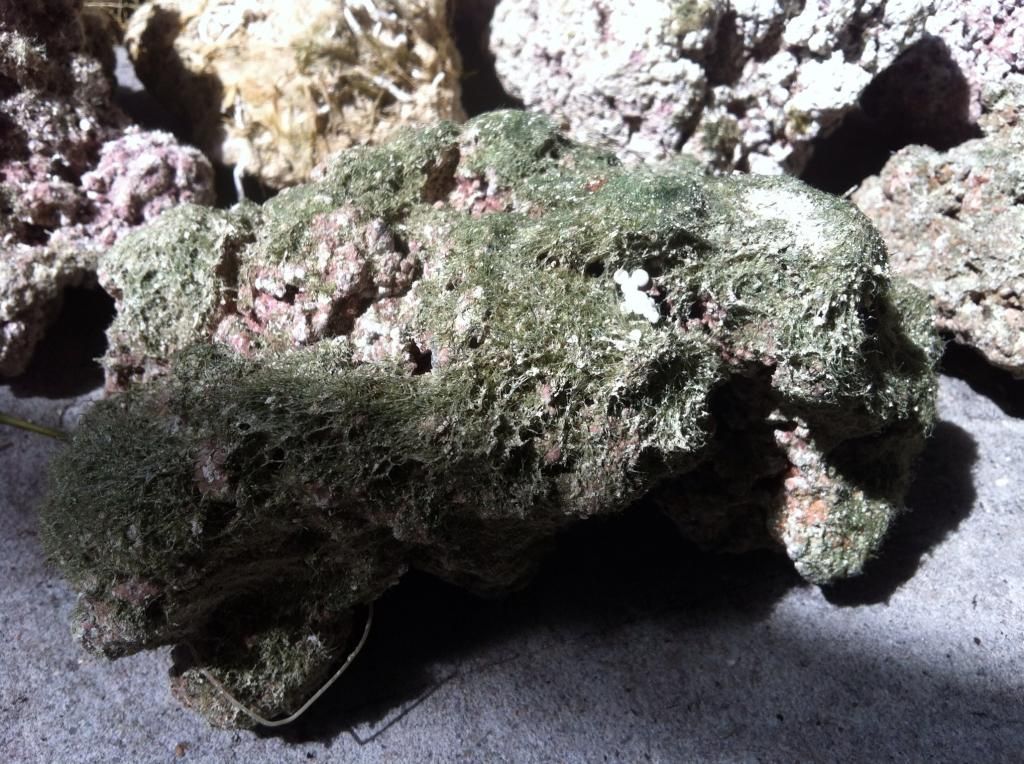 Here is the same rock after the bleach: 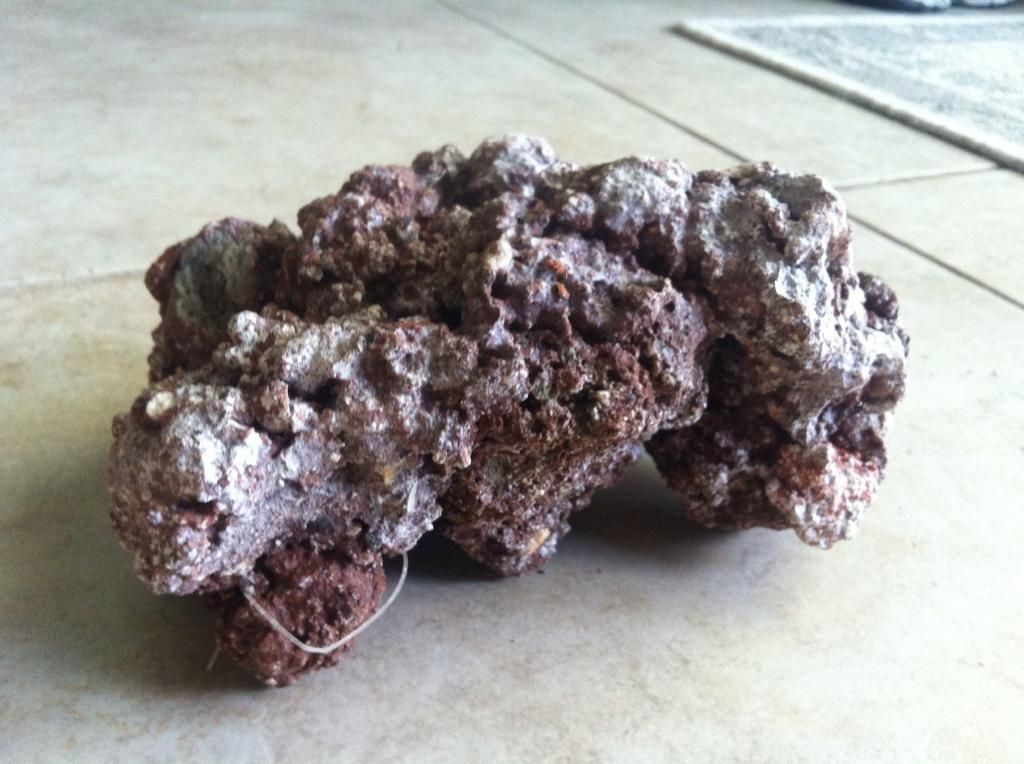 And after the acid: 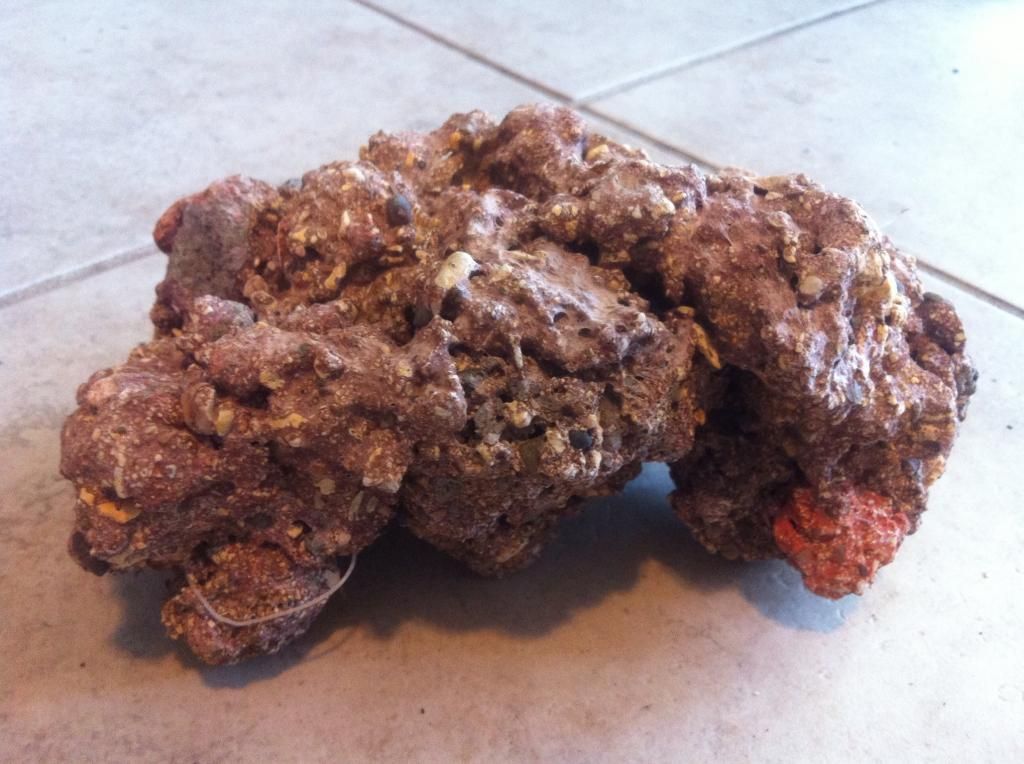 I am very pleased at how well the process worked, and now I could work on figuring out an aquascape before the rock went into salt water to cure for several months.
__________________
75 Gallon Mixed Reef |
|
|

|
|
|
#5 |
|
Registered Member
Join Date: Apr 2012
Location: Orange Park, Florida
Posts: 292
|
The Aquascape
Since the tank is 24" tall, I wanted the rockwork to be tall as well, so I used a driveway reflector from Home Depot to build a pillar so there wouldn't be as much empty space at the top of the tank.
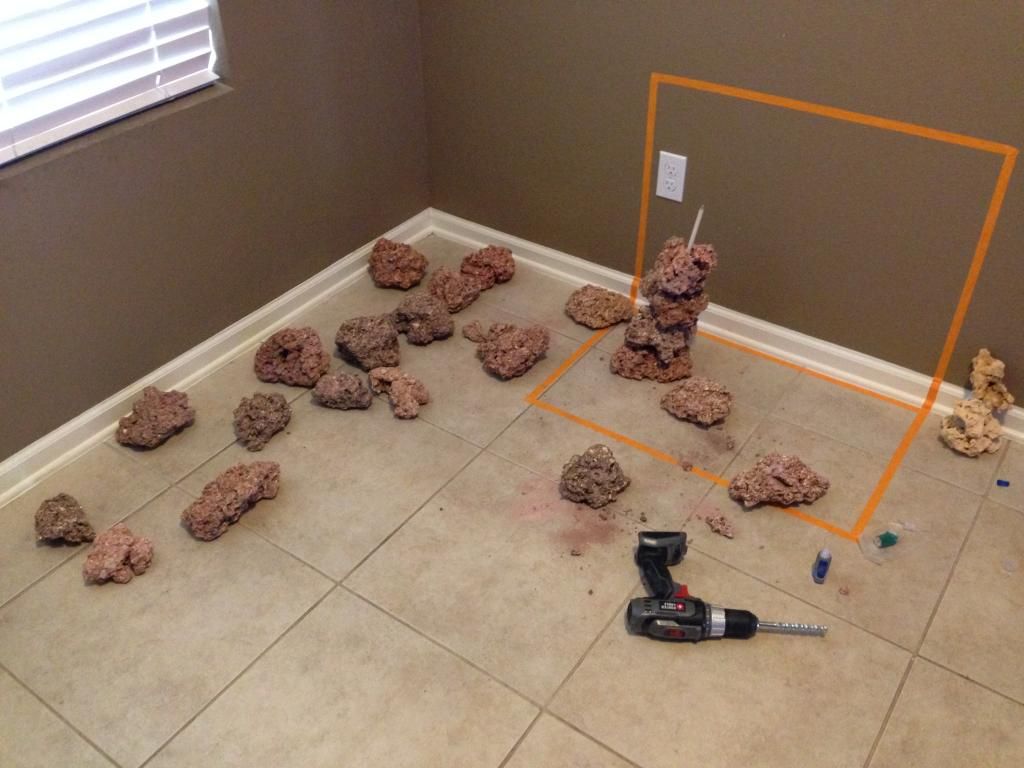 Here are some pictures of what I came up with. 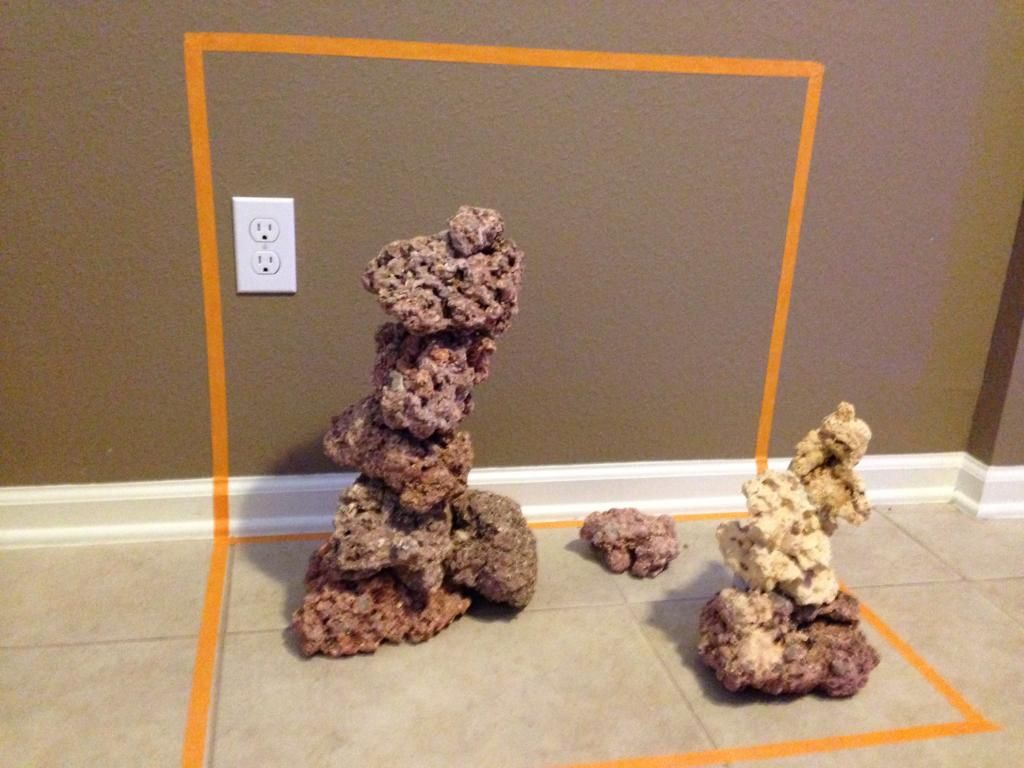 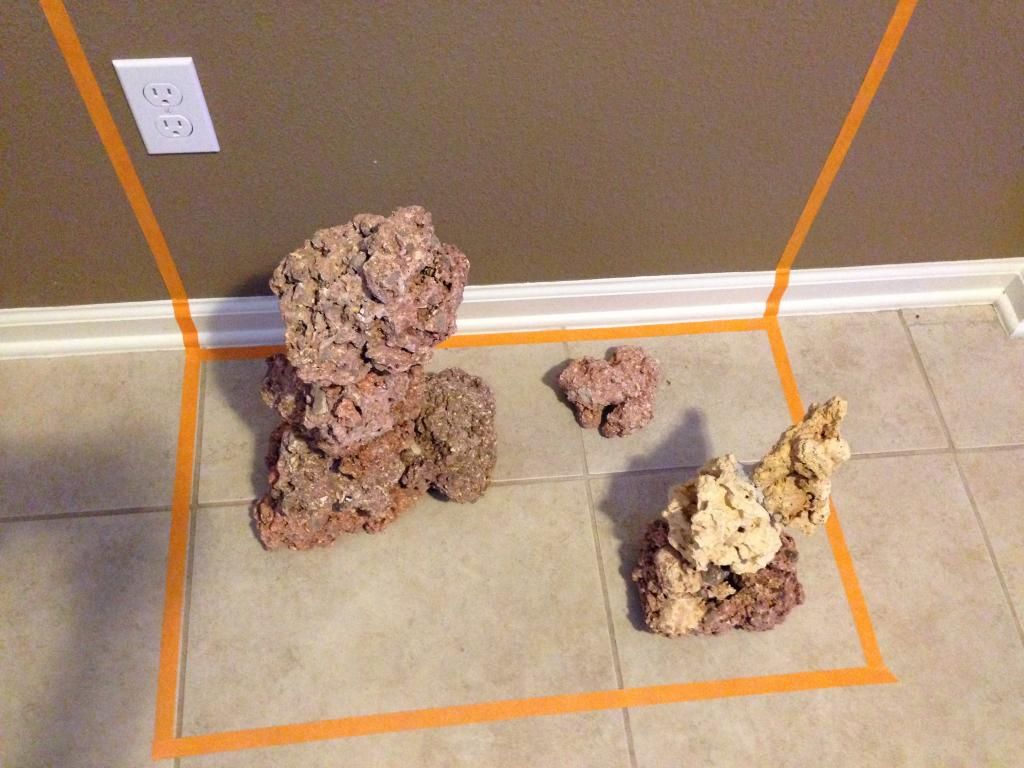 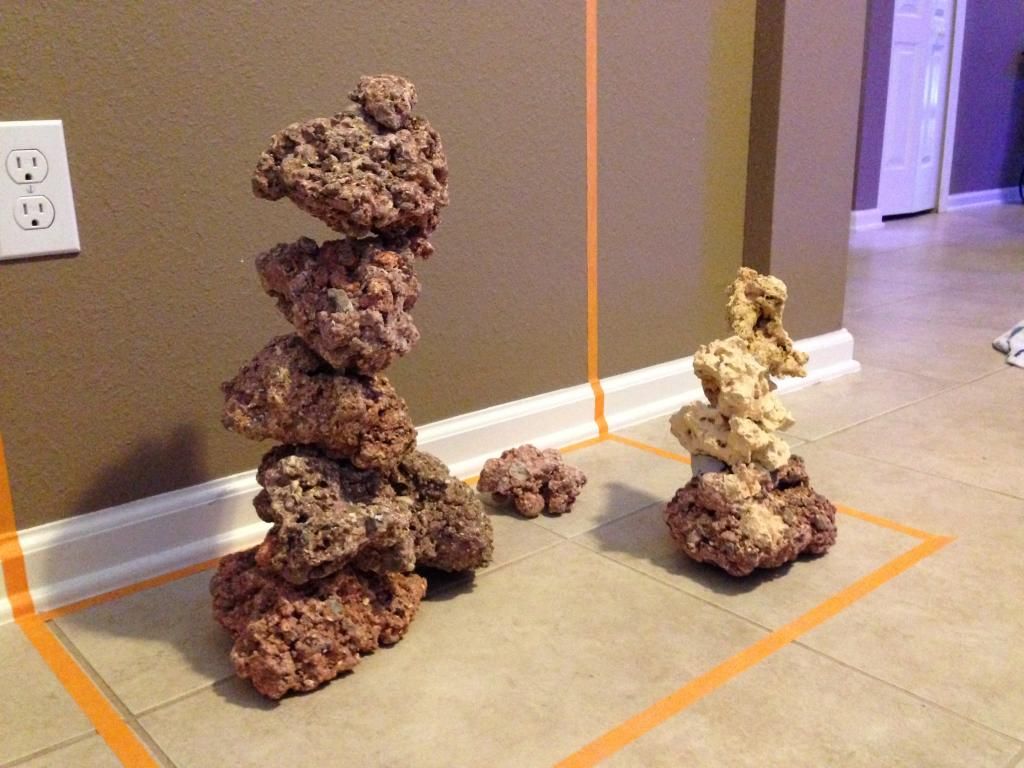 Once I came up with something I was satisfied with, the rock went into saltwater to cure, where it still is now. I have been performing water changes every couple of weeks or so.
__________________
75 Gallon Mixed Reef |
|
|

|
|
|
#6 |
|
Registered Member
Join Date: Apr 2012
Location: Orange Park, Florida
Posts: 292
|
The Stand
While the rock was curing, I started building the stand. The frame is built out of 2x4 with 1/4" plywood on the top and bottom. It is skinned in 1/8" board.
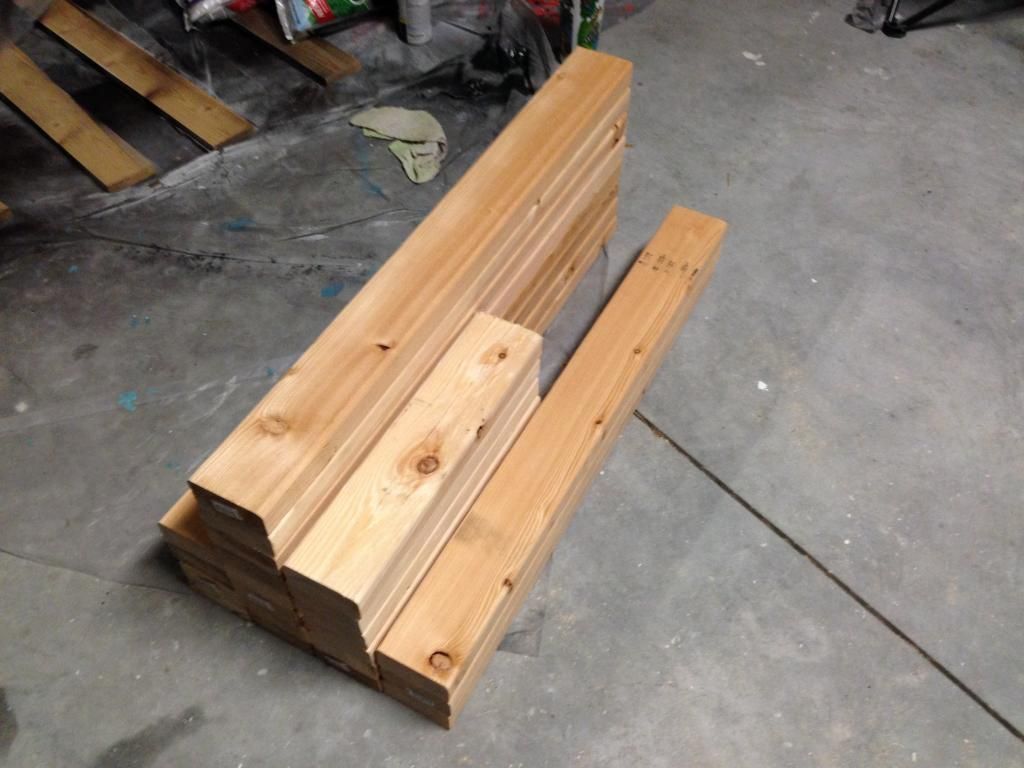 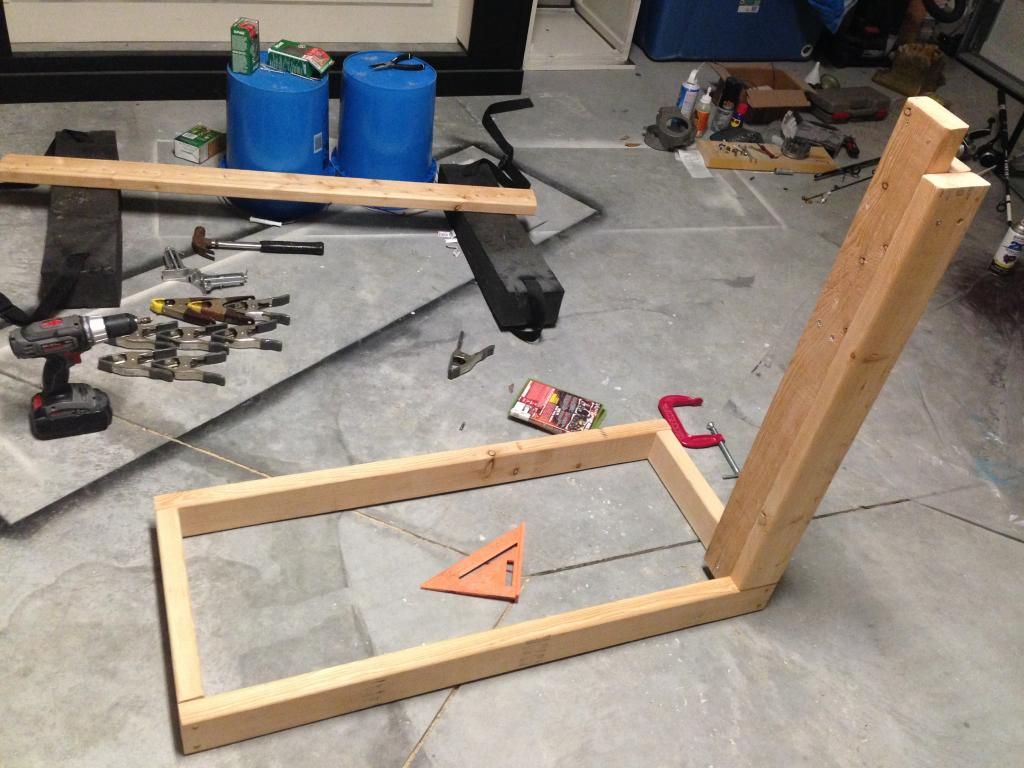 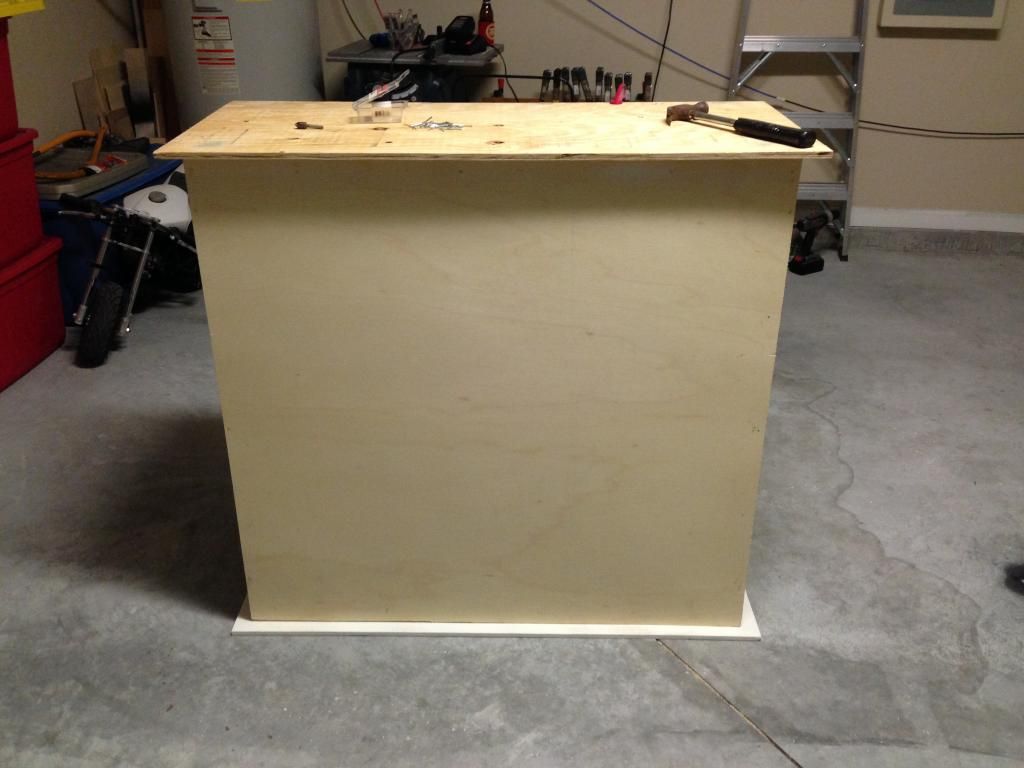 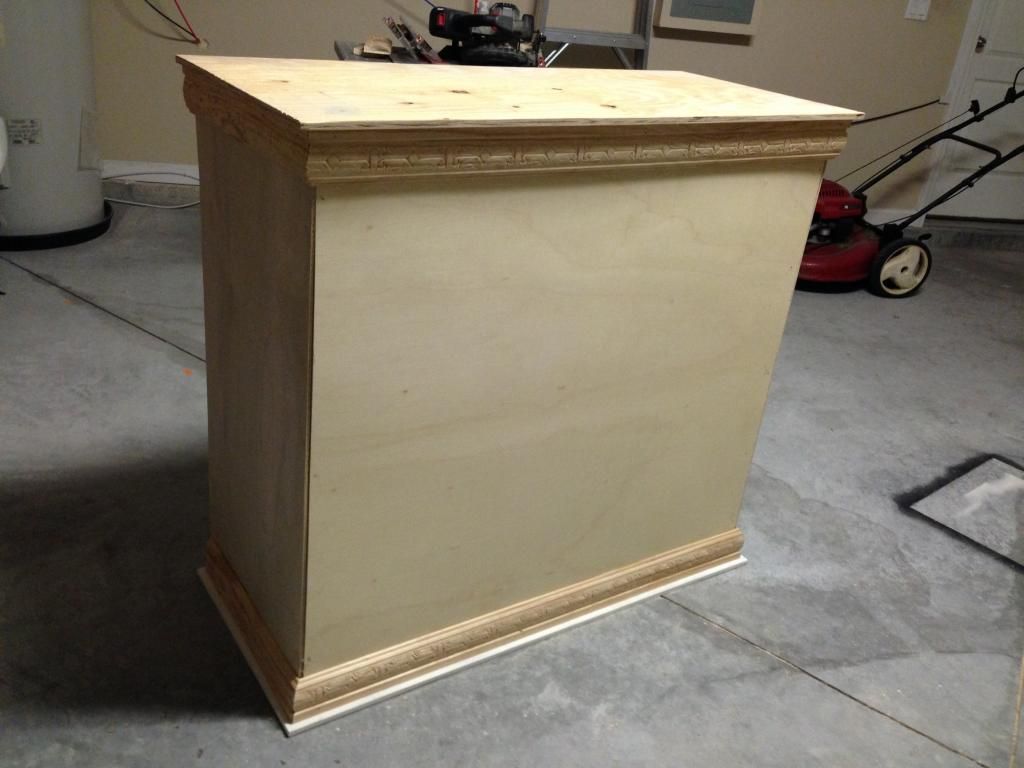 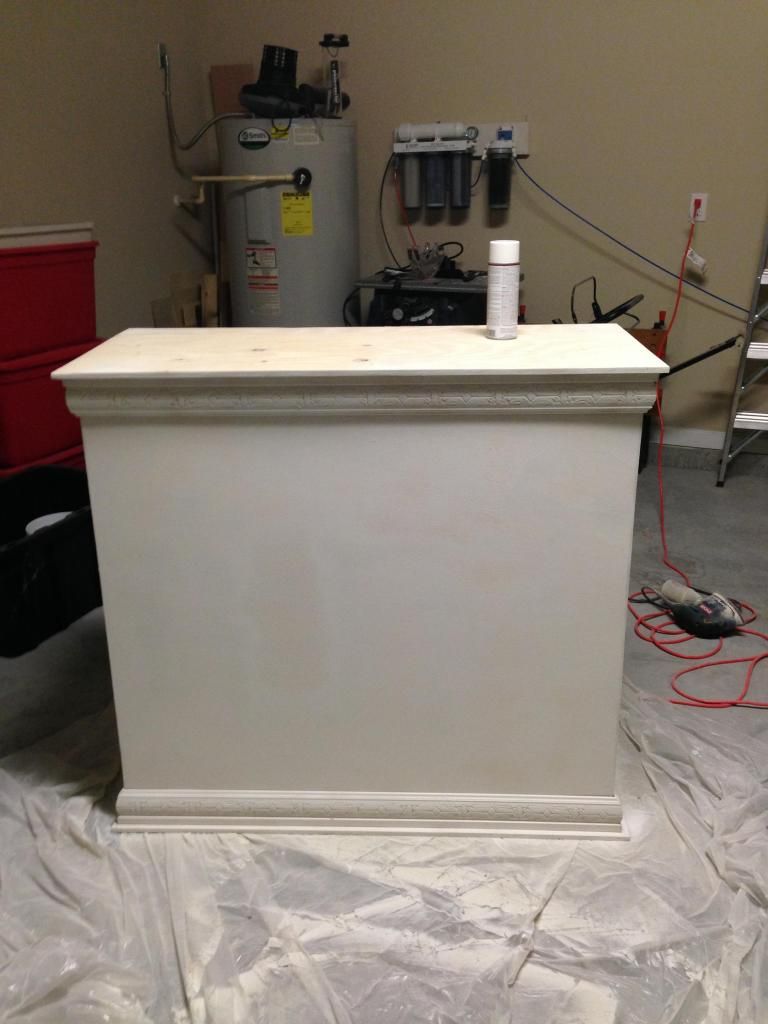
__________________
75 Gallon Mixed Reef |
|
|

|
|
|
#7 |
|
Registered Member
Join Date: Apr 2012
Location: Orange Park, Florida
Posts: 292
|
Here is the completed stand. It is 36" tall which puts the tank at a nice viewing height. It will be tough to work on being this tall, but I would rather not have to look down at it when looking in. Thanks for looking!
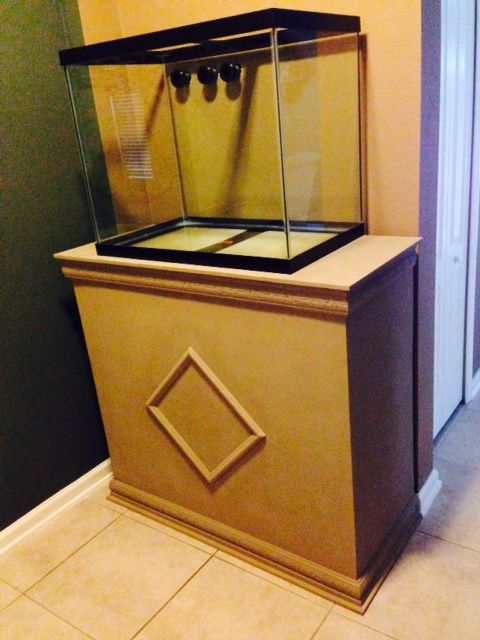
__________________
75 Gallon Mixed Reef |
|
|

|
|
|
#8 |
|
Registered Member
Join Date: Apr 2012
Location: Orange Park, Florida
Posts: 292
|
Thank you! Your work has provided a lot of help in my research about the care requirements of seahorses.
__________________
75 Gallon Mixed Reef |
|
|

|
|
|
#9 |
|
Registered Member
Join Date: Oct 1999
Location: London, Ontario, Canada
Posts: 3,969
|
Instead of driveway reflectors, it's cheaper to use 3/16" rigid air line tubing.
At least it is here in Canada.
__________________
Seahorses. Culture nanno, rotifers and brine shrimp. Current Tank Info: Seahorses |
|
|

|
|
|
#10 | |
|
Registered Member
Join Date: Oct 1999
Location: London, Ontario, Canada
Posts: 3,969
|
Quote:
__________________
Seahorses. Culture nanno, rotifers and brine shrimp. Current Tank Info: Seahorses |
|
|
|

|
|
|
#11 | |
|
Registered Member
Join Date: Apr 2012
Location: Orange Park, Florida
Posts: 292
|
Quote:
__________________
75 Gallon Mixed Reef |
|
|
|

|
|
|
#12 |
|
Registered Member
Join Date: Apr 2012
Location: Orange Park, Florida
Posts: 292
|
I have a lot left to do still, and the next step is plumbing. I have drilled the three holes for the beananimal overflow, and am ordering the glass for the overflow box tomorrow, as well as the glass for the baffles in the sump. I will update when I have some more progress.
__________________
75 Gallon Mixed Reef |
|
|

|
|
|
#13 |
|
Likes fish
Join Date: Jun 2008
Location: Edgewater, FL
Posts: 649
|
Looks like it's gonna turn out nice!
__________________
40 Breeder Rimless. SPS dominated - 2x Radion XR15 |
|
|

|
|
|
#14 |
|
Registered Member
Join Date: Aug 2010
Posts: 2,409
|
Very nice!
|
|
|

|
|
|
#15 |
|
Registered Member
Join Date: Apr 2012
Location: Orange Park, Florida
Posts: 292
|
Thank you!
__________________
75 Gallon Mixed Reef |
|
|

|
|
|
#16 |
|
Registered Member
Join Date: Aug 2012
Location: alex city, alabama
Posts: 756
|
Very Nice, I have the exact same tank and will be following your build. I plan to use the factory stand with a 10 gallon sump.
|
|
|

|
|
|
#17 | |
|
Registered Member
Join Date: Apr 2012
Location: Orange Park, Florida
Posts: 292
|
Quote:
I was originally going to use the factory stand with a 10 gallon as a sump also, but I didn't like the lack of space down there for a skimmer and other equipment. Luckily I also had a spare closet accessible to open up my options a bit. Thanks for the support!
__________________
75 Gallon Mixed Reef |
|
|
|

|
|
|
#18 |
|
Registered Member
Join Date: Apr 2012
Location: Orange Park, Florida
Posts: 292
|
I have built the stands for the sump and for the refugium, which will sit to the right of the sump and about 15" higher up. I still have to waterproof the two stands.
I have also drilled the holes in the wall for the 3 overflows, and made some progress on plumbing. Here are some pics of the closet I will be using. In the second picture you can see the 3 holes in the wall for the overflow plumbing, which will empty into the 20L that is seen in the bottom right. 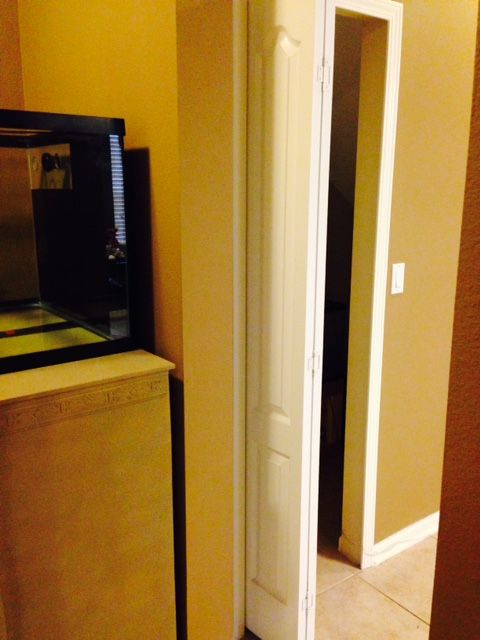 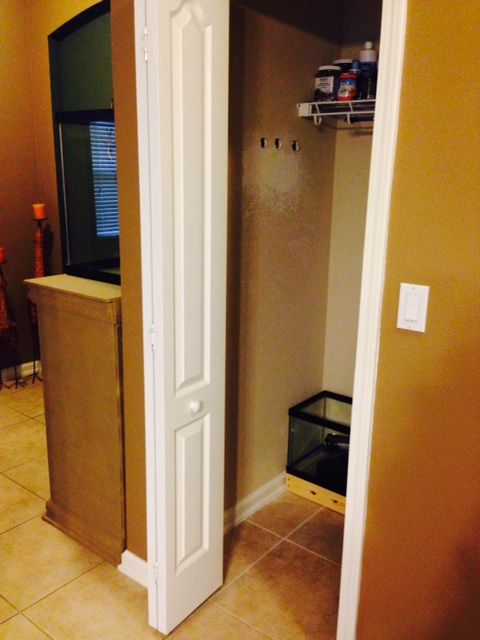 From inside the closet, you can see the 20G high on the right, which has a 1.5" bulkhead to dump back into the 20L behind it. 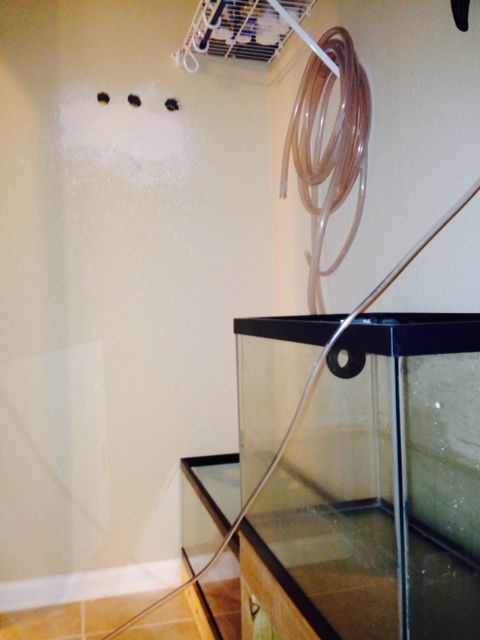 Here is an opposite view of inside the closet. Tank on the left is the 20G high refugium. The two 20G brute trash cans will end up as a water mixing station, one having saltwater and the other having RO. I have to add a QT tank somewhere in there as well. 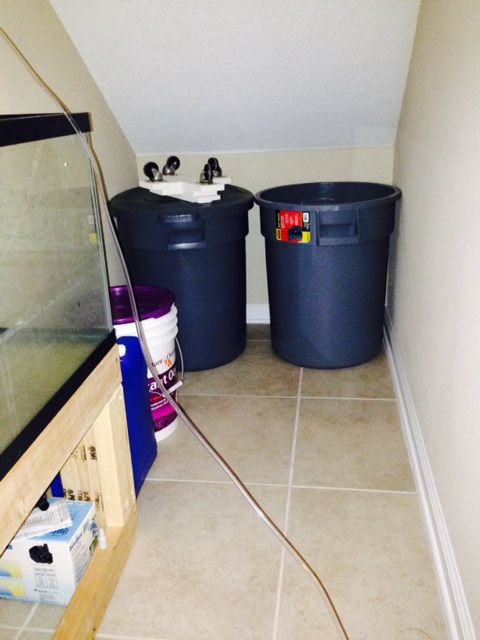
__________________
75 Gallon Mixed Reef |
|
|

|
|
|
#19 |
|
Registered Member
Join Date: Oct 1999
Location: London, Ontario, Canada
Posts: 3,969
|
I'd suggest you find a good way to ventilate the closet extremely well or you are going to have a mold problem in time.
Everything looking extremely nice. I'm envious of those that have the workmanship skills you exhibit.
__________________
Seahorses. Culture nanno, rotifers and brine shrimp. Current Tank Info: Seahorses |
|
|

|
|
|
#20 | |
|
Registered Member
Join Date: Apr 2012
Location: Orange Park, Florida
Posts: 292
|
Quote:
I have plans to place a wall vent to the adjoining room with a fan to reduce humidity inside of the fish closet. I definitely think mold will be an issue sooner or later if it is not properly ventilated.
__________________
75 Gallon Mixed Reef |
|
|
|

|
|
|
#21 |
|
Registered Member
Join Date: Oct 1999
Location: London, Ontario, Canada
Posts: 3,969
|
I should also have mentioned to keep a good sized fan running in the closet also as the moving air helps to make it harder for the mold to take hold.
__________________
Seahorses. Culture nanno, rotifers and brine shrimp. Current Tank Info: Seahorses |
|
|

|
|
|
#22 | |
|
Registered Member
Join Date: Apr 2012
Location: Orange Park, Florida
Posts: 292
|
Quote:
__________________
75 Gallon Mixed Reef |
|
|
|

|
|
|
#23 |
|
Registered Member
Join Date: Apr 2012
Location: Orange Park, Florida
Posts: 292
|
Equipment that I have already:
-Lighting: Reefbreeders Photon 16" LED Fixture -Return Pump: QuietOne 4000 (I know it is a bit strong for this size aquarium, but it will be feeding various things so tank turnover will be decreased) -[B]Powerheads[B]: Vortech MP10W (with foam cover), and might add another if more flow is needed -BRS Dual Carbon/GFO Reactor: will also be fed by return pump Equipment still needed: -Protein Skimmer: ReefOctopus 110INT -ATO: Tunze Osmolator Nano 3152 -Miscellaneous items: plumbing parts, ventilation for fish closet, etc.
__________________
75 Gallon Mixed Reef |
|
|

|
|
|
#24 |
|
Registered Member
Join Date: Apr 2012
Location: Orange Park, Florida
Posts: 292
|
Got the three standpipes for the beananimal plumbing and the elbows for inside the overflow box finished. Now I just need to finish the run going to the sump. I've also started on the return plumbing and will post some pictures once it is farther along.
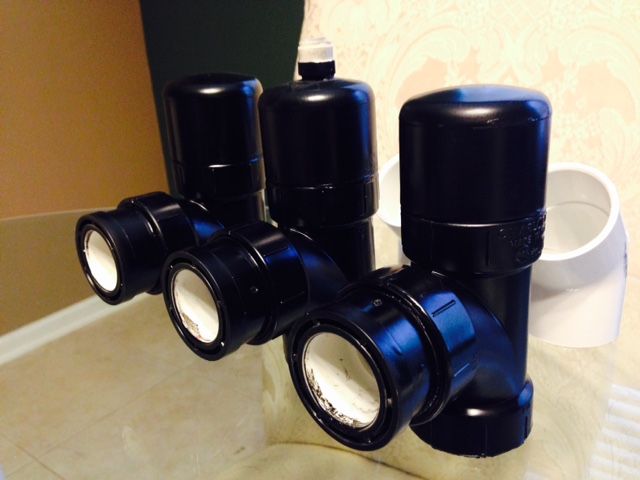 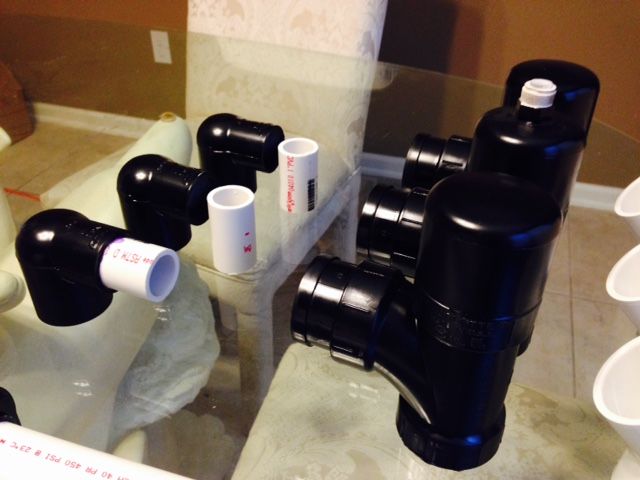 I have also run an RO line to the closet for a more accessible water supply. On the other side of this wall is the garage where the RODI unit is. 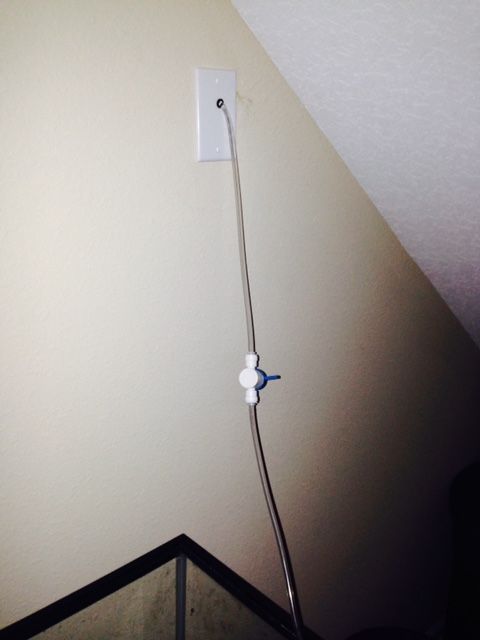
__________________
75 Gallon Mixed Reef |
|
|

|
|
|
#25 |
|
Registered Member
Join Date: Apr 2012
Location: Orange Park, Florida
Posts: 292
|
I made some more progress on the fish closet today. Most of the return plumbing is finished and painted.
Here are some pictures so far. From the return pump the first tee going off to the right feeds the refugium with a ball valve. Further up the return plumbing is a ball valve that feeds the Carbon/GFO reactor, and to the left of that is another tee where I will add another valve to direct flow further if I decide to add equipment or want to divert extra flow back to the sump. The rest of the plumbing then follows the closet wall back to the DT. 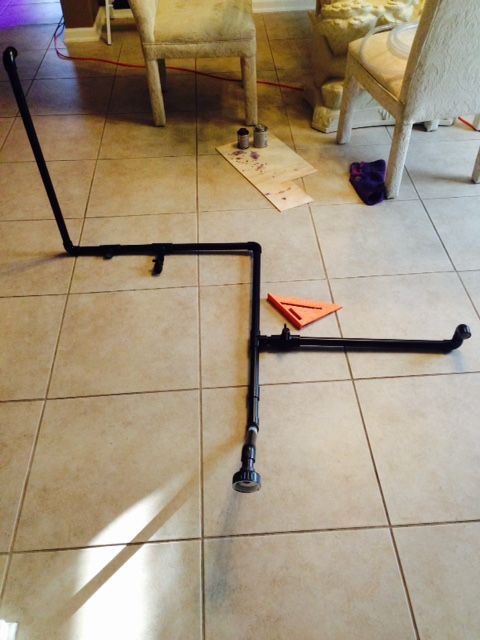 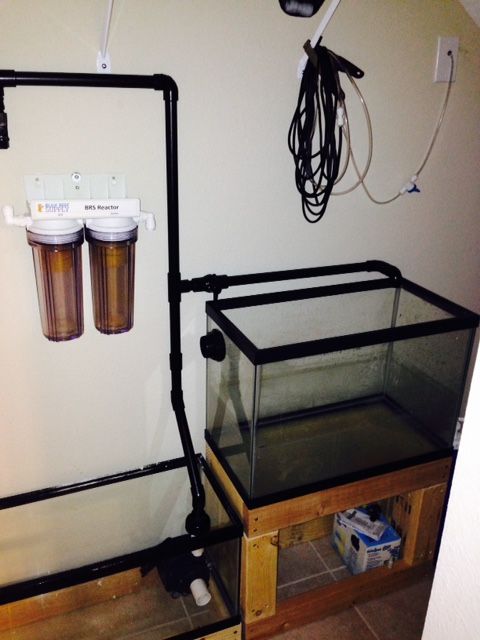 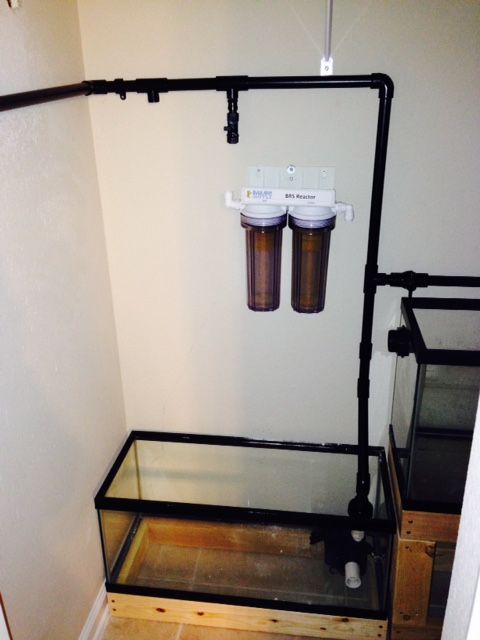
__________________
75 Gallon Mixed Reef |
|
|

|
 |
|
|