
|
|
 11/11/2015, 06:11 AM
|
#1 |
|
Registered Member
Join Date: Aug 2010
Location: Rochester, Ny
Posts: 663
|
Terry's 180 Peninsula Reef build.
There is a lot to share, as we are a ways into this process, but I will start from the beginning and catch us up to today...
I've been in the hobby since college. I bought my first tank, a 65 gallon, from my boss when I was delivering pizza in Hamlin while going to Brockport. I put the tank in my tiny room in my college house where my drunk friends came to stare at my fish. There was no reef at this point, as I was still rocking the undergravel filter, and I had not one clue what I was doing... After college, the 65 became a 75, that became a massive eyesore, as it never got the attention it needed. I decided about 6 years ago, that I loved this hobby and I wanted to go full reef. I picked up a used 120 with dual megaflows (my first reef-ready tank) and I was in business. Over the course of the last 6 years, I have gone from complete novice, to less-of-a-novice by reading and watching everything I could get my hands on reef related. Today this is my tank: 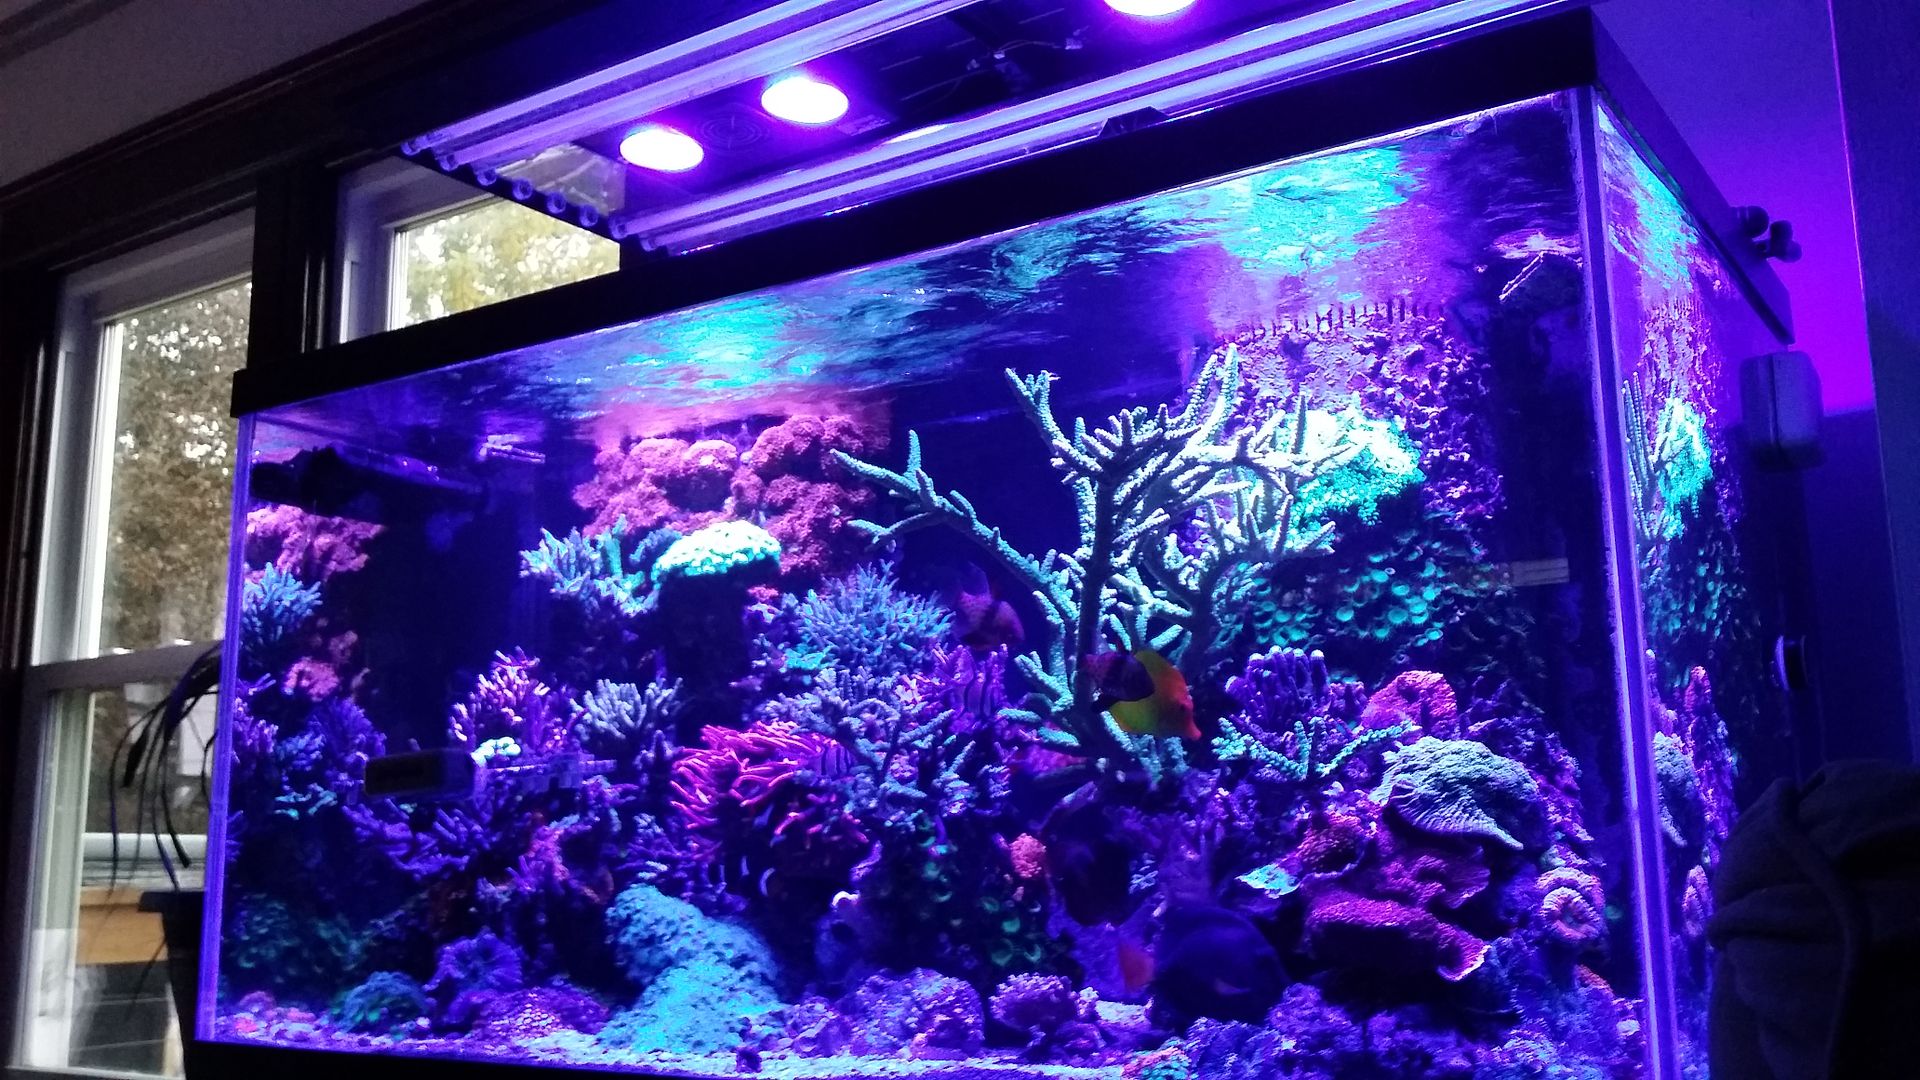 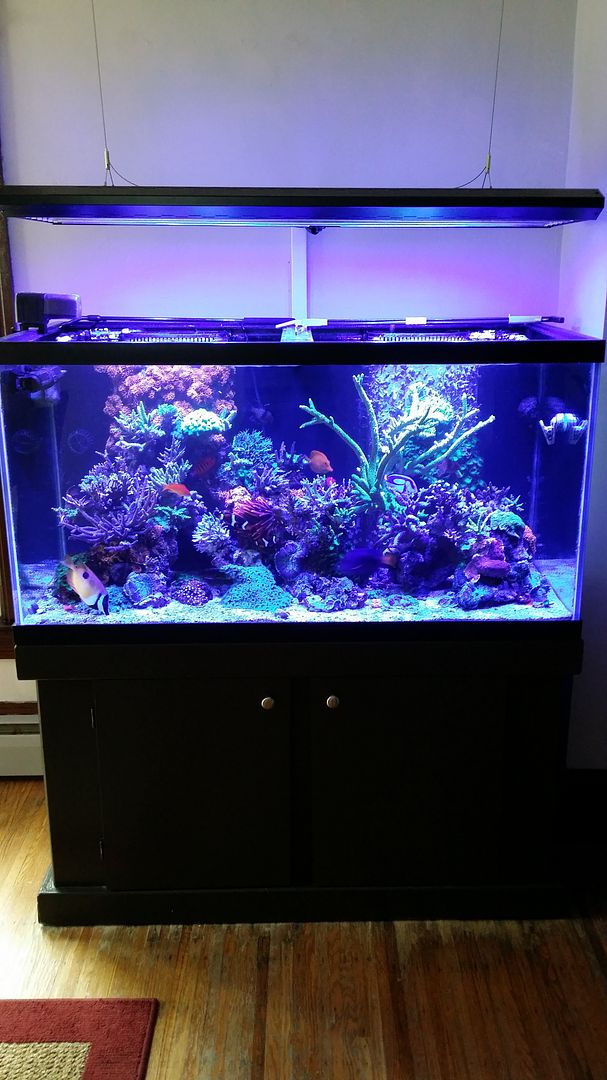 It sits in our dining room, which is connected to the living room, and it is my pride and joy. Some of the basics: Lighting- Modded 8-bulb Tek Light with 2 Gen 3 Radions (not pros) Skimmer- Vertex Omega 150 Return pump- Panworld PS-150 (in the basement) Dosing (Jebao DP-4 with BRS two part) In tank flow- Maxspect Gyre 150 and Vortech MP-10 at this point the tank is mostly SPS, dominated by the giant green slimer. But, as you can read, the title of this thread isn't "Terry's 120 Reef", it's "Terry's 180 Peninsula Reef Build" Stay tuned... |

|

|
|
11/11/2015, 06:14 AM
|
#2 |
|
Registered Member
Join Date: Aug 2010
Location: Rochester, Ny
Posts: 663
|
Before we get to the 180, a few more details about the 120...
I picked up a used Apex last summer, and I fell in love. I am currently using it to run my ATO (two float switches) my two heaters, my skimmate locker via float switch and my wifi camera. And a few more shots of the current set up, because I love it: 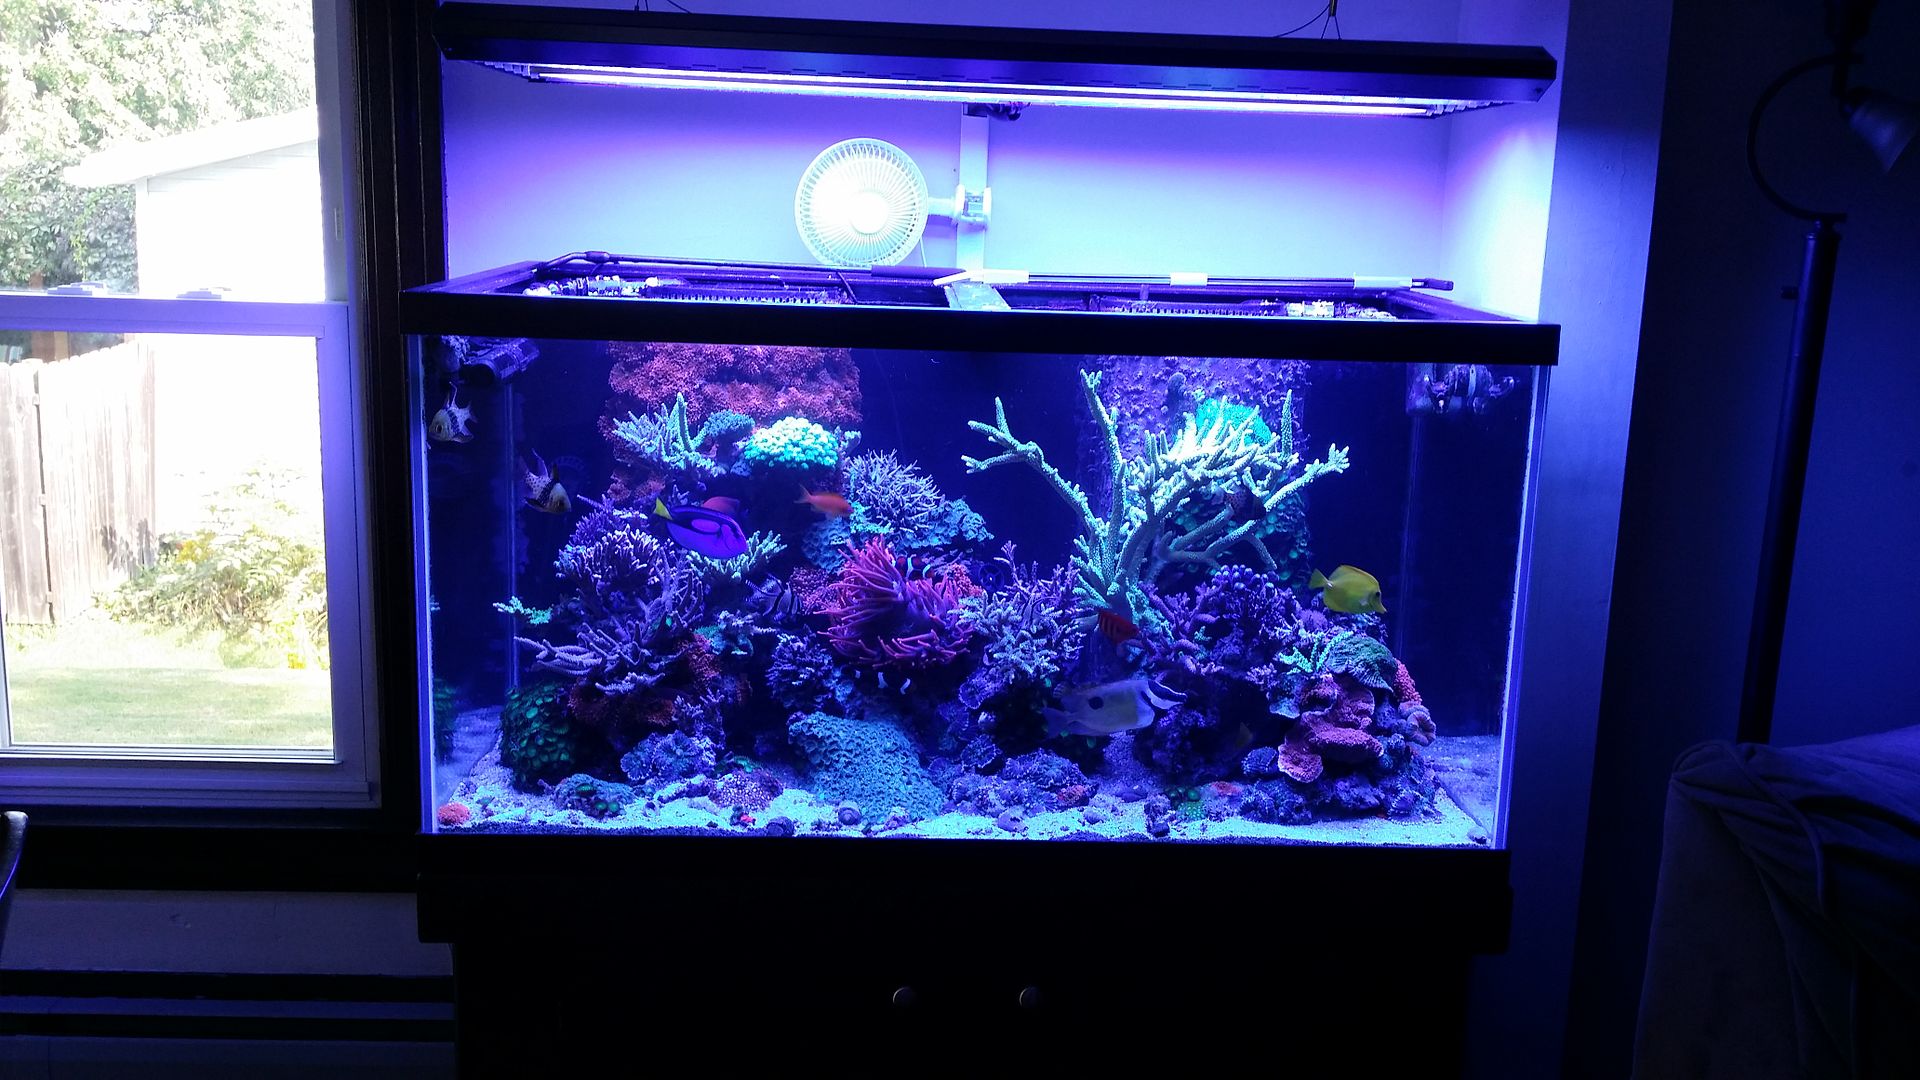 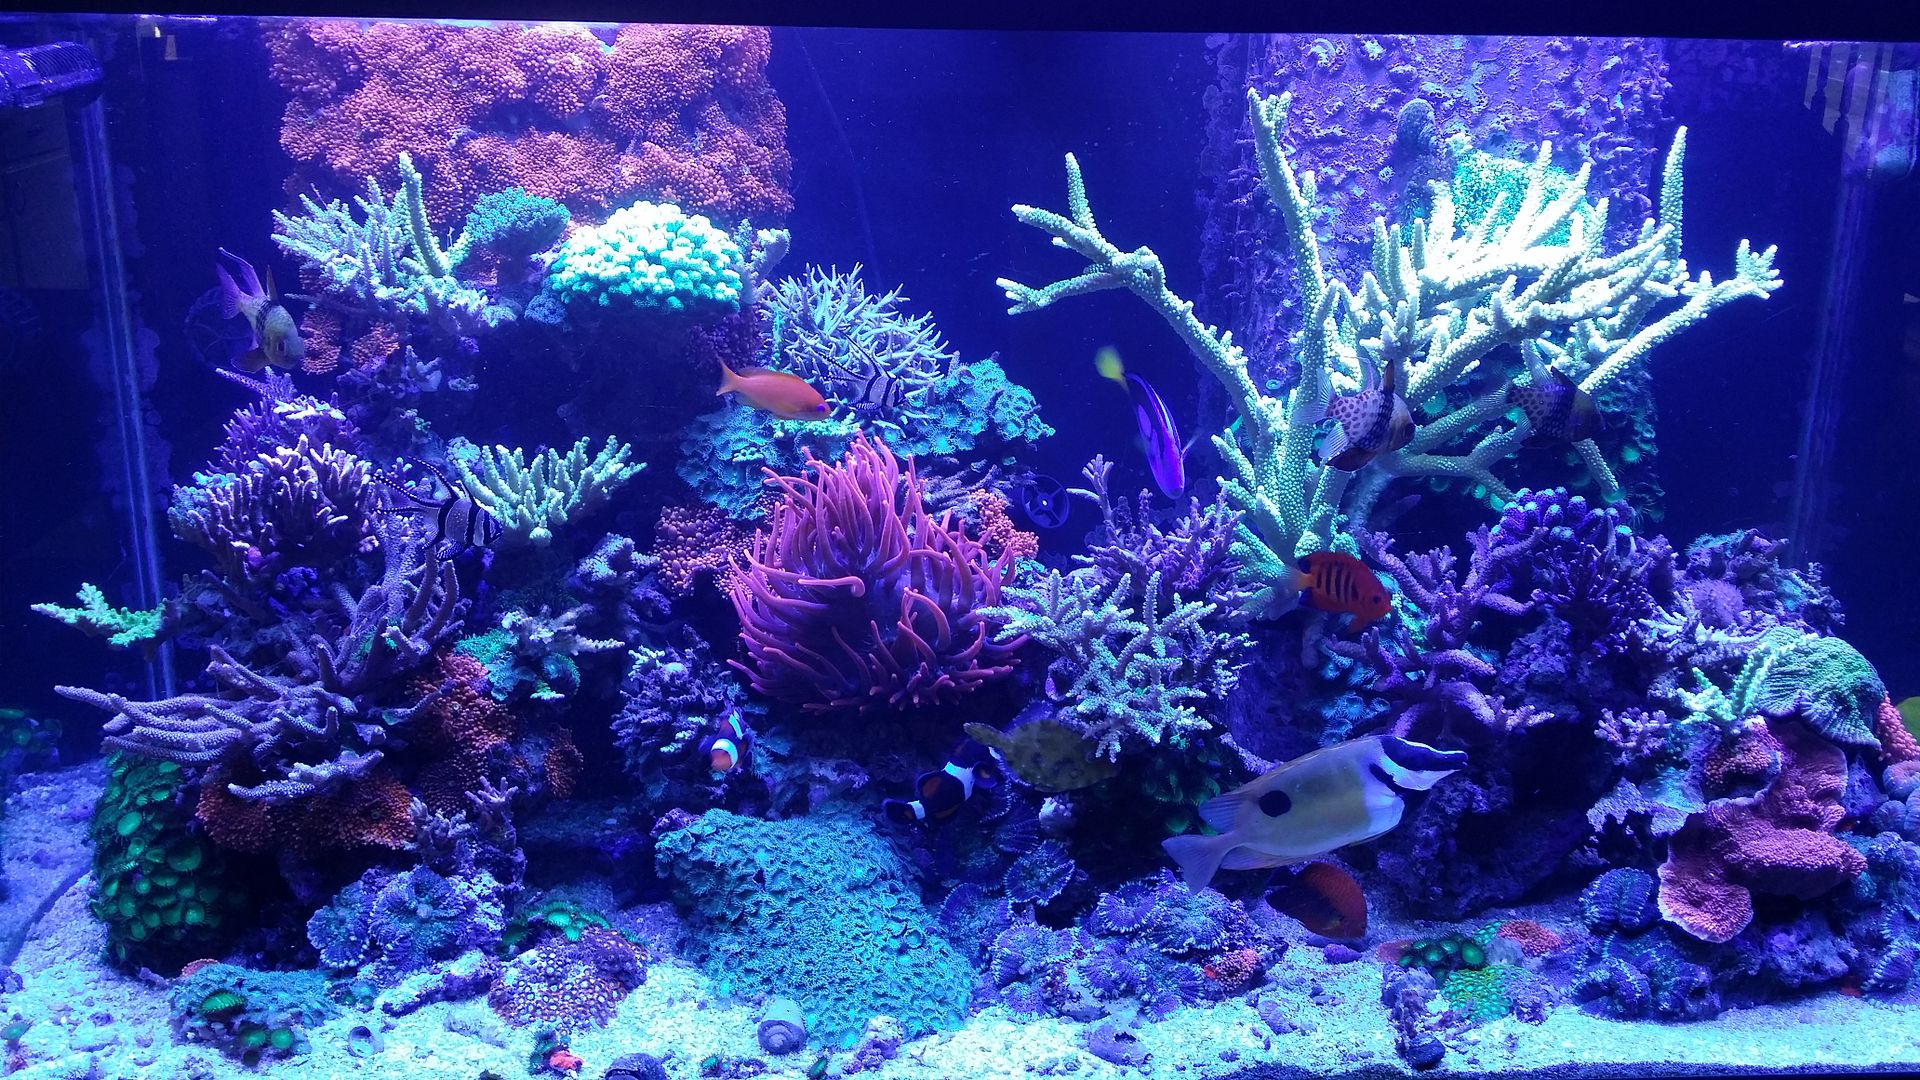 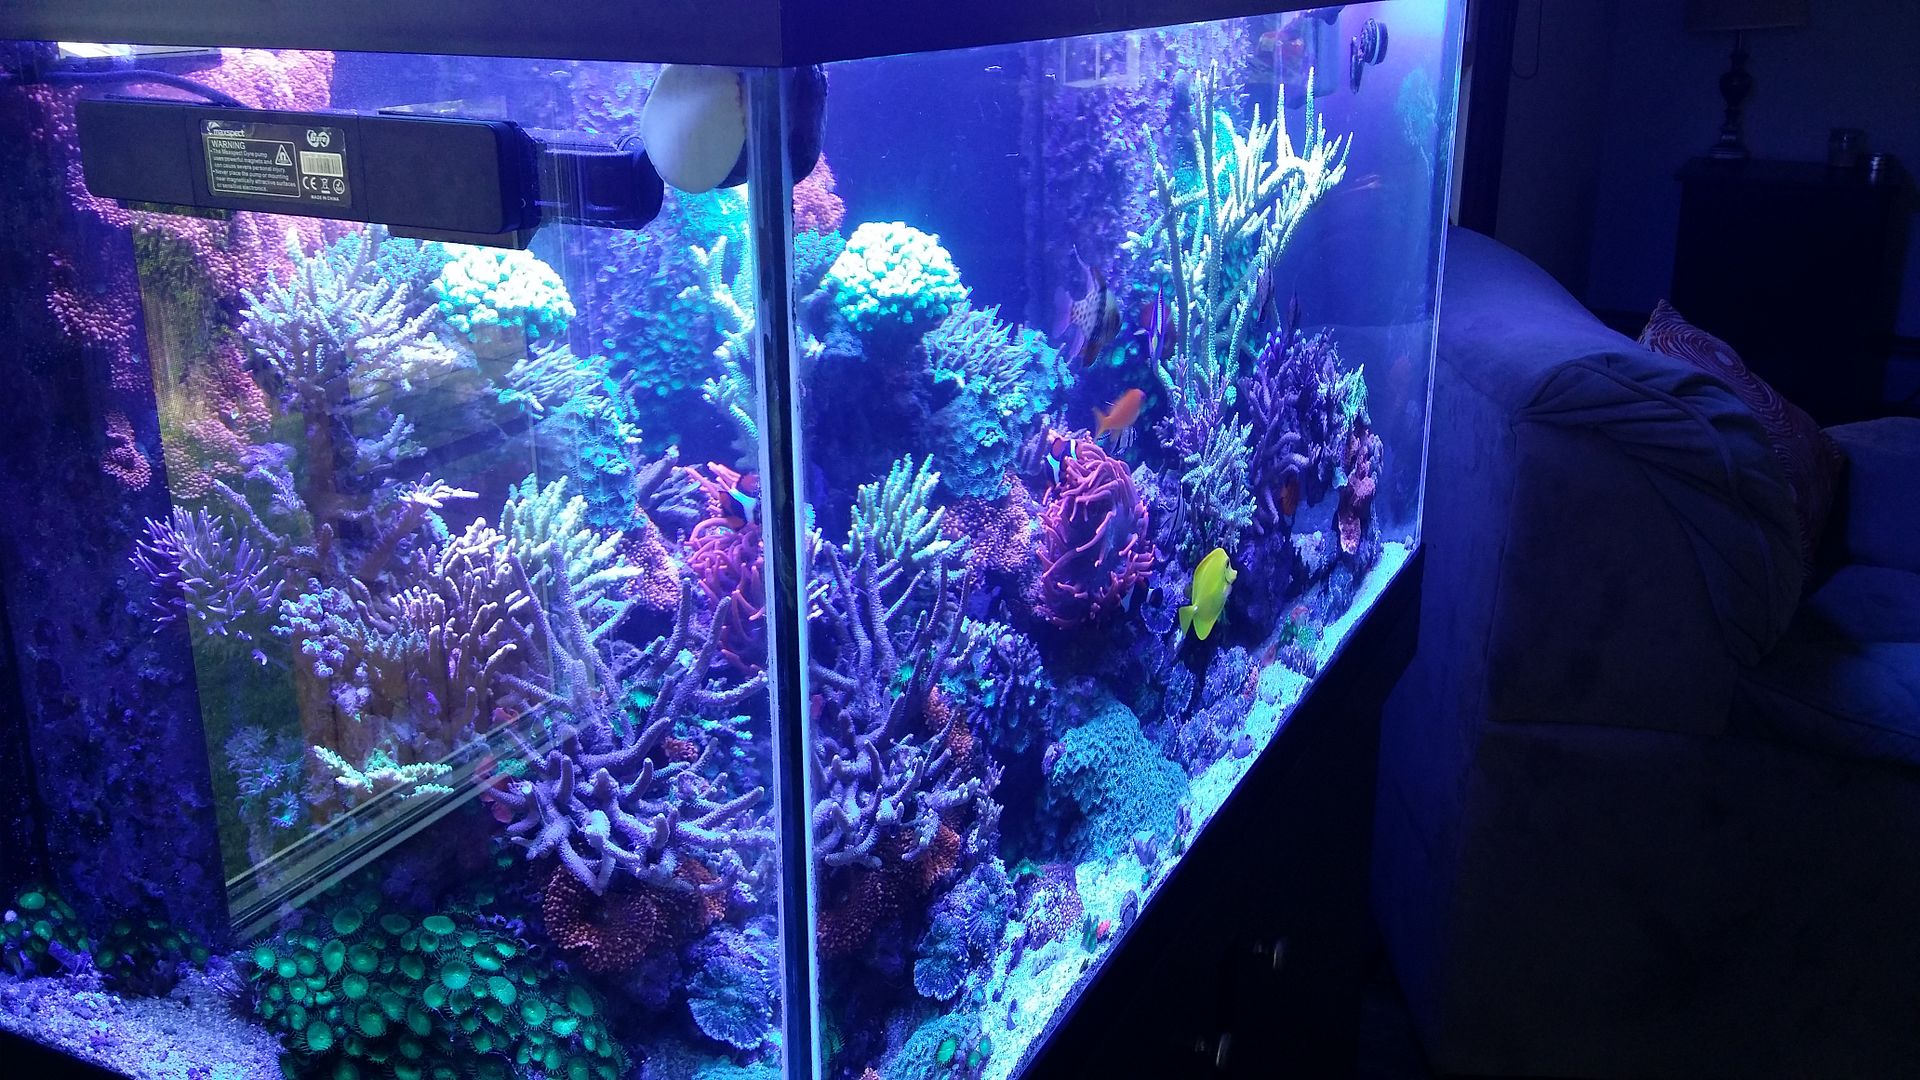 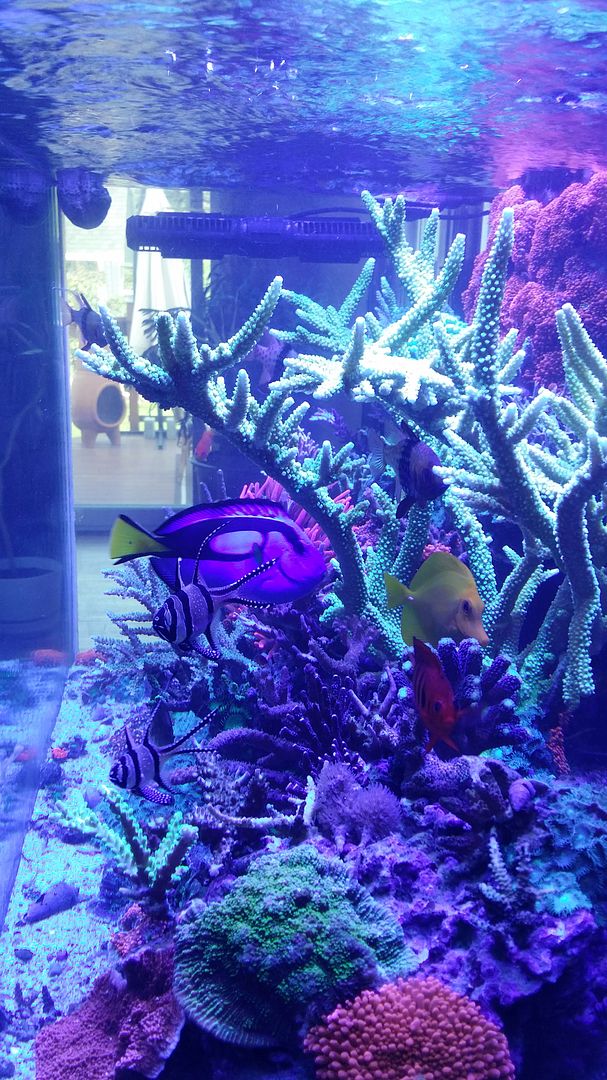
|
|
|
|
|
11/11/2015, 06:24 AM
|
#3 |
|
Registered Member
Join Date: Aug 2010
Location: Rochester, Ny
Posts: 663
|
We live in Hilton, I teach in Hilton, and really, I had no desire to move. My wife was working at Strong at the time (has since started travel nursing, but this still applies) and REALLY wanted to be closer to the express way.
We were at my grandmother's wake last December (morbid, right?) and a family friend approached Danielle (my wife) and I and said that he was selling his parent old house, which just happened to be behind my grandparents old house, that my sister just bought, and was thinking we might be interested. Well, we put it off, and put it off until Easter, when we finally contacted this guy's brother (who owns the house) and got in there to see it. This is the first view I had upon walking in the door: 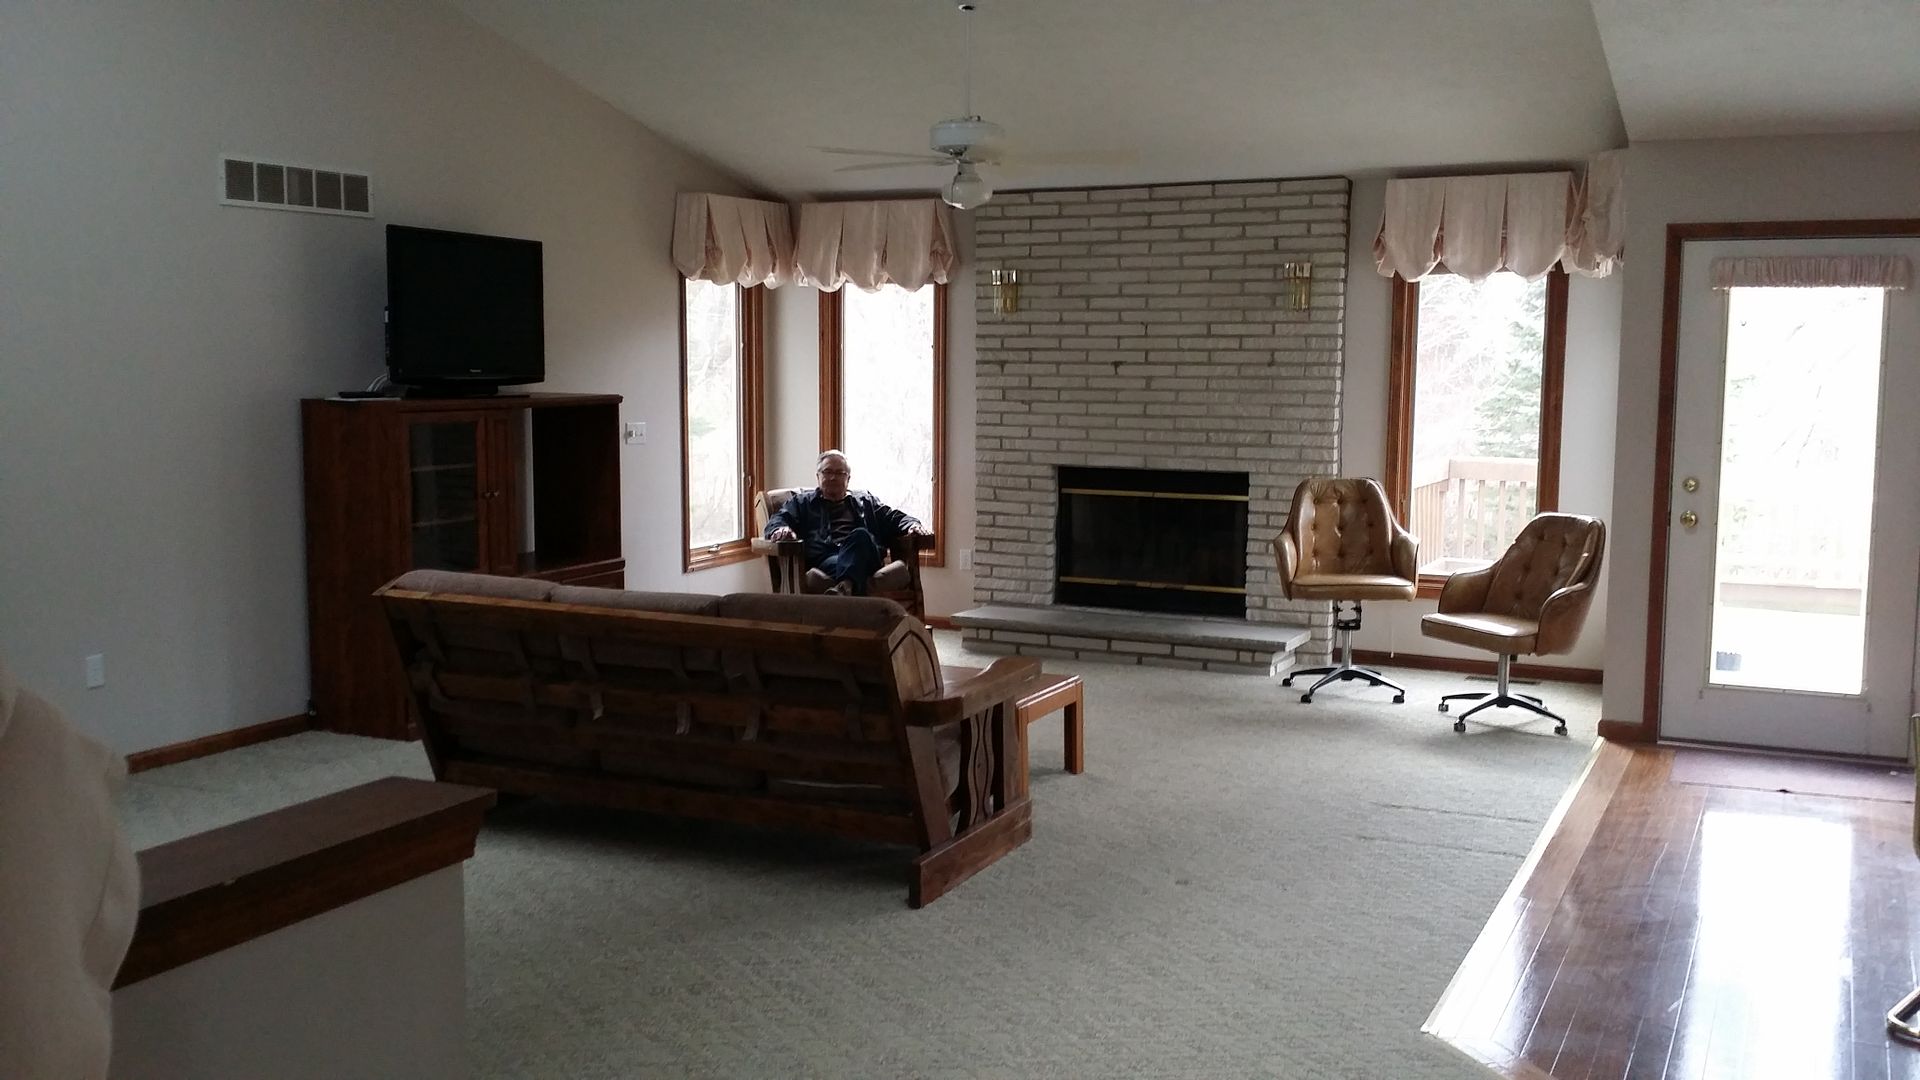 The weird guy in the chair is the seller. I immediately was sold. I could picture a peninsula reef coming off of the wall where those two chairs are sitting near the window. The room you see is a great room with living room, kitchen and dining room all attached with vaulted ceilings and the fireplace you can see. We were ready to put in an offer that day. But... It took friggen FOREVER to sell our house. We got some bad advice from our first agent, missed our selling window, and had to wait and hope someone would put in an offer, which they did, in October (we listed the house in April). So now, were selling, were moving and there was a ton of work to do to make that happen. In no particular order I had to: Tear off and reroof our current garage (the worst job I've ever done) Tear our the floors and countertops in the new house Put in new bamboo floors over 1100 sq/ft Put in new concrete countertops Clean everything and get the new tank set up. Initially, we thought a 120 peninsula would be enough: 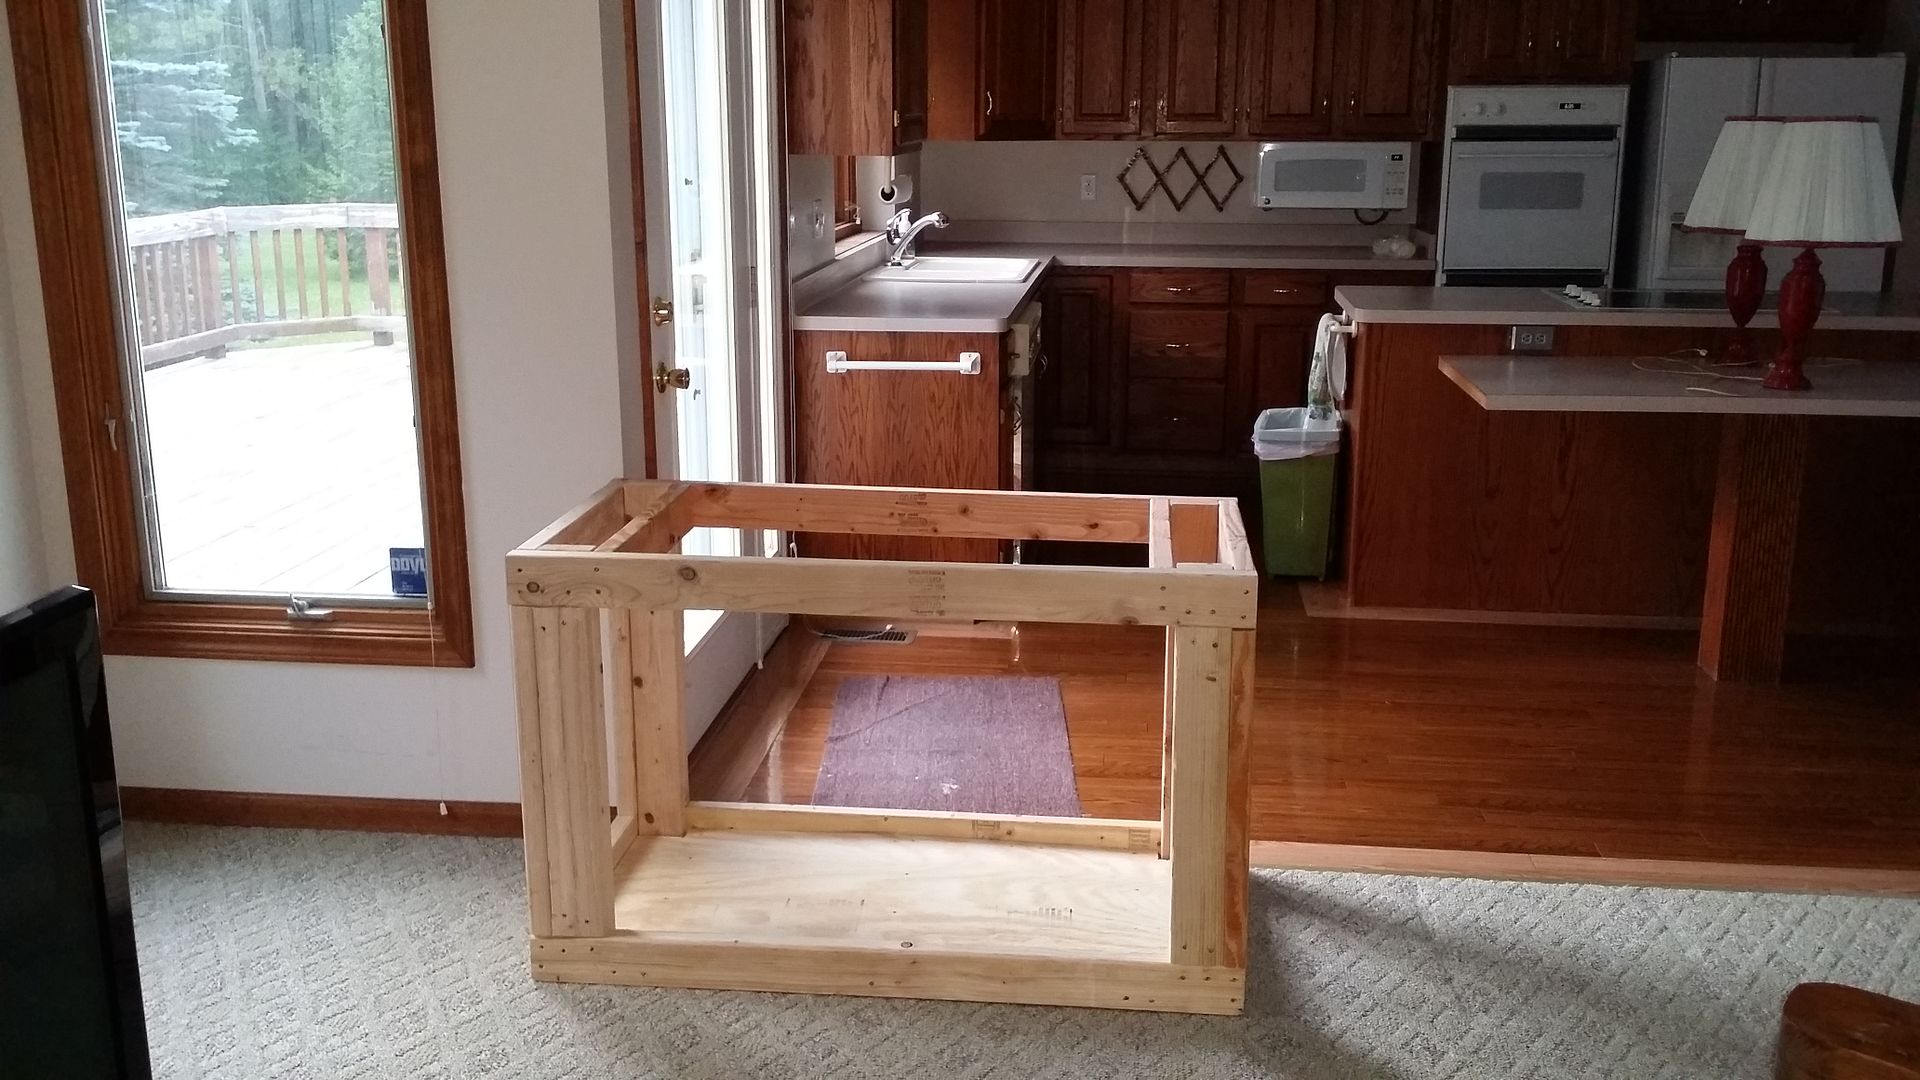 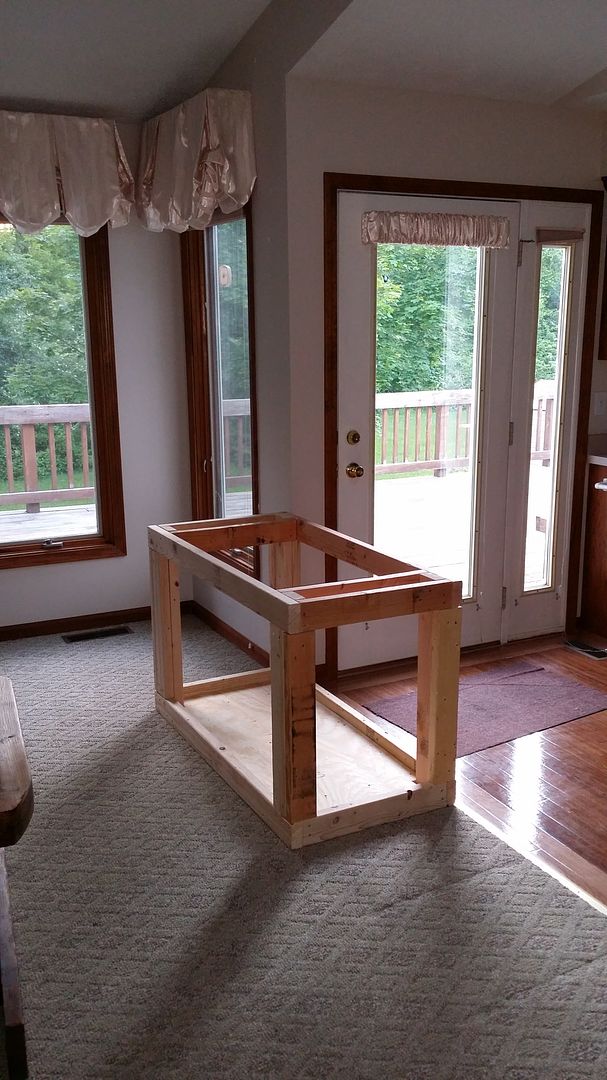 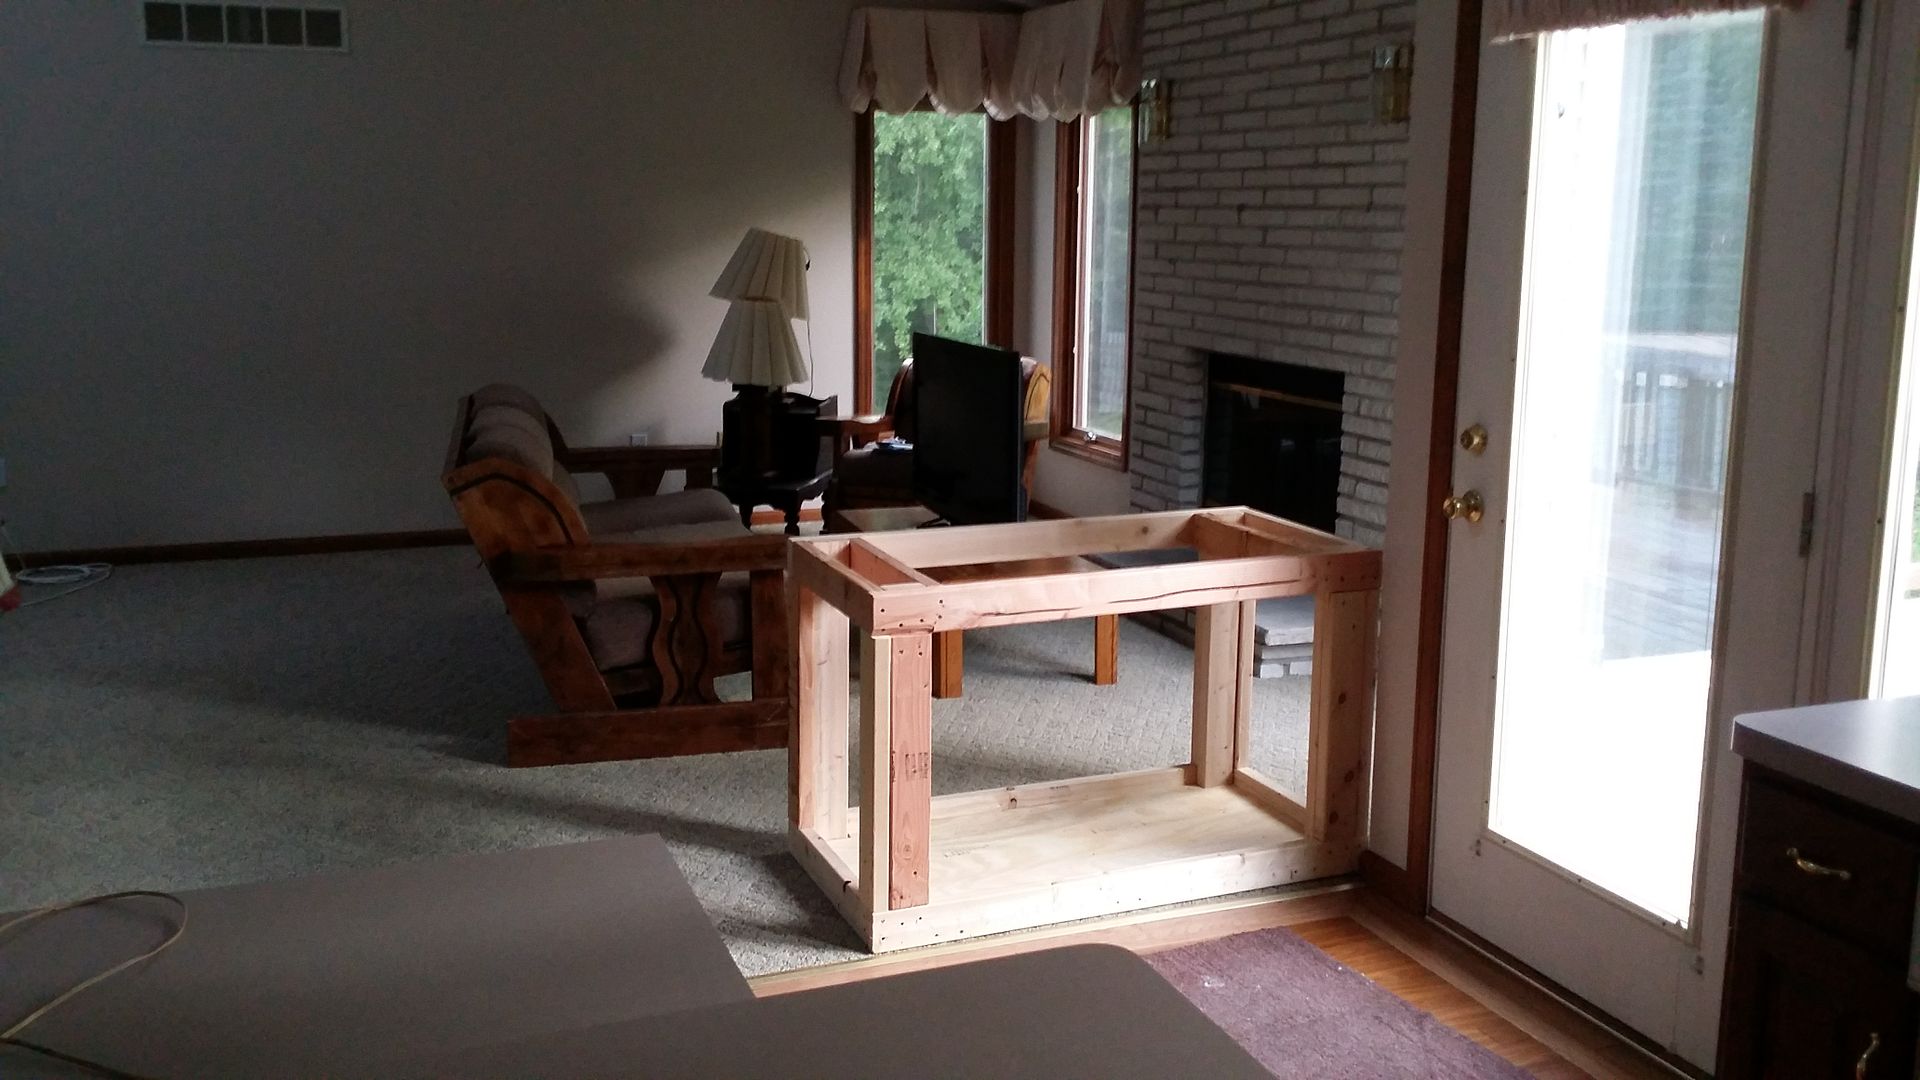 My wife, to her credit said, if you are going new, go big. So we decided the 120 just looked too small in that giant room. 180 it was |
|
|
|
|
11/11/2015, 06:34 AM
|
#4 |
|
Registered Member
Join Date: Aug 2010
Location: Rochester, Ny
Posts: 663
|
I won't bore you with the details, but we gutted the room. Floors have been replaced, countertops are in. We are moving today and Saturday. Yay!
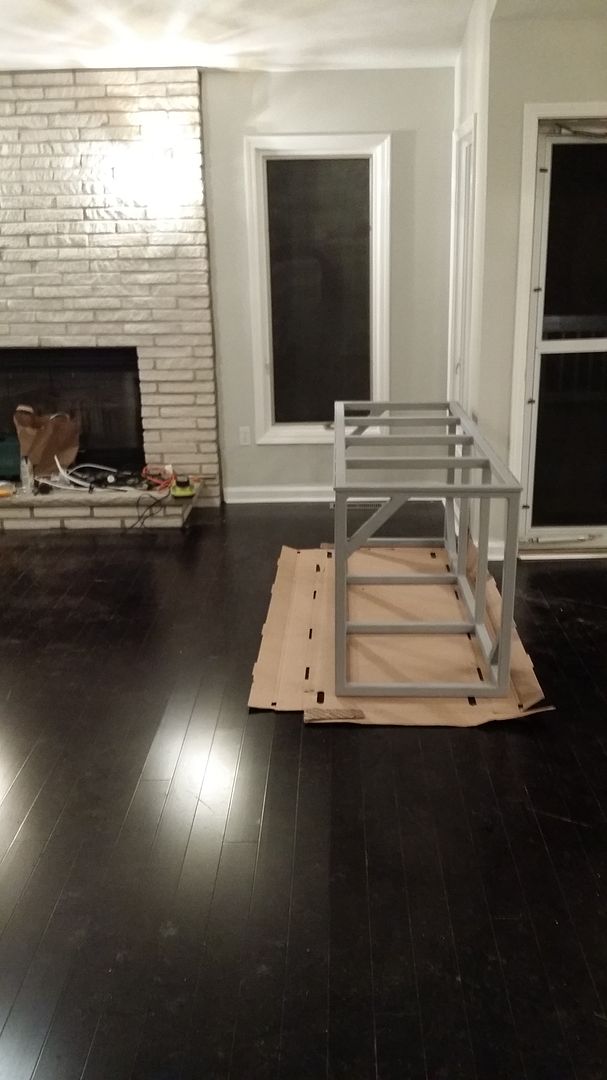
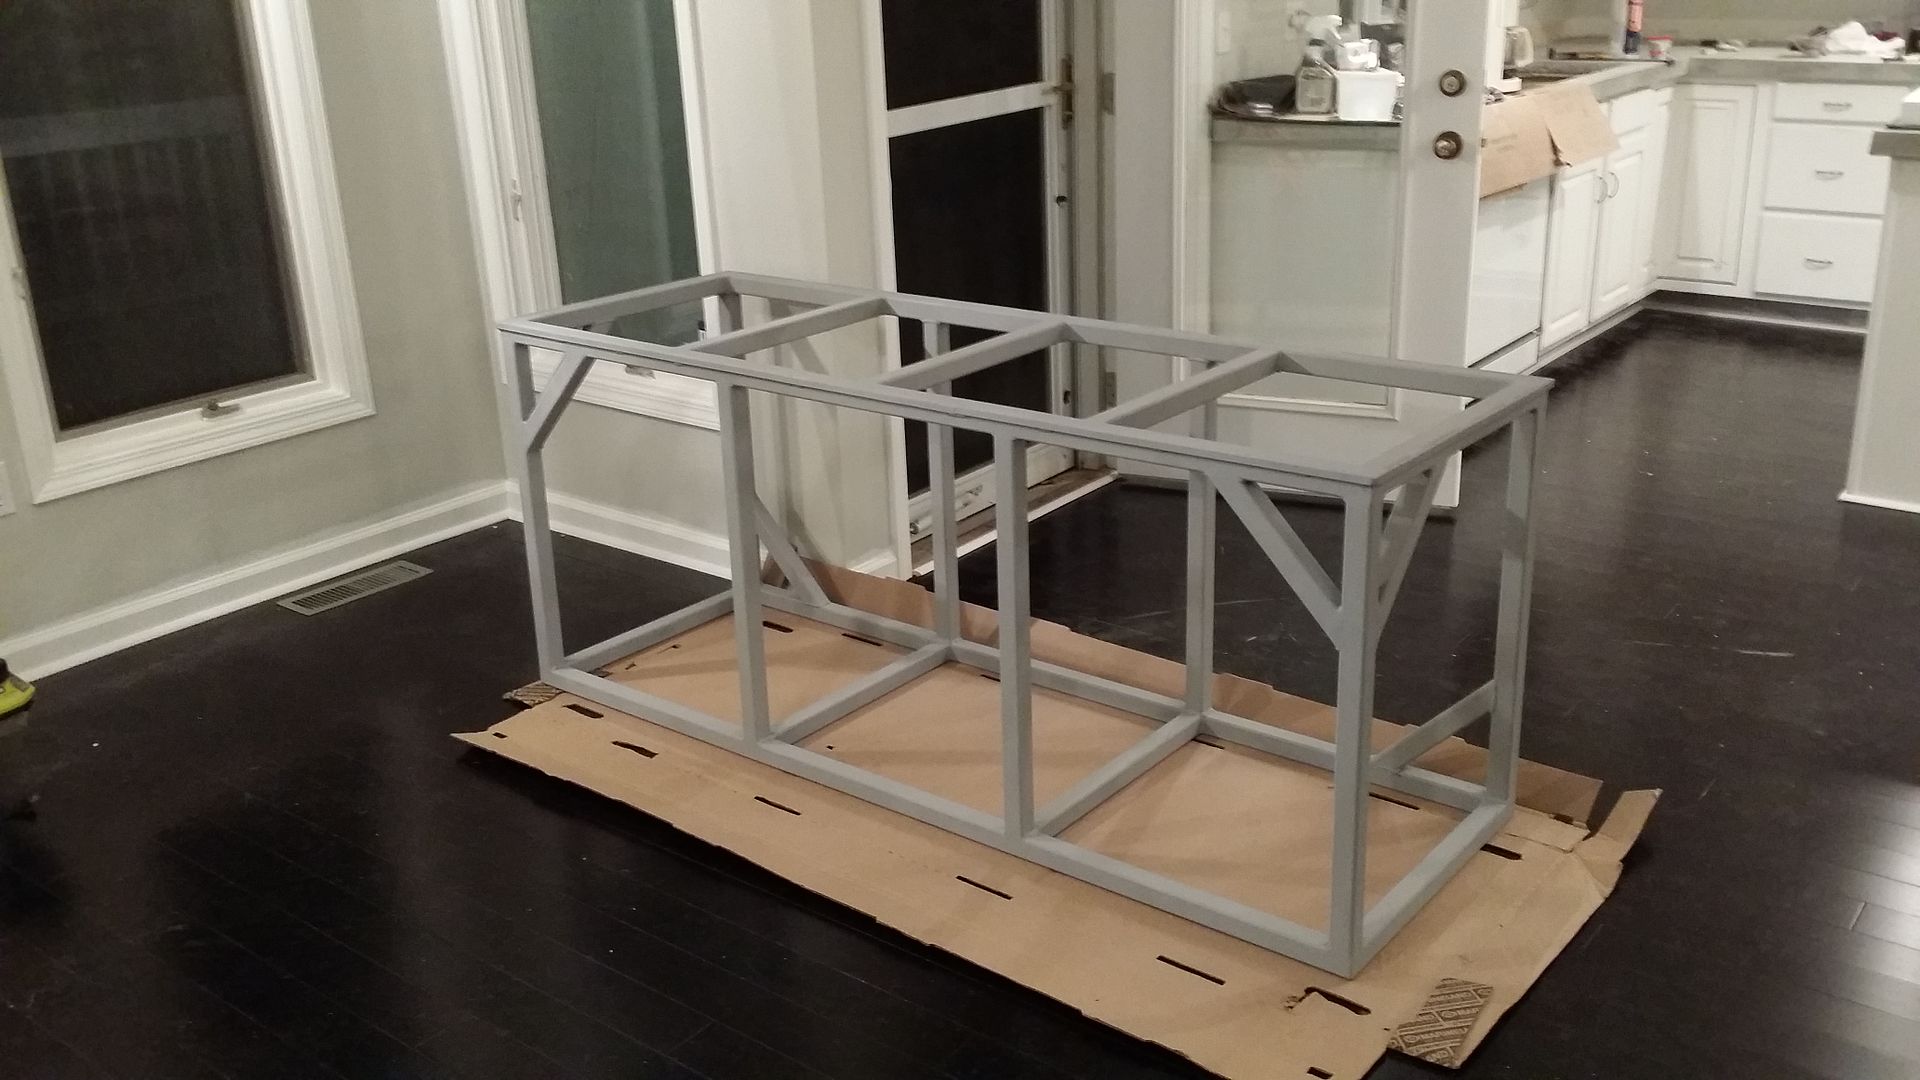
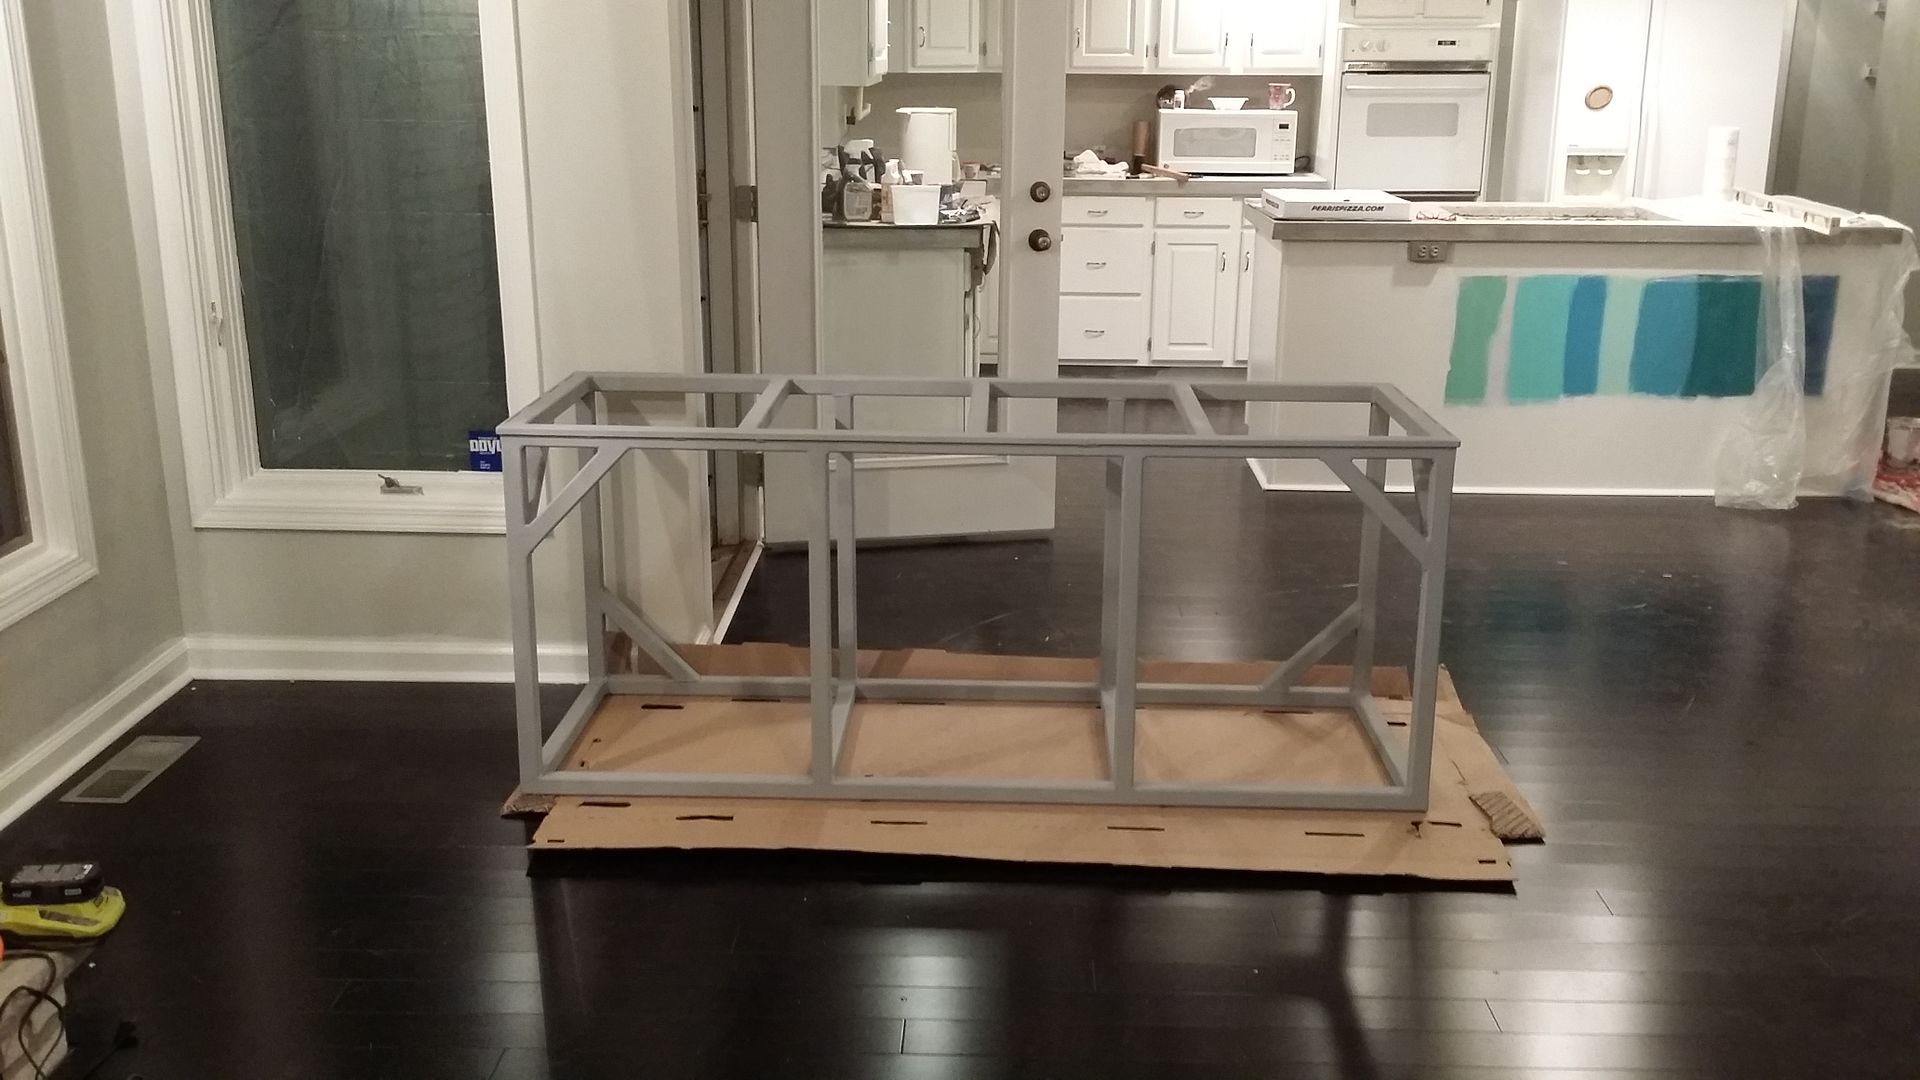
I picked up a standard 180 (non-reef ready) so I could drill it myself of a Synergy Reef Overflow (similar to the Reef Savvy Ghost Overflow). And had my welder cousin help me build a stand for it out of 1.5" steel tube: The tank: 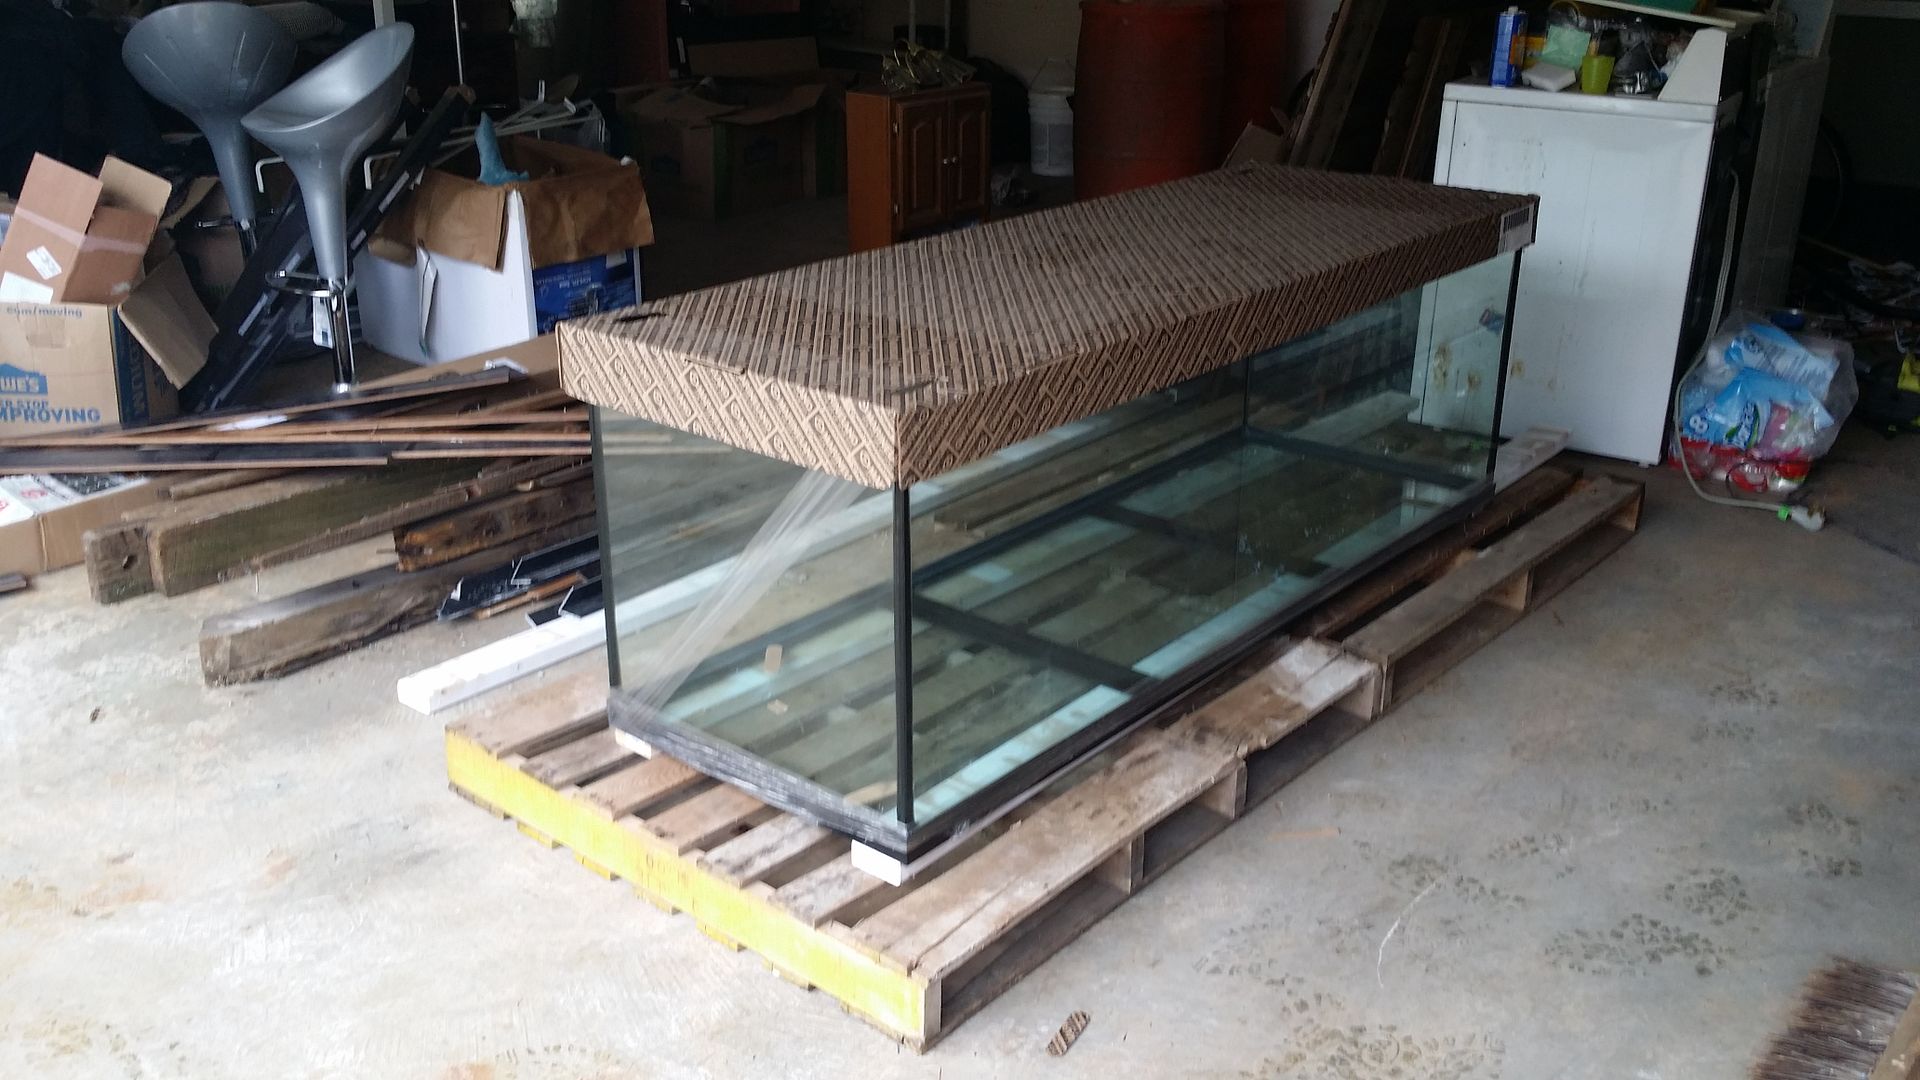 The stand: 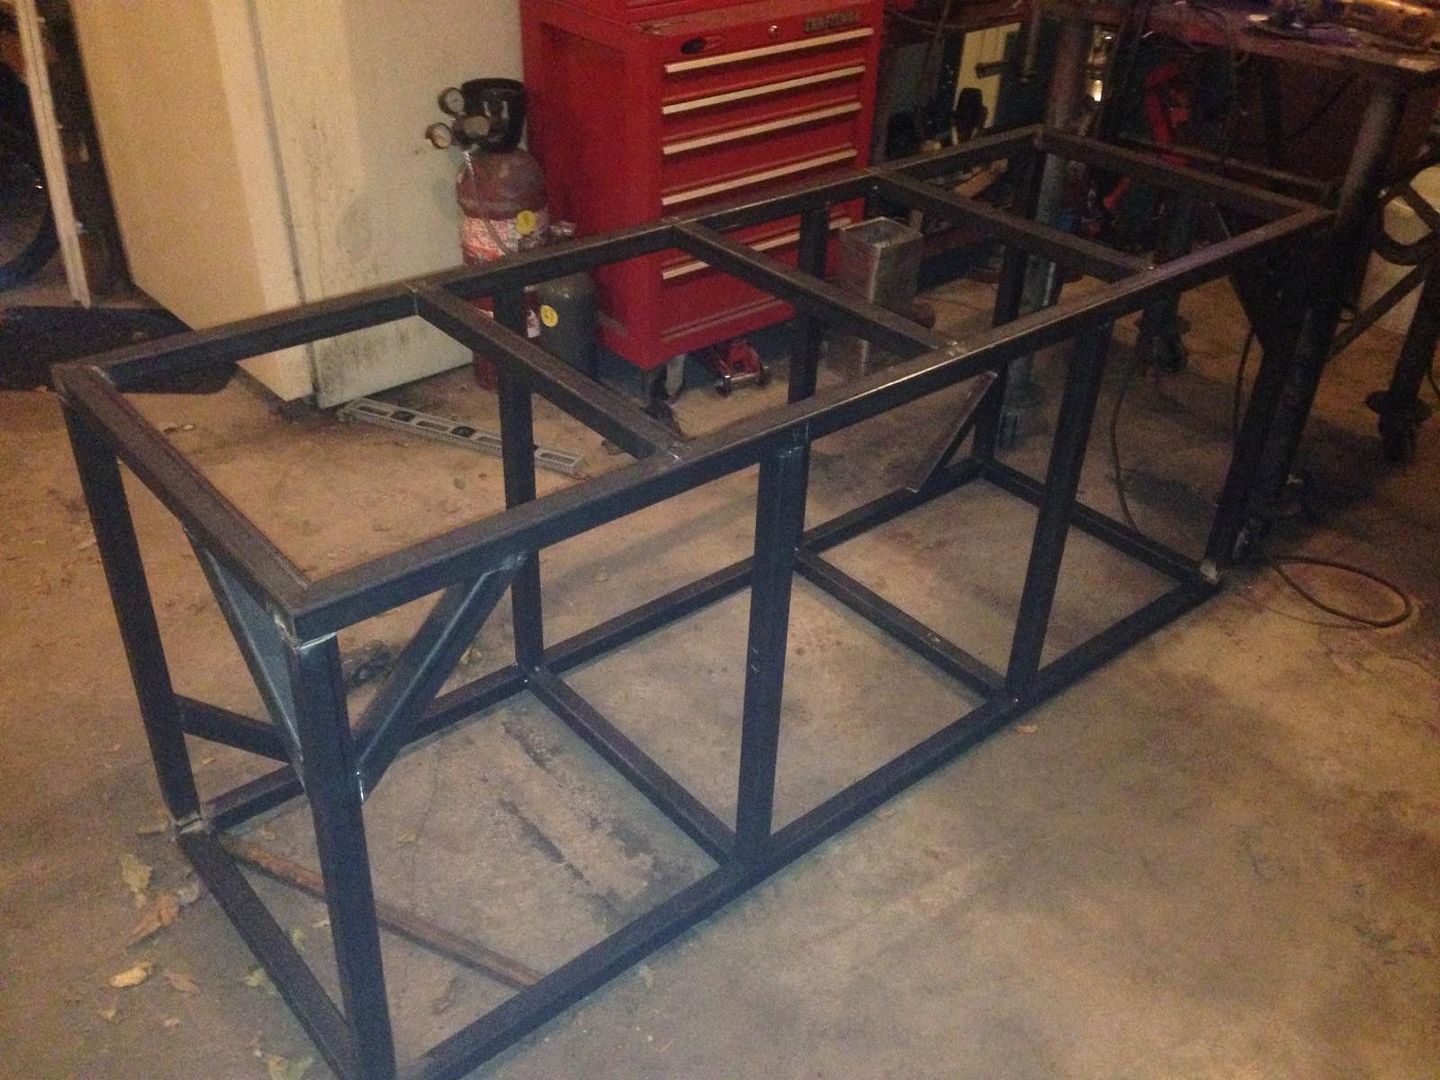 The spot: 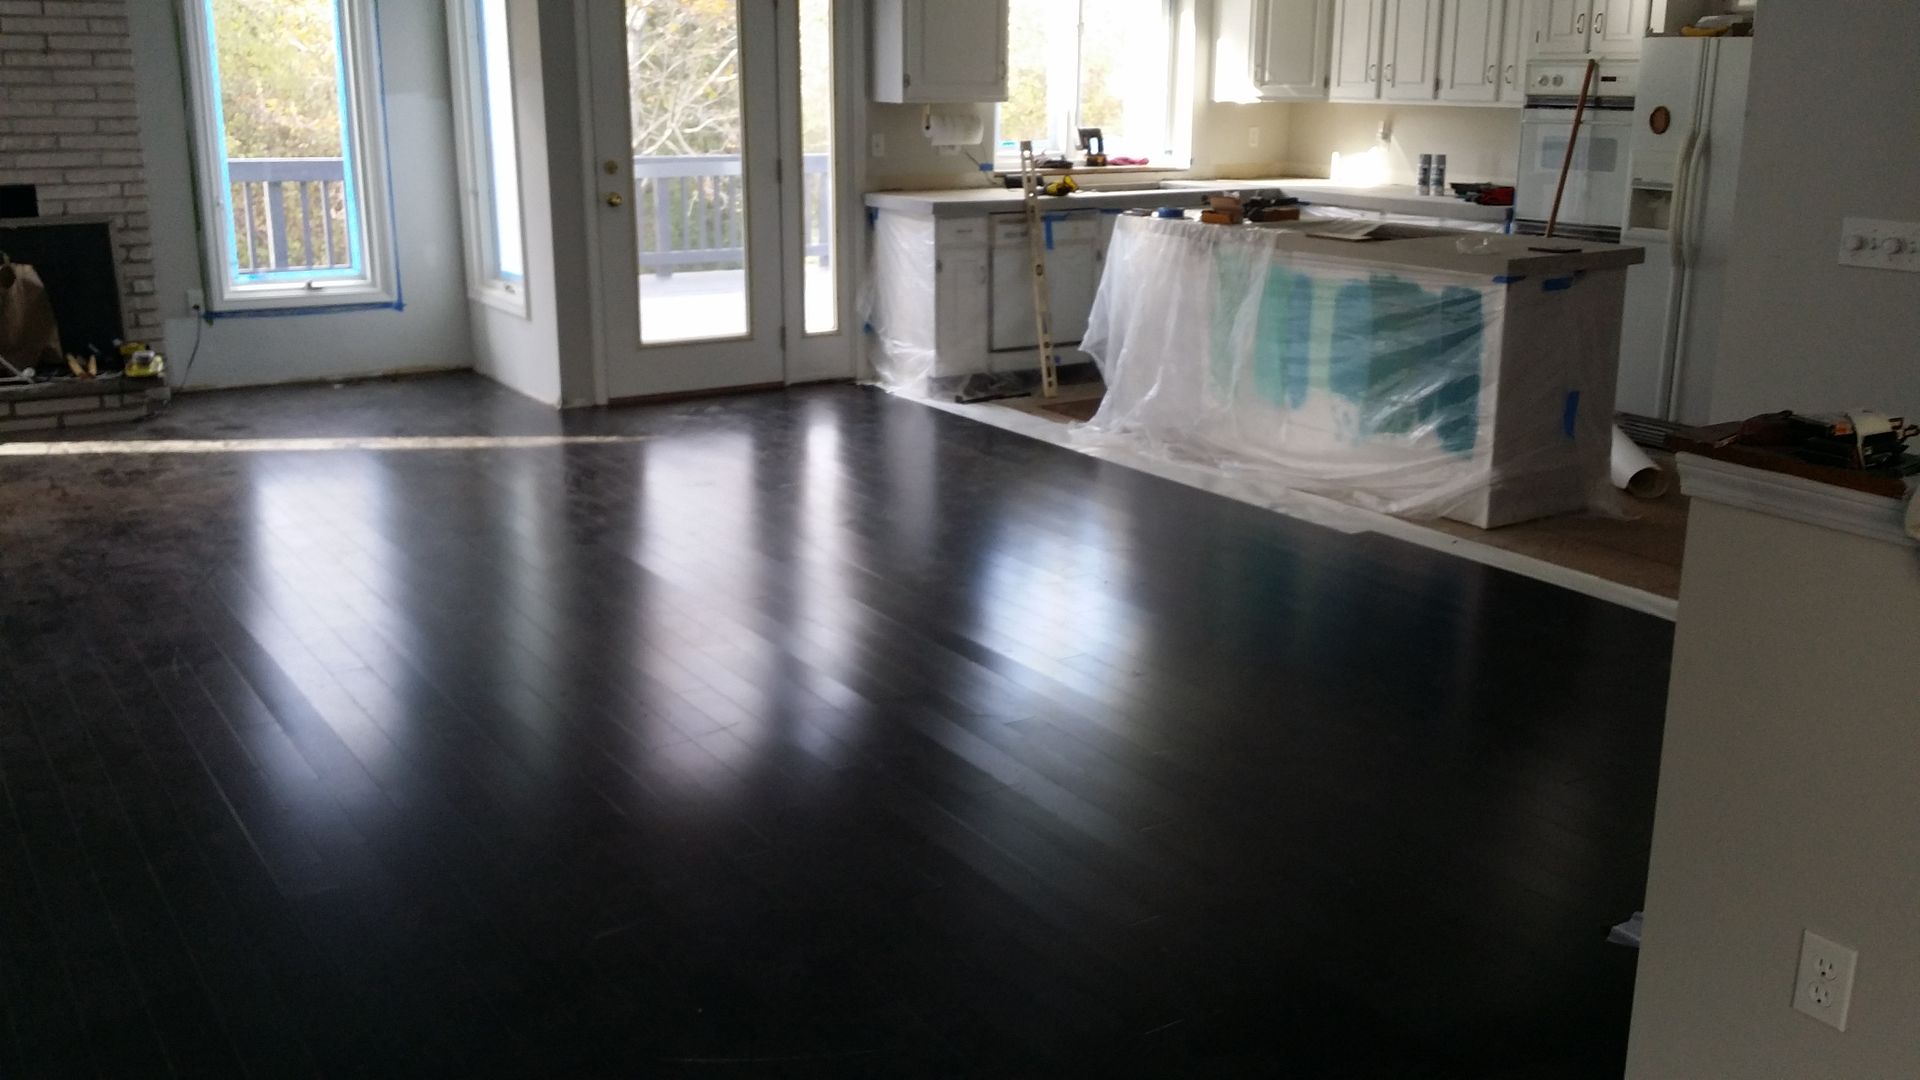 I picked up the overflow from BRS and this is how it arrived: 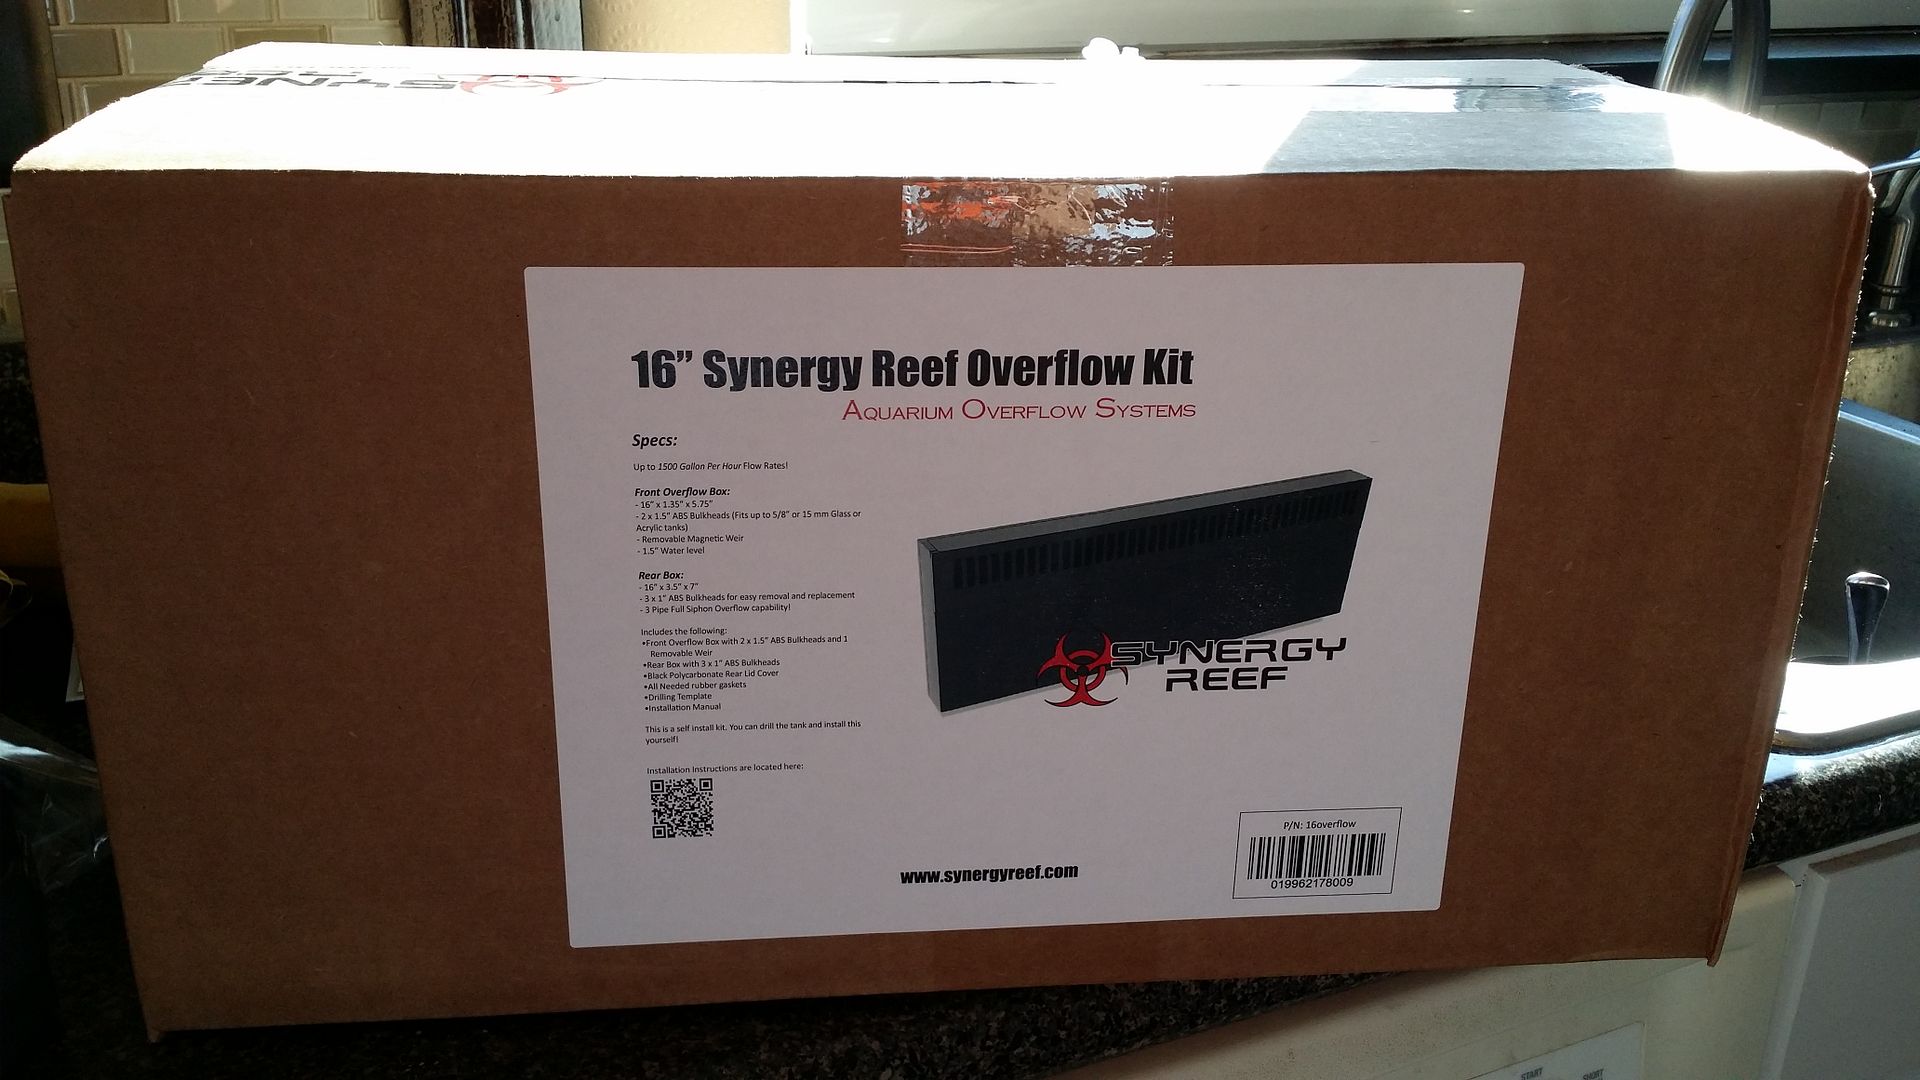 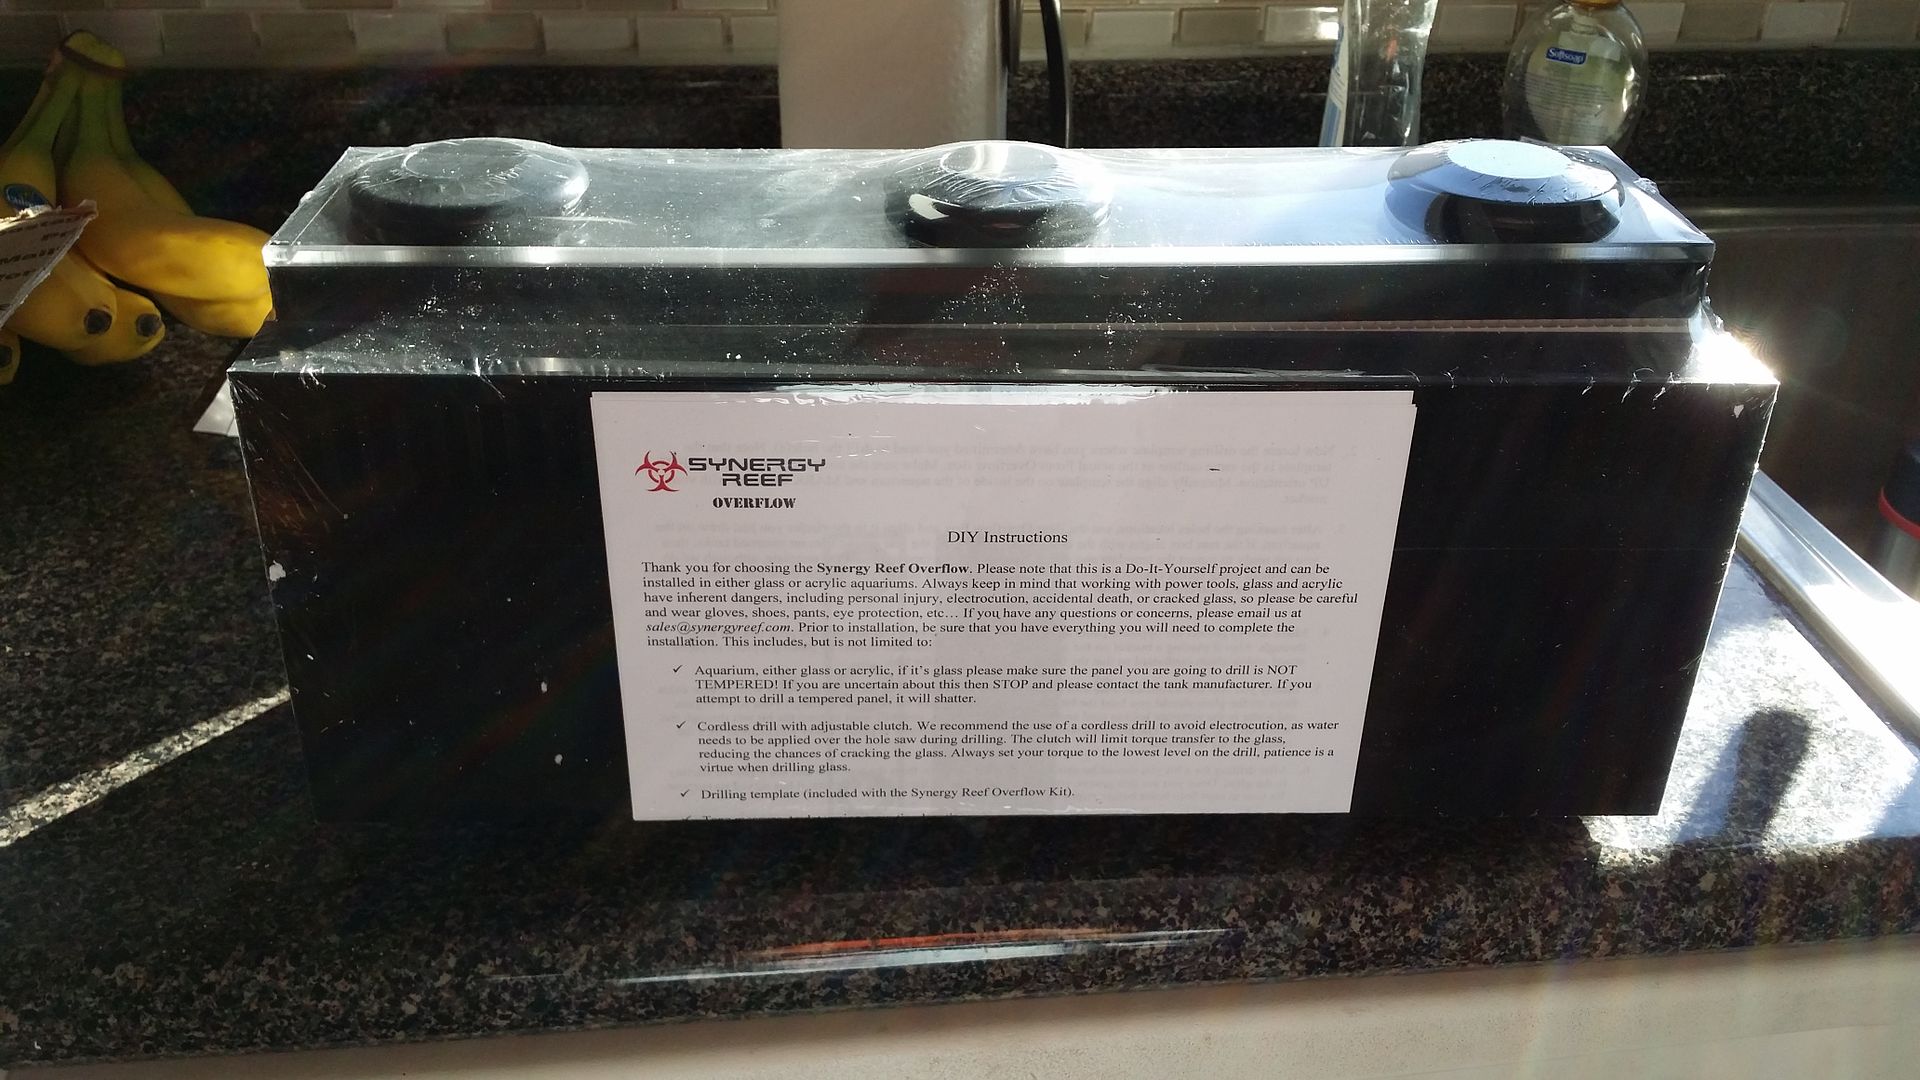 Getting ready to drill: 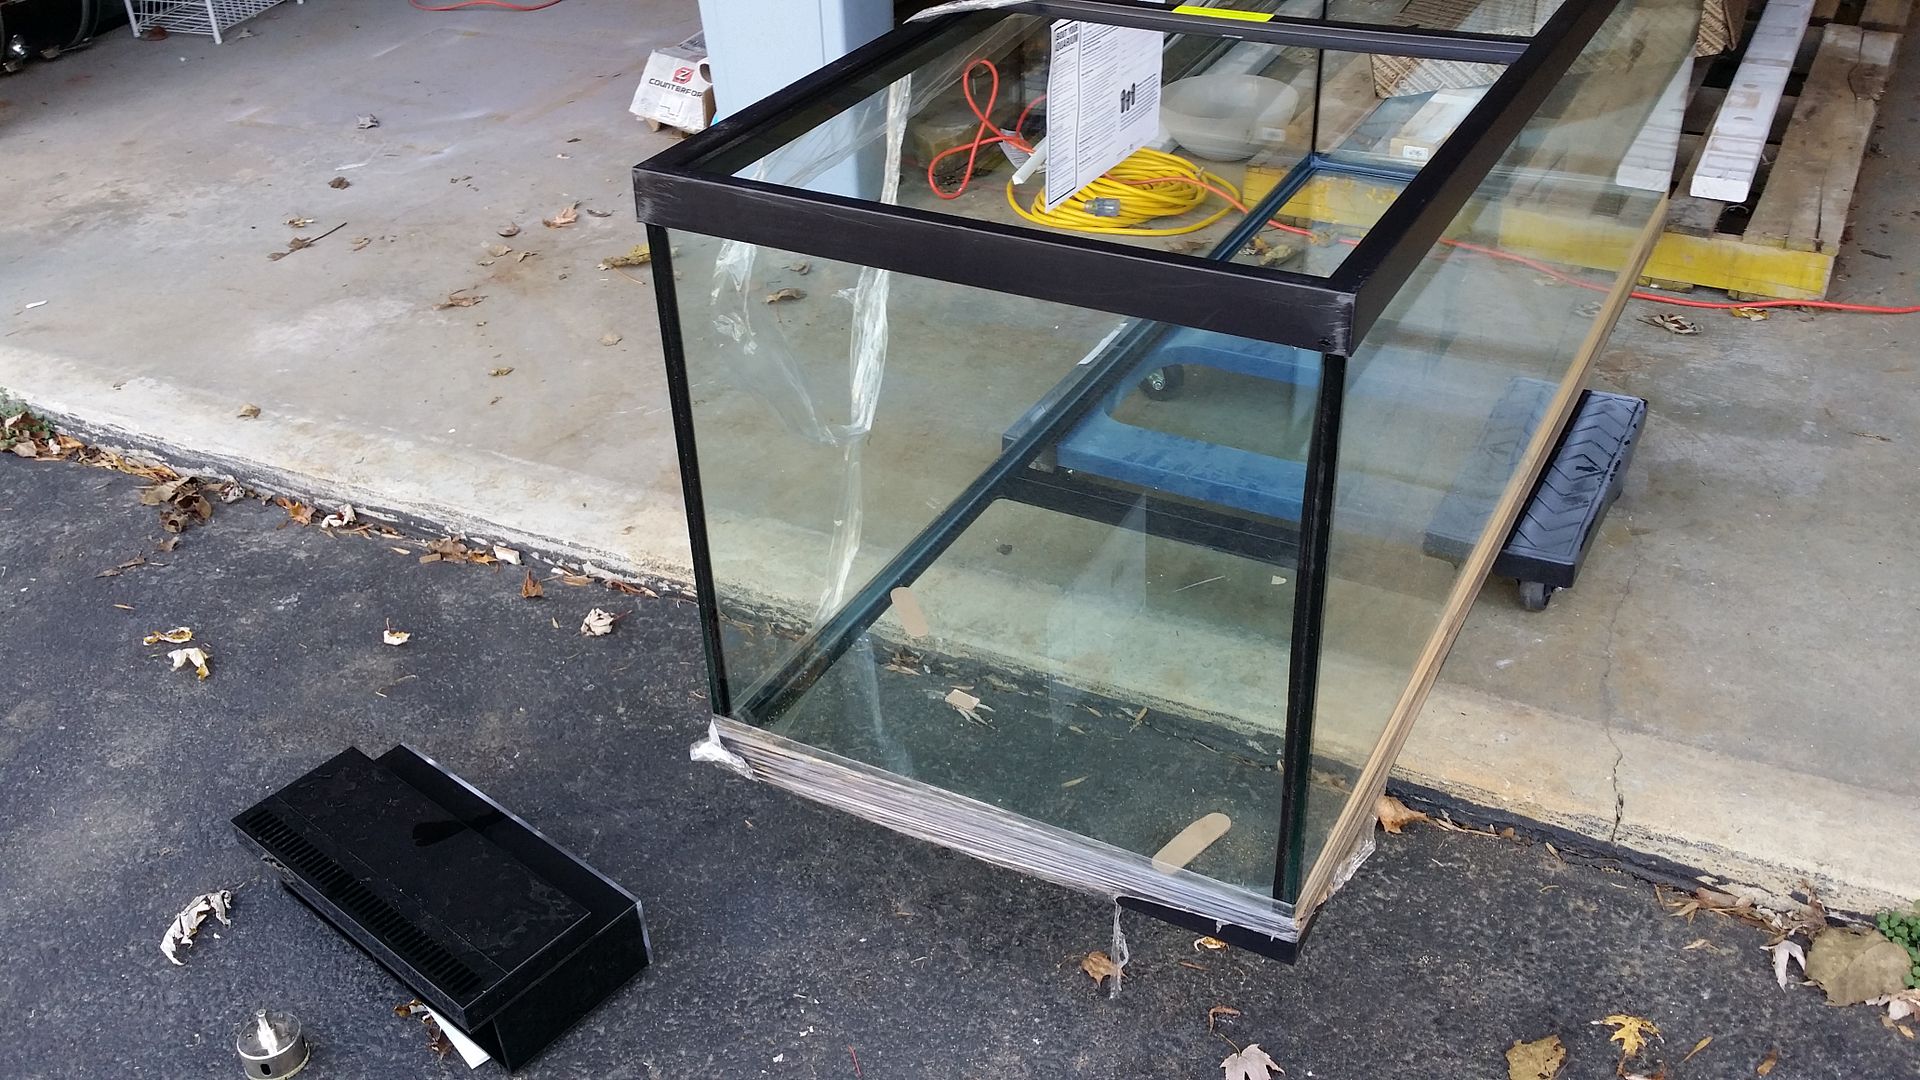 I'll be honest, I was scared to death to drill this thing. I knew what to do, but the act of actually putting drill to glass had me spooked. I measured, and re-measured about 80 times. I didn't want to put the overflow too high, and risk spills over the rim. I also didn't want to put it too low, and have the waterline be visible under the trim. Finally, I was ready: 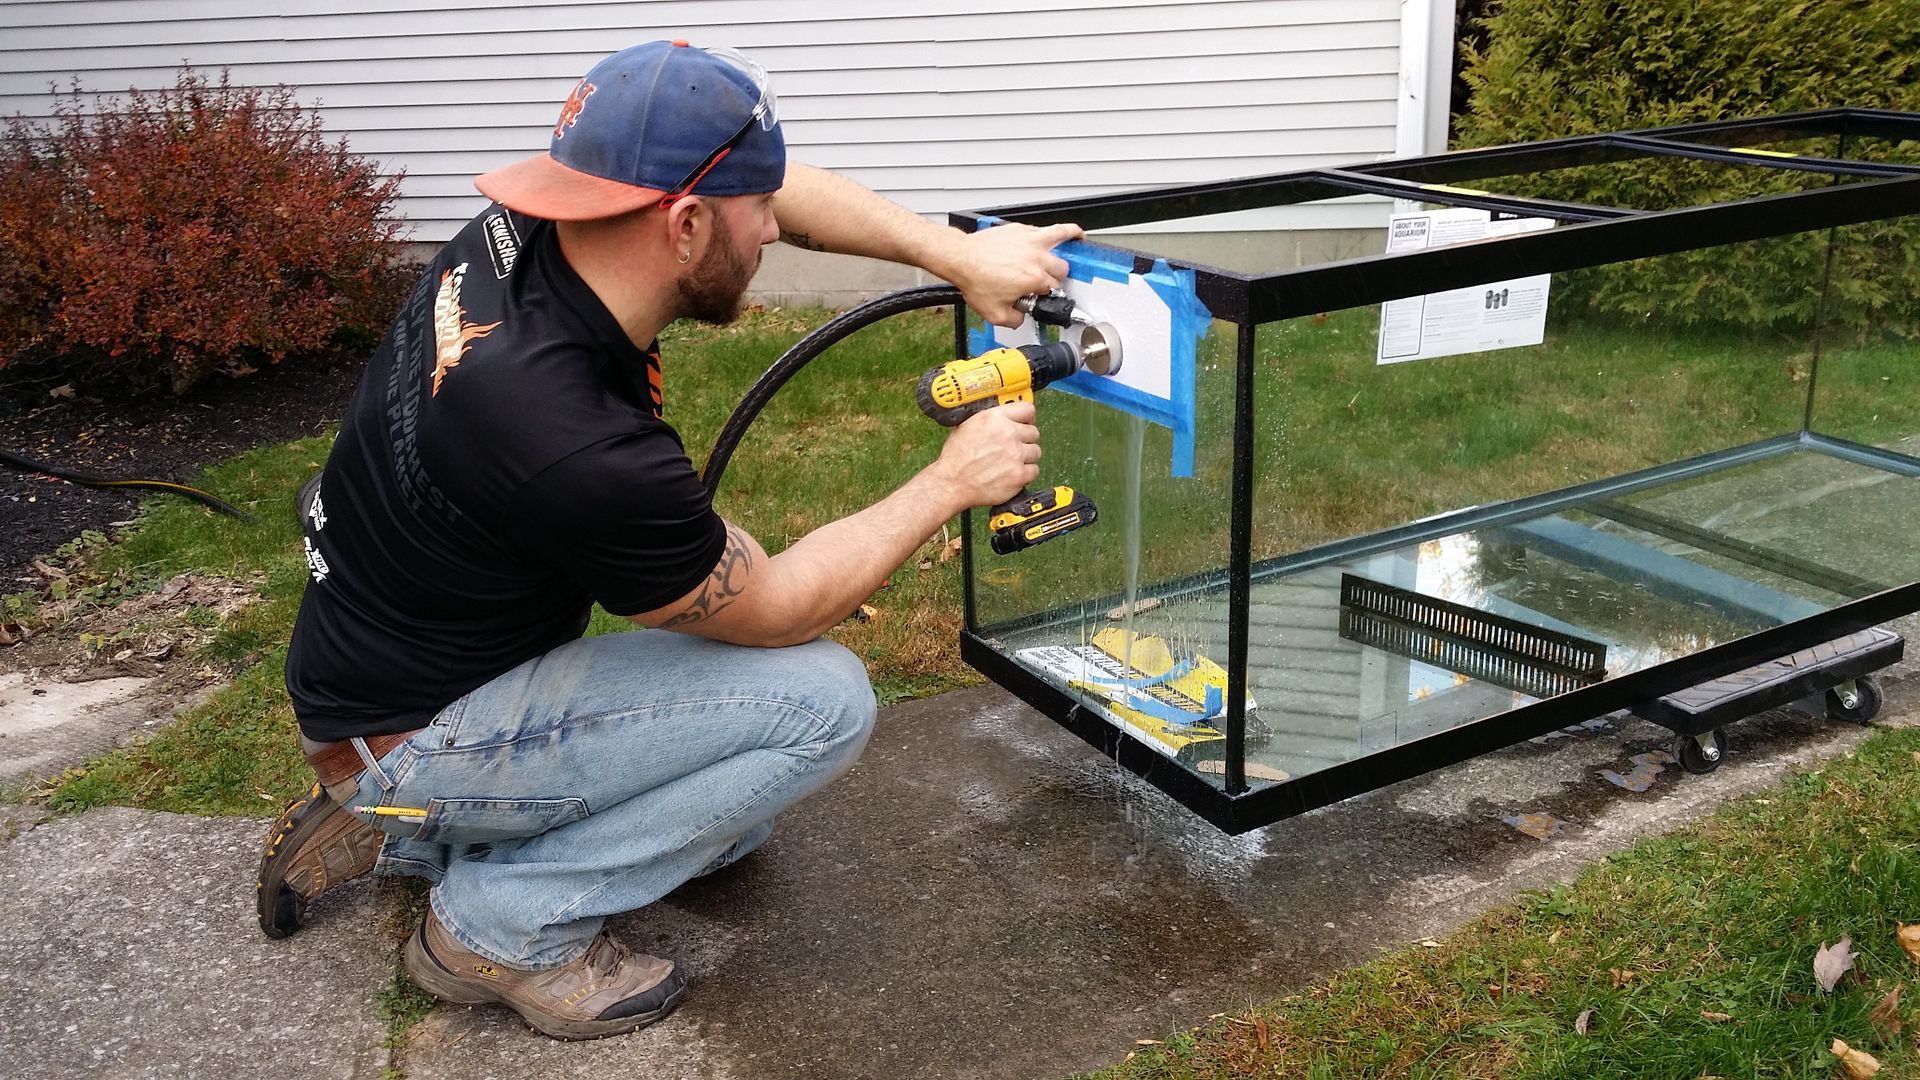 It was slow work, but there were no major hiccups, and I ended up with two perfect holes. And the overflow fit perfectly: 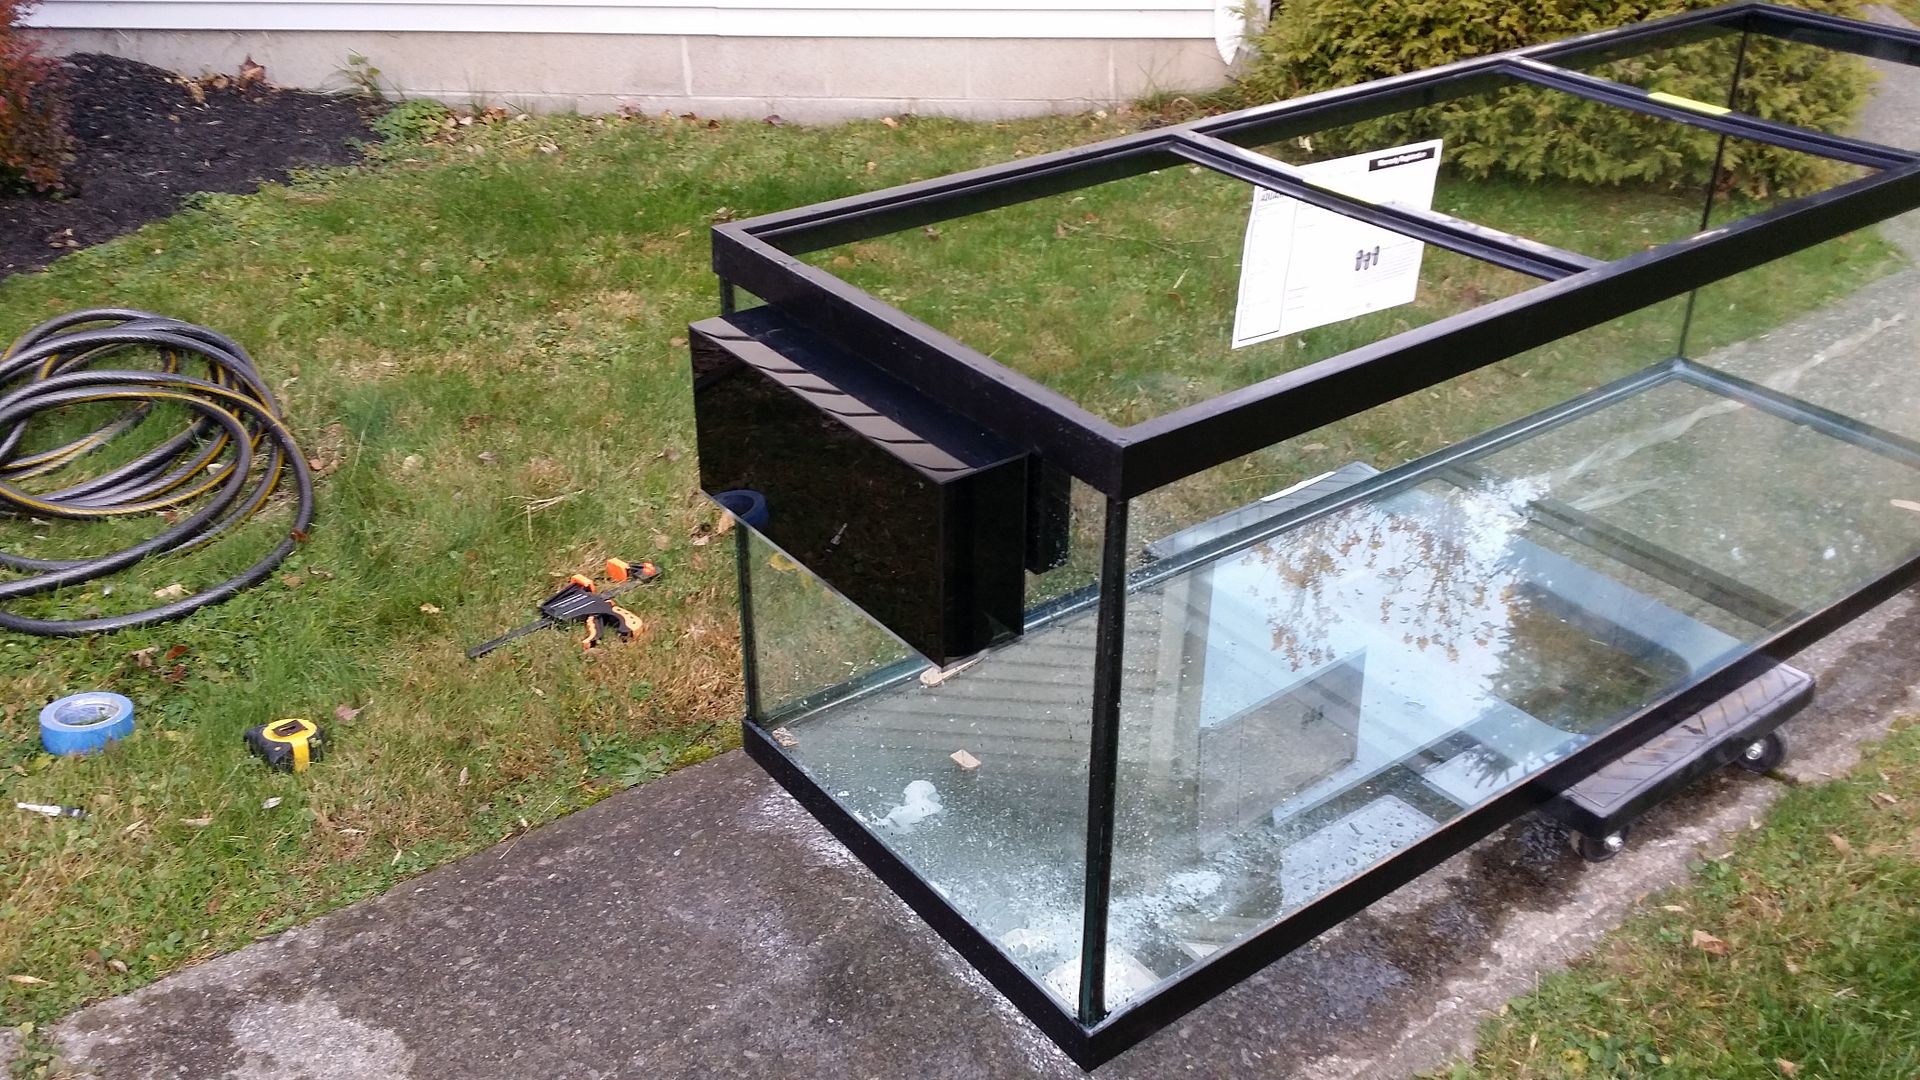 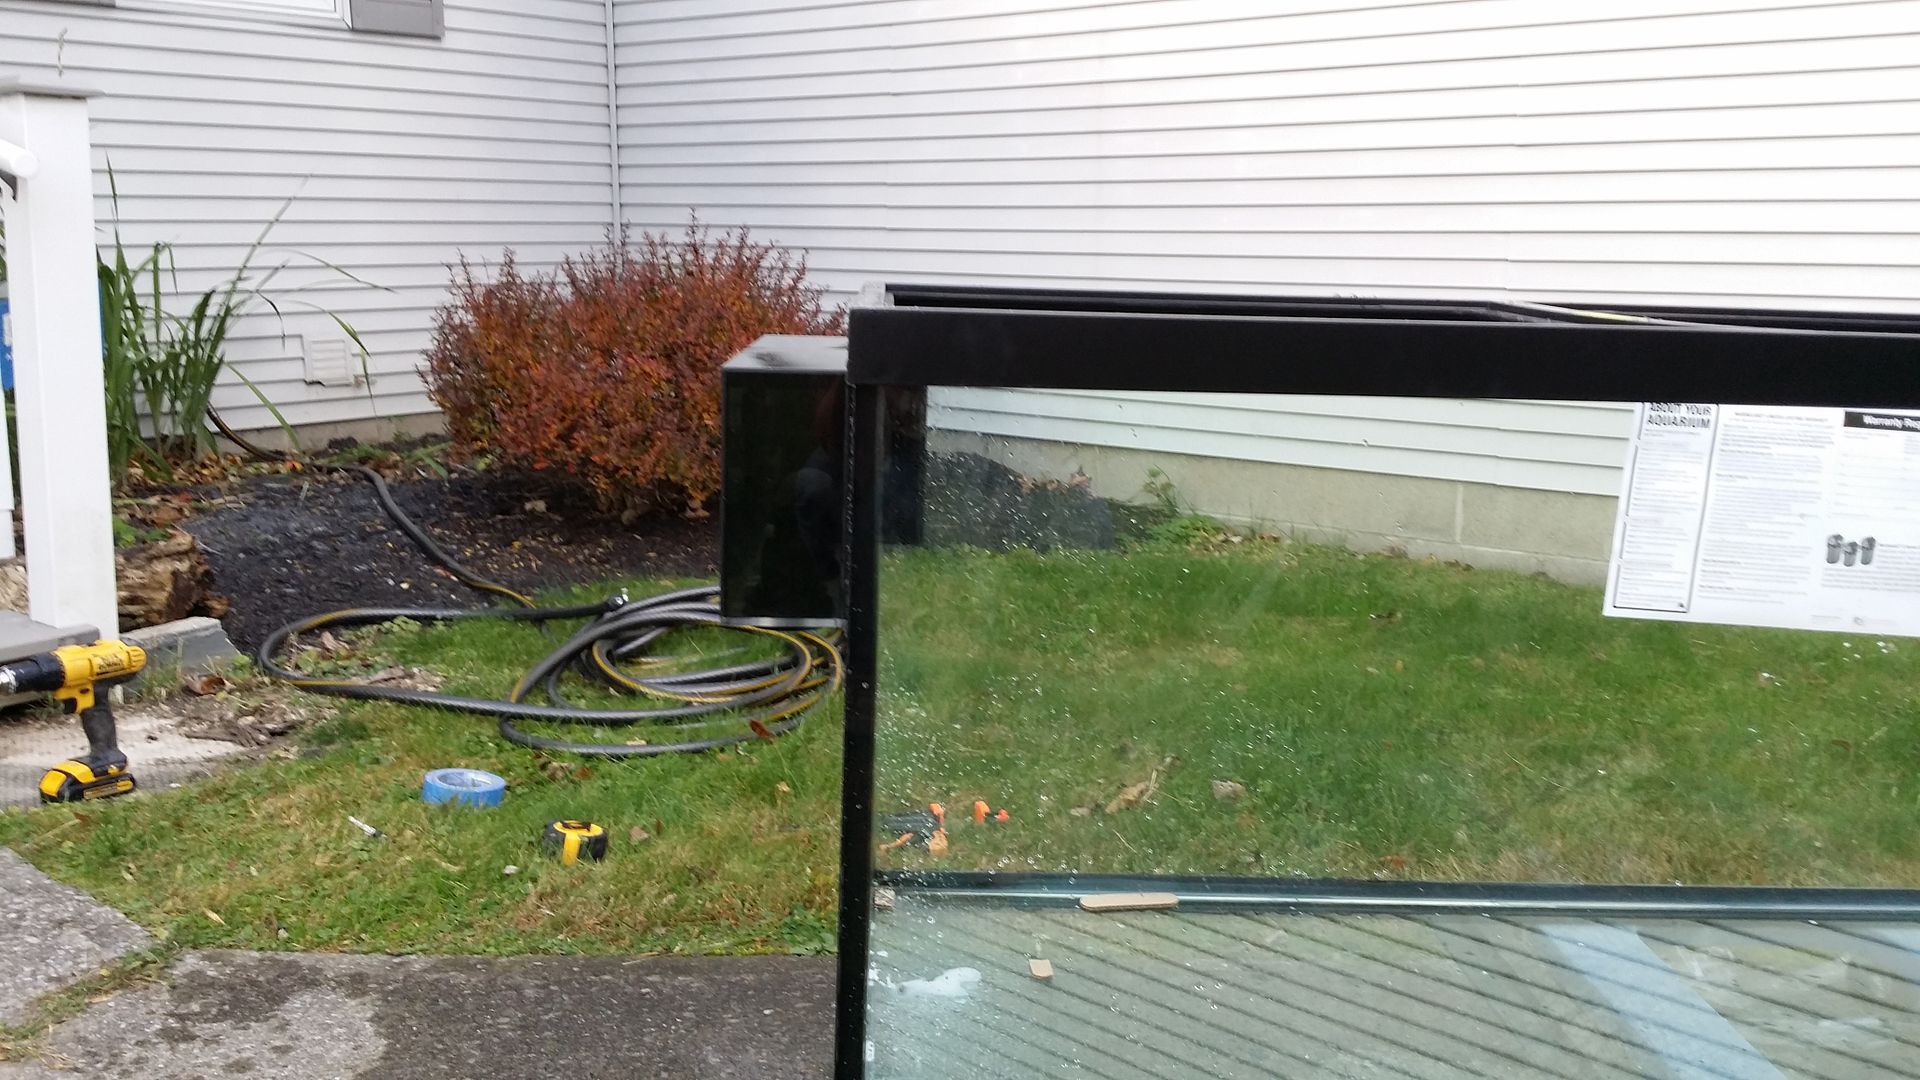 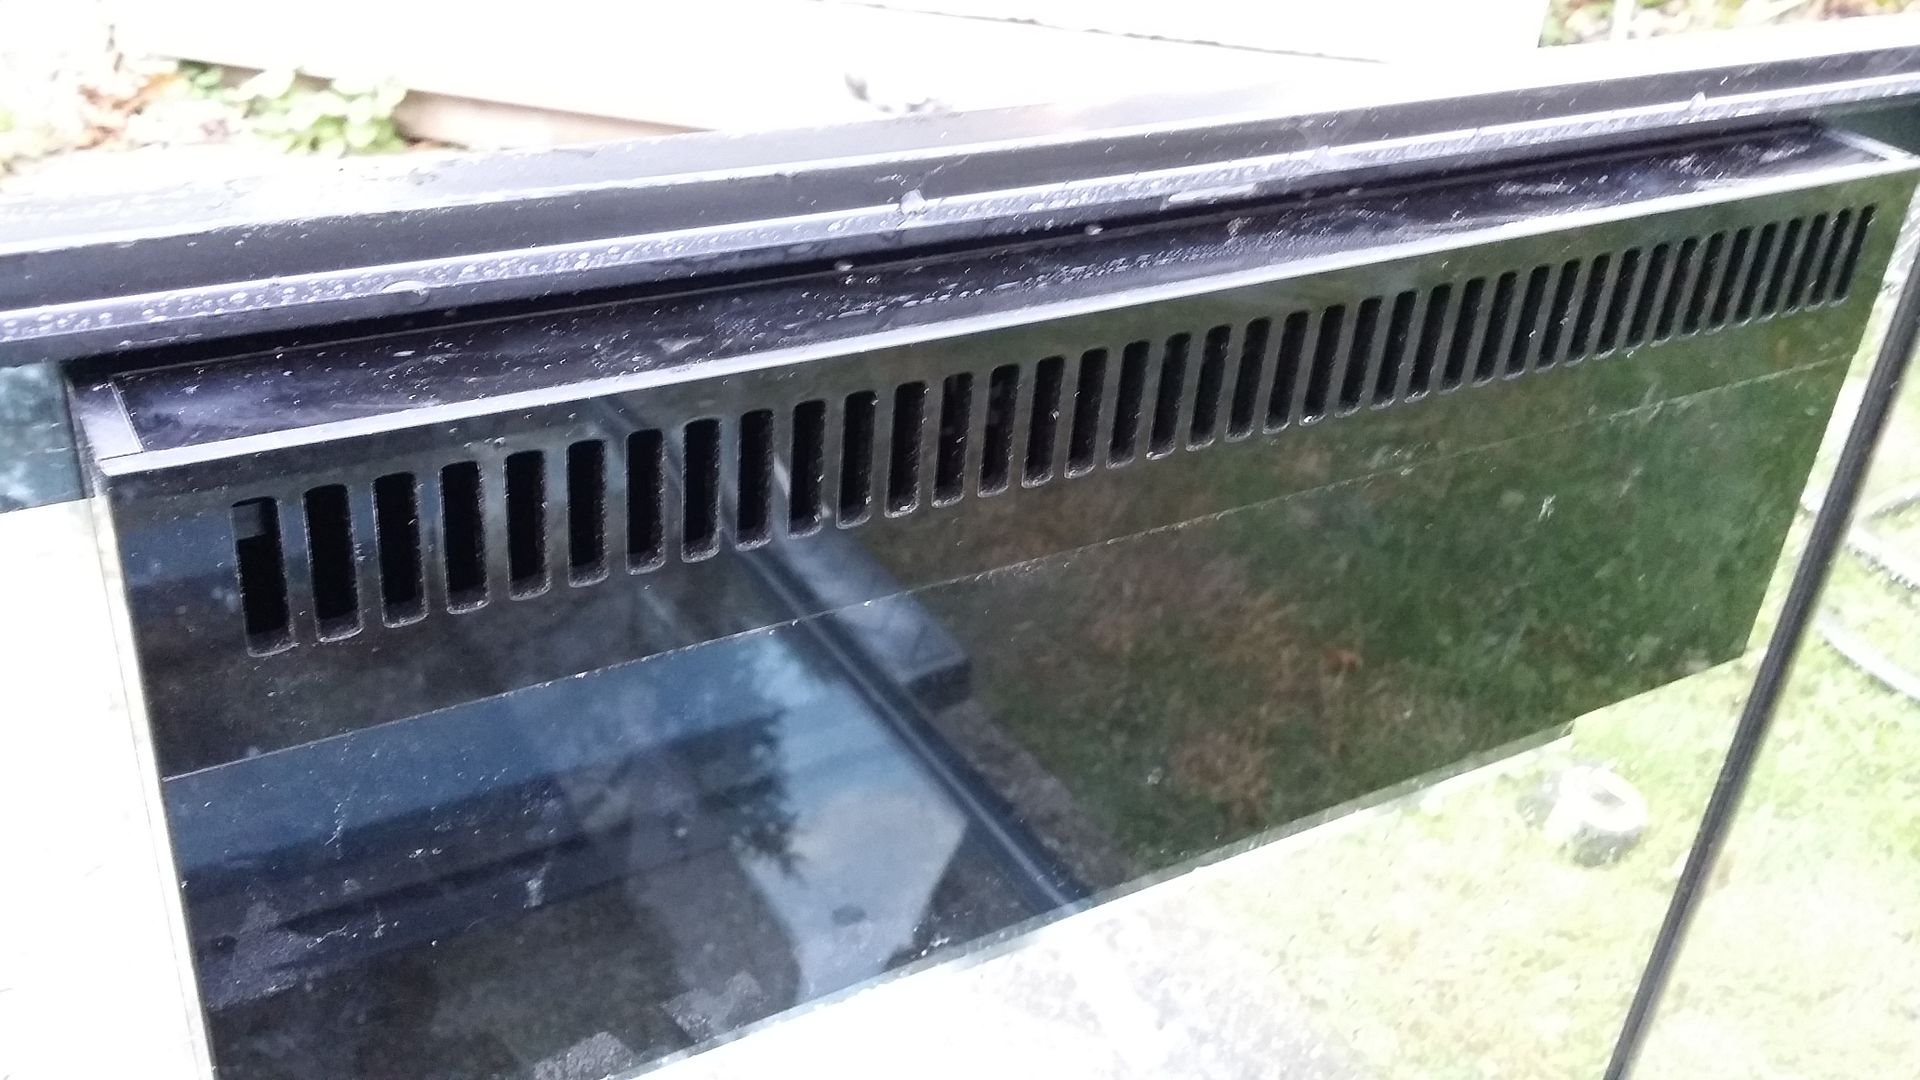 I literally could not be happier with how it turned out. |
|
|
|
|
11/11/2015, 06:43 AM
|
#5 |
|
Registered Member
Join Date: Aug 2010
Location: Rochester, Ny
Posts: 663
|
I got the stand primed and clear coated (about 10 coats of each, I really don't want rust) and put it in place:
   We set the tank back about 10 inches (towards the window) because we didn't want it to completely cut off the room. With the help of some friends, we got the tank up on the stand (after I leveled it and added some felt feet to the bottom so I don't scratch these brand new floors)  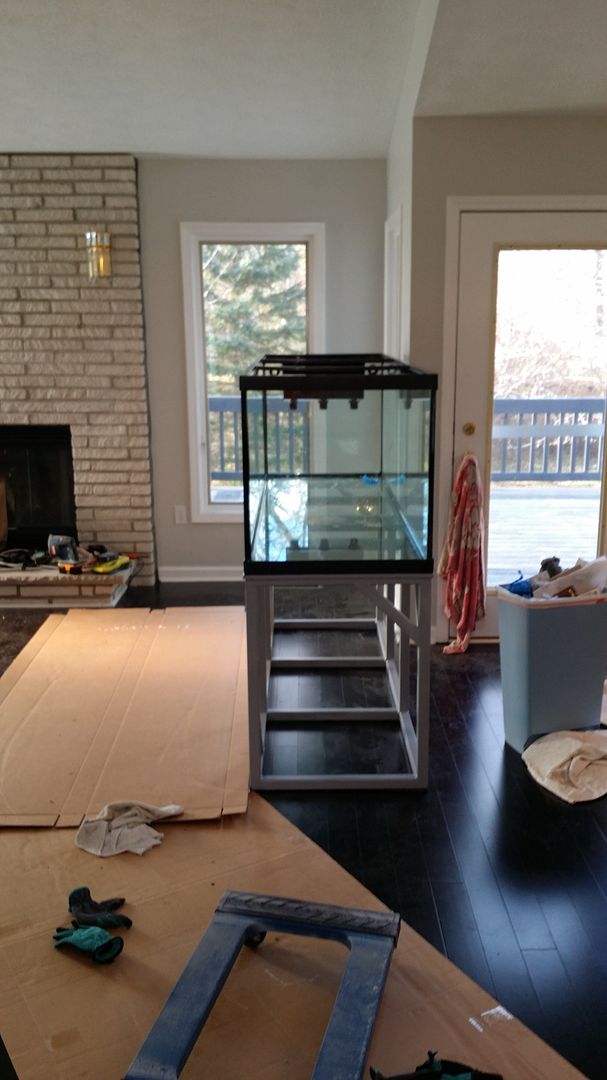  And because: 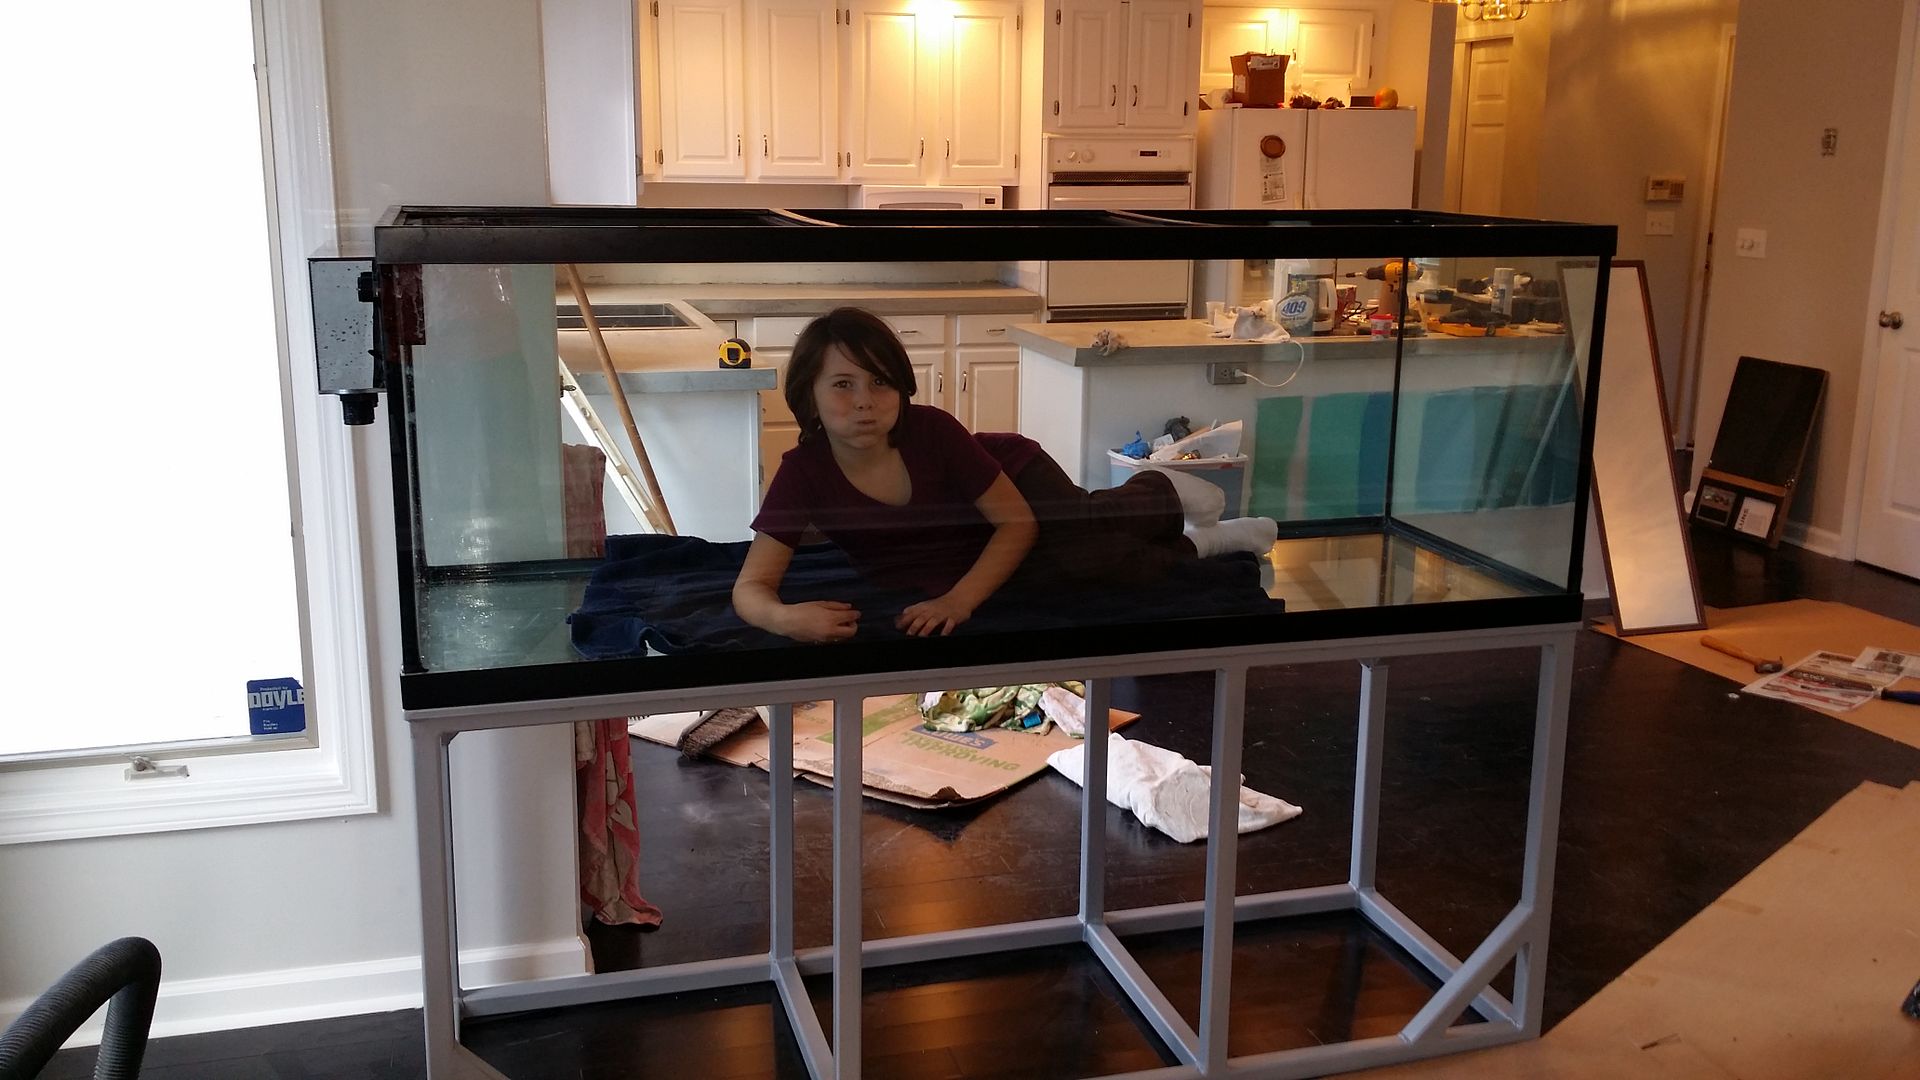 This thing is a monster. I know for you guys/girls with big tanks, you are aware, but coming from my 4' 120, I didn't really appreciate the size of this thing until I was standing next to it. Holy cow... |
|
|
|
|
11/11/2015, 06:48 AM
|
#6 |
|
Registered Member
Join Date: Aug 2010
Location: Rochester, Ny
Posts: 663
|
I ordered 80#s of reef saver rock and 20#s of Pukani from BRS. I was afraid it wasn't going to be enough, but I think I was wrong. This was just a test run, where I literally pulled pieces of rock out of the bag and threw them together, but this is a fair representation of what I am going for. Three structures, lots of caves, lots of open space. Minimalists and viewable from all 4 sides:
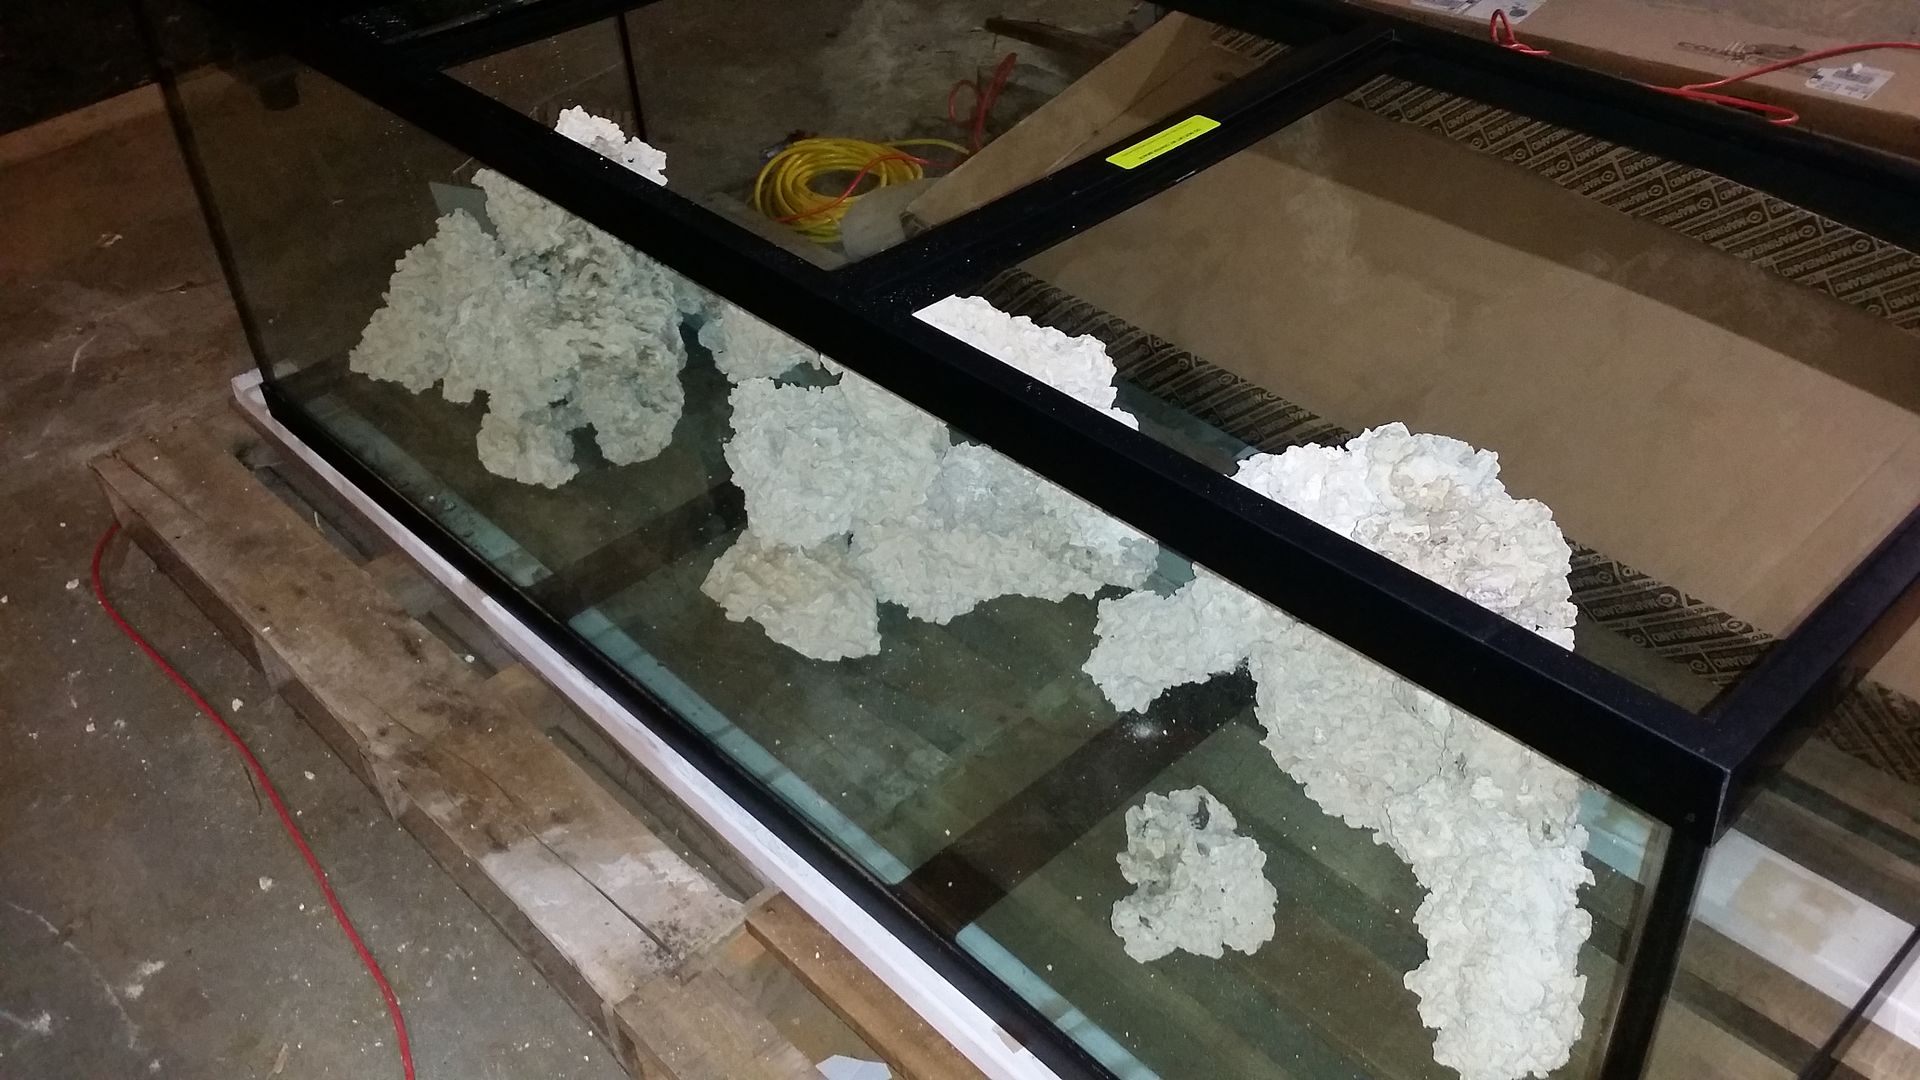 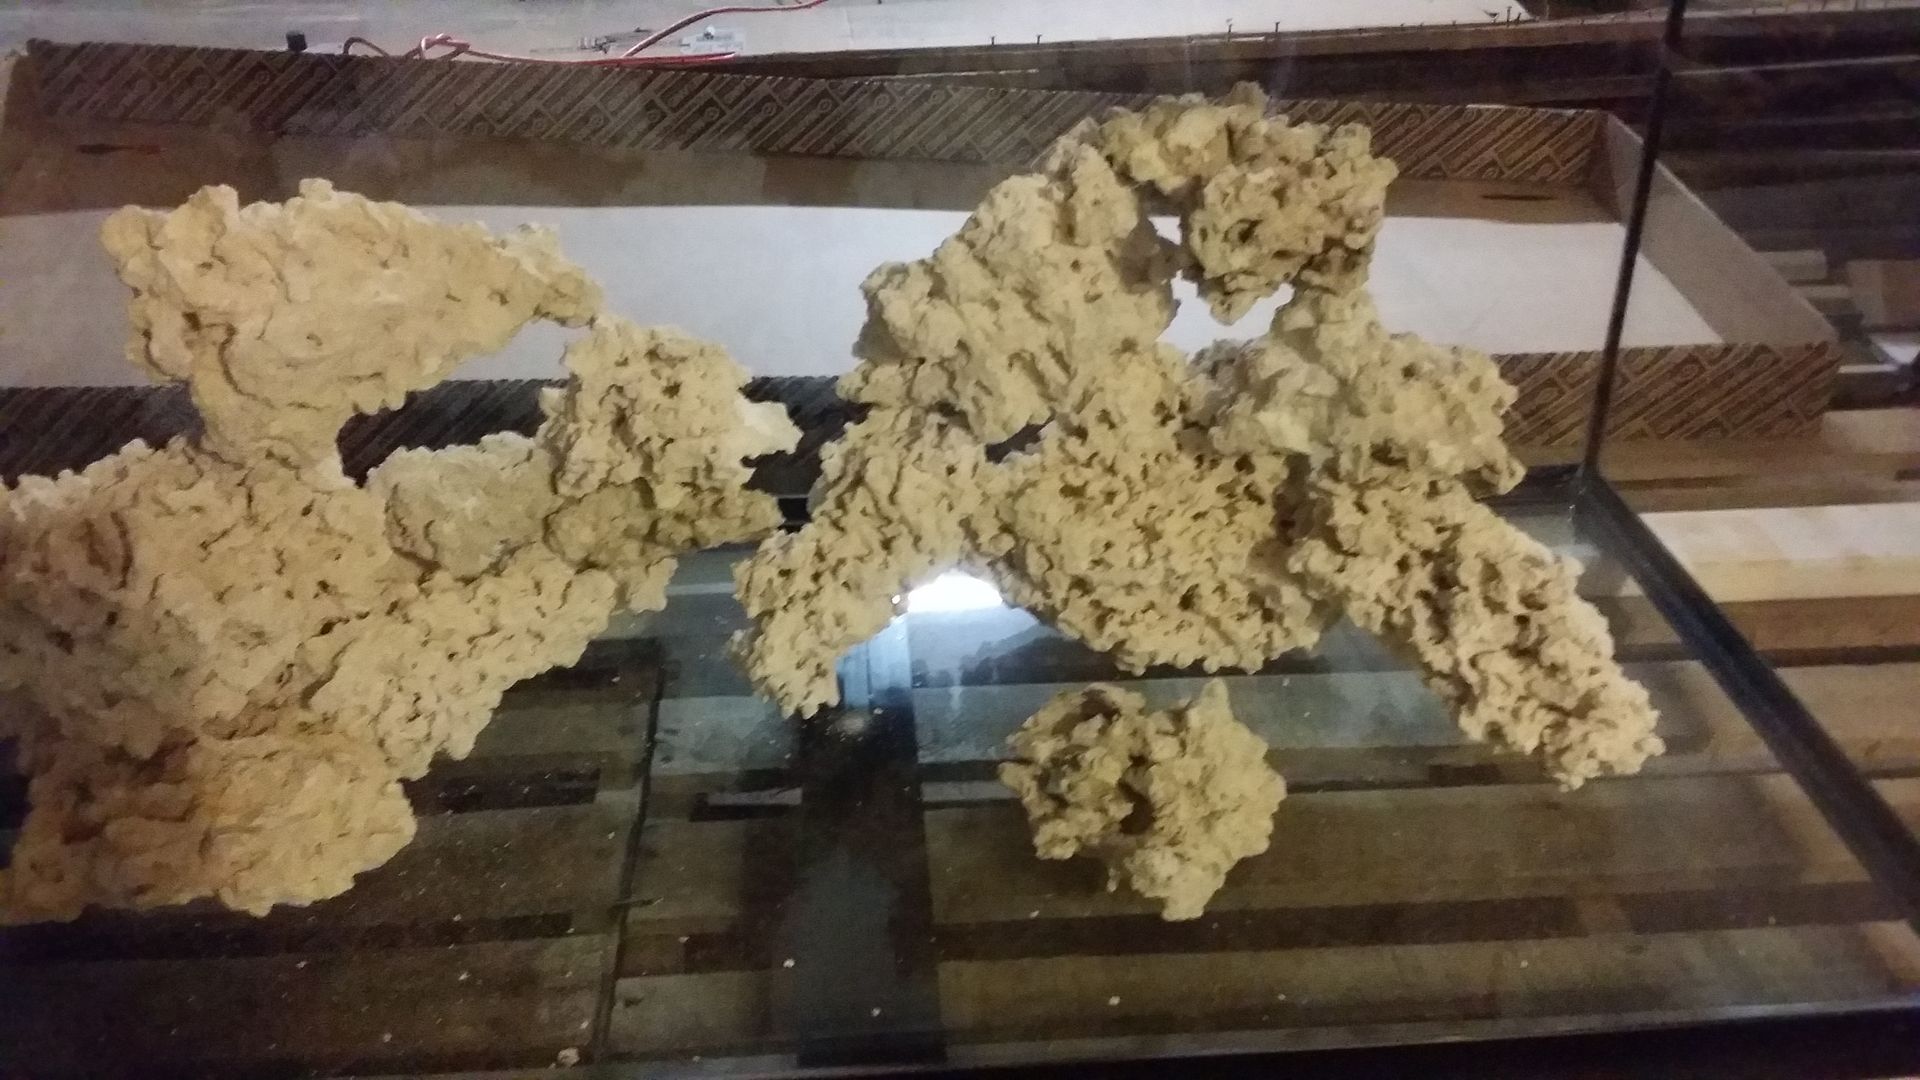 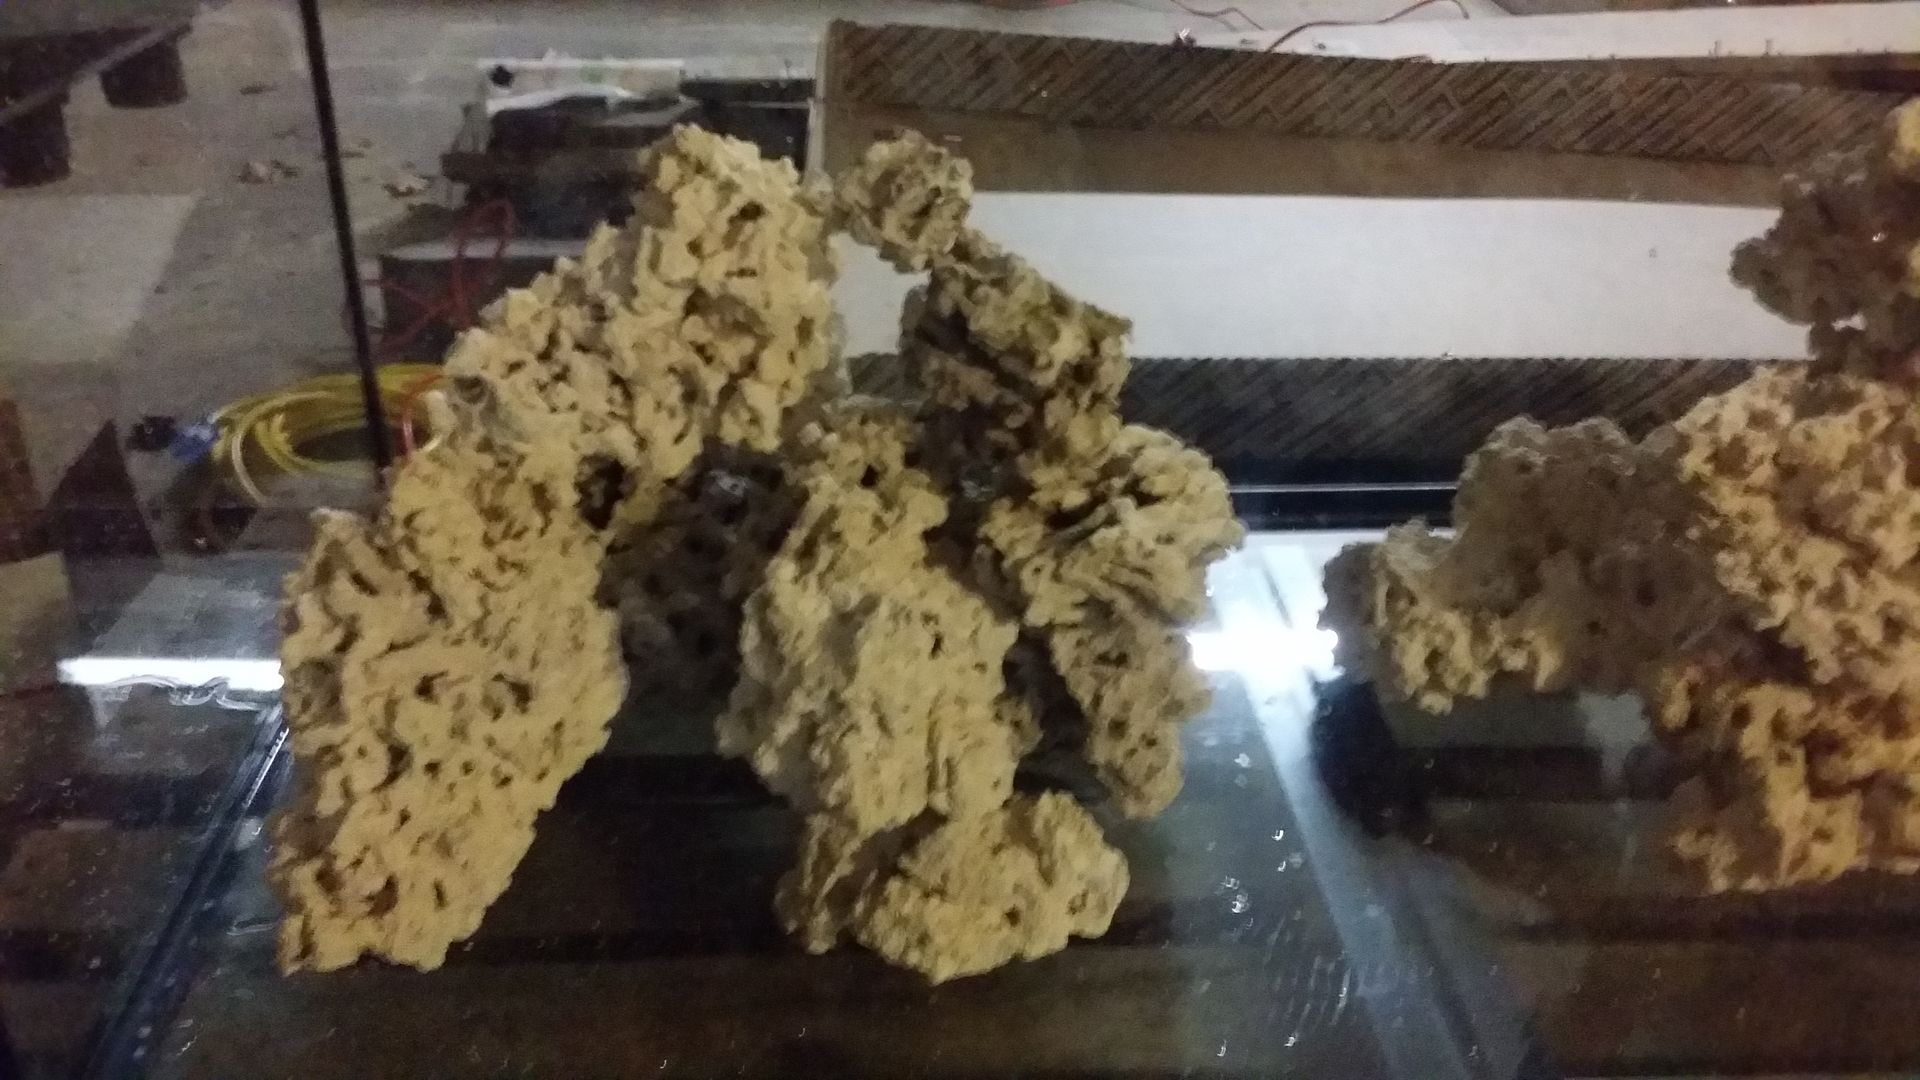 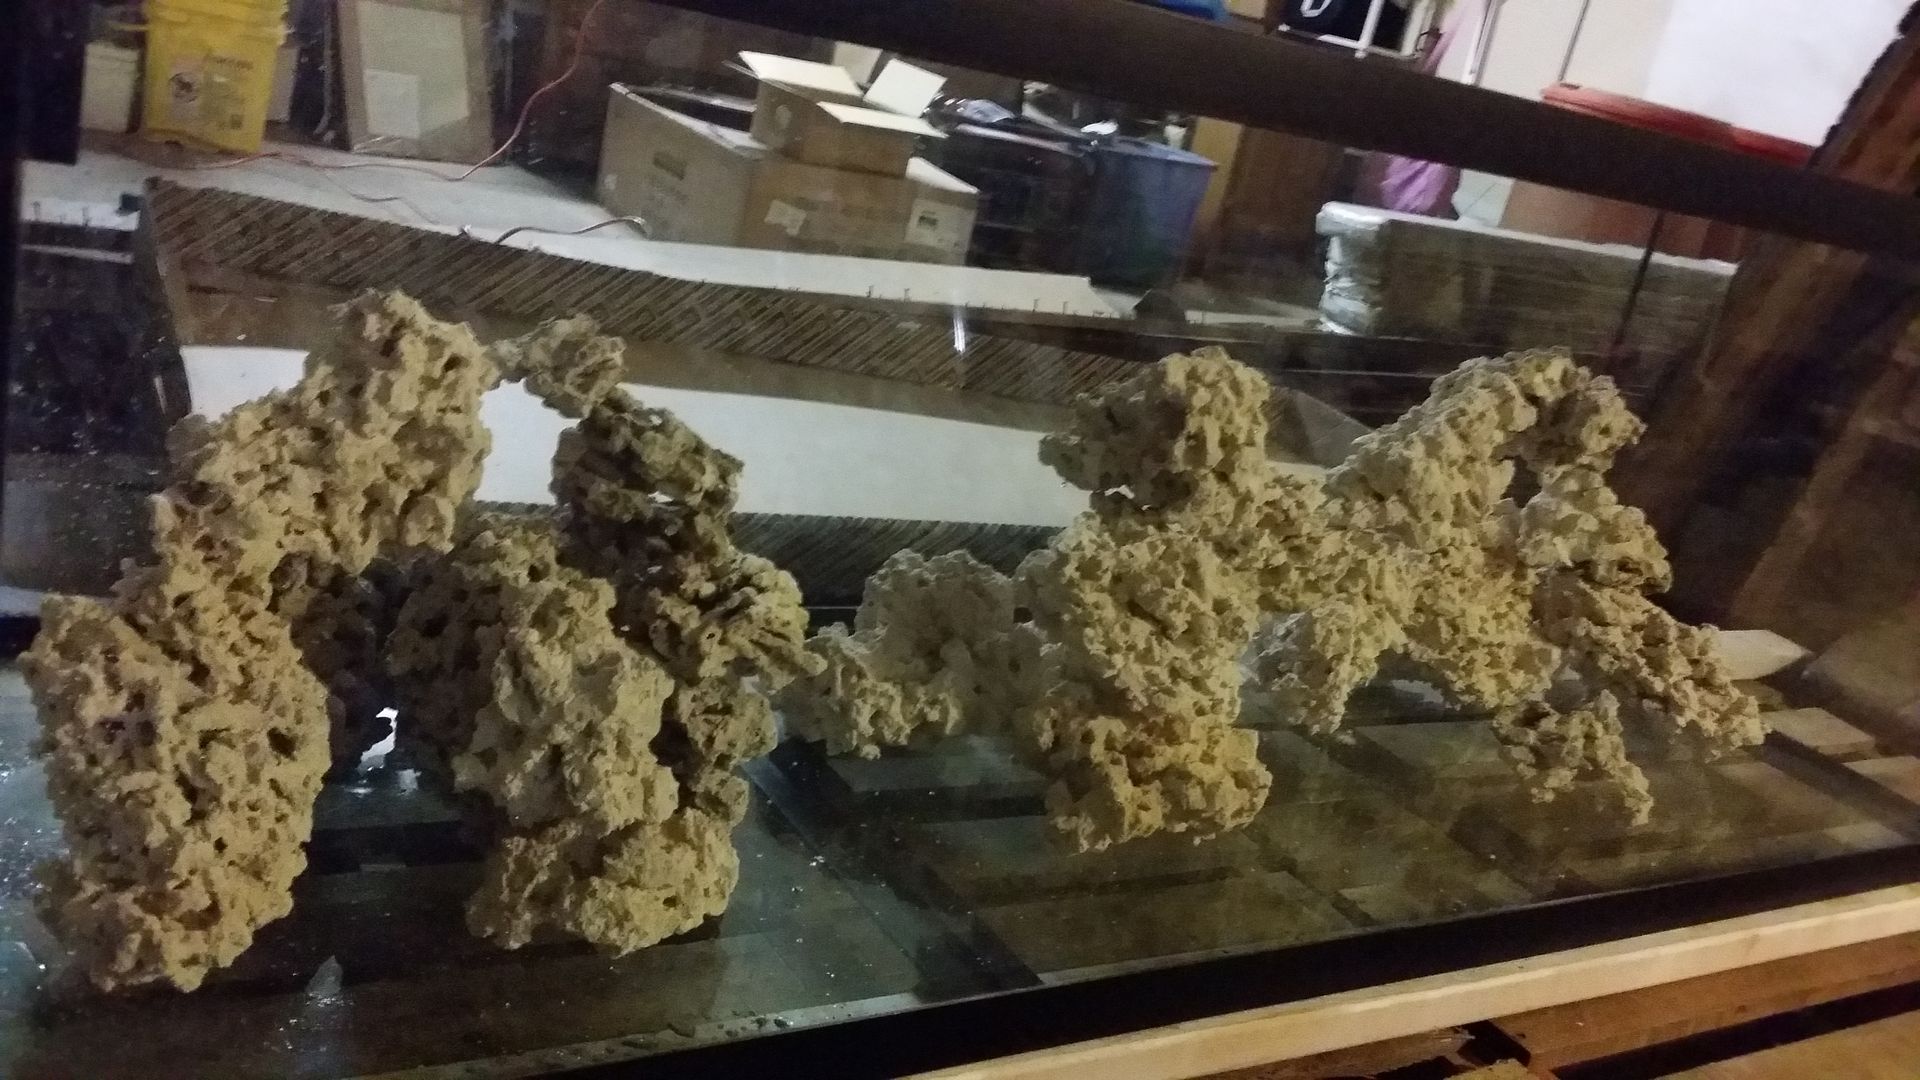 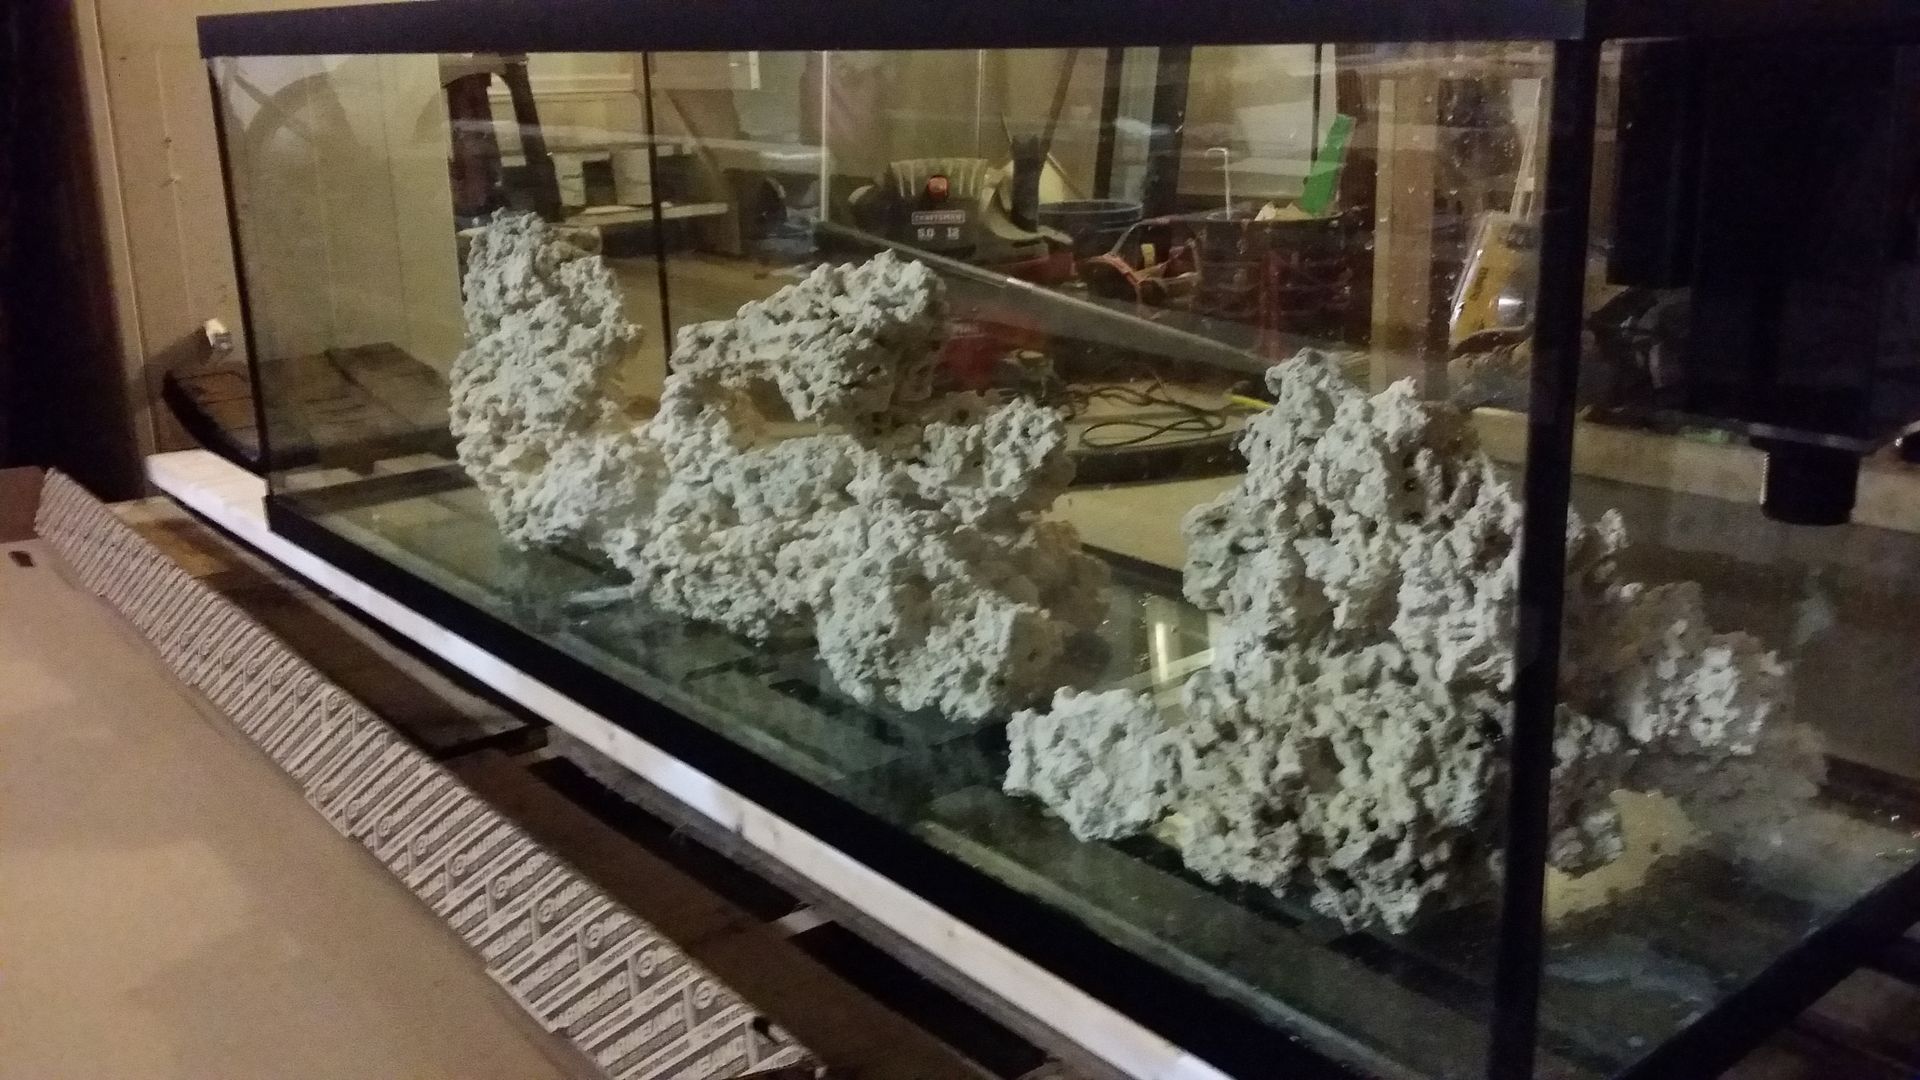 I rinsed the reef saver and threw most of it in my sump to start accumulating goodies. I am curing the pukani in my mixing barrel with a few chunks of rock from my current fuge. |
|
|
|
|
11/11/2015, 06:59 AM
|
#7 |
|
Registered Member
Join Date: Aug 2010
Location: Rochester, Ny
Posts: 663
|
I forgot to mention, prior to getting the tank in the house, I drilled two 3/4" holes for the return bulkheads. It took longer than the big holes, but again, no issues.
I started roughing in the plumbing, I am going with a Bean Animal drain on this thing: 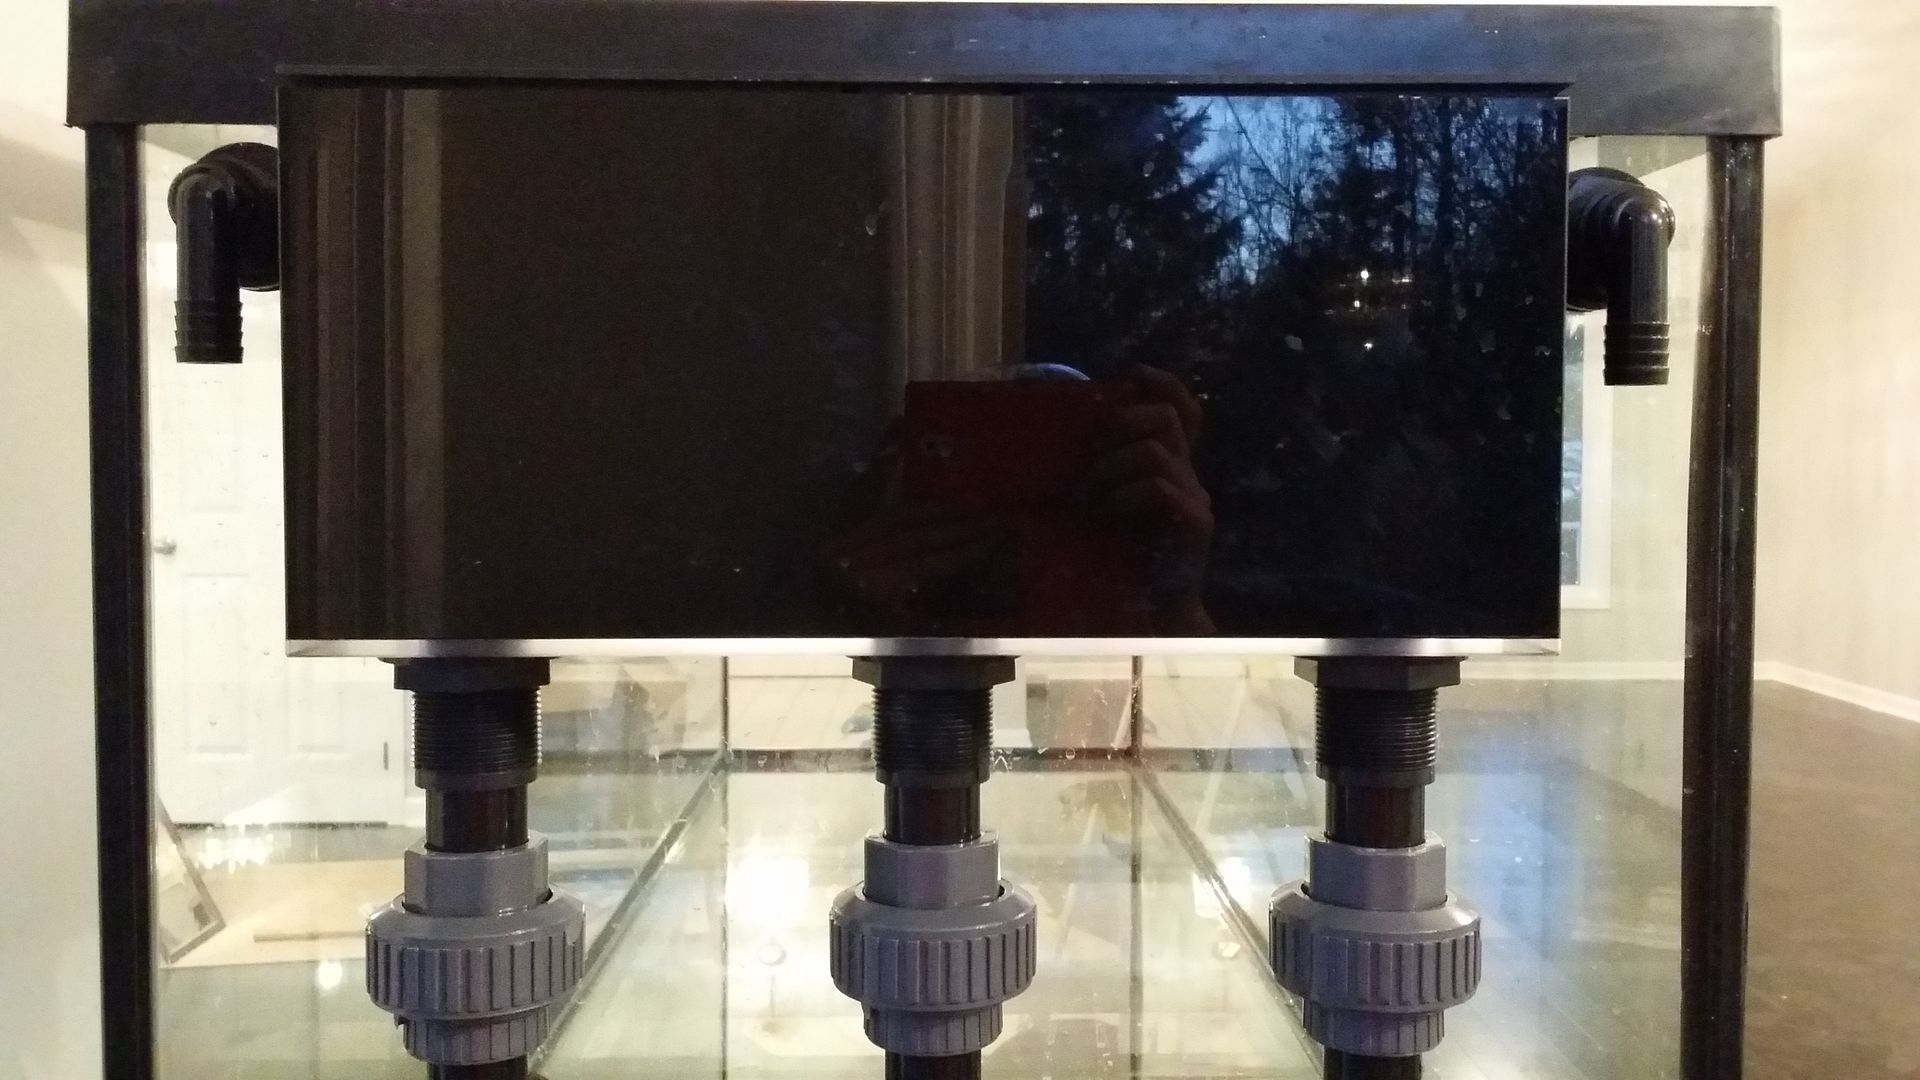 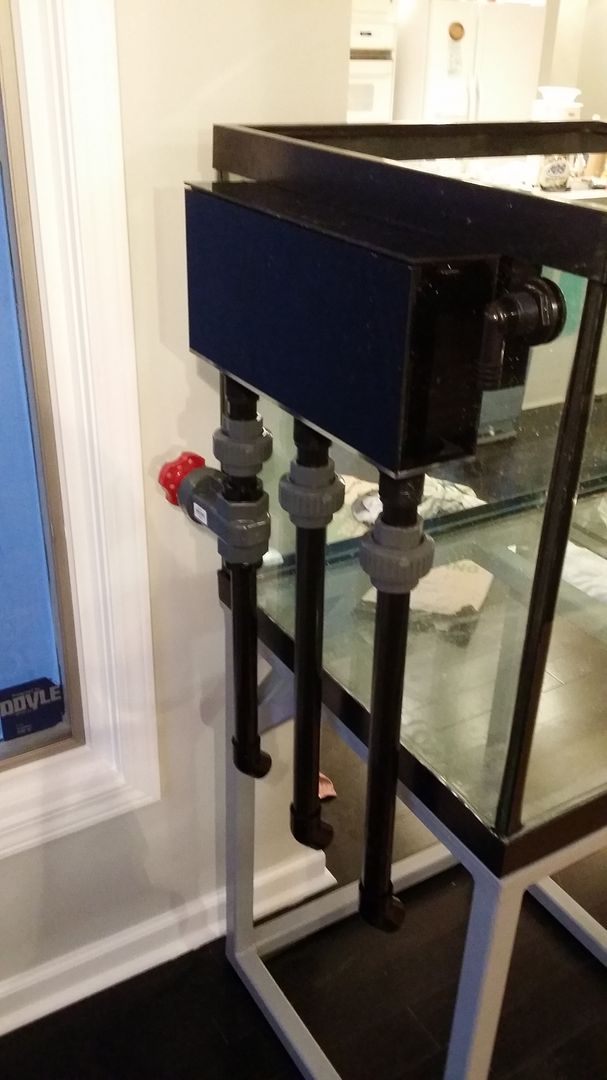 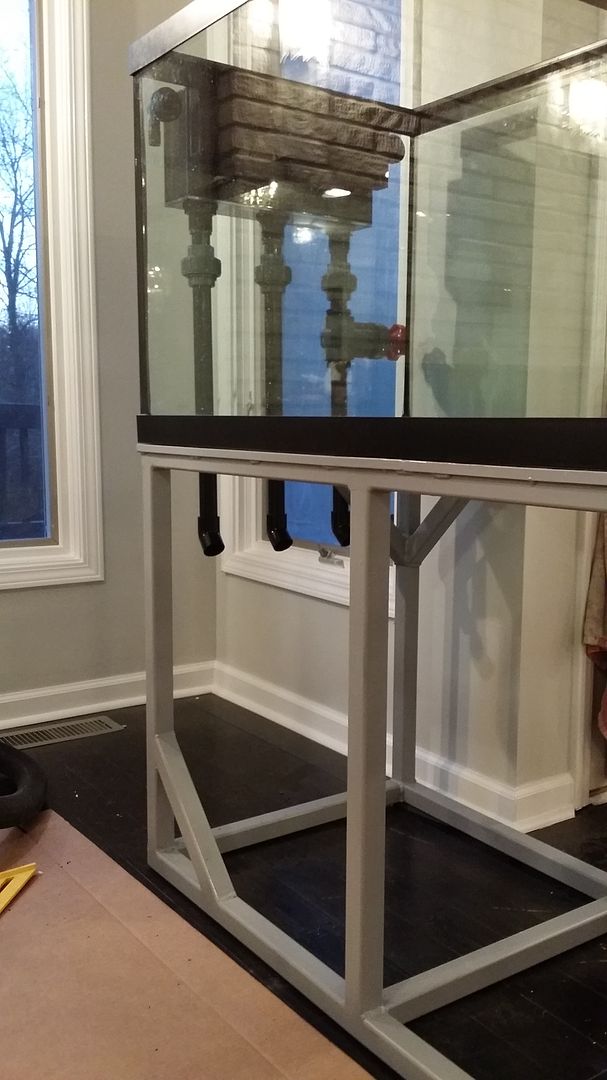
|
|
|
|
|
11/11/2015, 07:12 AM
|
#8 |
|
Registered Member
Join Date: Aug 2010
Location: Rochester, Ny
Posts: 663
|
It was suggested to me to move the gate valve down, because it can cause issues on restart. I cannot confirm or deny this, but nothing is glued...
I'll be picking up the sump and return pump this weekend. I cut and primed a piece of 3/4" ply for the base of the stand. The sump will eventually move to the basement, but for now, all the filtration will take place in the stand. I am going with a Jebao DCT12000 for the return. The overflow is rated for 1500 GPH. No idea on a skimmer yet. I was given an old MH/PC 6' fixture that was CRAZY heavy, as it contained all of the ballasts in it. I gutted the whole thing and am envisioning three Kessil A360s and some T5s down the road. I haven't mentioned this, but the guy who is buying our house might be interested in my tank. All of it. Which means I need to figure out what all of this stuff is worth to me. It also means I will have to replace EVERYTHING. Which is daunting. On the plus side, it means that there is no rush getting this baby set up, as I don't have to have it ready for livestock in a week. So that is where we are at currently. I have put a ton of time (maybe too much if you ask my wife and principle) into planning this ting. And so far, those plans have been executed exactly as I foresaw. I welcome any critiques, criticisms and feedback. I am no expert |
|
|
|
|
11/11/2015, 05:09 PM
|
#9 |
|
Registered Member
Join Date: Sep 2004
Location: Syracuse, NY
Posts: 13,574
|
Loving this!
__________________
People say cars are a bad investment. Those people don't have reef tanks. Current Tank Info: 120, Radion Gen 2 Pro x 2 |
|
|
|
|
11/11/2015, 05:37 PM
|
#10 |
|
Registered Member
Join Date: Aug 2010
Location: Rochester, Ny
Posts: 663
|
Thanks!
We started to move today, and were actually a lot more productive than I had hoped. The upshot is, the sooner we finish moving all of this crap, the sooner I can focus my energy on the important stuff.. i.e., the tank. I painted up the platform for under the tank today in between hauling loads of stuff into the new house, so it should be ready to go soon. My sump is done, I just need to pick it up this weekend. This baby could be wet by the end of the weekend or early next week. |
|
|
|
|
11/11/2015, 06:05 PM
|
#11 | |
|
Team RC Member
Join Date: Nov 2001
Location: Rochester, NY
Posts: 41,560
|
Quote:
Once you're settled and its running for a couple months I'd like to check it out. Love that stand!
__________________
over 24 years experience with multiple types of marine aquarium systems *see Upstate Reef Society Forum on RC and FB* GOOGLE JUNIOR'S REEF Current Tank Info: 84x24x30 265g reef past TOTM honors |
|
|
|
|
|
11/11/2015, 06:08 PM
|
#12 |
|
Registered Member
Join Date: Aug 2010
Location: Rochester, Ny
Posts: 663
|
Thanks Gary. Took lots of inspiration from your tank. And every time someone gives me grief about the light from the windows, I quote your advice about the benefits of natural light...
I am thrilled with how the stand came out. I'll never go back to wood stands. You're welcome to check it out any time. |
|
|
|
|
11/12/2015, 05:53 AM
|
#13 |
|
Registered Member
Join Date: Sep 2004
Location: Syracuse, NY
Posts: 13,574
|
The flooring is gorgeous. It's tough to visualize things when you first see a home. The house looked like a time capsule but you brought it up to date in a hurry. If you sell your tank ask for squatters rights on frags when you're up and rolling.
Skimmer-wise, I'm a huge fan of my Skimz. Cheap, quiet, adjustable, pulls out the crud. Not a fan of the Reef Octos. Had several issues with the one I had. An empty 180 is daunting, but I'd be willing to bet it seems small in a years time. To your wife's credit, it's my humble opinion that they are the PERFECT sized reef tank. 6 foot platform, means lighting is relatively easy to configure. You can reach the bottom and corners, especially with a peninsula style. Are you going to hang lights or use a canopy? Skin the stand? If you need something made, I can't recommend joeswoodworks enough. Great quality work. Good price and turn around. Your 120 makes me ashamed of mine. Really nice tank!
__________________
People say cars are a bad investment. Those people don't have reef tanks. Current Tank Info: 120, Radion Gen 2 Pro x 2 |
|
|
|
|
11/12/2015, 06:18 AM
|
#14 |
|
Registered Member
Join Date: Aug 2010
Location: Rochester, Ny
Posts: 663
|
Thanks Cully.
I am going to hang the lights. I was gifted a heavy-as-hell MH/PC combo that I gutted. I am picturing three Kessil A360WEs or 3 Radions with some T5 supplements. I just really love the slow ramp up/ramp down of LEDs, but I have seen the best growth and color with T5 supplements. The stand is going to eventually be skinned in either the same flooring as the house, or in reclaimed barnwood. We are trying to mix modern style with rustic barnwood accents. There had been literally NOTHING done to the house since 1992 when it was built. I am meeting with the buyer tonight to go over the ins and outs of my tank. He is a complete novice and he is inheriting a turn-key SPS system run by an Apex with a sweet Vertex Omega skimmer. I don't think I've successfully conveyed to him the time, energy and money I have invested in this thing. |
|
|
|
|
11/12/2015, 12:20 PM
|
#15 |
|
Registered Member
Join Date: Sep 2004
Location: Syracuse, NY
Posts: 13,574
|
After running Radions for almost 2 years, I'm adding a t5 supplement. Maybe it's ignorance or lack of ability, but I think it'll fix my coloration issues. I think you're right on with that combo.
I did a man cave in my house using rough cut pine. Had lots of contrasting colors. Dirt cheap. I'd paint the inside of whatever you choose with some sort of mold, heat, resistant primer paint combo. Just thinking out loud. You're light years ahead of me. Man cave walls: 
__________________
People say cars are a bad investment. Those people don't have reef tanks. Current Tank Info: 120, Radion Gen 2 Pro x 2 |
|
|
|
|
11/12/2015, 03:50 PM
|
#16 |
|
Registered Member
Join Date: May 2012
Location: Buffalo,NY
Posts: 4,354
|
Looks awesome!
__________________
Dave Current Tank Info: IM Nuvo Fusion 10, Kessil A160, Tunze Osmolator 3155, Ecotech Vortech MP10 |
|
|
|
|
11/13/2015, 12:06 PM
|
#17 |
|
Registered Member
Join Date: Aug 2010
Location: Rochester, Ny
Posts: 663
|
Thanks guys.
I am excited to get back to work on this thing this weekend. I'm picking up the sump this weekend. Trying to source a Jebao DCT 12000 locally. I have a Panworld PX-50 I can use, but I don't want to drill the sump for an external pump. |
|
|
|
|
11/13/2015, 12:12 PM
|
#18 |
|
Registered Member
Join Date: Mar 2012
Location: Rochester, NY
Posts: 64
|
Terry,
WOW looking awesome! Go for a Vectra return pump =) and Beckett Skimmer. Hope to see ya soon. -Jason |
|
|
|
|
11/13/2015, 12:20 PM
|
#19 |
|
Registered Member
Join Date: Sep 2010
Location: Farmington Ny
Posts: 854
|
Glad to see the cardboard out from underneath.
__________________
Justin Current Tank Info: 90 Gallon Reef Ready, DIY Custom stand and canopy, Reef Breeders Photon 48, Aquamaxx CO-1 skimmer, Jebao DCT4000 pump, JBJ Ato, 2 RW-4 |
|
|
|
|
11/13/2015, 09:07 PM
|
#20 |
|
Registered Member
Join Date: Aug 2010
Location: Rochester, Ny
Posts: 663
|
Some exciting updates tonight...
I finished the wood platform for under the stand today and got it installed. I also picked up the sump, return pump and some more plumbing parts to get this baby roughed in: The Bean Animal drains: 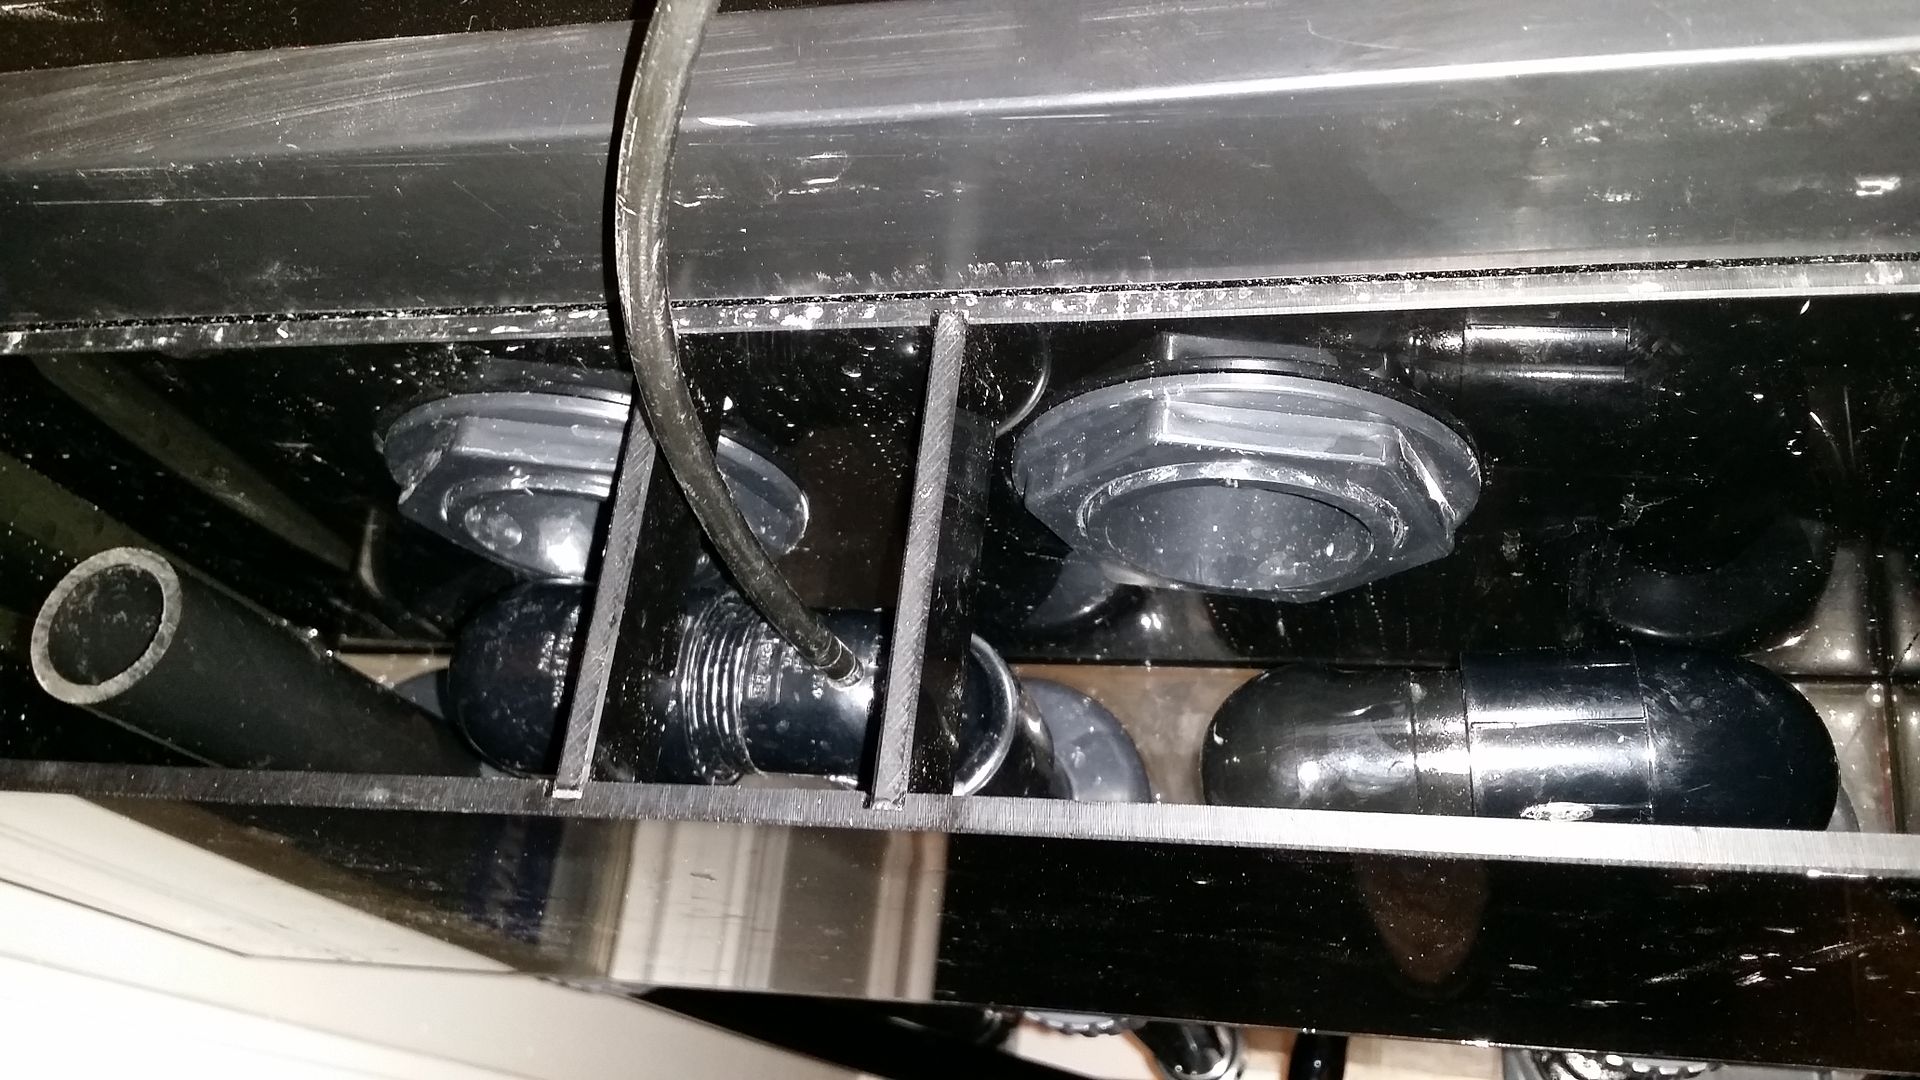 The drains and returns roughed in (I'll be cleaning the returns up a bit: 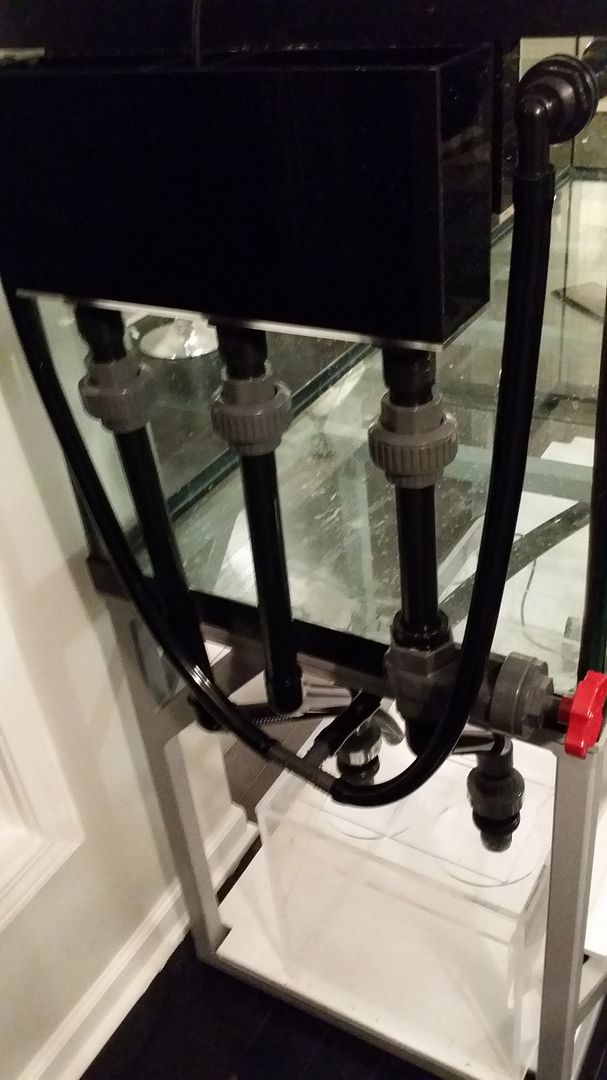 The full and partial siphon run into the bulkheads and the emergency will drain directly into the sump, hopefully loudly, to let me know there is a problem: 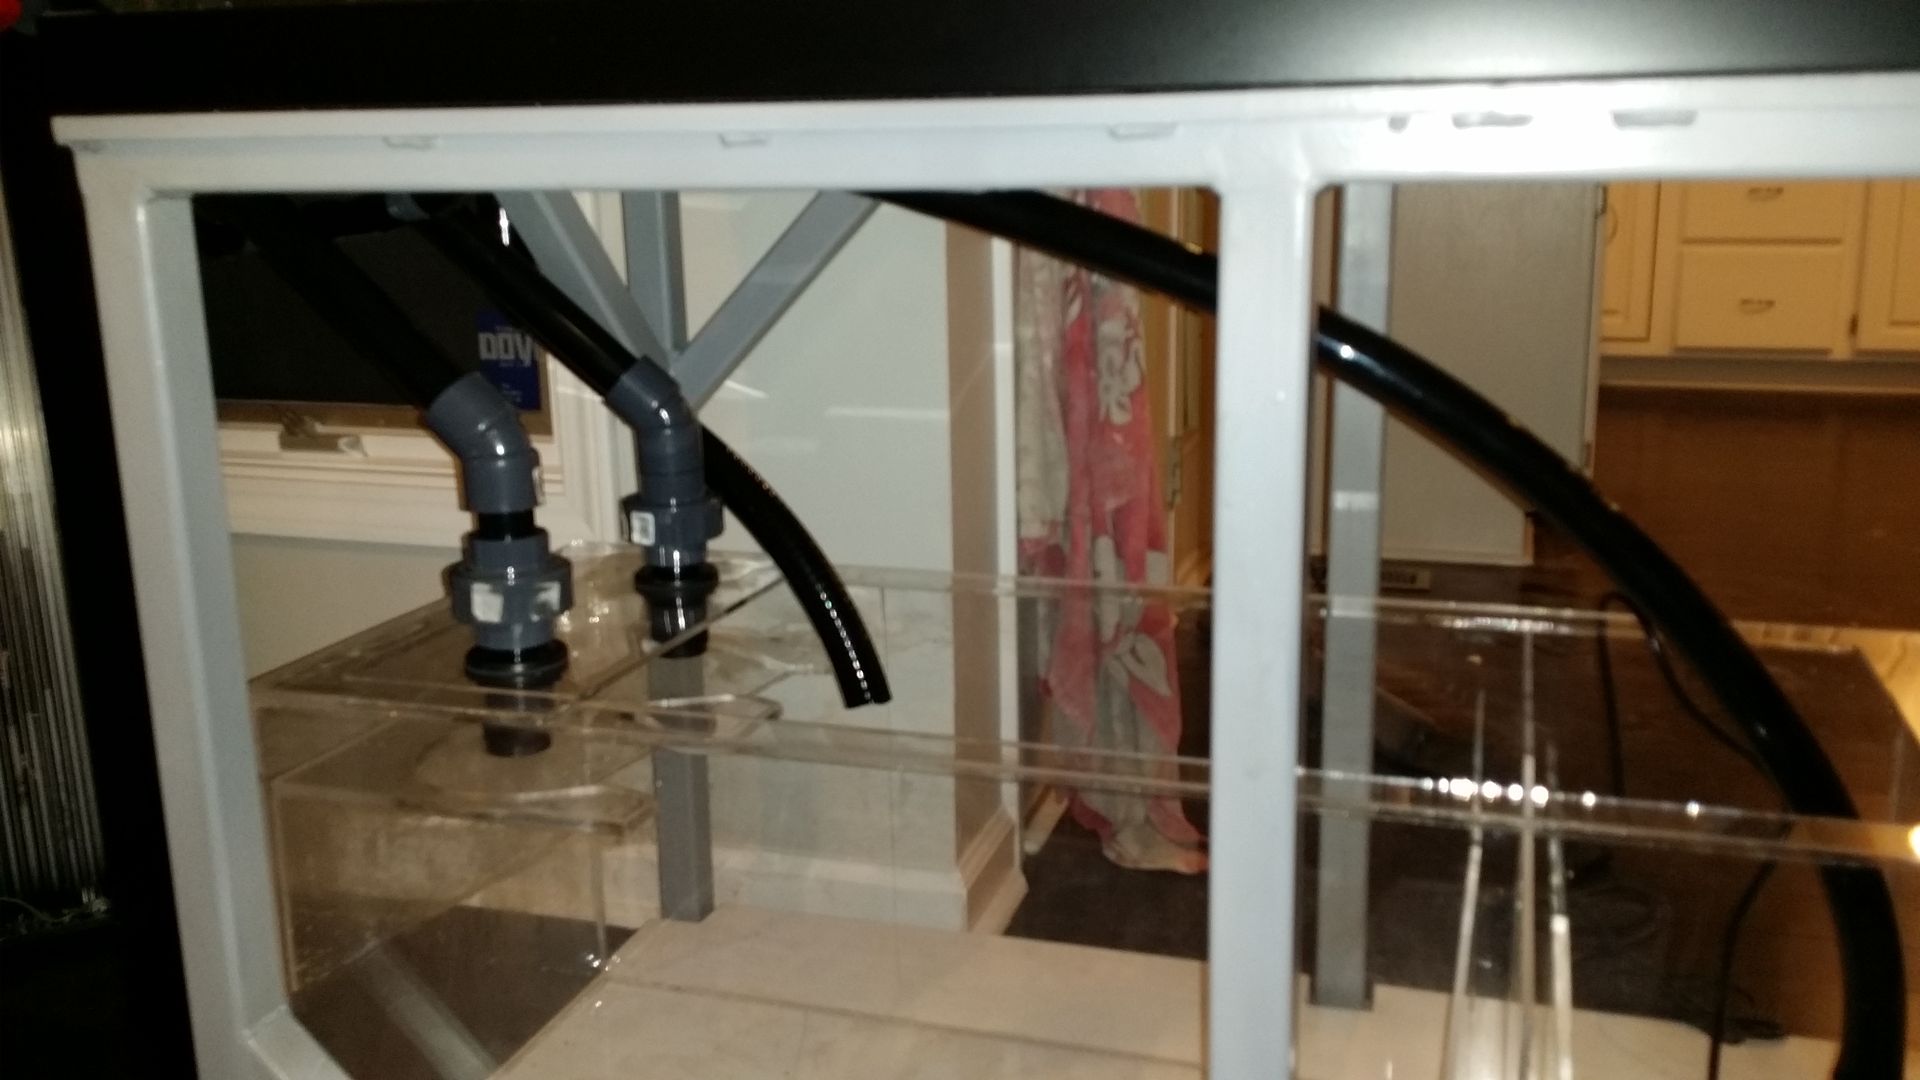 The plumbing roughed in, and the Jebao DCS 9000 (this is the newest version of the Jebao DC pumps. It pushed a TON of water and is absolutely DEAD silent: 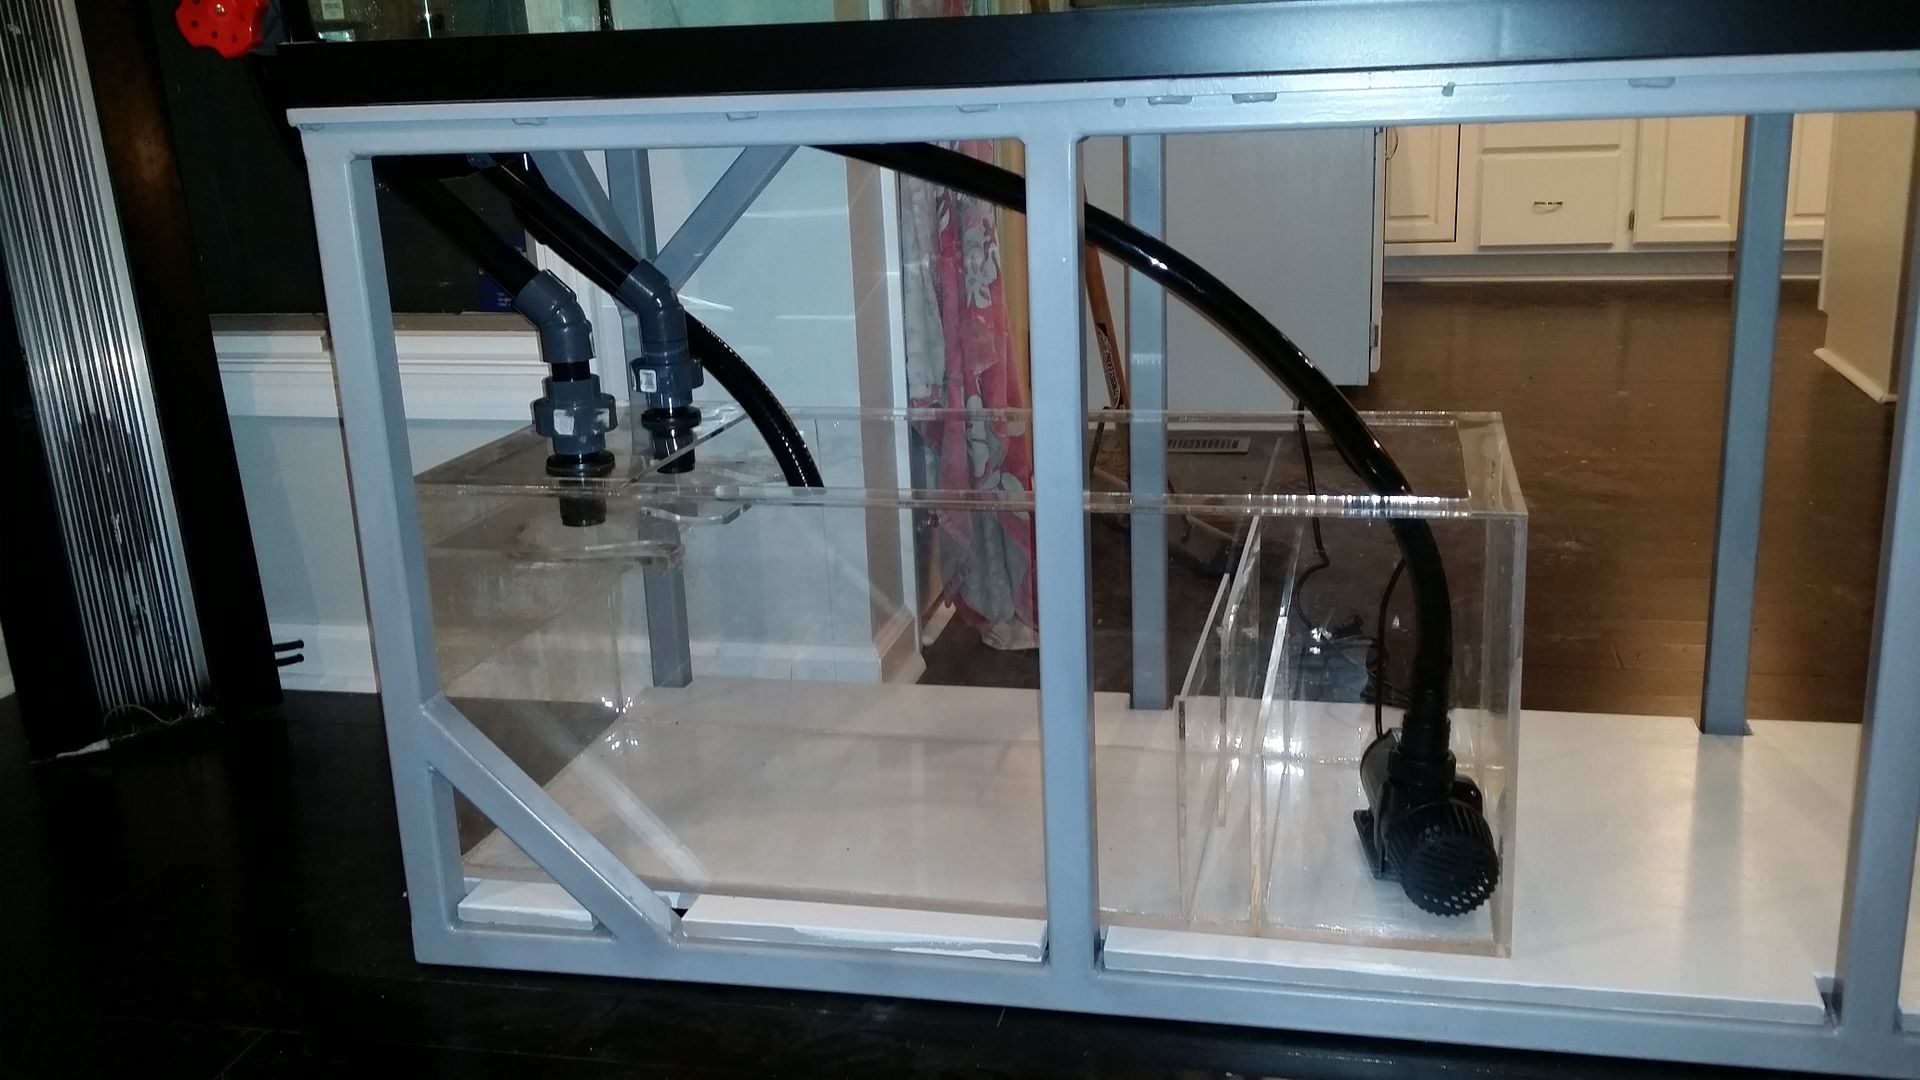 Nothing is glued yet, so any critiques are welcome. |
|
|
|
|
11/14/2015, 05:27 AM
|
#21 |
|
Registered Member
Join Date: Aug 2010
Location: Rochester, Ny
Posts: 663
|
I've encountered a slight problem, but not one that cannot be fixed.
Because of where the drains meet the sump, and my desire to NOT use 90s on the drain side, I had to make the full siphon the far right drain (as you can see by the gate valve in the pics above). The problem with this is that it is hideously ugly, and like Batman in the Lego Movie, I only work in black, and really dark grey, and the gate valve is now glaringly ugly on the living room side of this thing. I had to do this because the diagonal support on the stand interfered with the drain line. The only way to move the full siphon back to the left hand drain line is to rotate the stand, which means take the tank off, move it, re-level it, and put the tank back. But, I think it needs to happen. Luckily, we are moving today and there will be a ton of people around to help. |
|
|
|
|
11/14/2015, 05:52 AM
|
#22 |
|
Registered Member
Join Date: Sep 2004
Location: Syracuse, NY
Posts: 13,574
|
Why not put it below the 45s? Under the sump. It's angle or rotation won't matter as it'll be hidden by whatever you skin the stand with correct? Worry about it's function vs aesthetics type thing.
__________________
People say cars are a bad investment. Those people don't have reef tanks. Current Tank Info: 120, Radion Gen 2 Pro x 2 |
|
|
|
|
11/14/2015, 06:41 AM
|
#23 |
|
Registered Member
Join Date: Aug 2010
Location: Rochester, Ny
Posts: 663
|
Excellent point sir.
I will scope it out later when we are at the new house. |
|
|
|
|
11/14/2015, 08:38 AM
|
#24 |
|
Registered Member
Join Date: Aug 2013
Location: Hilton,N.Y.
Posts: 398
|
Whatever it takes to get it done right Terry, this is your DREAM tank.
Don't half step mister.....get er done
__________________
75 gal.,80#LR,20 gal sump, skimmer,pair of RW-8's Pair of Ocellaris Black & White Clowns, Pair of Kaudern Cardinal,One Spot Foxface, Bi-color Blenny, Tomini Tang,Yellow Watchman Goby, Green Mandarin |
|
|
|
|
11/14/2015, 09:08 PM
|
#25 |
|
Registered Member
Join Date: Aug 2010
Location: Rochester, Ny
Posts: 663
|
Well... 12 hours later, the move is done. We are in the new house. The old house feels like a ghost town.
And, I managed to get my plumbing glued up and am running the fresh water test as I type this: 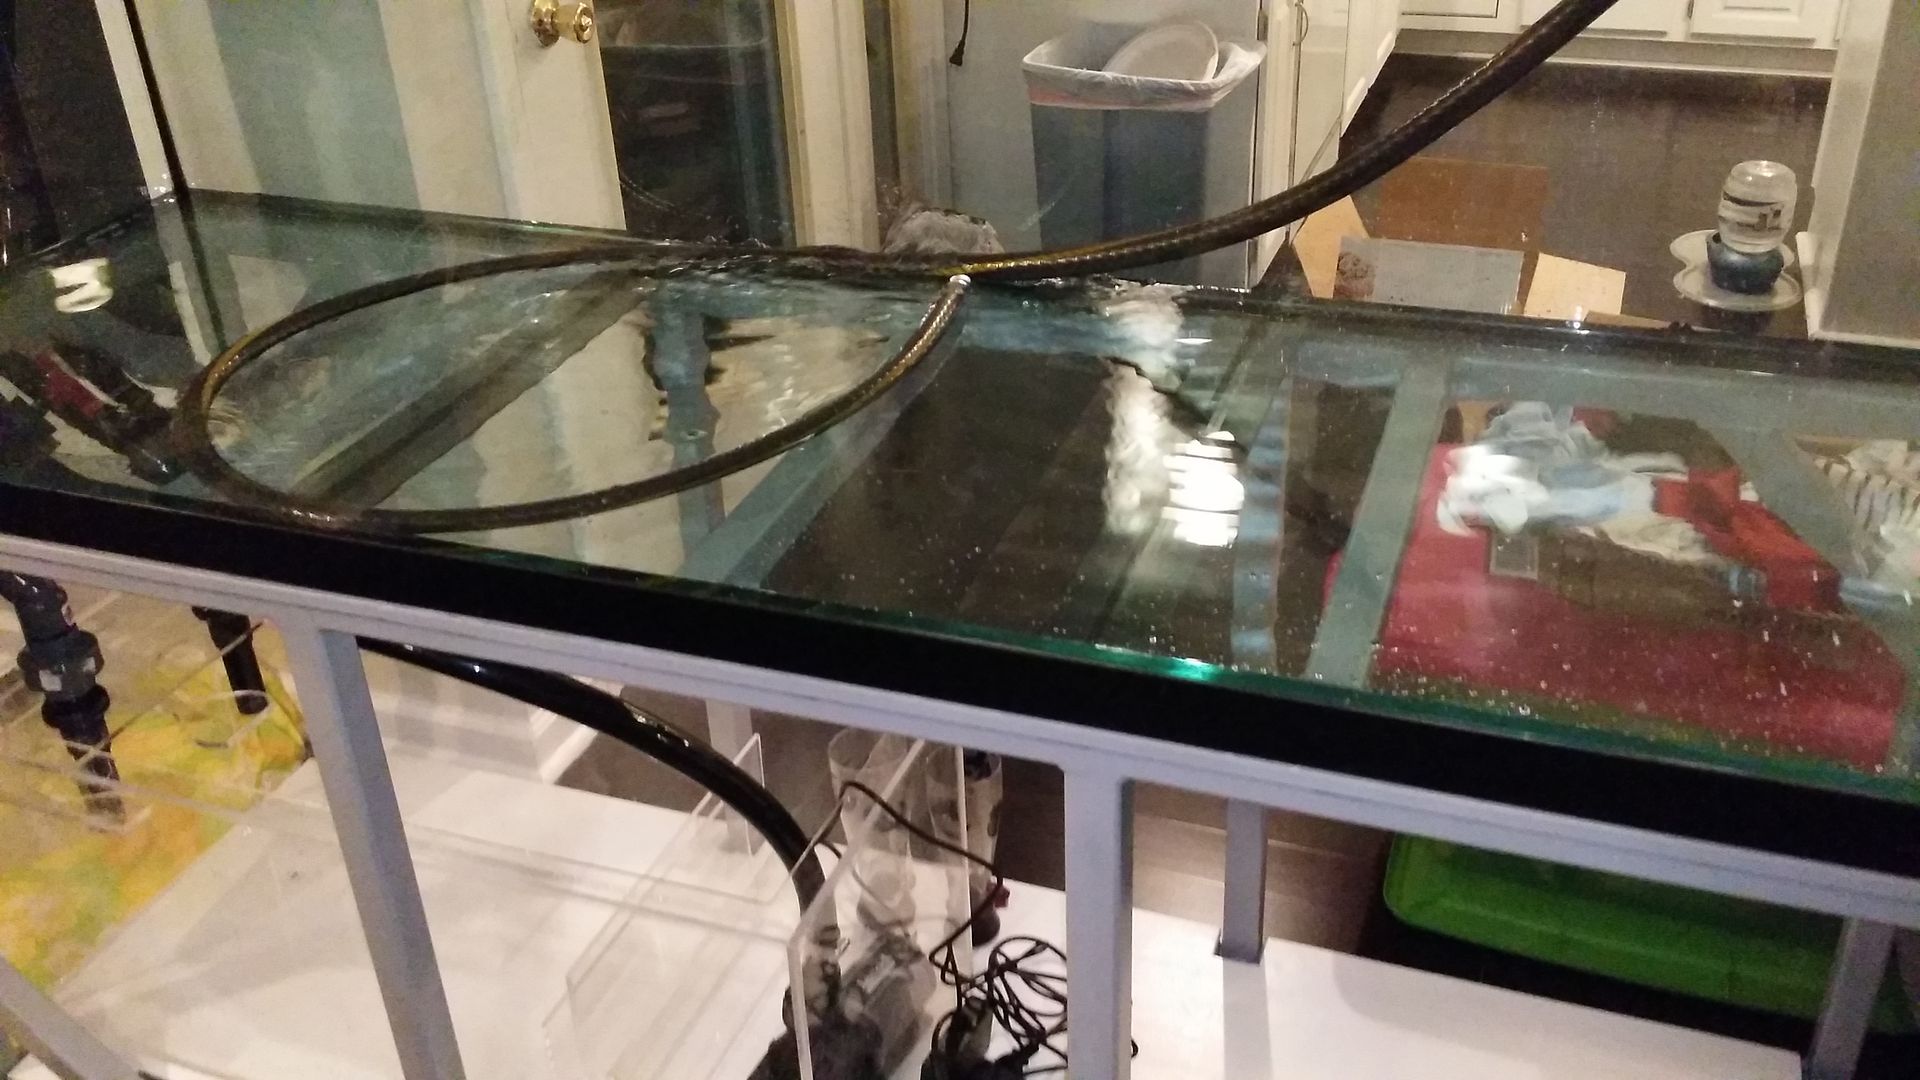 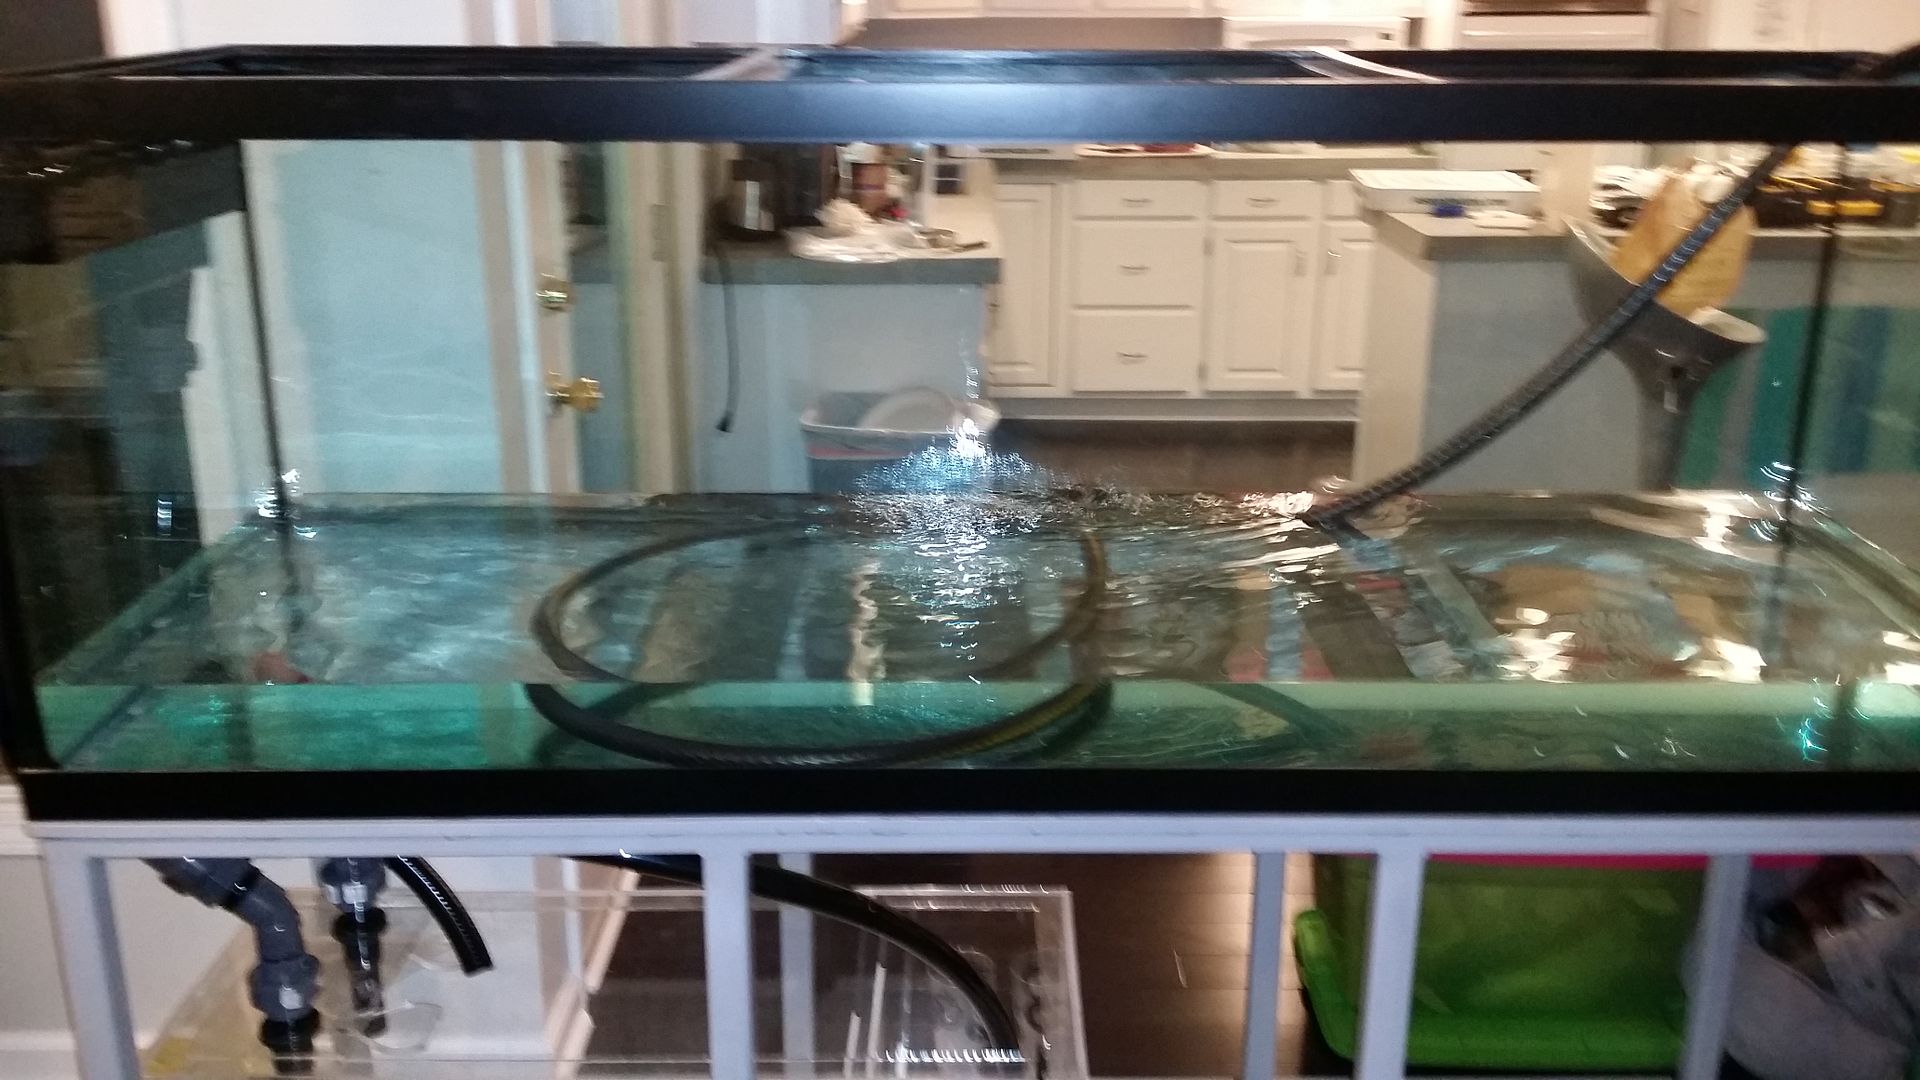 The tank is currently full and running. I need to adjust the height on the Bean Animal drains in the overflow box, they are too low, so the water is splashing into the external box a little bit as it drops out of the bulkheads. I also have to play with the gate valve to get it tuned in. But the purpose of this test isn't to fuss over a bit of noise. It is to make sure I didn't screw the pooch with my plumbing. I had one leak where there was a hole in one of the flexible 3/4" hoses on the return line. Got it replaced and I can spot no leaks. My view of the tank from the couch: 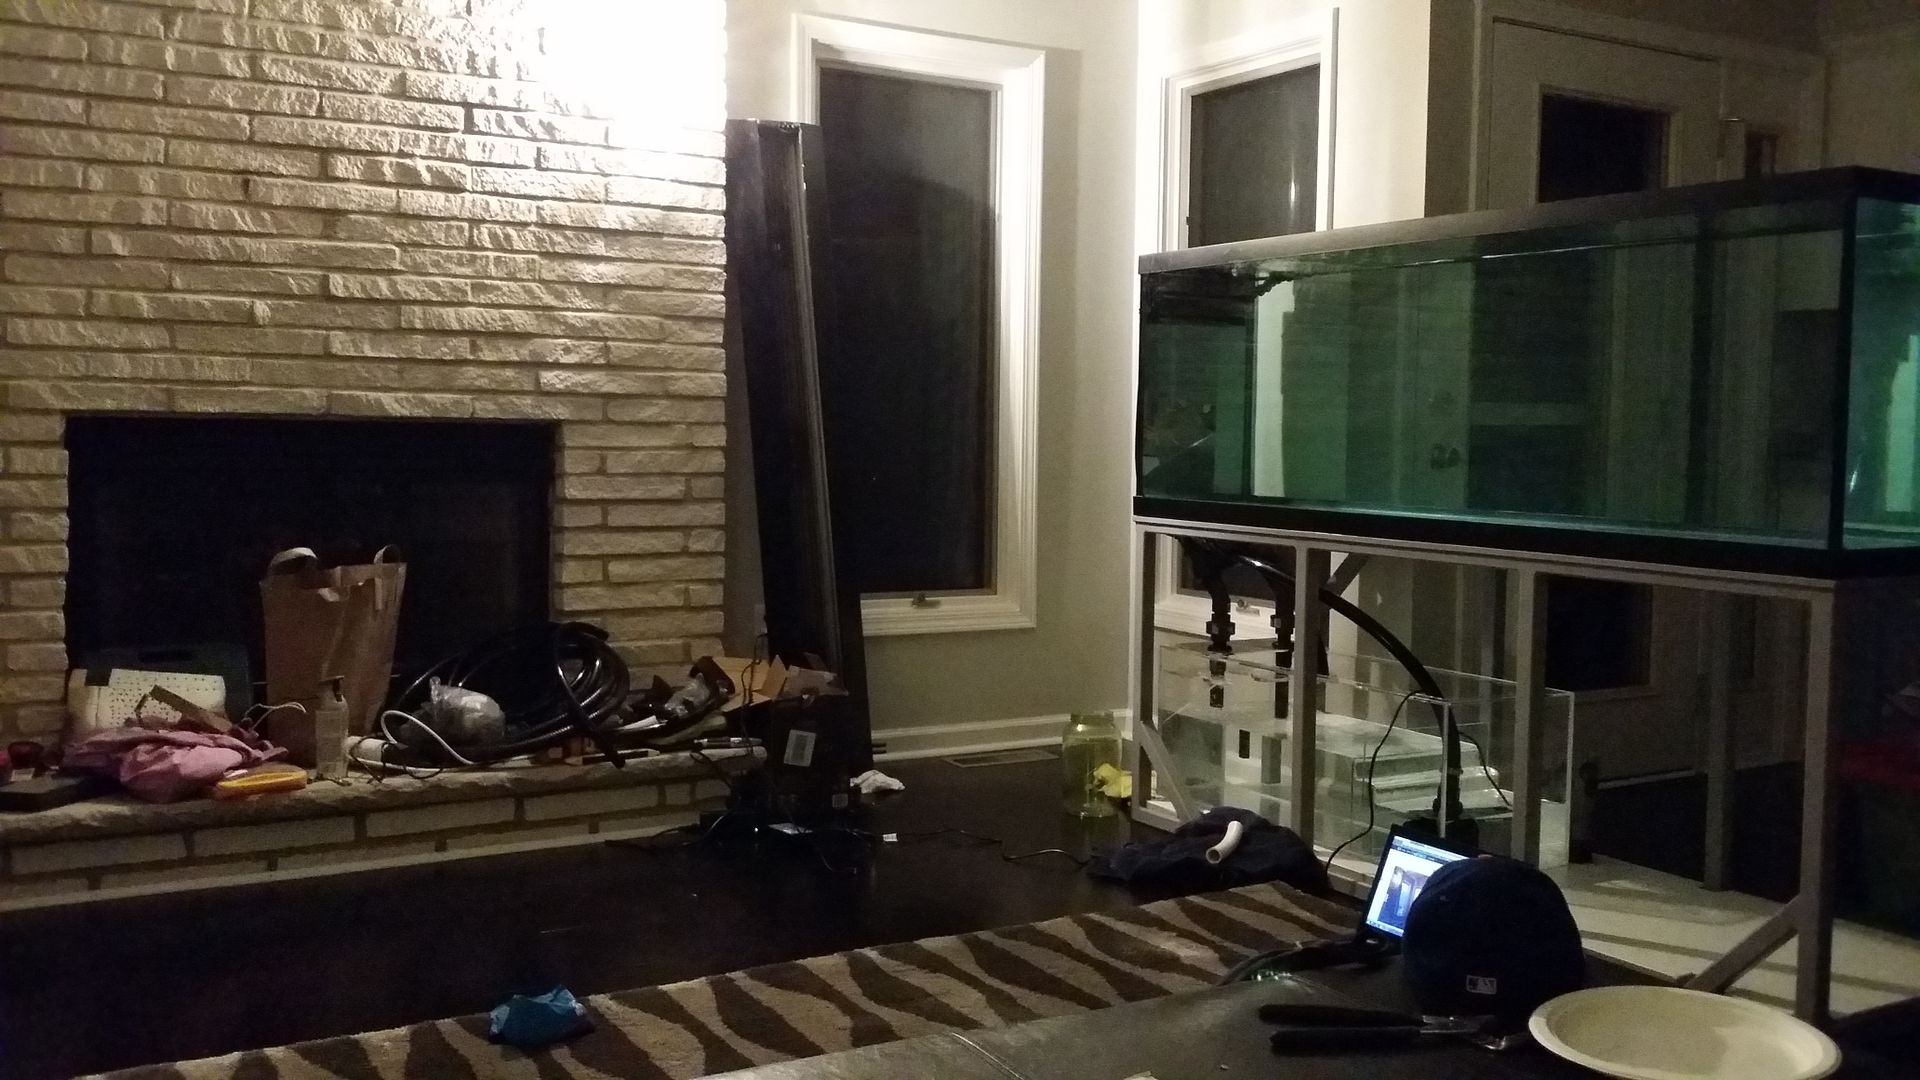
|
|
|
|
 |
| Thread Tools | |
|
|


