
|
|
 01/11/2016, 02:01 AM
|
#1 |
|
Registered Member
Join Date: Nov 2015
Location: Coconut Creek, Fl
Posts: 28
|
First off if this is improperly place mods please feel free to move wherever! First time making a Thread.
So this thread is a on going thread firstly, and decided to start it to try and inspire other people to help propagate coral to save our oceans! ~~~~~~ A little about me and my experience, I had a small turtle tank when I was a kid and grew up with obsessing over my friends tanks. About 3 years ago my roommate had a 46 gallon bow front for a few years with tons of hair algae and bristles and all the life in general that you dont want in a reef tank., but a few things still living a brittle star and a clam. Looking back at it. The tank was a mess. We got the tank up and running, finally figured out how to keep blue chromis's alive. Sorry little guys. We had a ton of green star polyps. And I mean a ton. So I took it over and bought all new equipment and really started to get addicted. This tank is know as our (main reef) 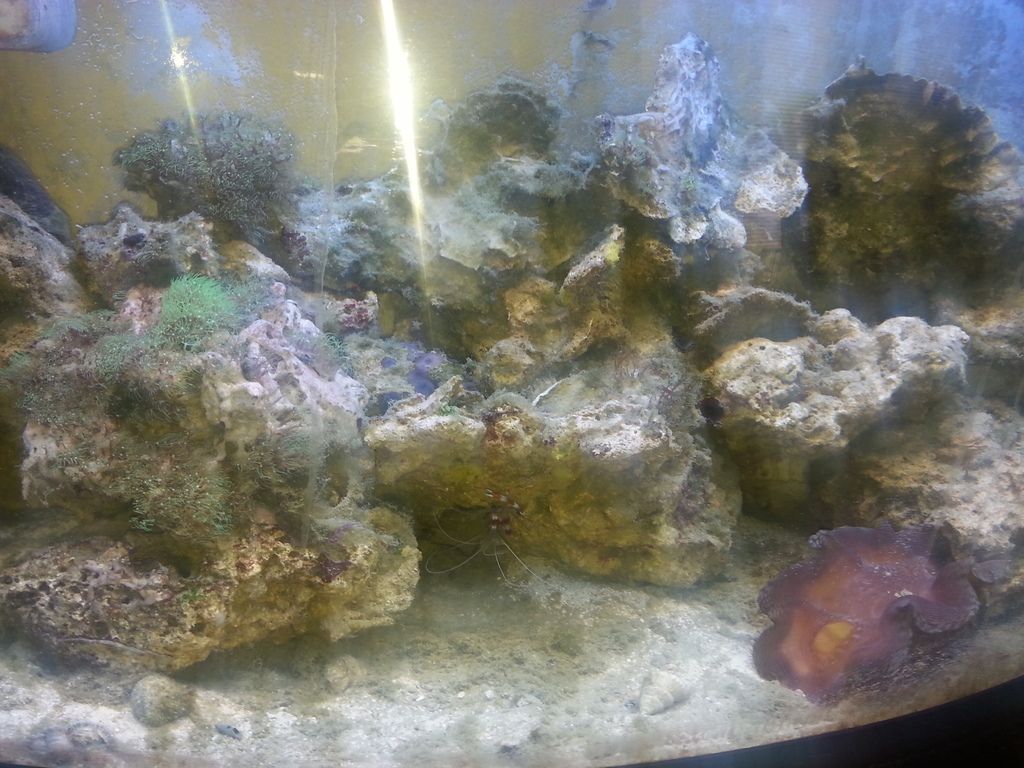 Sad Sad Tank 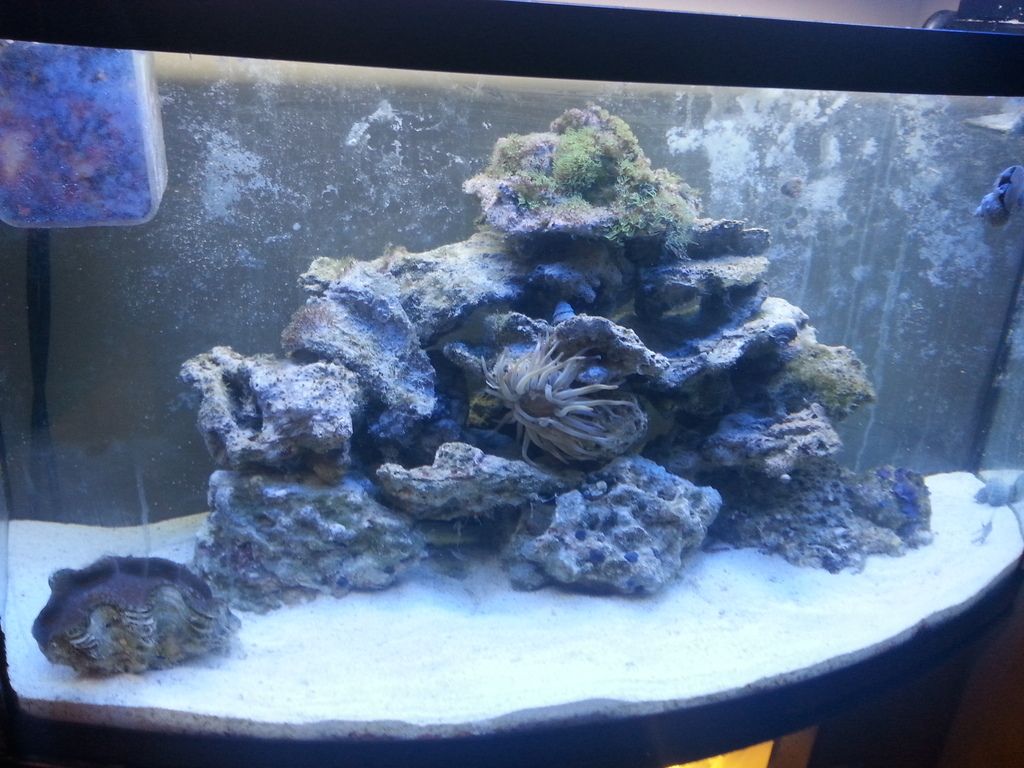 First clean up 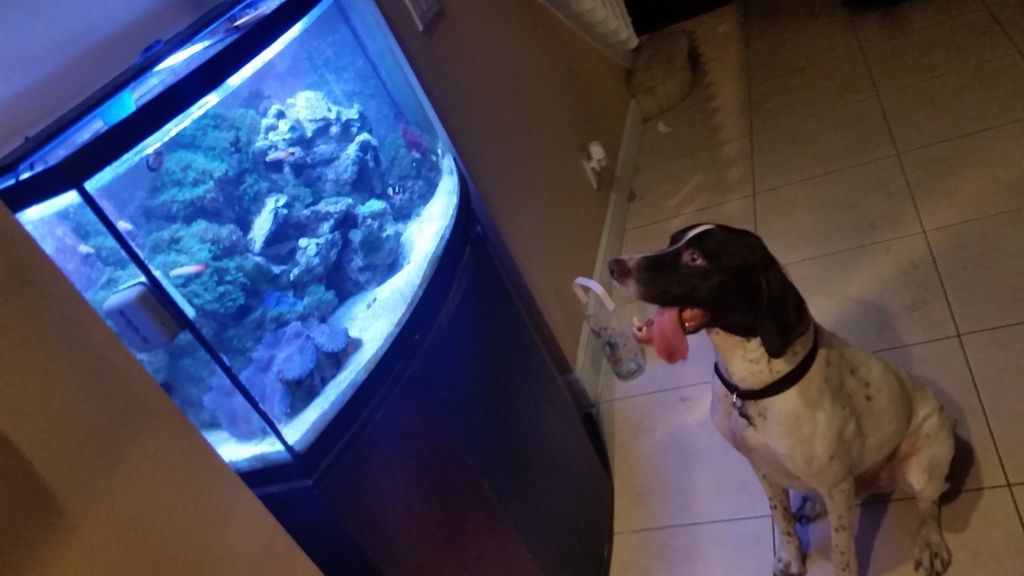 Bo likes the tank now, check out the starpolyps! Very old pic Will update a fresh Pic Couldn't find one Well our lease was up, and decided to move. We had the tank figured out enough to keep things alive but had to kill off the green stay polyps. Looking back I would of kept them for trading. But that is the past now. So I let my rocks bake in the south florida hot summer sun for a few days. Put the now dead rock back in the tank and thus began our real coral craze. We added as much coral (with room for the frags to grow) that we thought the tank should have. We were on the lookout for a maxspect razor on craigslist. One day we found a guy that needed to move had a beautiful tank and the maxspect listed for $300, we couldnt help but get the whole setup. So Now we have 2 tanks! 2 Chains aint got nothing on our 2 tanks! This tank is know as our G Damn Tank, because of a random nitrogen/algae 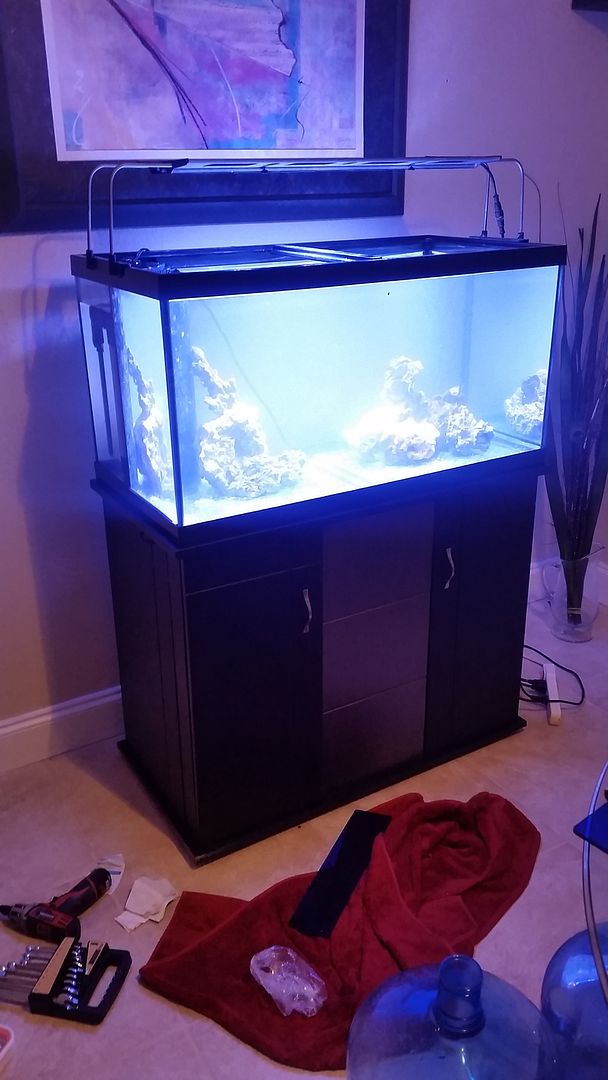 Craigs list deal aka G Damn Tank So this is our setup, these are our tanks, that we will be trying to sell eventually for one large tank versus these two. Now we decided to propagate zoas and softies sticking to what I am obsessed over. ~~~~~ Now for what everyone has came here to see. The frag tank build. So my dream is to have a frag tank that we can use to help balance the costs associated with the hobbies by means of bartering mainly with one our LFS, for dry goods and corals. Also other local folks! Originally my plan was to do a DIY plywood build because It would ultimately be the cheapest. So one day browsing on craigslist, I found a used frag tank for sale exactly what I wanted. 48 by 24 x 12. With pump stand led lights the whole package for $400! I was like man what a deal! I was wrong, the stand was falling apart the plumbing looked like it was put together with playdoh! The led lights were old cheap china made lights, and it was missing the pump. Long story short, I asked him how much for the tank, a new APC unit(tech guys like me love these) and the refugium. He returns with $150, I said deal and walked away with it. So the reason I shared this. Is wait for the right deal, dont get hustled when searching. I walked away from other deals. After cleaning everything up and looking at the refugium I realized I got a hell of a deal, the refugium was originally over $900 new! It was one of those unecessary ones with all the bubble traps designed by engineers to try and make the Best refugium money can buy. Well they went out of business because in all reality you just need 3 chambers and your done. 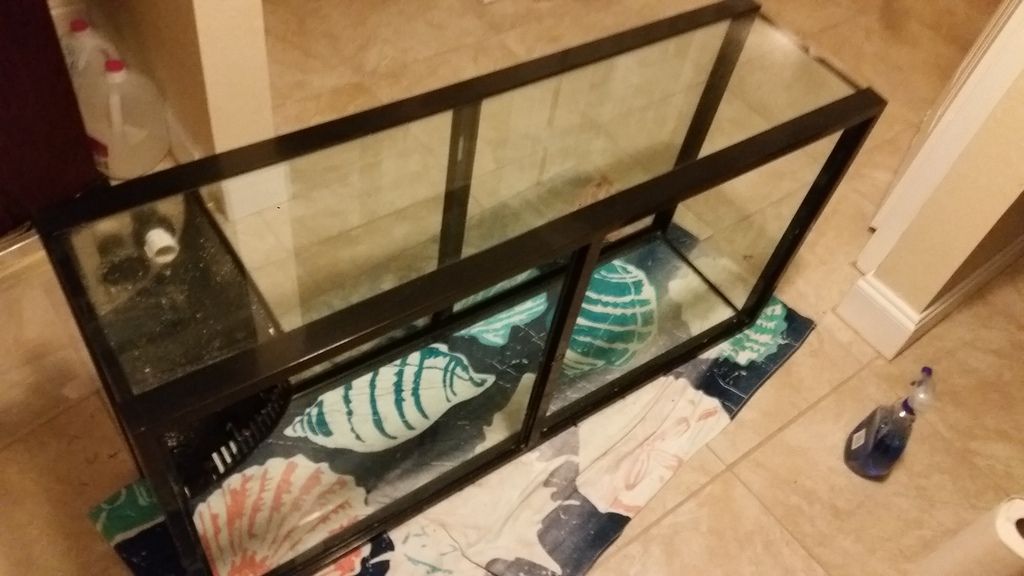 frag tank   Fuge, prior to cleaning From here I decided to build my own stand, Thanks to Rocket Engineer and all of the people commenting and asking the questions in this thread you were a life saver multiple times. Thanks guys http://www.reefcentral.com/forums/sh....php?t=1567110 Threads like these is why I decided to Join Reef Central! I wont go into too much detail on the build because its covered in that thread. If you have any question feel free to ask. So far total cost = $270 ~ $150 tank/fuge ~$ 120 lowes wood stain and screws To Be Continue...   
__________________
Zoa Addiction Current Tank Info: 50 gallons reef x 2, plus 60 gallon frag tank. |

|

|
|
01/11/2016, 02:08 AM
|
#2 |
|
Registered Member
Join Date: Nov 2015
Location: Coconut Creek, Fl
Posts: 28
|
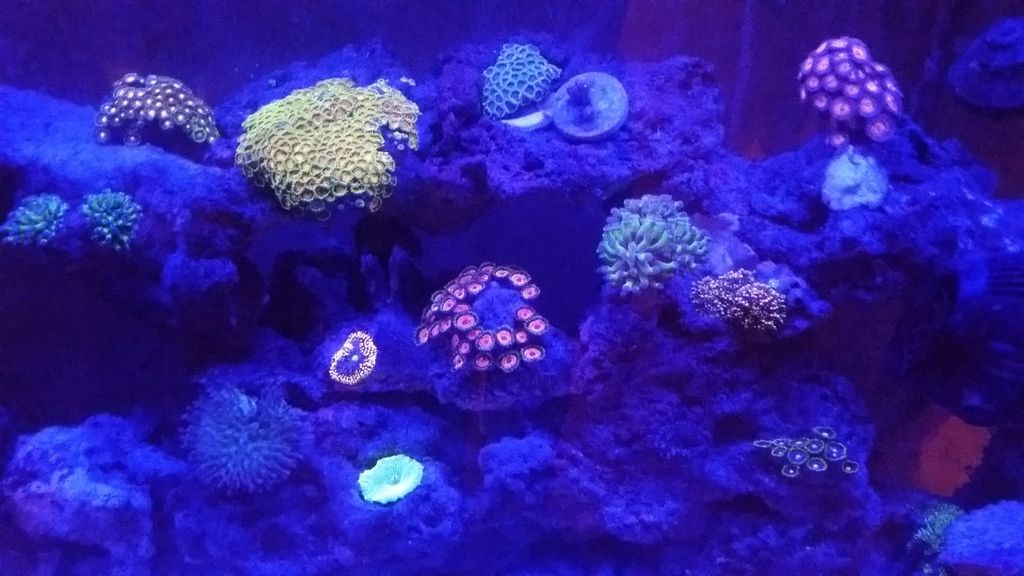 So here is one of the tanks under the blue lights The build comes later this week, Just as a sneak peak.... 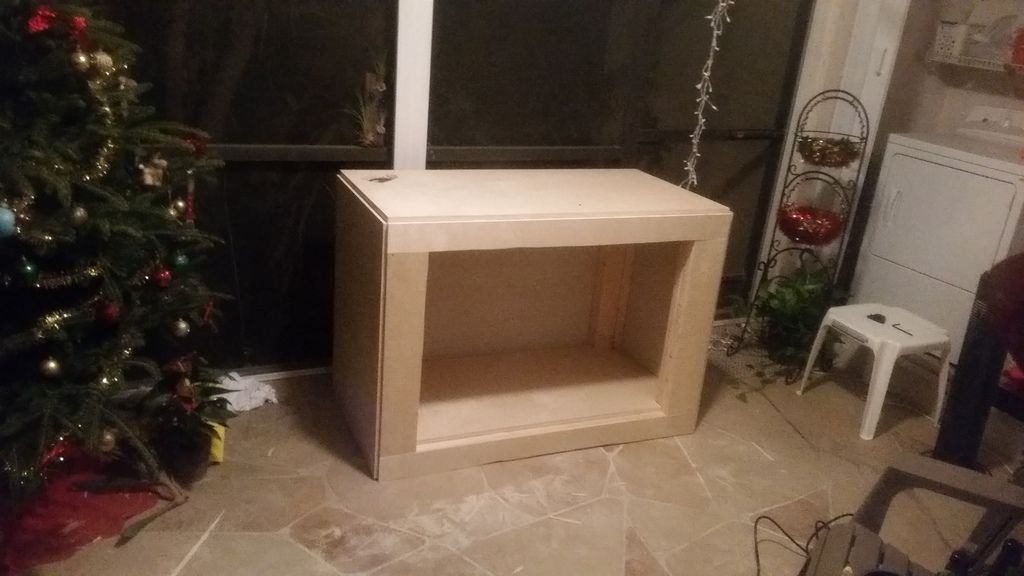
__________________
Zoa Addiction Current Tank Info: 50 gallons reef x 2, plus 60 gallon frag tank. |
|
|
|
|
01/15/2016, 06:41 AM
|
#3 |
|
Registered Member
Join Date: Jan 2015
Location: Sarasota FL
Posts: 195
|
I really like the stand.. And nice lookin Zoas:-)
|
|
|
|
|
01/16/2016, 08:20 PM
|
#4 |
|
Registered Member
Join Date: Dec 2015
Posts: 652
|
Looking forward to this!
|
|
|
|
|
01/18/2016, 01:20 AM
|
#5 |
|
Registered Member
Join Date: Nov 2015
Location: Coconut Creek, Fl
Posts: 28
|
Thanks guy! Haven't had a chance to update. But good news Update coming in the next couple of hours!
__________________
Zoa Addiction Current Tank Info: 50 gallons reef x 2, plus 60 gallon frag tank. |
|
|
|
|
01/18/2016, 01:36 AM
|
#6 |
|
Registered Member
Join Date: Mar 2015
Posts: 3
|
Budget Coral propagation DIY build (TONS of Pictures)
Cool thread following
|
|
|
|
|
01/18/2016, 01:54 AM
|
#7 |
|
Registered Member
Join Date: Nov 2015
Location: Coconut Creek, Fl
Posts: 28
|
 I have been working hard on the build the past few weeks. Now I am trying to get everyone caught up to the point of where I am at now. So I went through the build(Linked in first post) step by step, and for a first timer, I'd say the stand has been moving along very nicely. I had a few issues on the way, like not having the proper tools etc.. The only tools I had prior to starting the project, was a few drills and a hack saw. So I did fork over an additional $35 on a cheap dremel. Probably not the best way to do it, but hey this is a budget build! So I also relied on my personality at lowes to help convince them do "project cuts". Technically they are only suppose to cut them to make them fit in your vehicle. If you talk them up and go when they arnt really busy, you can get them to cut down to the 1/16, it helped me from buying a saw, eventually I will own one, but I didnt need it. So I saved the money. For plywood I chose to use hardwood blonde wood about $45 a sheet at 3/4" for the top and bottom piece. I was slightly short for the bottom piece but I just rolled with it, you can see in the pictures how the bottom sheet(what the refugium sits on) in the front doesn't come to the end. I chose this wood because it is solid, and its preprimed on one side! I have a smaller room to work with of where I was allowed to make a mess. So gentlemen no excuses on why you can't build one too!! I had to get an additional sheet of plywood this time choosing 1/2 for the skin. I was able to get all of the skin and top and bottom, out of 2 sheets. By sacrificing the fact that one side has 3/4 and the other 1/2 it doesnt do anything structure wise to mess with it, and there was no way I was spending $35 for one piece 25 X 37. So I said I wasnt going to talk to much about the build. I will just let pictures do the talking. I will mention however. You really dont need allot of stain, but do take your time. And throw away those rags after staining, if you read the back of the stains they can spontaneously combust if let dry and sit there. So I ended up sealing it and calling a day. I did choose a dark stain, I know I used blondee wood. It was beautiful, but I wanted to match my other furniture in the house. In the event if I move I can put it anywhere. Then painting the inside of the stand oh boy.... I will just say painting all of the supports took forever especially with 3 coats. Picture time!!! 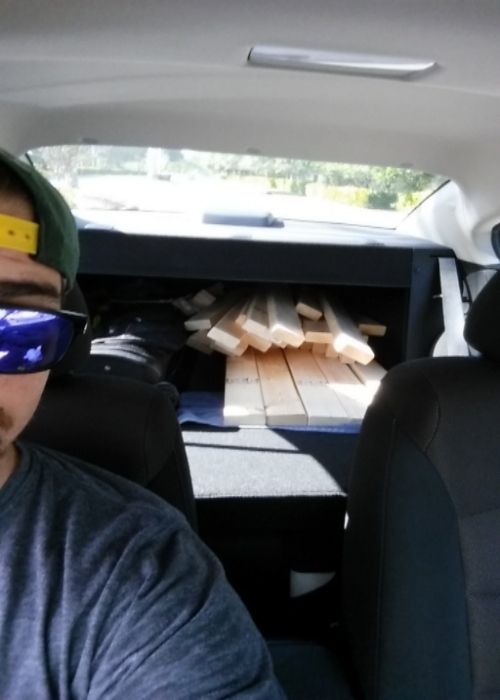 All fits in the back of a Chevy Cruze!  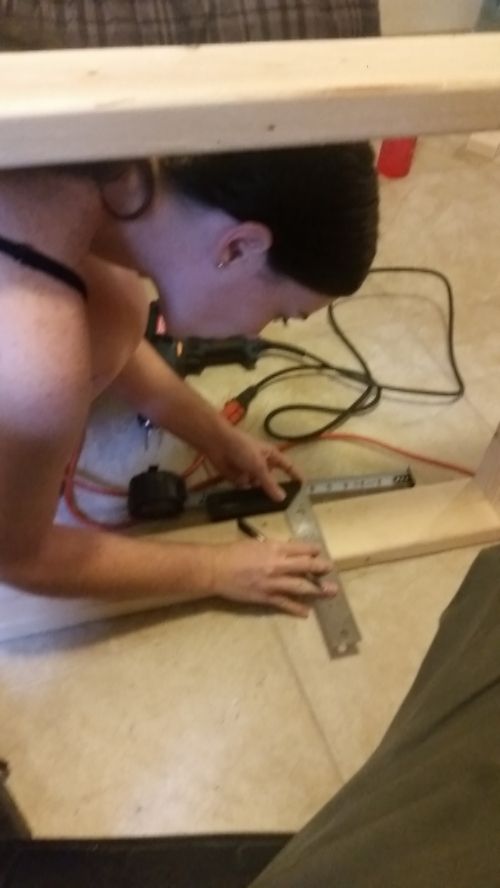 Free Labor from the GF. Who is about as crazy into reef tanks as me if not more! Works out perfect!. Date night is going to the LFS 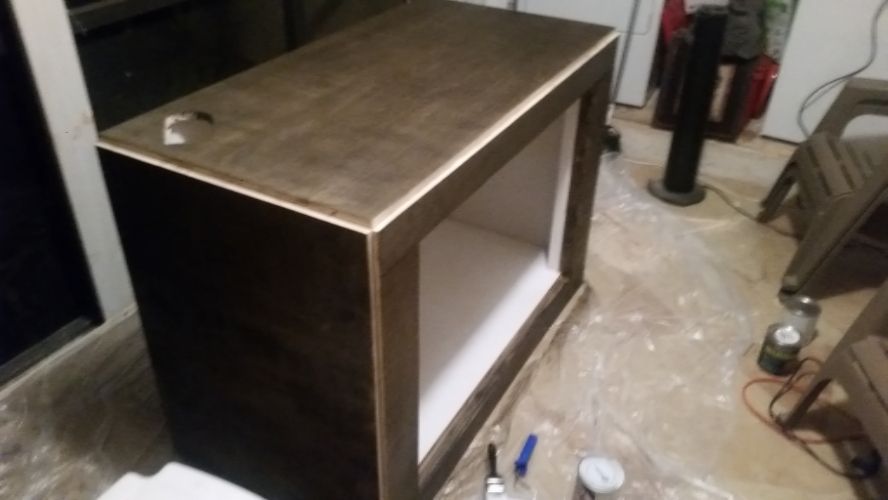 First Coat Done! 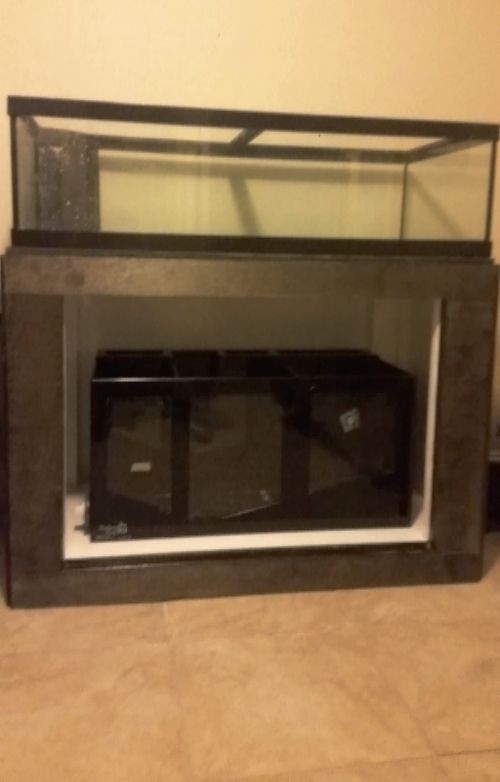 Inside Painted stained and done. Total additional Cost= $85 of quality plywood. and $35 Dremel(but leaving tools out of the cost) as some may have them already. Up Next is Plumbing and pumps! 
__________________
Zoa Addiction Current Tank Info: 50 gallons reef x 2, plus 60 gallon frag tank. |
|
|
|
|
01/18/2016, 03:22 AM
|
#8 |
|
Registered Member
Join Date: Nov 2015
Location: Coconut Creek, Fl
Posts: 28
|
Future pictures will be much better quality, I promise guys! Just had to get everyone caught up. At this point I am making R.O water and filling up the tank, more or less for leak testing and checking that everything is working properly. Ill get good pictures of how its plumbed, and Ill show you my saltwater mixing station!
__________________
Zoa Addiction Current Tank Info: 50 gallons reef x 2, plus 60 gallon frag tank. |
|
|
|
|
01/19/2016, 08:26 PM
|
#9 |
|
Registered Member
Join Date: Nov 2015
Location: Coconut Creek, Fl
Posts: 28
|
The fun begins plumbing first off is not my strong suite. I have little experience with plumbing and kinda just went for it, new bulk heads. New piping, I will say I think I did pretty good, It was a learning experience. I put in 2 union valves to make it easier to disconnect from the tank, and I should have added in a third by the pump. Which I will do here in the soon future. Also added a check valve to prevent the annoying syphoning, that happens when the pumps are turned off.
I decided to go with a DC pump I found a pretty good deal on one, I figured why not experiment, I did choose to go external. Its my first time with external so hoping the seal held was my biggest worry. And it has so far!  I chose to go DC this time because I wanted the control that a DC pumps offer without having to restrict flow. I went with the Jecod/Jebao DCT-8000, I found it on amazon for $130. Working well so far! I love the feed control button with a 10 minute delay. Now I did see quite a few good used pumps on craigslist, AC but none the less amazing pumps. Were talking $50-$100 for a solid used pump that will last you years to come. I decided to splurge "a bit" on this budget build. I chose to go DC this time because I wanted the control that a DC pumps offer without having to restrict flow. I went with the Jecod/Jebao DCT-8000, I found it on amazon for $130. Working well so far! I love the feed control button with a 10 minute delay. Now I did see quite a few good used pumps on craigslist, AC but none the less amazing pumps. Were talking $50-$100 for a solid used pump that will last you years to come. I decided to splurge "a bit" on this budget build.When I bought the refugium, it had a hole in it for a ATO system install. I didn't like where the ato was located so I decided to ignore the hole. Which was patched up. When leak testing everything I didn't see any water coming out. Well after a few days water started to trickle out, so Now I have to repair this hole as well. Any ideas? Cork with silicon is my only idea. You can see the patch in the last picture. I also have another issue with the plumbing, and that is the noise. So thats a problem I am battling at them moment. The top part of the system, the over flow is very noisy. I saw a few idea's on here, not sure which one to go with any recommendations? Well Ladies and gents, we are up to date at this point, for now on out will be future updates and costs associated with running and setting up a DIY but Budget friendly build. Total additional cost $45 for plumbing supplies, $130 Jecod/Jebao DCT-8000. Additional cost $175 Picture TIME!  A shot of the pump finally in place, thats a disc golf putter under that pump btw!  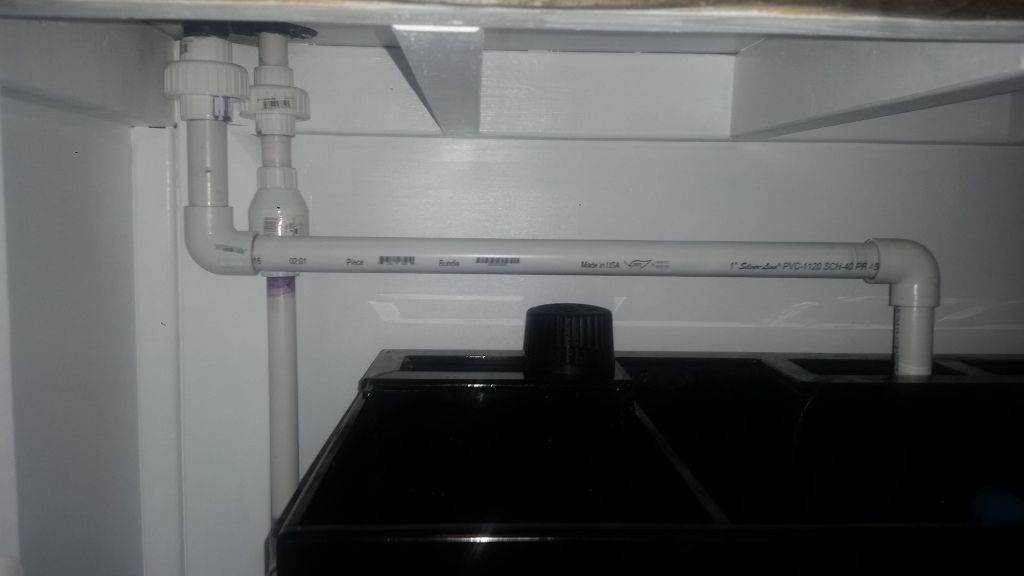 Plumbing is still a work in progress, need to add a hanger to support water weight for the return to sump 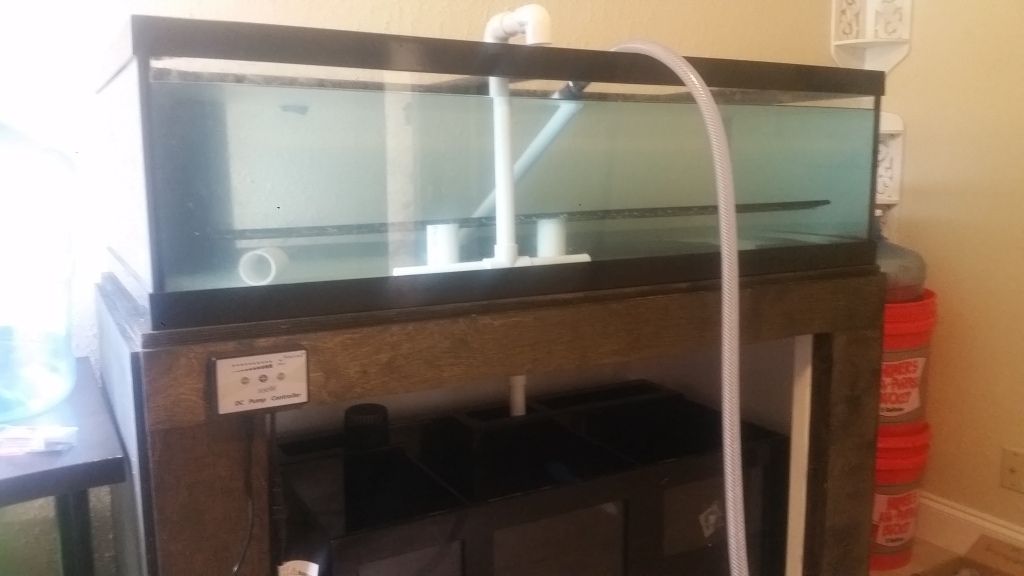 Let the Cycling Begin   $$$$$ Cost associated $$$$$$$ Now lights are so controversial I haven't put them in the mix. Im likely going to put 2 AI 52's over the top of the tank. Total cost at this point = $530;  ~~~~~~~~~~~~~~~~~~~~~~~ Tank and Refugium = $150 Wood and plywood and stain = $205 Pump and plumbing supplies=$175
__________________
Zoa Addiction Current Tank Info: 50 gallons reef x 2, plus 60 gallon frag tank. Last edited by Mylesh36; 01/19/2016 at 08:27 PM. Reason: Enabling Smilies everyone needs a smile! |
|
|
|
|
01/19/2016, 08:48 PM
|
#10 |
|
Registered Member
Join Date: Nov 2015
Location: Coconut Creek, Fl
Posts: 28
|
So I did a little pre shopping for some Zoa/Paly frags and couldn't help myself. I have a small list of things I picked up!
Rasta's Magician Palys Radioactive dragon eyes Emerald's on Fire Gorilla Nipples Eagle Eyes Valentine Day Massacre Zoa (VDM) (Knock Out) K.O VDM Incredible Hulks Pandora Palys God of War Darth Maul Green Bay Packer People Eaters U.M(University Miami) Zoa's <-- Unsure on the name But gorgeous! Also have multiple unamed and beautiful unknown morphs Ill be playing with the frag mix!!! 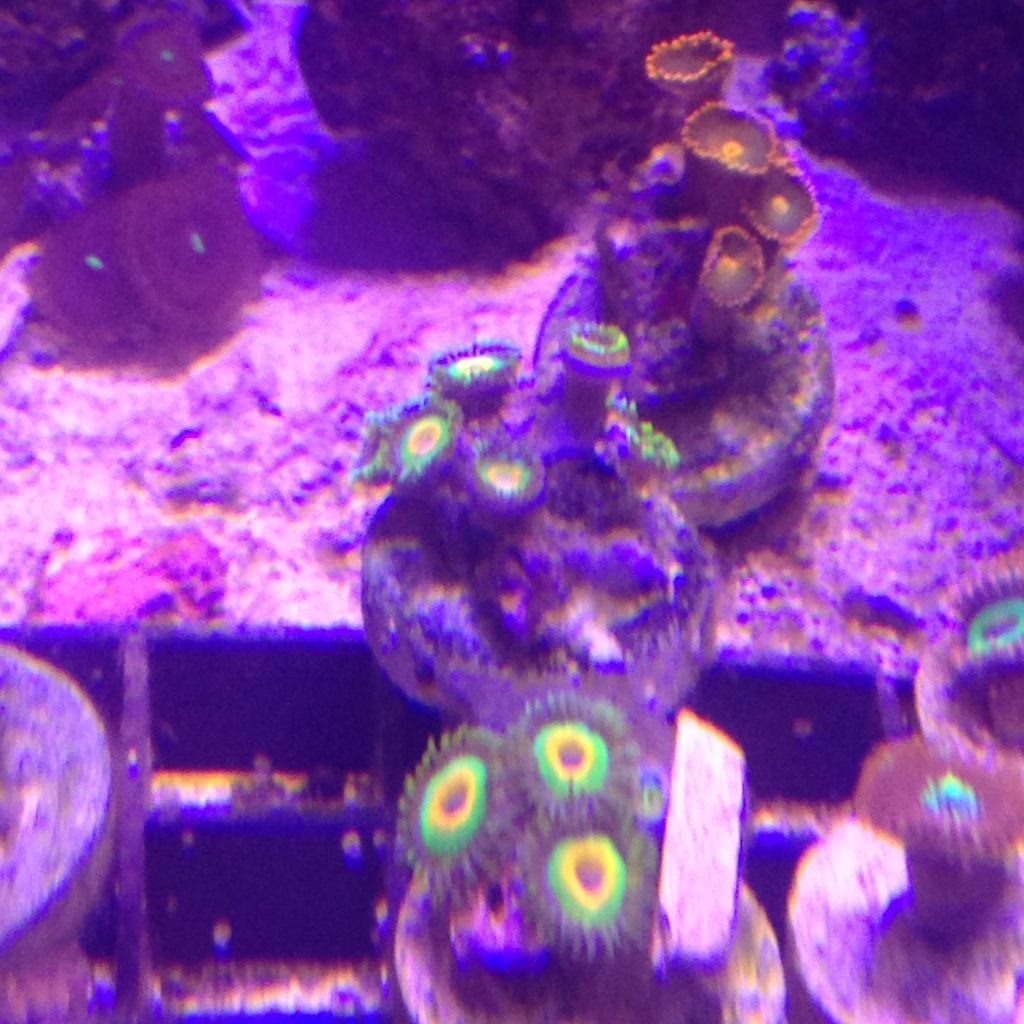 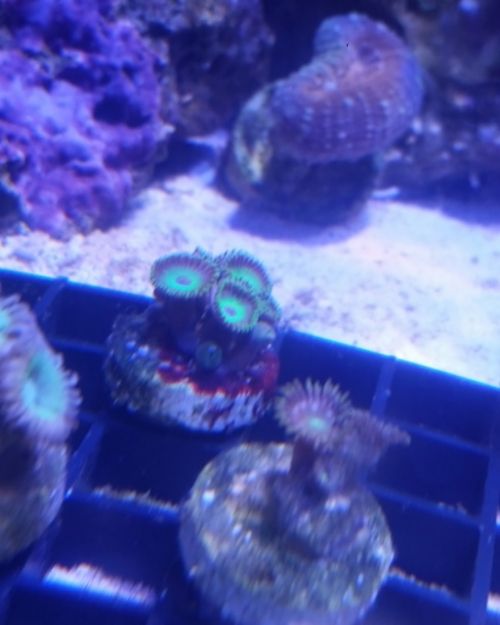 
__________________
Zoa Addiction Current Tank Info: 50 gallons reef x 2, plus 60 gallon frag tank. |
|
|
|
|
01/21/2016, 03:31 PM
|
#11 |
|
Registered Member
Join Date: Nov 2015
Location: Coconut Creek, Fl
Posts: 28
|
I ended up running into a few small leaks, the previous owner slapped on some silicon in the previous auto top off hole. Which I think the location was improperly placed so I decided not to use it at all. Well that silicon started leaking 3 days in. I went to lowes and picked up a small piece of polycarbonate and used a bonding agent for plastic I put a piece inside and out to provide extra security. Once it dries in 24-48 hours for further security I will silicon around the edges. Tank will then be in the cycling phase.
As far as the noise goes I flipped around the drain and added some extensions to quiet it down. And there we have it! In a few more days the tank will begin the cycling process as I will be adding live rock in the sump. The lights are still needed but looking at the cost so far if you were to buy the stand alone new from a store you are looking at $400-500 for the deep blue model for this tank. I spent that much with a few spare weekends doing this myself. I hope this so far inspires others to grow their own corals out!! Buy from local growers and Save the oceans!
__________________
Zoa Addiction Current Tank Info: 50 gallons reef x 2, plus 60 gallon frag tank. |
|
|
|
 |
| Tags |
| diy, frag, propogation |
|
|


