
|
|
 08/21/2005, 10:07 PM
|
#1 |
|
Registered Member
Join Date: Apr 2003
Location: under the sea
Posts: 1,079
|
270 gallon reef / basement remodel has begun
Its been months in the planing but it came to life this weekend. We have started to finish the basement and also build the tank (in wall) this weekend.
The tank is 72*36*24 acylic (pics will be posted) and will be a dedicated acropora / montipora reef with a heavy focus on stags and tables. I am using all reef ceramics from www.CaptiveOceans.com (thanks Garry) instead of live rock. The equipment line up will follow in a few days. Here are a few pics of the begining. Nothing really exciting yet but the stand when its done will hold a Semi  It will be braced in the front just like a wall but 12" OC not 16" and will be incorparated into and supported by two walls. We are building a soffit of sorts around it to allow it to be viewed length wise on one end. There is a really good reason for this and you will see it as we progress and the tank is filled and running 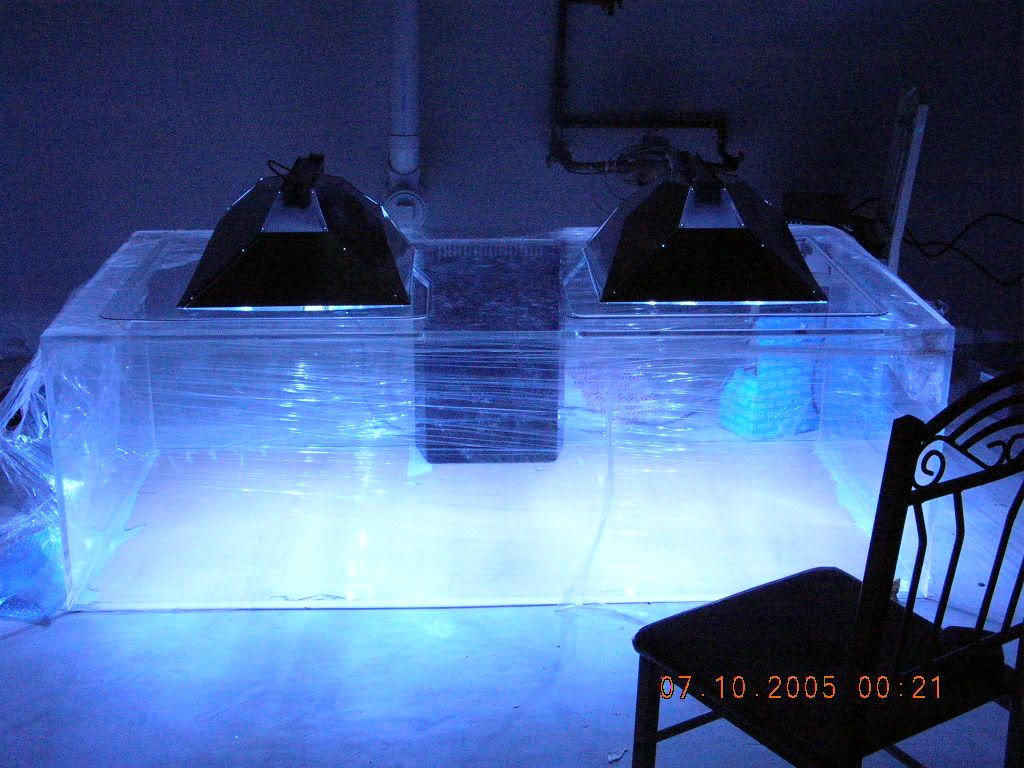 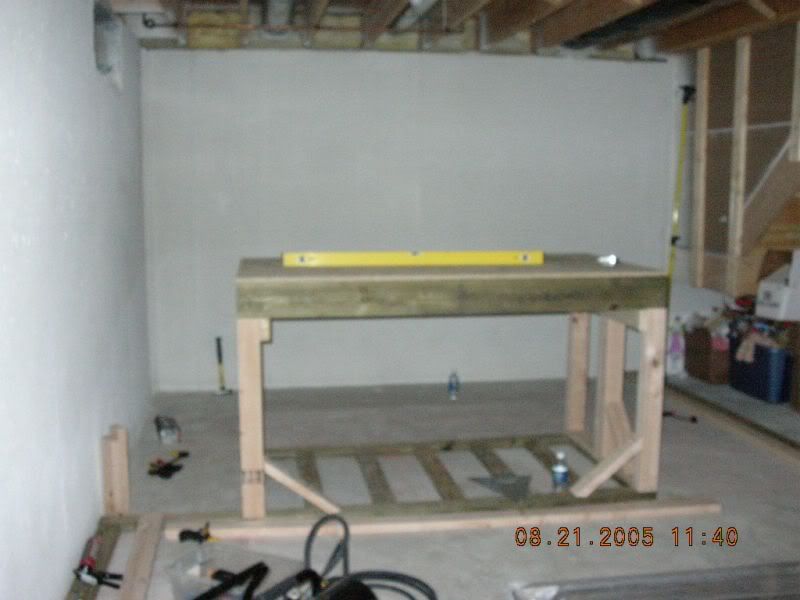 and this is just a little area I am thinking os using for a fitness area or WiFi computer area. 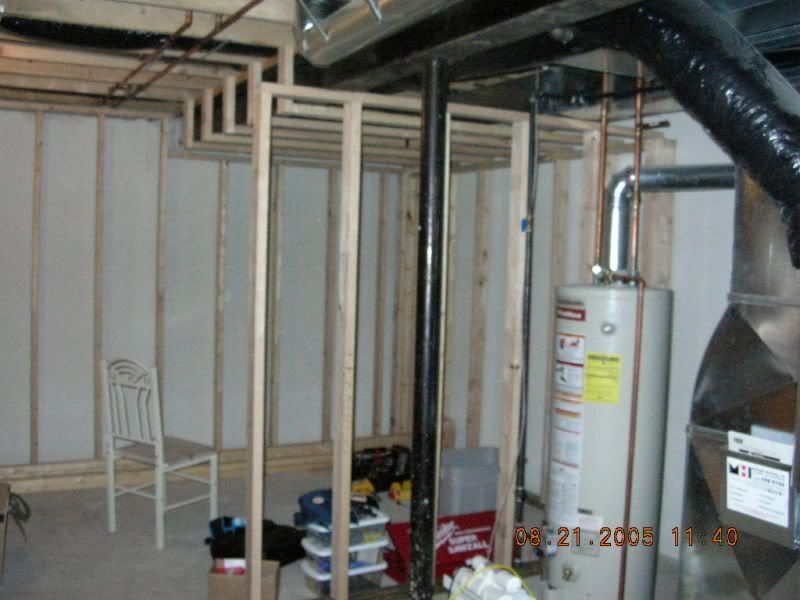
|

|

|
|
08/21/2005, 10:55 PM
|
#2 |
|
Registered Member
Join Date: Sep 2001
Location: TX
Posts: 1,156
|
are those 400's? What color bulbs? Is that the only lighting you'll be running?
Nice choice on that width. |
|
|
|
|
08/22/2005, 06:58 AM
|
#3 |
|
Registered Member
Join Date: Apr 2003
Location: under the sea
Posts: 1,079
|
Those are 250 Hamilton 20K (german) bulbs on PFO PULSE start Ballast.
I am going to use VHO as well for the middle and also have an HQI pendant if I need it but I dont think I will. I am focusing on water quality and flow in this tank and I believe the lighing in the luminarcs will be adequate to get nice colors and growth woithout having the las vegas strip and the electric bill to support a bunch of 400's LOL |
|
|
|
|
08/22/2005, 05:30 PM
|
#4 |
|
Registered Member
Join Date: Apr 2003
Location: under the sea
Posts: 1,079
|
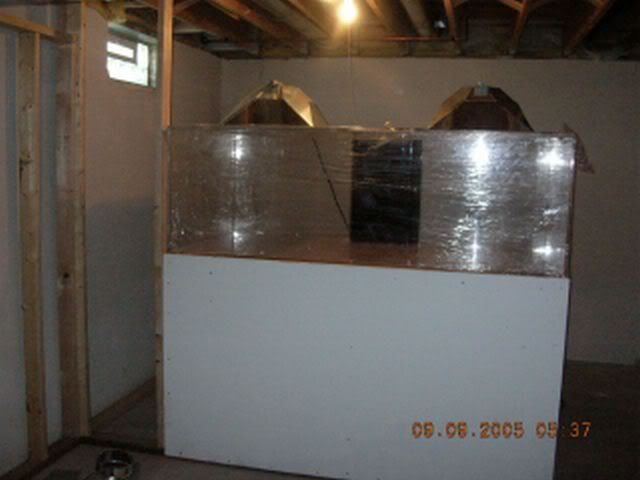
this is the top bracing that is under the OSB.
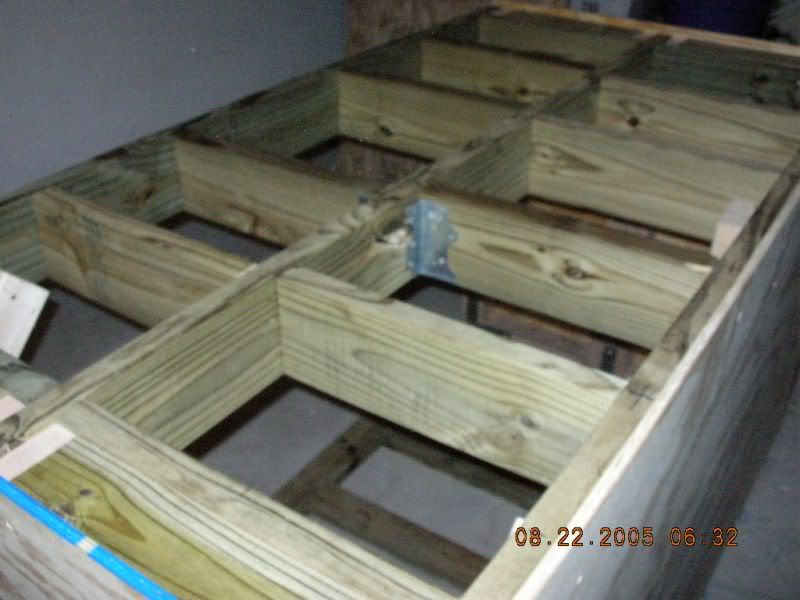 and this is the stand wrapped is the 1/2 inch exterior grade plywood. 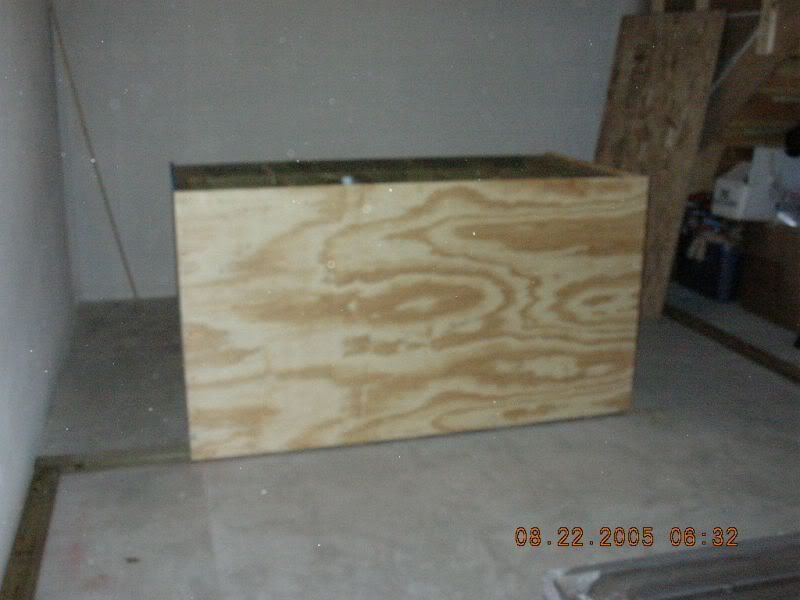
|
|
|
|
|
09/03/2005, 07:46 PM
|
#5 |
|
Registered Member
Join Date: Apr 2003
Location: under the sea
Posts: 1,079
|
some progress!
The stand is sealed with a mildew resistant paint.  Some of the doors for the basement for access to sump pump / and other storage areas. The French door is for the fish viewing room 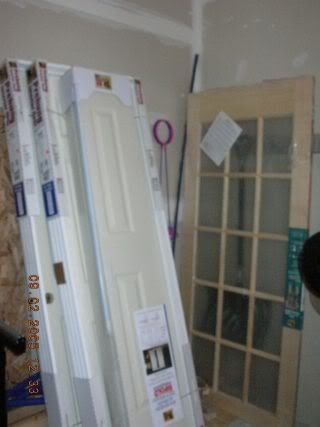 Test fit today!! plus we needed to get it up off the floor so we could frame in the viewing room. I am doing built in book shelves and will adorn them with corals of the world by Vernon first! 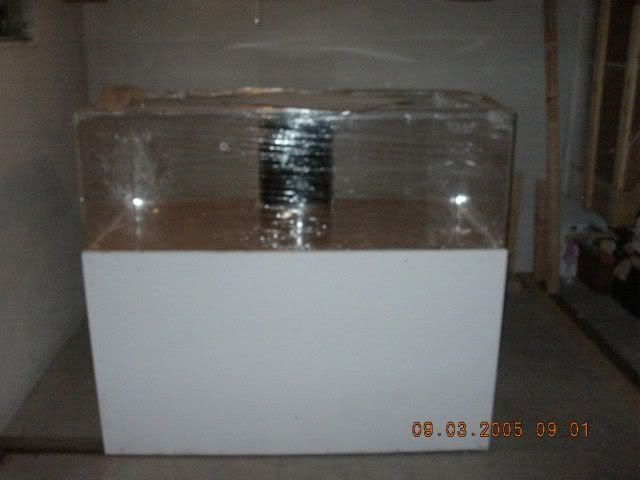  From the back LOL 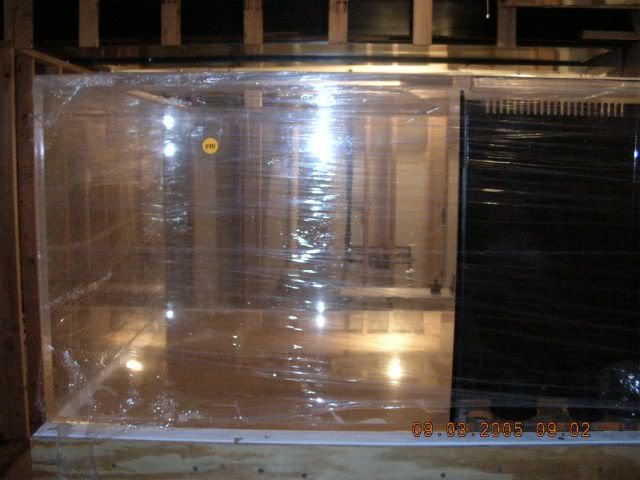 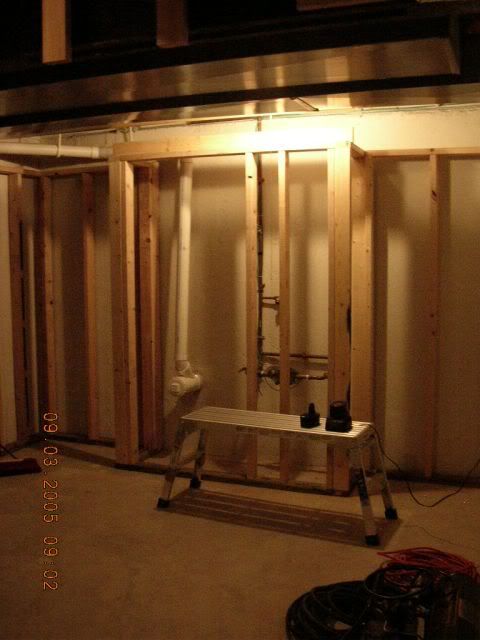 More to come later on this week as we finish it al up. |
|
|
|
|
09/05/2005, 02:04 AM
|
#6 |
|
Snail Killer
 Join Date: Dec 2004
Location: Kyushu, Japan
Posts: 4,804
|
Love seeing someone's dream materialise.
Who built your tank? And I'm going with Hamilton 14k moguls on those PFO pulse start ballasts. How are you digging those?
__________________
Laurence Flynn 340g In-Wall Envision Tank and 150g Sump. Current Tank Info: Deltec 902, PFO hood with 3x400w Radium 20k and 4x96w PC's. Hammerhead closed loop - and 2 x Tunze 6105 (and Vortech still sucks). |
|
|
|
|
09/06/2005, 07:09 PM
|
#7 |
|
Registered Member
Join Date: Apr 2003
Location: under the sea
Posts: 1,079
|
I like them (the 14k's) in the Luminarcs.
I worked a little more tonight on it and am going to bust out some more tommorow down there so I can start wiring this weekend I hope. I have decided to use Zeovit on the tank also. I have a custom reactor coming for it. I also ordered a custom sump with a large frag area. the sump is 48*30*18 acrylic. Will post pics when it comes in. |
|
|
|
|
09/06/2005, 07:11 PM
|
#8 |
|
Registered Member
Join Date: Jan 2003
Location: New Braunfels, Texas
Posts: 3,356
|
nice start, cant wait to see more pics
|
|
|
|
|
09/06/2005, 07:33 PM
|
#9 |
|
Registered Member
Join Date: Apr 2003
Location: under the sea
Posts: 1,079
|
thanks,
Will have more after the weekend. Going to really work tommorow and the Weekend to get it all framed in.
__________________
Anacroporamademepoora Current Tank Info: 270 gallon Reef |
|
|
|
|
09/09/2005, 06:54 PM
|
#10 |
|
Registered Member
Join Date: Apr 2003
Location: under the sea
Posts: 1,079
|
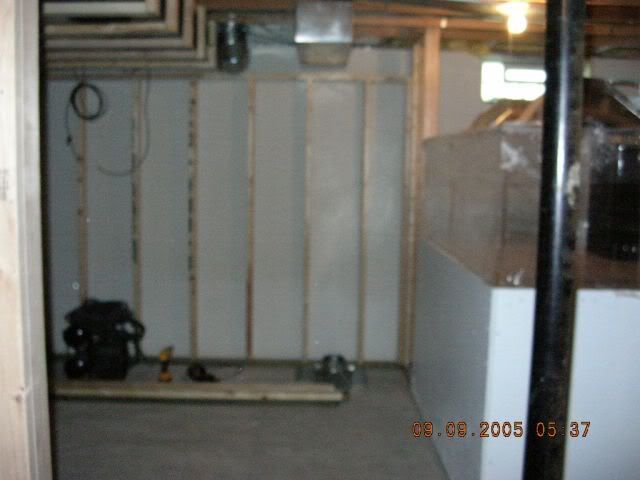
here are a few more updates. I will be working tommorow towards getting more of the framing done. But I am getting closer..
|
|
|
|
|
09/11/2005, 01:58 AM
|
#11 |
|
Moved On
Join Date: Sep 2004
Location: Pilgrim State (Mass)
Posts: 4,039
|
Does that rock seed like live rock or dead base rock??? If so that is incredible. Save a ton of money. Keep up the good work!
|
|
|
|
|
09/11/2005, 09:33 PM
|
#12 |
|
Registered Member
Join Date: Apr 2003
Location: under the sea
Posts: 1,079
|
It does seed the same way.
some more pics Where did the wall go LOL  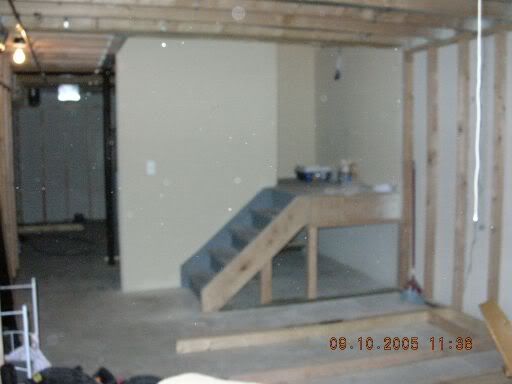 starting to frame in the maintenance room now. 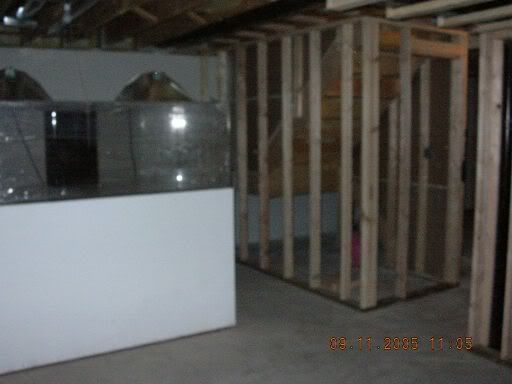
|
|
|
|
|
09/15/2005, 09:14 AM
|
#13 |
|
Registered Member
Join Date: Apr 2003
Location: under the sea
Posts: 1,079
|
new updates:
getting closer! will be wiring tommorow 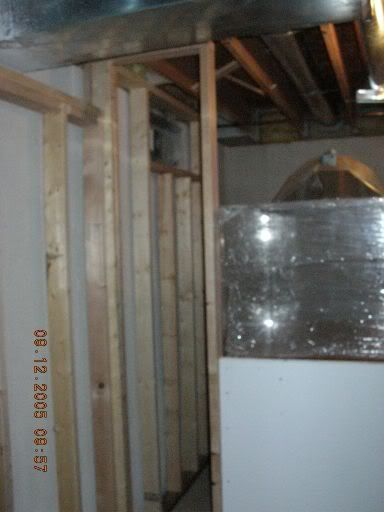 Put up fascia (OSB) to make drtwalling easier around the mechanicals in the ceiling. 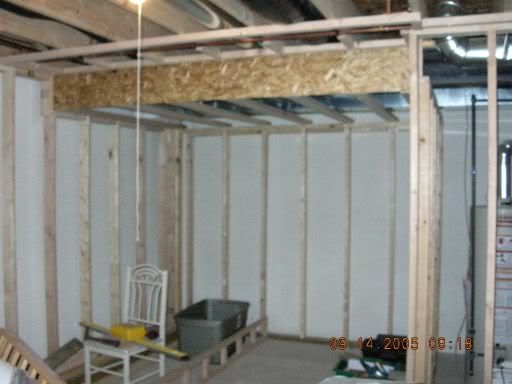 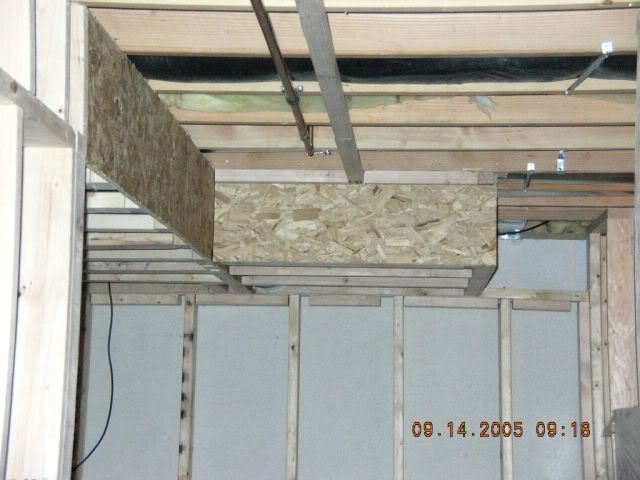 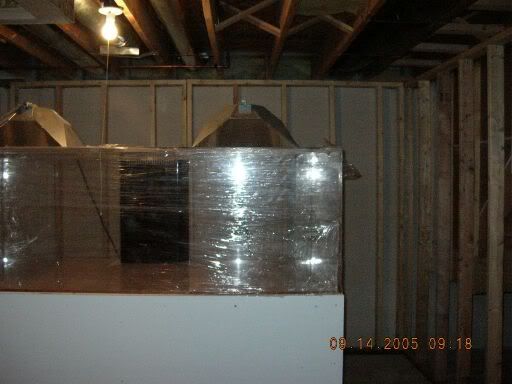
|
|
|
|
|
09/23/2005, 01:13 PM
|
#14 |
|
Registered Member
Join Date: Apr 2003
Location: under the sea
Posts: 1,079
|
I have things wired ane will be insulating this weekend are starting drywall.
Here is my sump. It is 48-30-18 (112 gallons) and is fed by 4 bulkheads on the top from the tank. The sump is really a 2 in 1 though with a common feed to the return chamber. The only problem is the manufacturer has to do a mod on it  The forgot that the overflow baffles needed to be 13.5 inches and they made them 17.5! SO they are going to fix it. The forgot that the overflow baffles needed to be 13.5 inches and they made them 17.5! SO they are going to fix it.exhaust fan 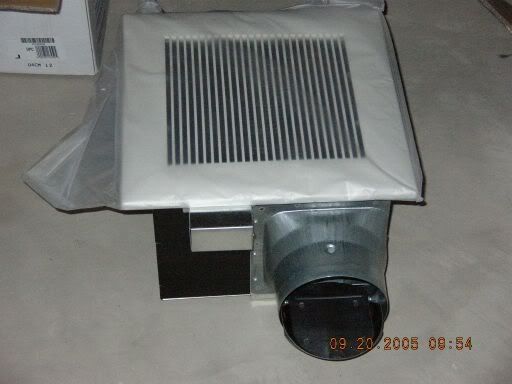 Sump 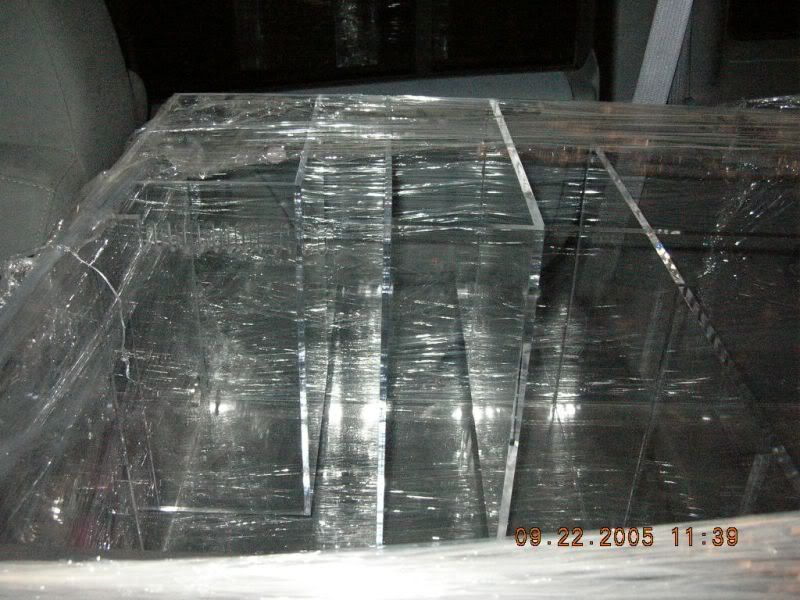 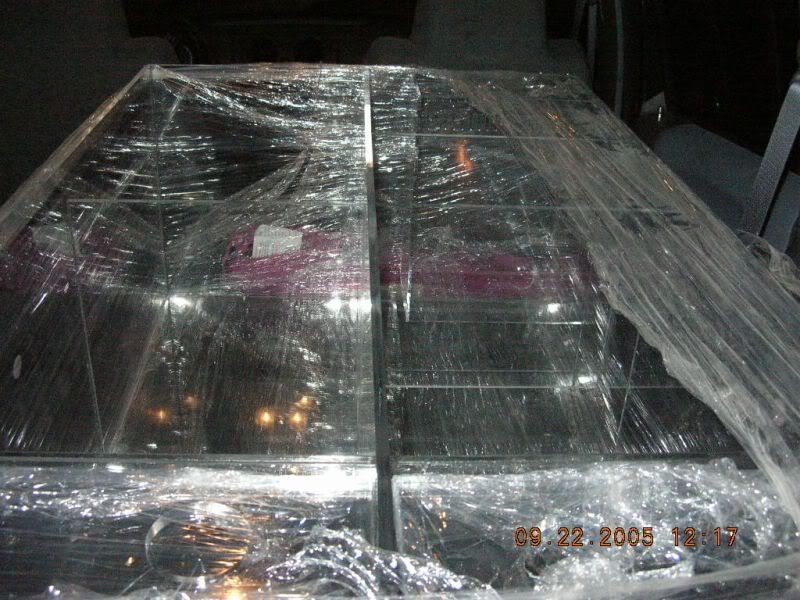
|
|
|
|
|
09/23/2005, 10:13 PM
|
#15 |
|
Registered Member
Join Date: Apr 2003
Location: under the sea
Posts: 1,079
|
reef ceramics preview
This is all but one piece that I ordered from Gary at www.captiveoceans.com
this stuff is amazing to say the least! We are waiting on the large outcroping (island) before he ships it to me but he was kind enough to snap a few shots and mail them to me. The aquascape will be kept low in height so the corals can grow up more. Back wall will be use to attach corals to as will the side. This will be viewable down one long end so in reality there will be two pieces on one end then the three on the back wall of the tank. enjoy these pics 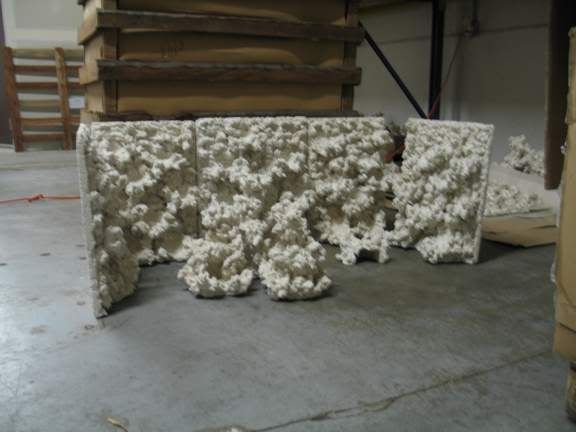 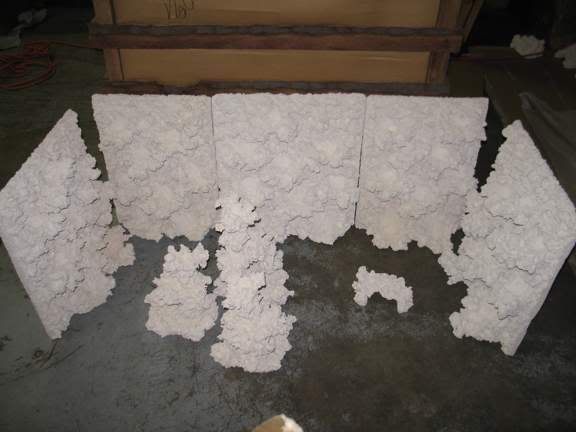
|
|
|
|
|
09/24/2005, 03:05 AM
|
#16 |
|
Snail Killer
Join Date: Dec 2004
Location: Kyushu, Japan
Posts: 4,804
|
What is it made out of?
__________________
Laurence Flynn 340g In-Wall Envision Tank and 150g Sump. Current Tank Info: Deltec 902, PFO hood with 3x400w Radium 20k and 4x96w PC's. Hammerhead closed loop - and 2 x Tunze 6105 (and Vortech still sucks). |
|
|
|
|
09/27/2005, 10:48 AM
|
#17 |
|
Registered Member
Join Date: Apr 2003
Location: under the sea
Posts: 1,079
|
calcium and magnesium are two ingredients. The Germans use ot with great success. Go to www.captiveoceans.com for pics of tanks with this product in use.
here are a few more updated pics. Got teh insulation in and will be wiring the exhaust fan this this weekend. The wiring is essentially done with the exception of the recessed lights in the utility room behind the tank. I am doing those after I place the fan in final posistion. October 7-9 will hang the greenboard down there. 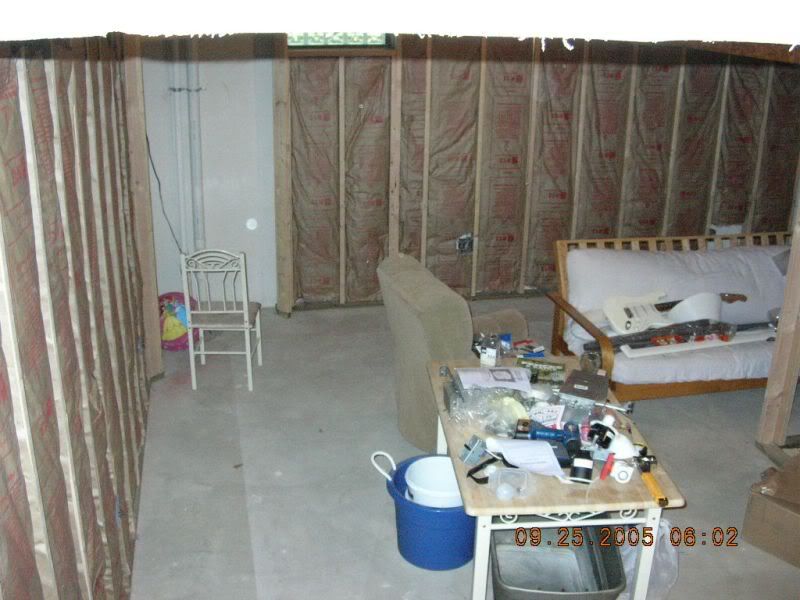 
|
|
|
|
|
09/27/2005, 07:48 PM
|
#18 |
|
Registered Member
Join Date: Apr 2003
Location: under the sea
Posts: 1,079
|
few update pics. I am mounting the exhaust fan this week and because of that I am leaving a few areas open on the wall in the utility room. beyond that I am done insulating. Need to wrap a few areas though with a vwapor seal where I used unfaced insulation.
I also think I might set up this frag tank that I put between the chairs in the pic. tried to gauge space and I still have plenty to work if I set it up. 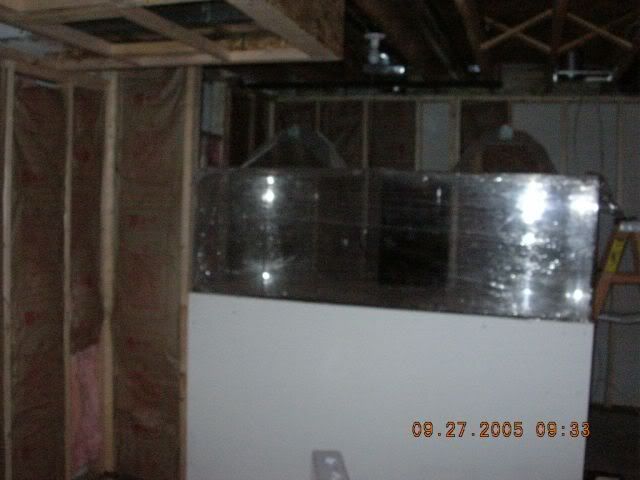 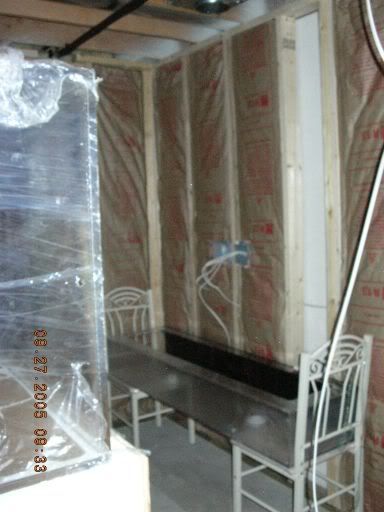
|
|
|
|
|
10/08/2005, 06:56 PM
|
#19 |
|
Registered Member
Join Date: Apr 2003
Location: under the sea
Posts: 1,079
|
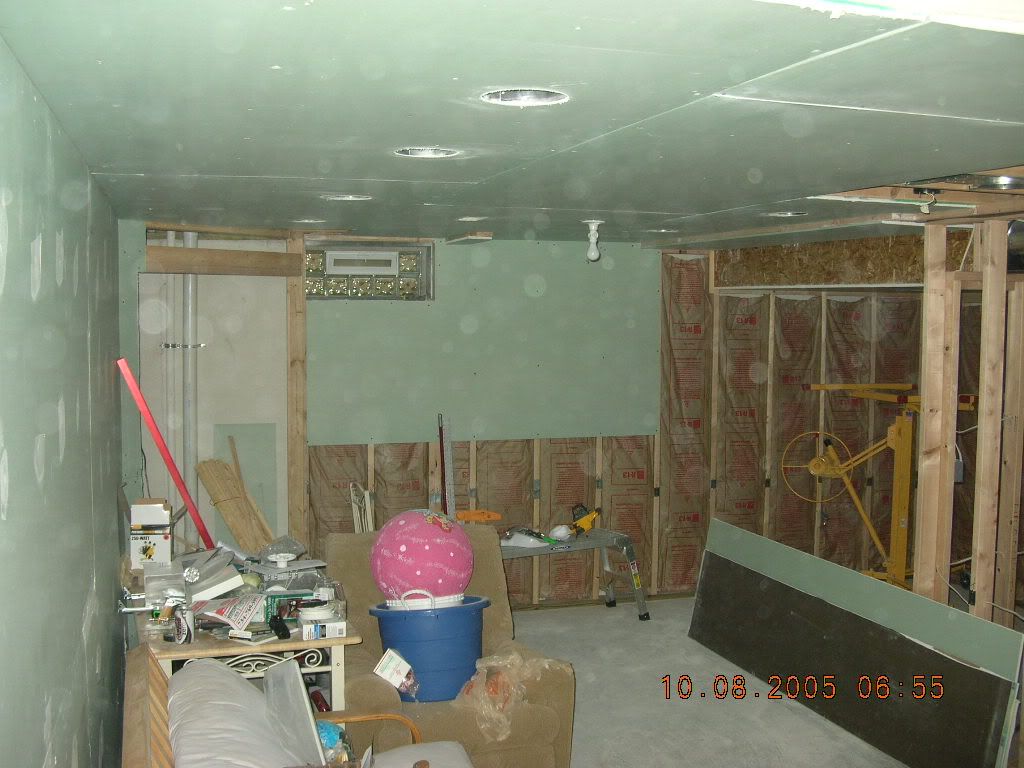
new pics.... hope to finish this area tommorow
|
|
|
|
|
10/09/2005, 09:12 PM
|
#20 | |
|
Premium Member

Join Date: Dec 2004
Location: Seymour, Texas - God's country - RED state
Posts: 665
|
Re: reef ceramics preview
Quote:
|
|
|
|
|
|
10/09/2005, 09:54 PM
|
#21 |
|
Registered Member
Join Date: Apr 2003
Location: under the sea
Posts: 1,079
|
I don't expect to receive teh rock until late next week or the week after. I have been waiting for one last piece to come from Germany prior to receiving it.
More pics  Hope to finishing hanging this next weekend. Computer / office nook 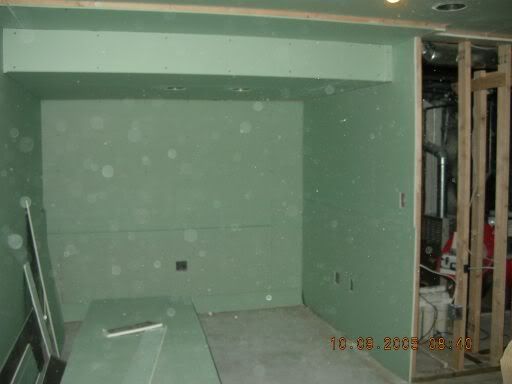 Living room viewed from computer nook 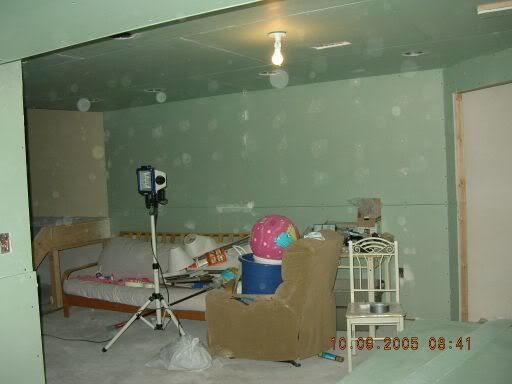 Ceiling area in living room 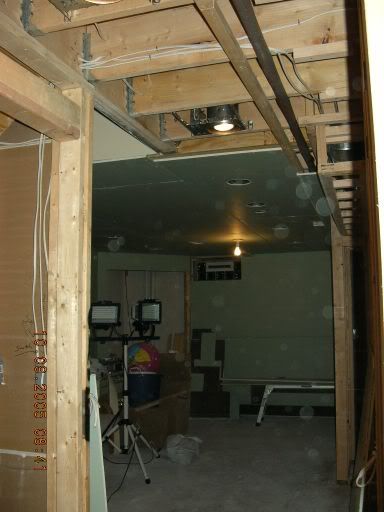 Living room viewed from the stairs 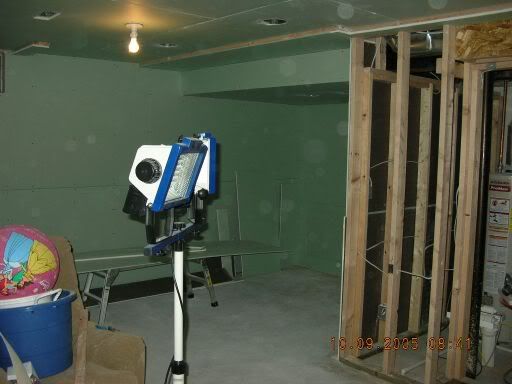
|
|
|
|
|
10/10/2005, 03:14 PM
|
#22 |
|
Registered Member
Join Date: Oct 2005
Location: Southern California
Posts: 6,759
|
keep em comin!
__________________
I'll be back. |
|
|
|
|
10/10/2005, 06:54 PM
|
#23 |
|
Registered Member
Join Date: Apr 2003
Location: under the sea
Posts: 1,079
|
working on it
__________________
Anacroporamademepoora Current Tank Info: 270 gallon Reef |
|
|
|
|
10/15/2005, 10:26 PM
|
#24 |
|
Registered Member
Join Date: Apr 2003
Location: under the sea
Posts: 1,079
|
The big room is done with the exception of covering the stairs. Going to look at banisters post then we will finish that.
Started in the veiwing room tonight the ceiling is started adn we think we can finish the=is area tommow (it more straight forward than th last part and smaller). 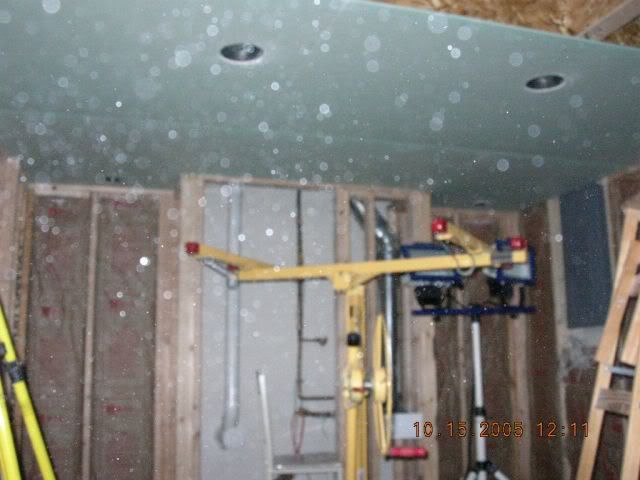
|
|
|
|
|
10/16/2005, 09:27 PM
|
#25 |
|
Registered Member
Join Date: Apr 2003
Location: under the sea
Posts: 1,079
|
We finished most of the veiwing room minus a few soffit covers today
The fan is installed over the tank to exhaust to the outside as needed. Still need to cut in the cold air returns after we get all the drywall hung to help assist with the summer humidity in the basement. The first pic is the exhaust mounted about a foot behind the tank 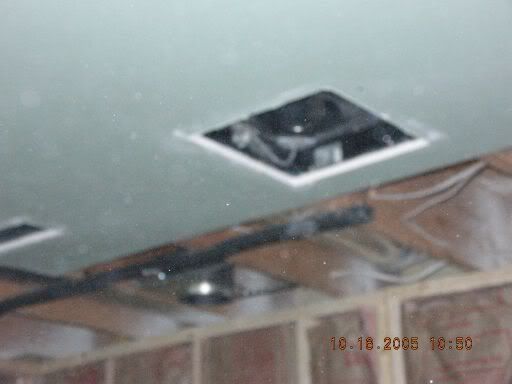 View into utility room. Soffit will be built as well a the last wall and doorway in a few weeks and covered. I might do a plastic pplantation shutter to allow front and side access into the tank also. So cut outs will be done for this in the siffit after it is dry walled. [IMG] http://img.photobucket.com/albums/v2...ach2005132.jpg[/IMG] The viewing room. The two nooks are for book shelves for reefing books and periodicals (might do a turquoise glass series of shelves, ocean blue) 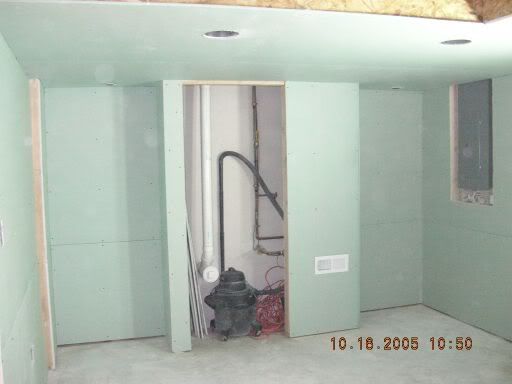 Last is the veiw from the door way leading into the veiwing room.. 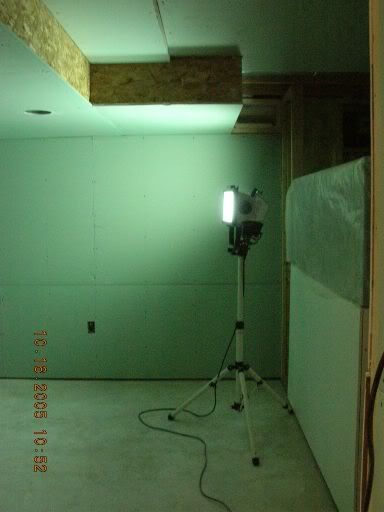
|
|
|
|
 |
|
|


